
Adobe Illustrator feels intimidating when you first open it. All those panels and tools seem overwhelming. But creating intricate geometric patterns doesn’t require mastering every feature.
You only need two tools. The Offset Path function and the Shaper tool combine to create stunning designs in minutes. Plus, these techniques work for everything from app icons to poster backgrounds.
Let’s build a complex concentric ring pattern that looks way harder than it actually is.
Start With One Perfect Circle
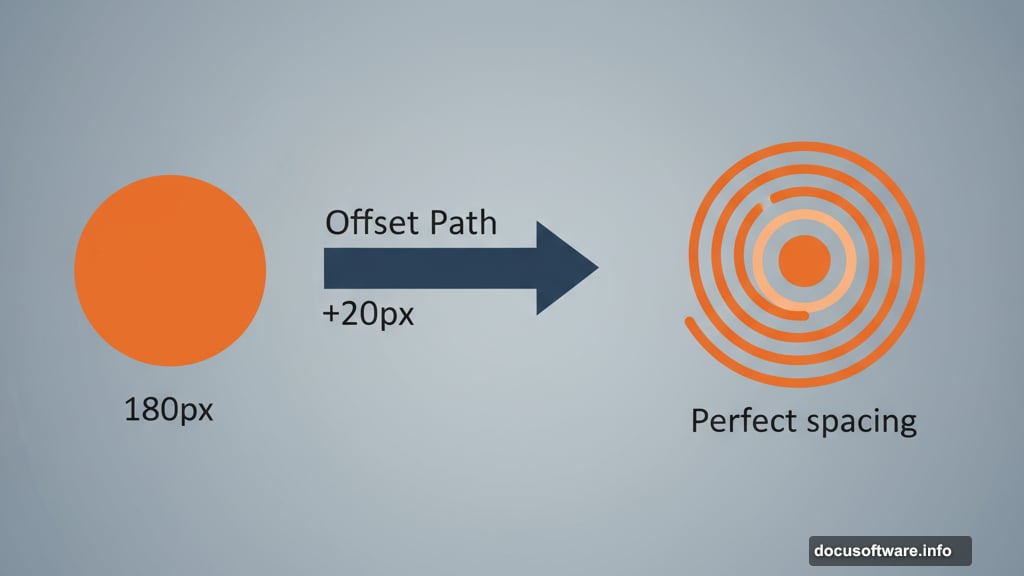
Open a new document in Illustrator. Create a single 180px circle using the Ellipse tool. Fill it with any color you want—orange works great for visibility.
Center this circle on your artboard. Everything else builds from this foundation.
Now comes the magic trick. You’ll use Offset Path to clone this circle eighteen times, each one perfectly spaced from the last.
Create a Custom Keyboard Shortcut
Offset Path lives buried in the Object menu by default. You’ll use it constantly for this technique, so make a shortcut first.
Go to Edit > Keyboard Shortcuts. Search for “Offset Path” and assign it to Cmd+Shift+2 (or any combination you prefer).
This simple step saves minutes of menu hunting. Trust me, you’ll thank yourself later.
Build Your Concentric Rings Fast
Select your center circle. Hit your new Offset Path shortcut. Set the offset value to +20px and click OK.
Repeat this seventeen more times. Each new circle appears 20px larger than the previous one. You end up with nine perfectly nested rings in under a minute.
Here’s a neat trick. Select every other circle and change its fill color slightly. This creates contrast that makes the pattern pop visually.
Turn Circles Into Actual Rings
Right now you have overlapping circles, not rings. The Pathfinder panel fixes this instantly.
Select all your circles. Open the Pathfinder panel and click the Divide button. Illustrator cuts your circles into individual ring shapes.
Now select every other ring and delete it. You’ve created your base set of concentric rings with perfect spacing.
Organize Your Rings Into Groups
This next step prevents chaos later. Divide your rings into three groups of three rings each.
Select the outer three rings. Group them with Cmd+G. Hide this group for now.
Repeat with the next three rings—group and hide. Do the same with the innermost three rings. But keep this final group visible.
Why separate them? You’ll apply different patterns to each group. Working on one set at a time keeps everything manageable.
Create the Stripe Pattern
Make a long, thin rectangle—2500px wide by 20px tall. Center it horizontally on your document.
Now use the Move tool to duplicate this stripe. Create one copy 40px above center and another 40px below. You end up with three parallel stripes cutting across your rings.
Group these three rectangles together. You’ll need copies of this stripe pattern for each ring group.
Duplicate the stripe group twice. Position one copy above each hidden ring group. Then hide these duplicate groups too.
The Shaper Tool Makes Magic Happen
This part looks complicated but feels natural once you try it. Reveal your innermost three rings and their stripe group.
Grab the Shaper tool from the toolbar. Draw rough scribbles across the parts of rings you want to remove. The Shaper tool automatically detects shapes and deletes the sections you marked.
Cut away the ring segments covered by the stripes. Don’t worry about perfection—Illustrator figures out what you mean. In seconds, you transform solid rings into a geometric pattern.
After creating your pattern, expand the Shaper Group. This converts your work into regular paths you can edit normally.
Rotate Each Group for Visual Interest
Move to your next three rings. Reveal them along with their stripe group.
Repeat the Shaper tool process, cutting away ring segments. But here’s the twist—rotate this entire group 90 degrees after you finish.

Your pattern now runs vertically instead of horizontally. This rotation adds complexity to your design without extra work.
For your outer three rings, keep the cuts horizontal. The mix of horizontal and vertical patterns creates dynamic tension in the final piece.
Add Gradient Fills for Polish
Group all your completed rings together. Apply a gradient fill to the entire group.
But gradient defaults often look flat. You want colors pulled from your artwork, not generic presets.
Select your rings and ungroup them temporarily. With all the individual shapes selected, create a new color group from the artwork using the Swatches panel.
Illustrator samples the colors already in your design. Build your gradient using three shades from this custom palette. The result looks cohesive because it’s based on colors you already chose.
Regroup your artwork when you finish. Your geometric pattern is complete.
Why These Tools Work So Well Together
Offset Path creates perfect spacing without manual measurement. You get consistent results every time, even with complex patterns.
The Shaper tool removes the tedium of cutting shapes manually. Instead of clicking individual anchor points, you just scribble where you want cuts. Illustrator handles the precision.
Together, these tools let you experiment freely. Try different offset values, stripe angles, or cutting patterns. You’ll discover variations in minutes instead of hours.
Beyond This Basic Pattern
This technique scales to any complexity level. Want more rings? Increase your offset repetitions. Need tighter spacing? Reduce the offset value.
The stripe pattern works horizontally, vertically, or diagonally. You can even create multiple stripe groups at different angles for kaleidoscope effects.
Gradients add depth, but solid colors create bold graphics. Experiment with both approaches and see what fits your project.
Many designers skip learning these tools because they assume Illustrator requires years of practice. Not true. You just built a complex geometric design using techniques you learned in ten minutes.
The best part? Every shape remains editable. Change colors, adjust spacing, or modify patterns anytime. Vector artwork gives you that flexibility forever.
Post Title:
Meta Description: