Isometric artwork looks complex. But it’s actually straightforward once you understand the grid system.
Most designers struggle with isometric shapes because they try to eyeball angles and proportions. That leads to wonky artwork that doesn’t align properly. Instead, use Illustrator’s built-in grid tools to create perfect isometric geometry every time.
This technique works for logos, illustrations, and architectural designs. Plus, once you build the grid, you can reuse it for dozens of projects.
Set Up Your Isometric Grid
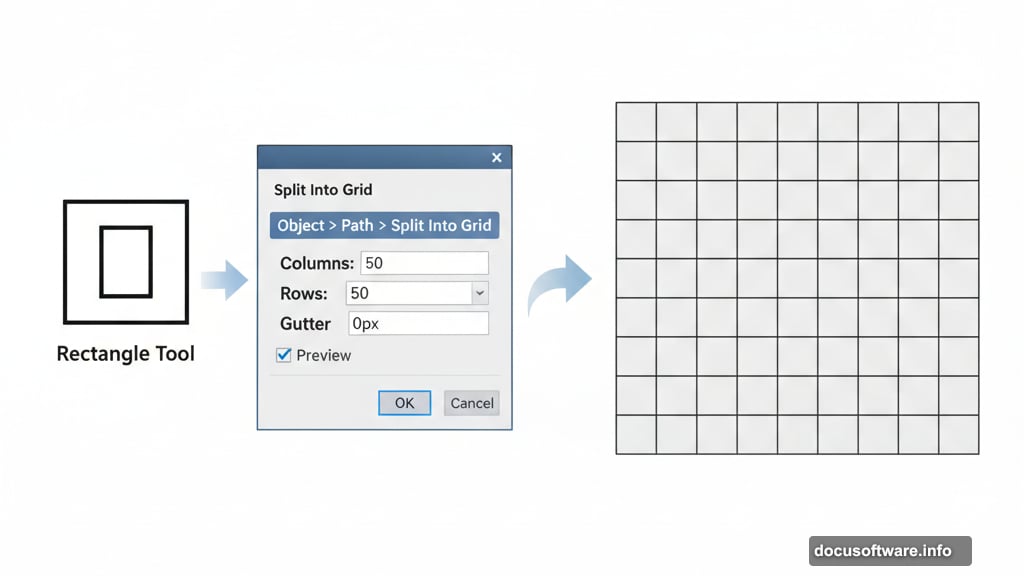
Start by creating a new document in Illustrator. Grab the Rectangle tool and hold Shift while dragging to create a perfect square. Then align it to the center of your artboard.
Remove the fill from this square. Give it a 1pt black stroke instead. This square becomes the foundation for everything else.
Now comes the magic part. Select your square and go to Object > Path > Split Into Grid. Set both columns and rows to 50 with 0px gutter space. Turn on Preview to see what happens.
You just created a 50×50 grid of perfectly aligned cells. This grid makes counting and measuring isometric shapes incredibly easy.
Convert Your Grid to Guides
With your grid still selected, go to View > Guides > Make Guides. Your grid disappears from the canvas but remains as magnetic guidelines.
Also turn on View > Smart Guides if they’re not already active. You’ll see a checkmark next to the option when it’s on.
Lock the layer containing your guides in the Layers panel. This prevents accidentally moving or selecting them while drawing.
Create a new layer above your locked grid layer. Now you’re ready to draw.
Draw Your First Isometric Cube
Grab the Pen tool. Make sure your stroke is still set to black with no fill.
Start by drawing a hexagon with triangular points at top and bottom. Here’s the counting system that makes this work perfectly:
The vertical sides should be four cells tall. The horizontal distance between the left and right vertical lines should span eight cells. For the top point, go four cells inward from center, then two cells up. For the bottom point, go four cells inward from center, then two cells down.
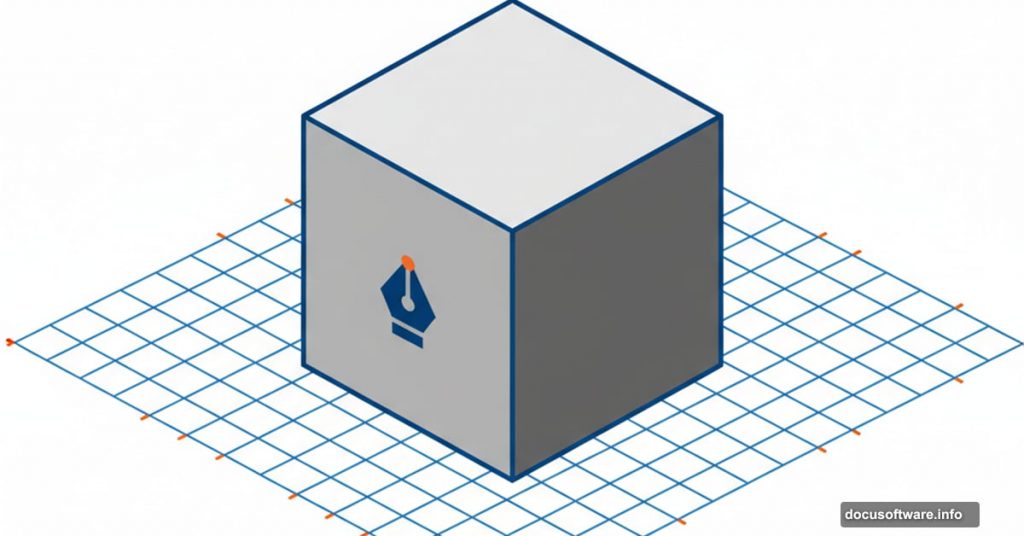
This creates your base center cube shape. But it looks flat right now.
Draw three lines connecting the inner corners to the center point of your hexagon. Suddenly your flat hexagon transforms into a 3D cube with visible depth.
Build Complex Geometric Structures
Once you understand the basic cube, you can create elaborate structures using the same grid counting method.
Try drawing an outer wall shape around your cube. Count your cells carefully to maintain proper isometric perspective. The grid does the hard work of keeping everything aligned.
You can also build architectural frameworks that appear to support or contain your cube. Think brutalist architecture or underground subway structures. The geometric possibilities are endless.
The key is patience. Count your cells. Trust the grid. Click your anchor points precisely where grid lines intersect.

Add Color and Depth
After drawing your basic structure, use the Shape Builder Tool to merge faces together. Just squiggle across adjacent shapes that should become one unified face.
Then grab the Live Paint Bucket Tool to add your first base colors. Click faces to fill them with color. The isometric angles automatically create the illusion of light and shadow.
Want to adjust your color scheme? Go to Edit > Edit Colors > Recolor Artwork. Play with the color wheel until you find combinations that work. Or dig through Illustrator’s color libraries for pre-made palettes.
The beauty of this system is flexibility. Change colors instantly without redrawing anything. Your careful grid work pays off here.
Why This Grid Method Works So Well
Traditional isometric drawing requires calculating 30-degree angles and measuring precise dimensions. That’s tedious and error-prone.
The grid eliminates math completely. Instead of angles and measurements, you just count cells. Four cells here. Eight cells there. Two cells up from center.
Plus, the grid ensures perfect alignment across multiple objects. Everything snaps to the same reference points. Your isometric city or logo or architectural rendering stays geometrically consistent.
This technique also makes revisions painless. Need to adjust proportions? Just count different cell numbers. The grid adapts to whatever you’re building.
Many professional illustrators use this exact grid method for client work. It’s faster than manual calculation and produces cleaner results. The grid removes guesswork from isometric design.
So next time you need isometric artwork, don’t struggle with angles and math. Build a grid. Count your cells. Let Illustrator’s tools do the heavy lifting while you focus on creative decisions.