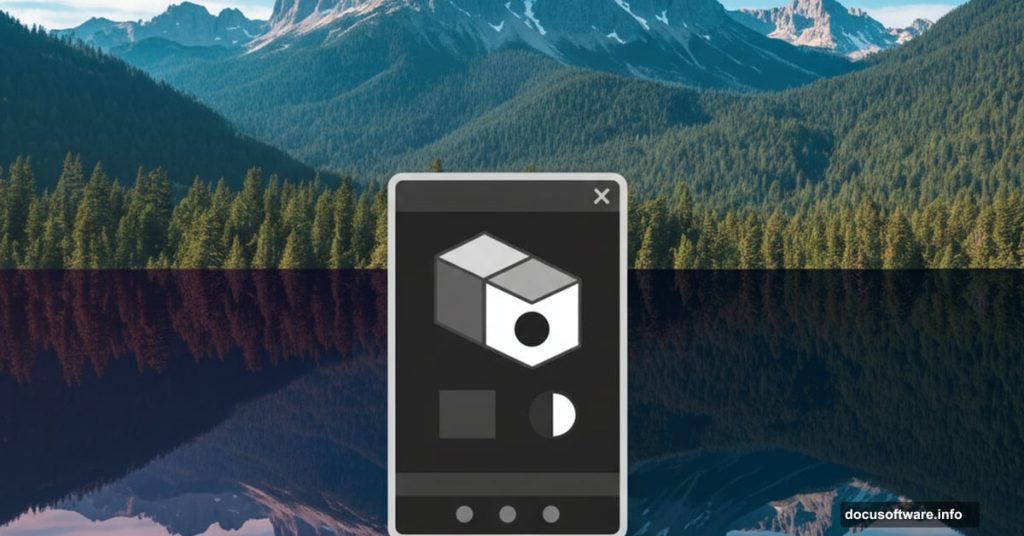
Ever wanted to flip reality upside down? This surreal landscape technique lets you merge day and night into one impossible scene.
The trick isn’t just flipping images vertically. It’s blending multiple elements so seamlessly that viewers question what they’re seeing. Plus, you’ll master layer masking, adjustment layers, and blending modes along the way.
Let’s build something impossible.
What You’ll Need Before Starting
Grab these stock images first. You’ll need two sky photos, two landscape shots, mountains, soil texture, and several bird silhouettes. Having everything ready prevents workflow interruptions later.

Also, this tutorial works best in Photoshop CC. Older versions lack some adjustment layer features. But the core techniques translate to most recent Photoshop releases.
Building the Base Sky
Create a 2000×1500 pixel document with a white background. That’s your canvas.
Drag your first sky image onto this canvas using the Move Tool (V). Position it so the right side fills the entire frame. This becomes your primary sky element.
Now here’s where it gets interesting. Add a Curves adjustment layer above the sky. Push the curve upward to create hazier, lighter atmospheric conditions. This makes the sky feel dreamlike rather than photographic.
But don’t stop there. Grab a soft black brush at 5-10% opacity. Paint on the Curves layer mask to darken the bottom left corner slightly. This creates subtle depth and prevents the sky from feeling flat.
Layering Your Landscapes
Drop your first landscape image onto the upper portion of your canvas. Use Free Transform (Ctrl+T) to resize it until it spans the full width.
Add a layer mask. Use a medium-soft black brush to erase the bottom edge. You want a gradual fade, not a hard line. Think of it as creating an invisible horizon where reality starts to bend.
Next comes the magic trick. Take your second landscape image and flip it vertically (Edit > Transform > Flip Vertical). Place this below your first landscape layer.

Add a mask to this flipped landscape. Use a soft black brush at 40-50% opacity to reduce the sky’s visibility in the flipped image. You’re blending the inverted trees and mountains into your existing sky. Take your time here. Subtle adjustments make the difference between “photoshopped” and “surreal.”
Adjusting Color and Tone
That flipped landscape probably looks too vibrant. Fix it with a Hue/Saturation adjustment layer set as a Clipping Mask.
Drop the Saturation value to -55. This desaturates the inverted landscape without affecting your main sky. Suddenly, the upside-down world feels more mysterious and otherworldly.
Then add a Curves adjustment layer, also clipped to the flipped landscape. Drag the curve downward to darken it. But here’s the key: paint on the layer mask with a soft black brush to reduce darkness on important details like tree branches or mountain peaks. You want contrast, not mud.
Adding Underground Mountains
Place your mountains image below everything else. Flip it vertically like you did with the second landscape.
Move these mountains to the lower section of your composition. Then change the blend mode to Hard Light at 100% opacity.
Why Hard Light? It creates dramatic contrast while allowing underlying layers to show through. The mountains become part of the underground landscape rather than sitting on top of it.
Incorporating Moon and Birds

Time to add celestial elements. Position your moon in the inverted sky section. This reinforces the day-night duality of your scene.
Adjust the moon’s opacity and blend mode until it feels integrated rather than pasted. Sometimes Screen mode works. Other times Lighten gives better results. Trust your eyes.
Birds complete the surreal atmosphere. Scatter them across both the right-side-up and upside-down sections. Vary their sizes to create depth. Smaller birds appear more distant. Larger ones feel closer.
For each bird layer, consider subtle motion blur. Filter > Blur > Motion Blur with a distance of 3-5 pixels adds implied movement without losing definition.
Final Refinement Techniques

Now comes the polish work that separates good from great.
Create a new layer above everything. Set it to Overlay blend mode. Use a soft white brush at 10-15% opacity to paint subtle light on focal points. This draws the viewer’s eye exactly where you want it.
Similarly, use a soft black brush on that same Overlay layer to deepen shadows in less important areas. You’re creating contrast that guides attention through your impossible landscape.
Add a final Curves adjustment layer affecting the entire composition. Make micro-adjustments to overall brightness and contrast. Small changes here have huge impact.
Why This Technique Works

The surreal landscape effect succeeds because it follows logical lighting rules within an illogical scenario. Your brain accepts the impossible because the light and shadows behave correctly.
Plus, the gradual blending between right-side-up and upside-down elements creates ambiguity. There’s no hard line where reality flips. That ambiguity makes the effect more believable.
This technique applies beyond landscapes too. Try it with cityscapes. Or underwater scenes. The same principles of careful masking, strategic blending modes, and thoughtful color adjustments translate to any surreal photo manipulation.
The key is patience. Rush the masking and blending, and it looks amateurish. Take your time refining each transition, and you’ll create images that make people stop scrolling.
Start with these steps. Then experiment. Break your own rules. The best surreal art comes from understanding techniques well enough to purposefully violate them.
