Want to build an epic cosmic destruction scene? This tutorial walks you through creating a galaxy apocalypse using simple photo manipulation techniques.
No need for advanced skills. Just basic Photoshop knowledge and some creative vision. Plus, the final result looks way more complex than the actual process. Let’s dive into transforming ordinary planet photos into an otherworldly spectacle.
What You’ll Need Before Starting
Gather these resources first. Having everything ready saves time and keeps your workflow smooth.
Required photos:
- Earth image (high resolution works best)
- Moon texture
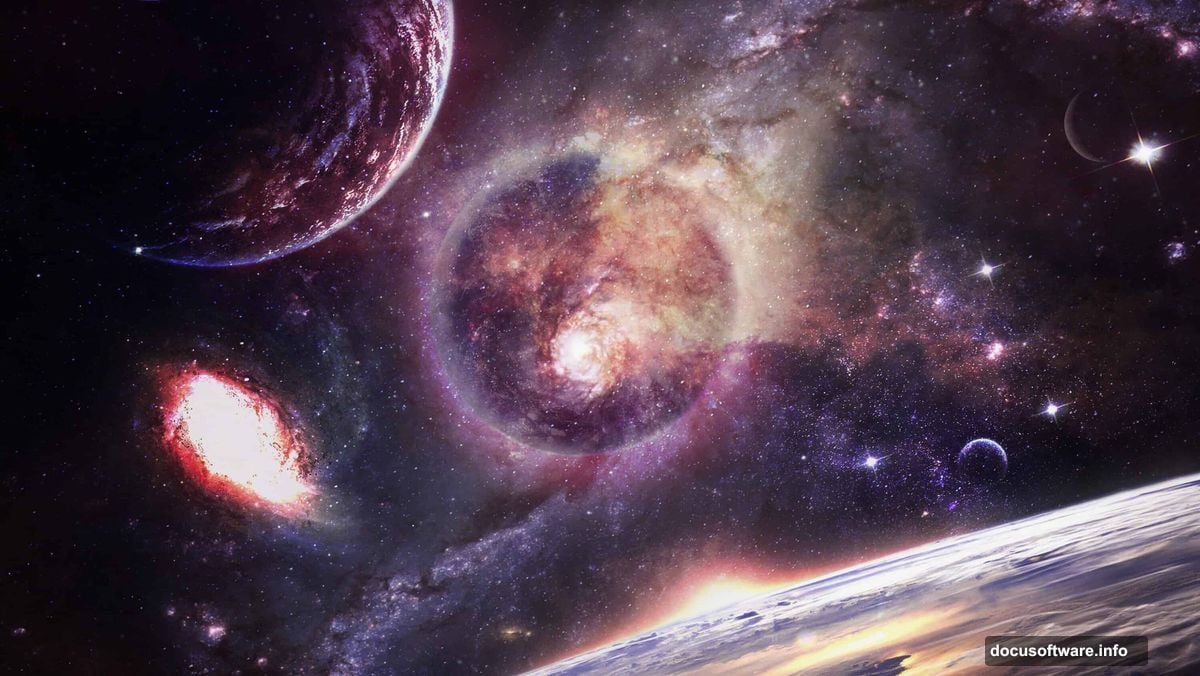
- Galaxy backgrounds (at least two different ones)
- Star field images
- Additional planet photos for variety
- Black hole or void image
Photoshop version: This works in CS6 and later. However, CC versions offer better Camera Raw filters for the final polish.
Time investment: Budget about 45-60 minutes for your first attempt. Once you understand the technique, you can recreate similar scenes in 20 minutes.
Setting Up Your Canvas
Start with the right dimensions. Big enough for detail work but manageable for most systems.
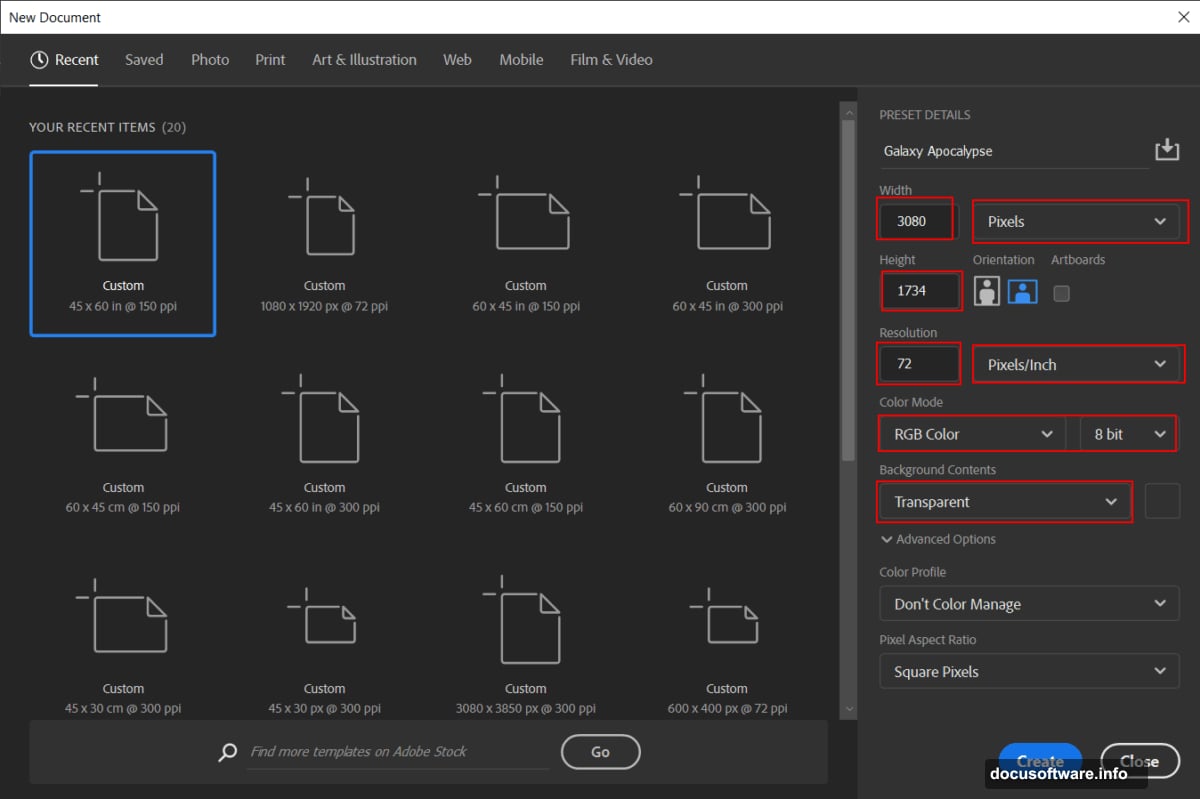
Open Photoshop and create a new document. Use these exact settings for best results.
Canvas specifications:
- Width: 3080 pixels
- Height: 1734 pixels
- Resolution: 72 DPI (perfect for web use)
- Color mode: RGB, 8-bit
- Background: Transparent
This 16:9 aspect ratio works perfectly for desktop wallpapers or social media banners. Plus, the transparent background gives you flexibility for later adjustments.
Adding Your Base Planet
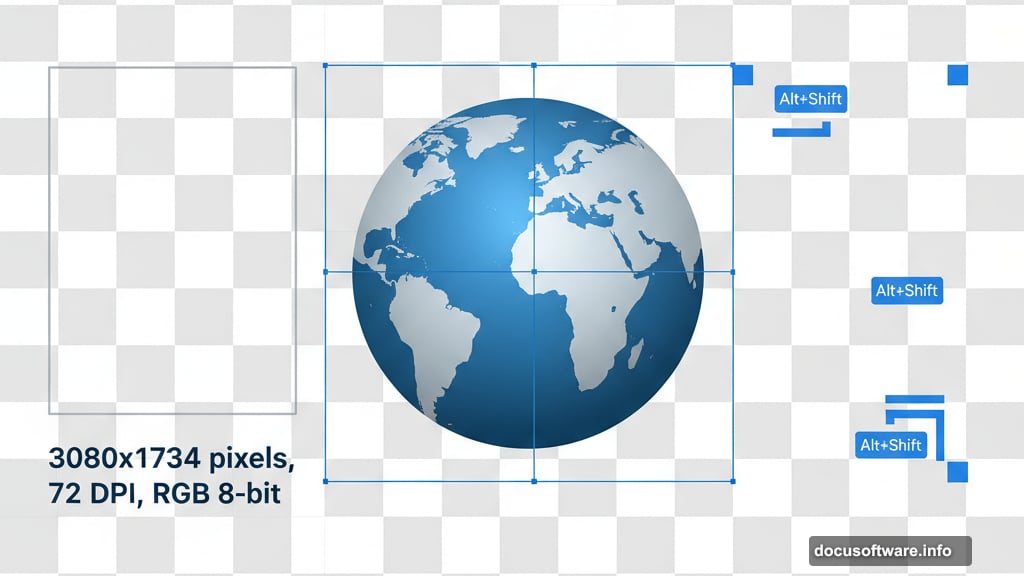
Place your Earth image first. This becomes your focal point, so position it carefully.
Go to File > Place and select your Earth photo. The image appears with transform handles already active. Hold Alt and Shift together while dragging corners to resize proportionally. In CC versions, just holding Alt keeps proportions locked automatically.
Positioning tips: Place Earth slightly off-center. Dead-center compositions often feel static. Instead, position it following the rule of thirds for more dynamic visual interest.
Right-click and choose Rasterize Layer once you’re happy with the size and position. This converts it to a regular layer you can edit freely.
Creating Dramatic Lighting
Lighting makes or breaks cosmic scenes. Too flat and your planet looks pasted on. Done right, it feels like actual space photography.
Add a Curves adjustment layer. Click the adjustment layer icon at the bottom of your Layers panel and select Curves. Drag the curve slightly upward in the middle to brighten midtones without blowing out highlights.
Now add a second Curves layer. But this time, press Ctrl/Cmd + I to invert the layer mask to black. Select a soft round brush with white foreground color. Paint over the areas where light would naturally hit your planet.
Think about light direction: If you’re adding a sun or bright galaxy later, make sure your lighting matches that source. Consistency sells the illusion.
Create a new blank layer above everything. Use a large soft brush with white at low opacity (around 20-30%). Paint subtle glows around the planet’s edges. This rim lighting separates your subject from the background dramatically.
Adding Cosmic Textures
Time to build your galaxy backdrop. This step transforms a simple planet photo into something genuinely otherworldly.
Open your planet texture file separately. Use the Rectangular Marquee Tool (M) to select an interesting portion with good color variation. Hold Shift while dragging to constrain your selection to a perfect square.
Copy that selection (Ctrl/Cmd + C) and paste it into your main composition. Change the blend mode to Color Dodge and reduce opacity to around 88%. This creates that ethereal, glowing effect typical of nebulas and cosmic dust.
Experiment with blend modes: Don’t just stick with Color Dodge. Try Screen, Lighten, or Linear Dodge for different atmospheric effects. Sometimes Screen at 100% opacity works better than Color Dodge at lower values.
Building Depth With Multiple Layers
Single background images look flat. Layering multiple galaxy images creates convincing depth.
Add your main galaxy image first. This sets your overall color palette and mood. Place it behind your planet layers but above your background.
Then add a second galaxy or nebula image. Use a different blend mode like Screen or Lighten. Lower the opacity until it blends naturally with the first galaxy layer.
Pro tip: Blur background galaxy layers slightly using Gaussian Blur. This mimics how distant objects appear out of focus, adding realism to your depth perception.

Position a black hole or void image near your planet. This becomes your “apocalypse” element. Blend it using Multiply or Darken modes, and mask edges with a soft brush so it fades naturally into surrounding space.
Adding Stars and Fine Details
Stars bring your scene to life. Without them, space feels empty and incomplete.
Place your star field image above most layers but below any foreground elements. Set the blend mode to Screen or Lighten to make the black background disappear, leaving only the white stars visible.
Creating star variety: Duplicate your star layer and apply a slight Gaussian Blur (1-2 pixels). This creates the illusion of stars at different distances. Some sharp, some slightly soft.
For extra impact, add lens flares or bright star bursts manually. Create a new layer, use a small hard brush with white, then apply a radial blur set to Zoom. This creates realistic star glow effects.
Moon and Additional Planets
Adding more celestial bodies fills your composition and increases the apocalyptic scale.
Place your moon image using the same technique as the Earth. However, keep it smaller and slightly out of focus compared to your main planet. This reinforces depth and scale.
Add 2-3 additional planets at various sizes. Make distant planets smaller and slightly blurred. Closer planets can be larger but should remain secondary to your main Earth focal point.
Color variation matters: Don’t make all planets the same hue. Vary the colors using Hue/Saturation adjustments (Ctrl/Cmd + U). Some reddish, some blue-tinted, some greenish. This variety looks more natural and interesting.
Final Color Grading
Color grading unifies all your disparate elements into one cohesive scene.
Merge all visible layers into a new layer by pressing Ctrl/Alt/Shift + E (Cmd/Option/Shift + E on Mac). This creates a composite layer while preserving your original layers below.
Go to Filter > Camera Raw Filter. This opens powerful color grading tools.
Camera Raw adjustments to try:
- Increase Clarity to 20-30 for sharper details
- Boost Vibrance instead of Saturation for natural color intensity
- Add slight vignette to darken edges and draw focus inward
- Adjust temperature slider toward blue for colder space feel
- Increase Dehaze to cut through any muddiness
Play with the Curves tab inside Camera Raw too. Crushing blacks slightly (lifting the bottom-left point) creates that cinematic matte look popular in space imagery.
Common Mistakes to Avoid
After creating dozens of these scenes, certain pitfalls show up repeatedly.
Over-blending everything: Not every layer needs Color Dodge or Screen mode. Sometimes Normal mode at lower opacity works better. Blend modes are tools, not requirements.
Ignoring light direction: If your galaxy glows from the left, your planet highlights should also come from the left. Inconsistent lighting immediately looks fake.
Too many stars: More isn’t always better. Overly dense star fields distract from your main subject. Sometimes negative space makes your composition stronger.
Forgetting atmosphere: Real space photos have dust, particles, and haze. Adding subtle noise or grain makes digital composites feel more authentic.
Alternative Approaches Worth Trying
This tutorial shows one method. But Photoshop offers multiple paths to similar results.
Try creating custom nebulas using cloud filters instead of stock photos. Go to Filter > Render > Clouds with contrasting foreground/background colors. Then apply Polar Coordinates for swirling galaxy effects.

Or build planets from scratch using spherize filters on textured layers. More time-consuming but gives you complete control over every element.
Experiment with 3D capabilities in CC versions. You can import 3D spheres, apply photo textures, and position them in true 3D space with realistic lighting.
Taking It Further
Once you master the basics, push your scenes to the next level.
Add spaceships or satellites for scale reference. Tiny objects make your planets feel massive by comparison.
Create destruction elements like explosions, debris fields, or energy beams. These sell the “apocalypse” theme more convincingly.
Animate your scene using Photoshop’s Timeline panel. Gentle rotation of planets or pulsing nebula effects add mesmerizing motion.
Build a series of related scenes. Show the same planet before, during, and after your apocalyptic event. Sequential storytelling makes individual images more powerful.
Remember that every cosmic scene tells a story. Your technical execution matters, but the emotional impact matters more. Make viewers feel something when they see your galaxy apocalypse.
Keep experimenting with different blend modes, opacity levels, and adjustment layers. The technique stays consistent, but the creative possibilities are literally astronomical.