Post processing can transform a decent shot into something remarkable. But most photographers skip the fundamentals and jump straight to presets and filters.
That’s a problem. Because without understanding the why behind your edits, your photos end up looking processed instead of polished. Let’s fix that with five essential tips that don’t get enough attention.
Know Why You’re Editing Before You Start
Here’s an uncomfortable question: Can you explain why your photo has that specific look?
Most people can’t. They scroll through Lightroom presets hoping something clicks. Or they pile on adjustments randomly until the image looks “cool”. But they never stop to consider the purpose behind their choices.

This creates a disconnect. Your editing should support the story, not distract from it. For example, applying heavy grunge effects to a wedding photo makes no sense. Weddings are elegant and romantic. Grunge is aggressive and rough. The two conflict.
Same goes for product reviews shot with cinematic aspect ratios and faded film looks. Why does a straightforward review need that treatment? It doesn’t. The fancy editing draws attention away from the actual content.
Think of post processing like adding music to a video. The right soundtrack enhances emotion and guides how viewers feel. Your color grading and effects do the exact same thing with still images.
So before touching any sliders, ask yourself what emotion or atmosphere you want to create. Then make every adjustment serve that goal. Your editing should feel intentional, not random.
Keep Noise Patterns Consistent Across Your Image

High ISO photos have grain. That’s unavoidable sometimes. But when you edit those grainy photos, pay close attention to how noise behaves across different areas.
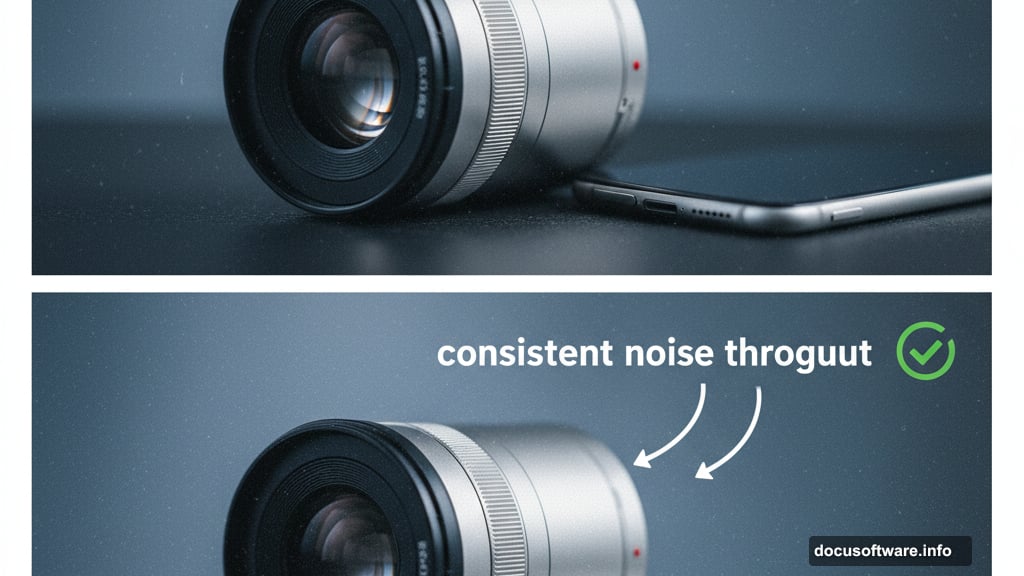
Here’s what happens. You blur the background to create separation. Now your subject has visible grain while the blurred area looks smooth and clean. This inconsistency screams “edited” to anyone who looks closely.
The human eye expects noise to appear uniformly across an image shot at the same ISO. When one area is grainy and another is silky smooth, something feels off. Even if viewers can’t articulate why, they sense the image has been heavily manipulated.
The fix varies depending on your editing software. In Photoshop, you can add grain selectively to areas that lost their texture. Match the grain size and intensity to the original untouched portions. This maintains visual consistency and keeps your edits invisible.
Plus, this matters more as you increase ISO. Low-light photos with significant grain require extra care. Don’t let your creative edits create obvious technical tells.
Match Lighting Direction When Compositing Elements
Compositing photos means combining multiple images into one final piece. Maybe you’re replacing a sky. Or adding objects that weren’t in the original scene. Or blending exposures for better dynamic range.
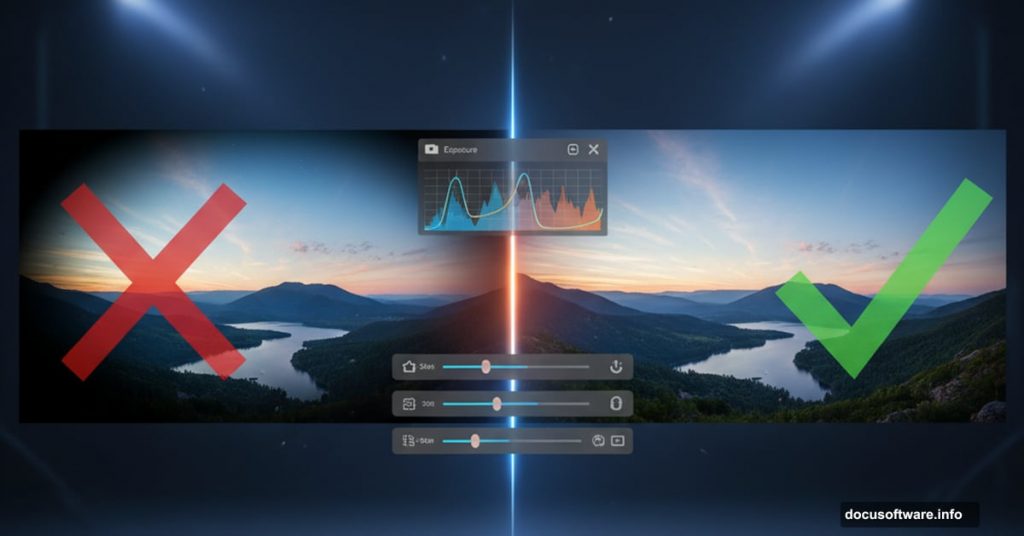
Whatever the reason, lighting direction must stay consistent. Otherwise your composite looks fake immediately.
Look at the shadows in each element you’re combining. They should all point the same direction based on a single light source. If your subject has shadows falling to the right but your replacement sky shows sun position on the left, that’s wrong. Your brain knows light doesn’t work that way.
Also watch for shadow hardness and intensity. Direct sunlight creates sharp, dark shadows. Overcast conditions create soft, subtle ones. Mixing these types in a single image reveals the manipulation.
Before committing to a composite, step back and evaluate the entire image. Does the lighting story make sense? Would a viewer believe this scene could exist in reality? If not, adjust individual elements until everything feels cohesive.
This applies beyond just shadows too. Color temperature should match across all composited parts. A warm sunset sky combined with a subject lit by cool daylight won’t work. Everything needs to exist in the same lighting environment.
Respect Privacy When Sharing Photos of Others
This one’s about ethics, not technique. But it matters just as much as any technical skill.
When your photos include recognizable people, you have responsibilities. Not everyone wants their image shared publicly, especially in situations where they had no reasonable expectation of being photographed for public distribution.
Street photography occupies a gray area here. Yes, public spaces generally allow photography. But just because you legally can share a photo doesn’t mean you ethically should. Consider whether publication could harm or embarrass your subjects.
For planned shoots, always get clear permission before posting. A verbal “sure” during the session isn’t enough. People say yes in the moment without fully considering where images might end up. Send a message afterward confirming you plan to share specific images and on which platforms.
Children require extra caution. Even if parents gave permission during a shoot, check again before posting. Family circumstances change. What felt fine six months ago might not work now.
Also think about context. An innocent portrait becomes problematic if your caption or the surrounding posts create implications your subject didn’t agree to. Your responsibility extends to how images get framed and presented.
When in doubt, don’t post. Or at minimum, blur faces enough to prevent recognition. Protecting people’s privacy builds trust and shows respect for your subjects.
Use Adjustment Layers Instead of Destructive Edits
New editors often work directly on their original image layer. They paint adjustments straight onto pixels, apply filters that permanently alter the file, and commit changes they can’t easily reverse later.
This destroys flexibility. Because when you realize three steps later that an earlier adjustment needs tweaking, you’re stuck. You either live with it or start over from scratch.
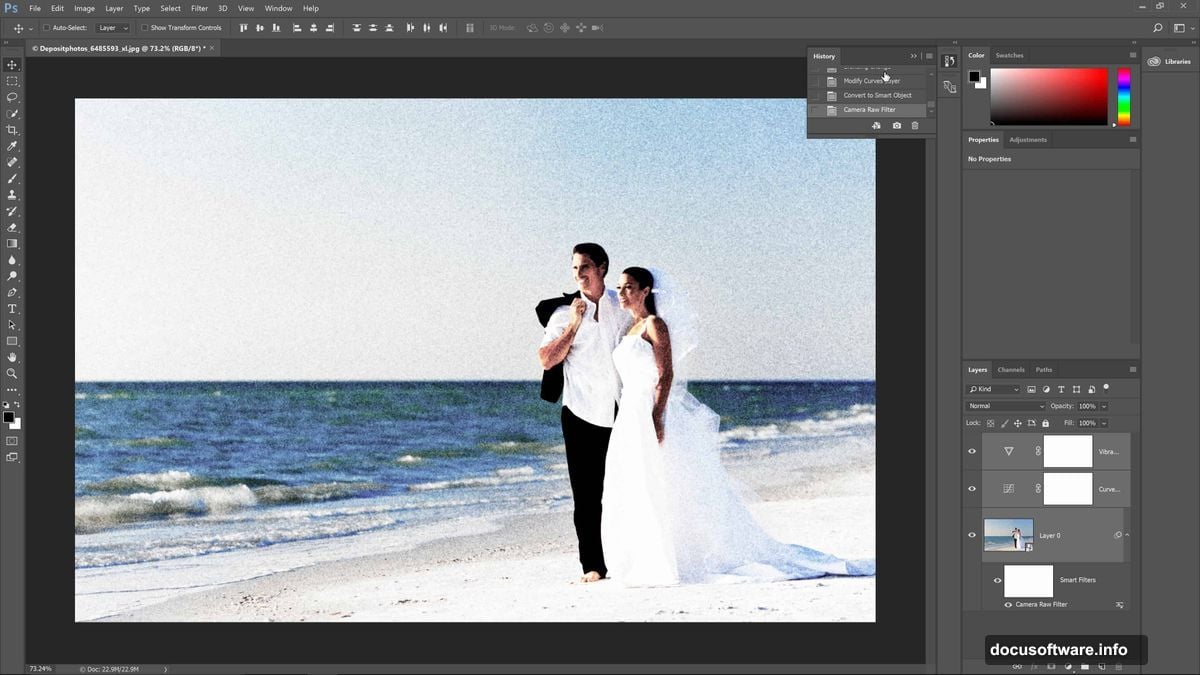
Adjustment layers solve this problem completely. Every change exists on its own layer that you can modify, hide, or delete at any time. Your original image stays untouched underneath.
Plus, adjustment layers make experimentation risk-free. Want to try a dramatic color shift but aren’t sure it’ll work? Create an adjustment layer and test it. Don’t like the result? Delete the layer and try something else. Your original remains pristine.
This workflow also makes your editing process transparent and reviewable. You can see exactly which adjustments you applied and in what order. This helps you learn what works and develop a consistent style.

Some editors avoid adjustment layers thinking they add unnecessary complexity. But they actually simplify editing once you understand how they work. The upfront learning investment pays off in speed and creative freedom.
Every professional workflow relies heavily on non-destructive editing. It’s the difference between amateur and serious post processing. Master this approach early and your editing capabilities expand dramatically.
Post processing isn’t about applying the most dramatic effects or using the fanciest presets. It’s about making intentional choices that enhance your images without drawing attention to the editing itself.
Start with clear purpose. Maintain technical consistency in areas like noise and lighting. Respect the people who appear in your photos. Work non-destructively so you retain creative flexibility. These fundamentals matter more than any specific technique or trend.
Your photos should showcase your vision and technical skill, not just your ability to move sliders around. Focus on these principles and your work will stand out for the right reasons.
