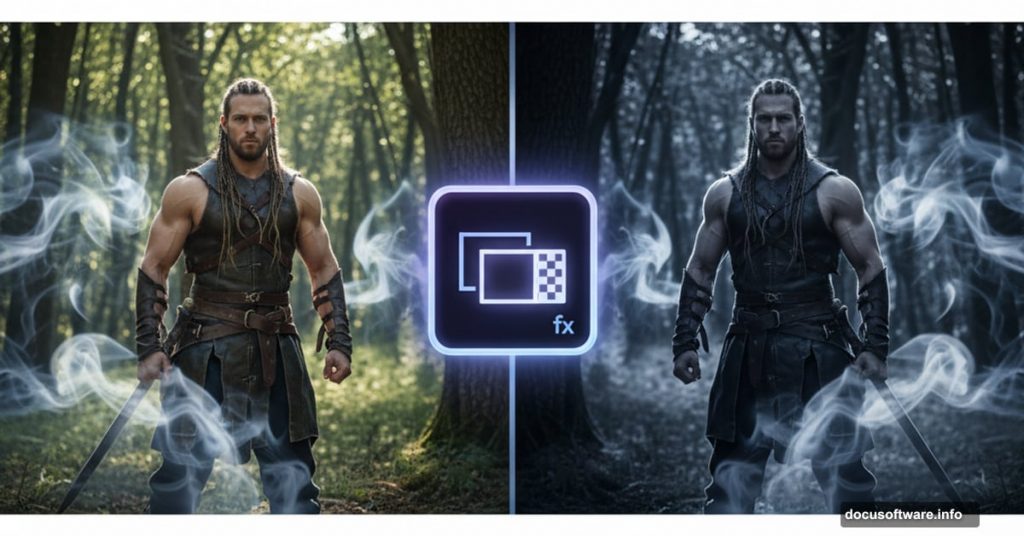
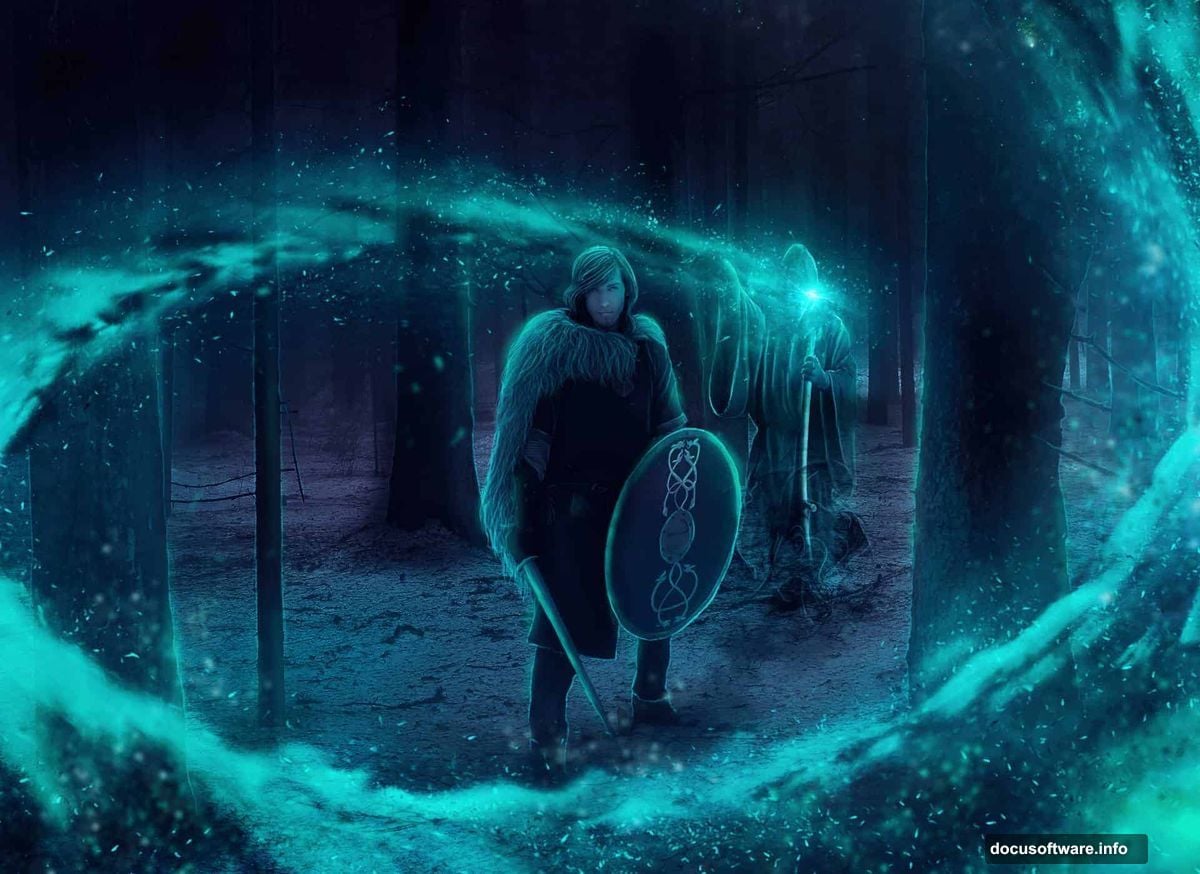
Want to create haunting, symbol-rich photo manipulations? This complete walkthrough shows exactly how to transform ordinary stock photos into dramatic gothic scenes.
You’ll blend multiple images into one cohesive piece. Plus, you’ll master color grading, lighting effects, and atmospheric elements that make manipulations feel believable. No guesswork involved.
This tutorial teaches real matte painting fundamentals. You’ll understand how professional artists build complex scenes from scratch. Best part? These techniques work for any dramatic photo manipulation project.
What You Need Before Starting
Photoshop CS5 or newer works perfectly. A pen tablet makes masking easier but isn’t required. Mouse users can absolutely follow along.
Download these stock images first. You’ll need forest backgrounds, warrior models, smoke effects, and celestial textures. Having everything ready saves time later.
Pro tip: Organize stock files in one folder. Dragging images into Photoshop becomes much faster when everything lives in the same place.
Build Your Canvas and Add the Forest Base
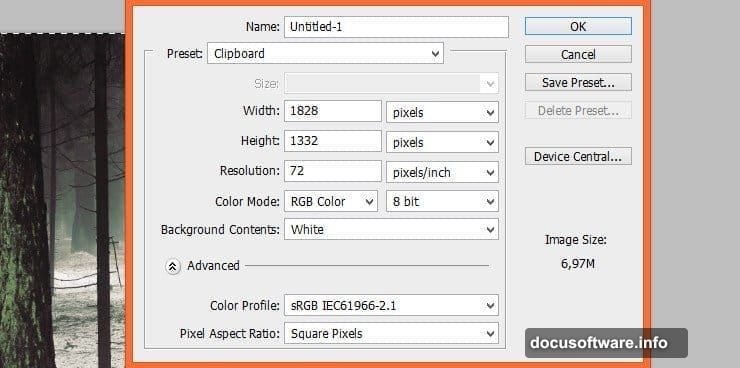
Create a new document at 1828×1332 pixels. This size gives enough resolution for detailed work without slowing your computer.
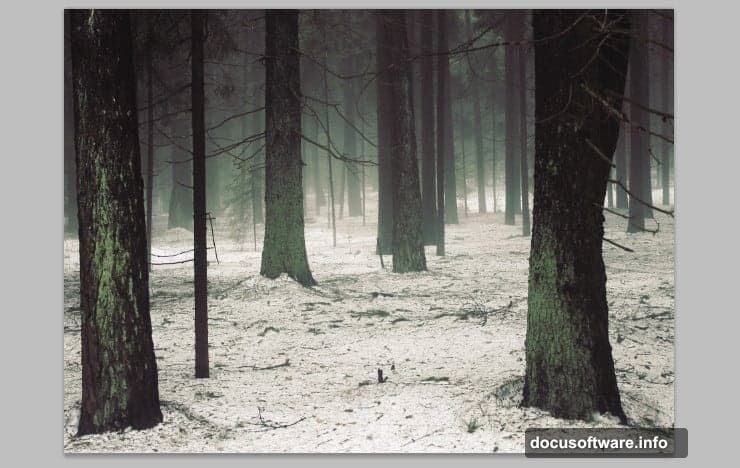
Drag the forest stock image directly onto your canvas. Center it properly. This background sets the entire mood for your manipulation.
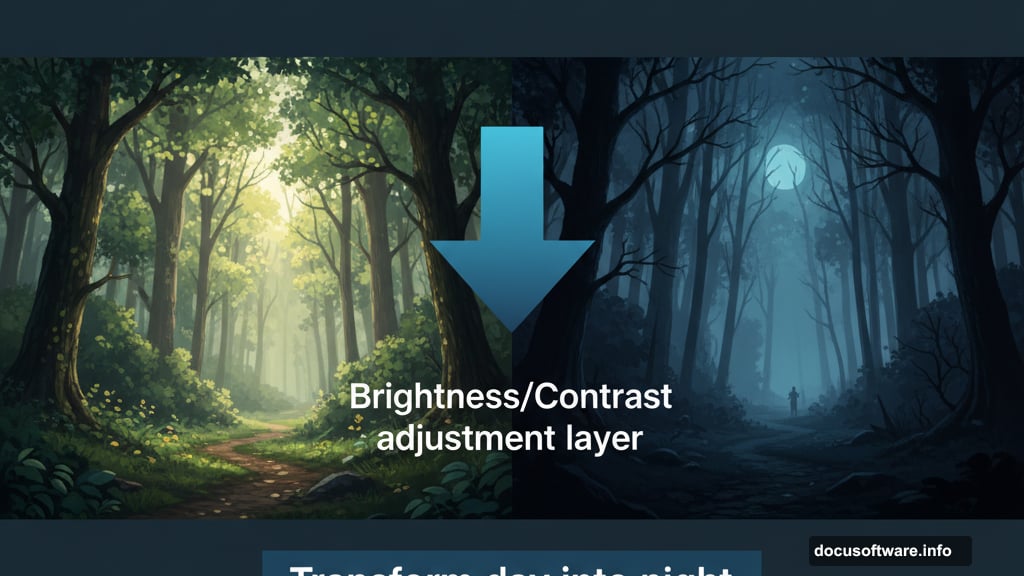
Now transform day into night. Add a Brightness/Contrast adjustment layer. Drop brightness significantly to create that gothic atmosphere. The forest should feel mysterious and dark.
Create the Ghostly Smoke Effect
Place your first smoke stock image. Transform and scale it to fit your composition. This smoke becomes the ethereal body of your dark monk character.
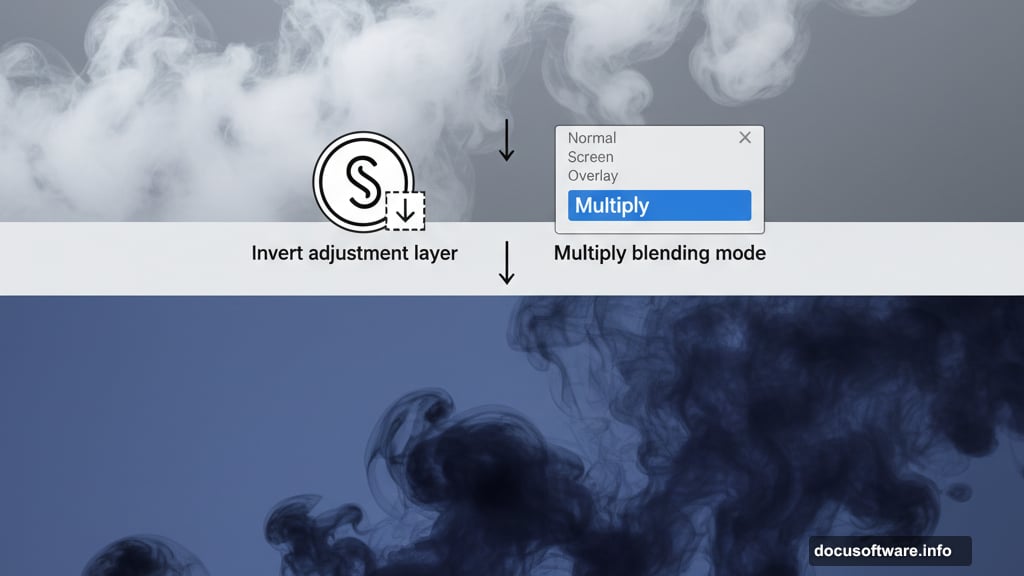
Add an Invert adjustment layer. Right-click and select “Create Clipping Mask” so it only affects the smoke layer. This reverses the smoke from light to dark.
Change the smoke layer’s blending mode to Multiply. Dark areas stay visible while lighter sections disappear naturally. Magic happens with the right blend mode.
Grab a large soft round brush. Mask the top edge of the smoke where it connects to your monk character. Feather those edges for seamless blending.
Position Your Warrior Model
Drop in your warrior stock image. Use a hard round brush for precise masking around the figure’s edges. Sharp edges make characters feel grounded and real.
Switch to a soft brush for the bottom of his clothing. This creates a natural fade into the smoke and atmosphere. Hard edges on top, soft edges on bottom works perfectly.

Add a new clipping-masked layer above your warrior. Paint subtle shadows on his face with a soft brush. This adds dimension and makes lighting feel consistent.
Fix Exposure and Color Issues
Overexposed stock photos need correction. Add a Levels adjustment layer and clip it to your warrior. Adjust the sliders until exposure matches your scene.
Follow up with Brightness/Contrast adjustments. Keep clipping these layers to affect only your warrior. Consistent lighting sells the illusion.
Remember: Every stock image comes from different lighting conditions. Adjustment layers help everything match. Take time here because lighting makes or breaks photo manipulations.
Add Atmospheric Depth With More Smoke
Layer additional smoke stocks throughout your composition. Each smoke element adds depth and mystery. Transform each one differently for natural variation.
Use Multiply blend mode consistently. Then mask each smoke layer carefully with soft brushes. Smoke should enhance your scene, not overwhelm it.
Place smoke strategically. Behind your warrior creates depth. Around the ghostly monk adds supernatural energy. Subtle placement matters more than quantity.
Create Dynamic Lighting Effects
Add new layers set to Overlay or Soft Light blend modes. Paint white highlights where light sources hit your subjects. This creates drama instantly.
Don’t forget rim lighting. Paint thin bright edges on your warrior to separate him from the background. Professionals always add rim lights.

Add colored glows around supernatural elements. Soft blue or green tints make ghostly characters feel otherworldly. Keep these subtle for best results.
Build the Celestial Background
Drop in celestial stock images behind everything. These add mystical atmosphere without distracting from main subjects. Scale them large for dreamy, unfocused backgrounds.
Reduce opacity significantly. Background elements should support, not compete. Around 20-30% opacity works well for celestial textures.
Try different blend modes. Screen mode works great for star fields. Overlay adds subtle color shifts. Experiment until backgrounds enhance without overpowering.
Final Color Grading and Polish
Add a Color Balance adjustment layer at the top of your layer stack. Shift colors toward blues and cyans for that gothic feel. Cool tones create mystery.
Include a Curves adjustment for final contrast tweaks. Gentle S-curves add punch without crushing details. Small adjustments make huge differences.
Finally, sharpen your warrior slightly. Apply subtle Unsharp Mask to make him pop against softer backgrounds. Just don’t overdo it.
Common Mistakes to Avoid
Never skip adjustment layers. Painting directly on stock photos destroys flexibility. Always work non-destructively with layers.
Watch your edges. Hard edges where you need soft ones look amateur. Soft edges where you need hard ones look sloppy. Choose wisely.
Don’t add too many effects. Beginning manipulators often pile on smoke, light rays, and glows. Restraint creates stronger impact than excess.
What This Technique Really Teaches
Photo manipulation requires planning. You’re not randomly stacking images. Every element serves the overall composition and story.
Blending modes do heavy lifting. Understanding Multiply, Screen, and Overlay opens endless possibilities. These three modes solve most blending problems.
Color consistency matters more than perfect masking. Viewers forgive imperfect edges if colors and lighting match across all elements. Focus on color first.
This warrior manipulation demonstrates fundamental skills. Master these techniques and you’ll create professional manipulations for any concept. The process stays the same across different subjects.
Your gothic warrior awaits. Take your time with each step. Photo manipulation rewards patience more than speed.
