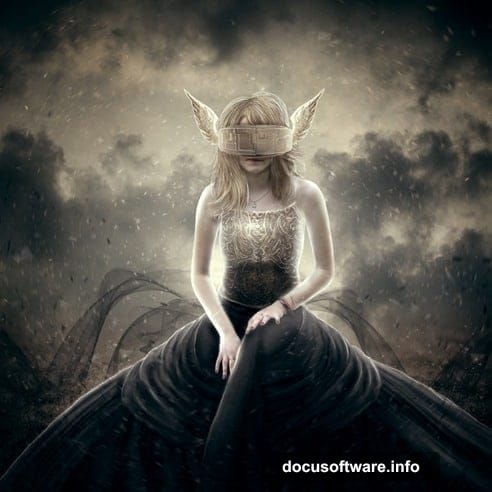
Fantasy photo manipulation separates casual editors from digital artists. This Valkyrie tutorial pushes your skills beyond basic compositing into atmospheric storytelling.
You’ll build a complete mythological scene from scratch. The process covers background construction, dramatic lighting, particle effects, and depth of field techniques. Plus, I’ll show you how to make stock photos work together seamlessly.
No fluff. Just practical steps that actually produce professional results.
What Makes This Tutorial Different
Most fantasy tutorials slap photos together and call it done. This approach focuses on cohesion.
You’ll learn to blend disparate elements into a unified scene. The techniques work for any dark fantasy project, not just Valkyries. And you’ll understand why each adjustment matters instead of blindly following steps.
Expect to spend 2-3 hours on your first attempt. But the skills transfer to dozens of other projects.
Required Resources and Tools
You need Photoshop CS5 or newer. Smart Filters won’t work properly in older versions.
Download these stock images before starting:
- Black wings (actress stock photo)
- Water background from fantasystock
- Gothic bridal imagery
- Particle brushes
- Battlefield sky stock
- Autumn coastal hill
- Hair stocks
- Particle packs
Free alternatives exist if any links break. Search for similar atmospheric elements on stock sites.
Build Your Foundation: Background Construction
Start with a 1400x1400px canvas. Square format works better for social media sharing later.
Place your coastal hill stock at the center. This becomes your base layer for everything else.
Add Strategic Blur
Go to Filter > Blur > Gaussian Blur. Set it to 7.6px. This creates immediate depth.
Here’s the key part most tutorials skip. Click the white Smart Filter mask. Grab a big soft brush at 60% opacity. Paint away the blur from the bottom section of the hill.
Leave blur on the edges. This simple technique adds realistic depth of field that makes your scene feel three-dimensional instead of flat.

Control Your Lighting
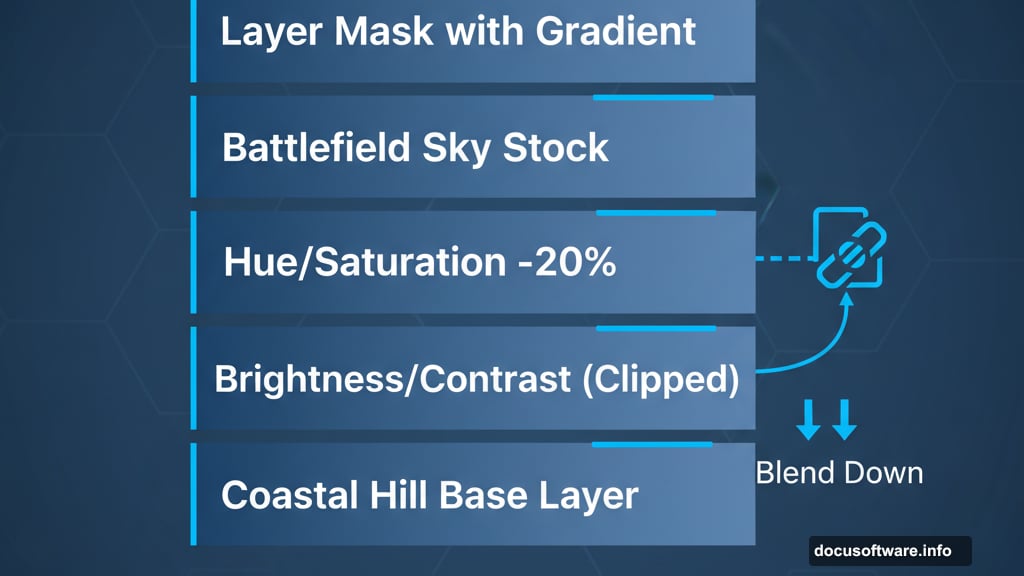
Add a Brightness/Contrast adjustment layer. Clip it to your hill layer by right-clicking and selecting Create Clipping Mask.
Bump brightness up slightly. Increase contrast to make the terrain pop. Don’t go crazy here—subtle adjustments work better than dramatic ones.
Now add a second Brightness/Contrast layer. This one creates your highlight zones. Mask it heavily, leaving only the center and top portions visible. Use large soft brushes to create gradual transitions.
Color Harmony Matters
Drop in a Hue/Saturation adjustment layer. Reduce saturation by about 20-30%. This desaturates your hill to match the moody sky you’ll add next.
Place your battlefield sky stock above everything. Add a layer mask and use the gradient tool to blend it smoothly with your hill. The bottom of the sky should fade into nothing while the top stays strong.
Add another Hue/Saturation layer clipped to your sky. Desaturate it to match your overall color scheme. Consistency beats individual beauty every time.
Integrate Your Valkyrie Model
This section builds on everything you’ve established. Your model needs to feel like she belongs in this world, not pasted on top of it.
Position your Gothic bridal stock carefully. The model should interact with the landscape naturally. Place her feet where the ground meets her weight realistically.
Blend Model with Environment
Create a new Brightness/Contrast layer clipped to your model. Match her lighting to your background. Pay attention to where light hits the hill and replicate that direction on your model.
Add shadows beneath her feet. Use a soft black brush at low opacity on a new layer. Build up darkness gradually until it looks grounded, not floating.
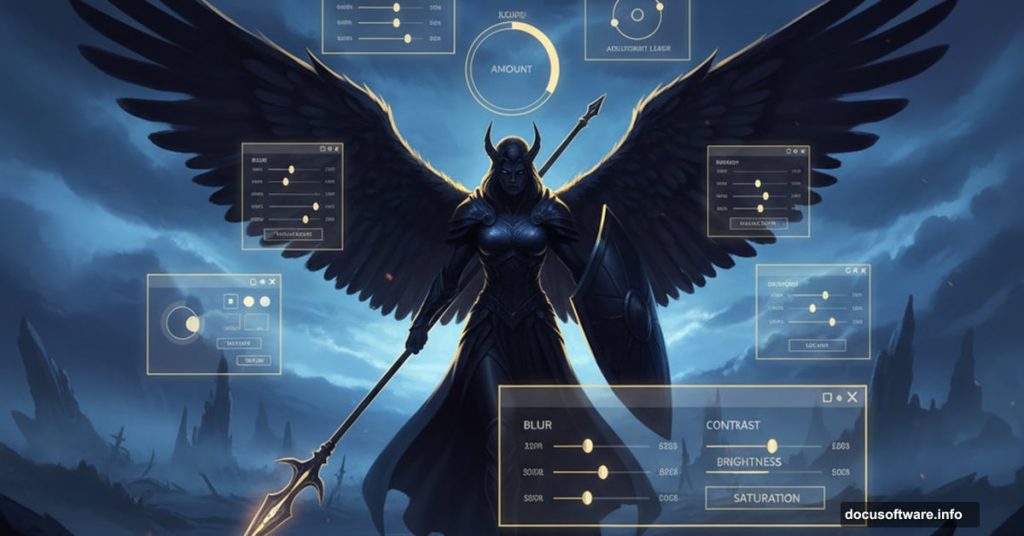
The black wings go behind your model layer. Scale them appropriately—too big looks cartoonish, too small looks weak. Somewhere between feels powerful but believable.
Particle Magic Creates Atmosphere
Particles transform good composites into exceptional ones. But they’re easy to overdo.
Load your particle brushes. Create a new layer above everything. Set it to Screen or Lighten blend mode.
Paint particles sparingly around your Valkyrie. Focus on areas where light would naturally catch dust or debris. Think about wind direction and let particles follow that flow.
Add another particle layer with different shapes. Vary size and opacity throughout. Some particles should be sharp and bright, others soft and subtle.
Depth Through Particles
Here’s a trick professionals use. Create three particle layers at different depths:
- Background particles (largest, most blurred)
- Middle particles (medium size, slight blur)
- Foreground particles (smallest, sharpest)
This layering creates incredible depth. Your scene feels like you could step into it.
Final Polish: Color Grading
Merge everything into a new layer (Ctrl+Alt+Shift+E). This creates a copy of your entire composition.
Add a Curves adjustment layer. Create a slight S-curve to increase contrast. Pull down shadows, push up highlights gently.
Add another Hue/Saturation layer affecting the entire image. Shift hues toward cool tones—blues and teals work beautifully for fantasy scenes. Drop saturation another 10-15% for that desaturated cinematic look.
Vignette Effect
Create a Brightness/Contrast adjustment layer. Drop brightness significantly. Fill the mask with black, then use a large soft white brush to paint light back into the center of your composition.

This vignette draws eyes toward your Valkyrie while darkening edges naturally.
Common Problems and Quick Fixes
Your model might look too bright compared to the background. Add a Curves adjustment layer clipped to her. Pull down the midtones until she matches ambient lighting.
Harsh edges around cutouts destroy realism. Select your model’s layer mask. Apply a 1-2px Gaussian Blur to soften transitions. Then use a small hard brush to paint back sharp edges where clothing meets air.
Particles looking fake? Lower opacity significantly. Most particles should be barely visible individually but powerful collectively.
Colors fighting each other? Add a Color Lookup adjustment layer. Try “Moonlight” or “Late Sunset” LUTs. These instantly harmonize conflicting tones.
Save and Export Smart
Save your working PSD file. Keep all layers intact for future adjustments.
For final output, flatten your image. Go to Image > Image Size. Export at 2000px on the longest side for web use. Use “Save for Web” and select JPEG at 80-85% quality.
This balances file size with image quality perfectly. Your final artwork stays sharp without bloating load times.
Your Valkyrie photo manipulation demonstrates technical skill and artistic vision. The techniques here extend far beyond this single project. Apply these principles to any fantasy composite and watch your work improve dramatically.
