Creating believable underwater scenes in Photoshop sounds impossible. Water distortion, light behavior, and marine life positioning all need to feel authentic. Yet this tutorial nails it using simple layer techniques.
Most Photoshop composites fail because artists rush the foundation. They drop subjects onto backgrounds and wonder why everything looks fake. But building scenes in layers—starting with environment, then adding subjects, finally refining with adjustments—creates depth that feels real.
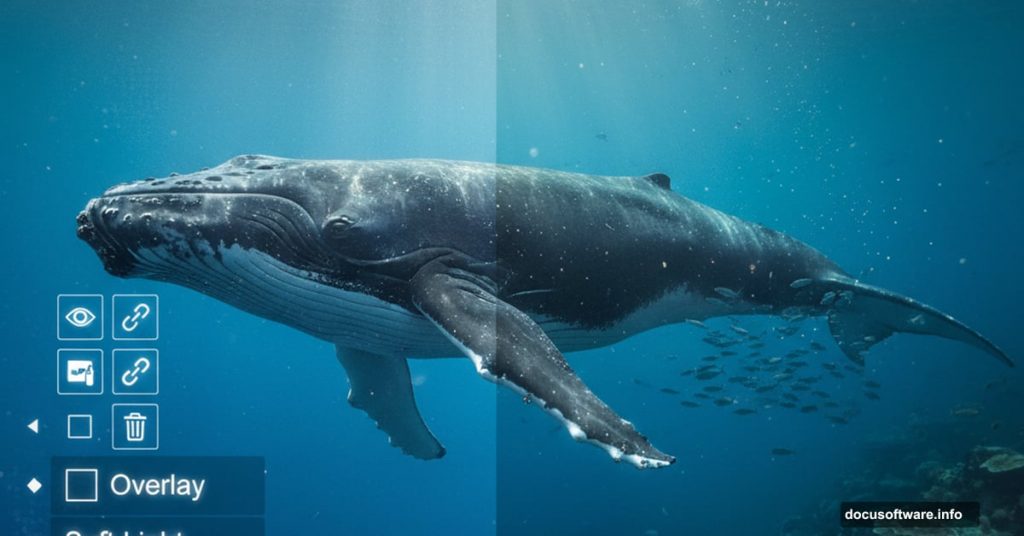
This whale manipulation uses a straightforward approach. Stack underwater environments. Blend them with modes like Overlay and Soft Light. Add marine subjects carefully. Then tie everything together with Camera Raw Filter. Simple steps that produce dramatic results.
Building the Underwater Foundation
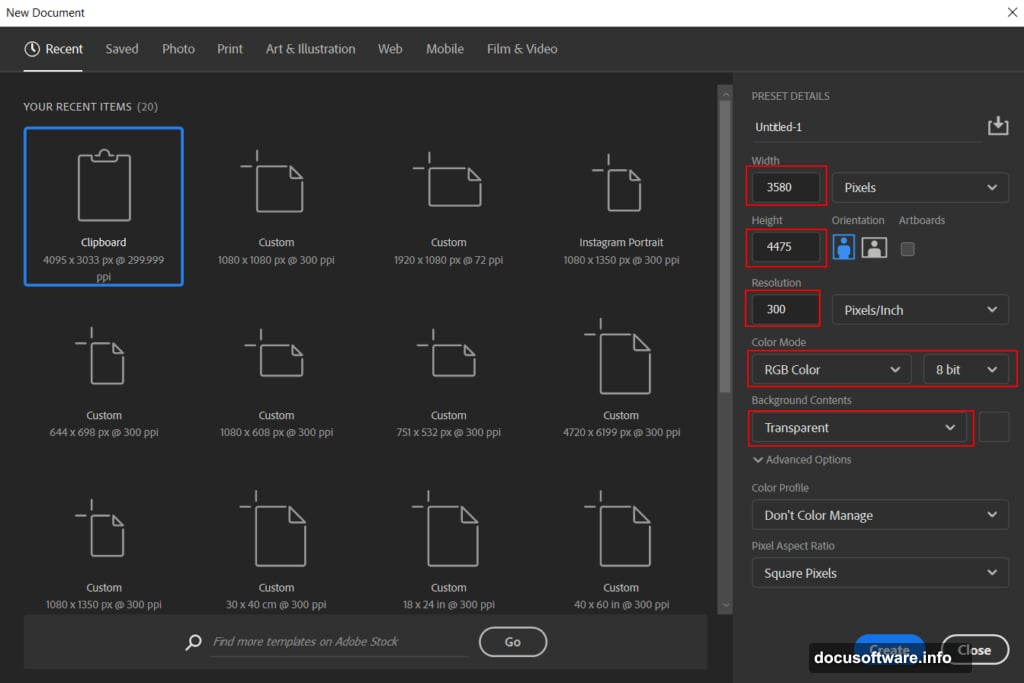
Start with a new document at 3580 x 4475 pixels with 300 DPI resolution. RGB color mode with transparent background gives you flexibility for later adjustments.
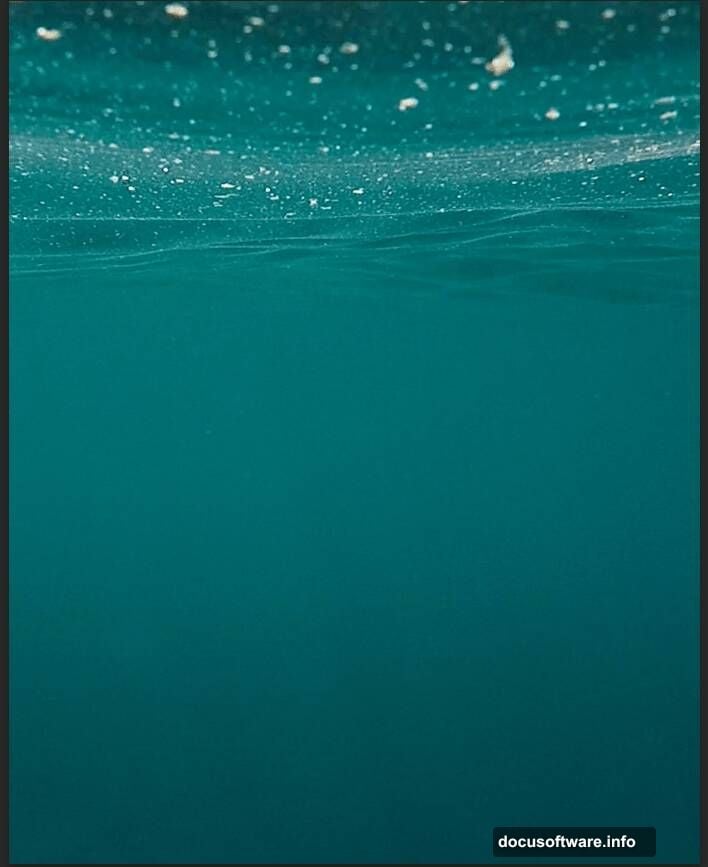
Place your first underwater photo using File > Place. Position it with Transform (Ctrl/Cmd + T). Hold Alt + Shift while dragging corners to scale proportionally. In Photoshop CC, just Alt scales from center automatically.
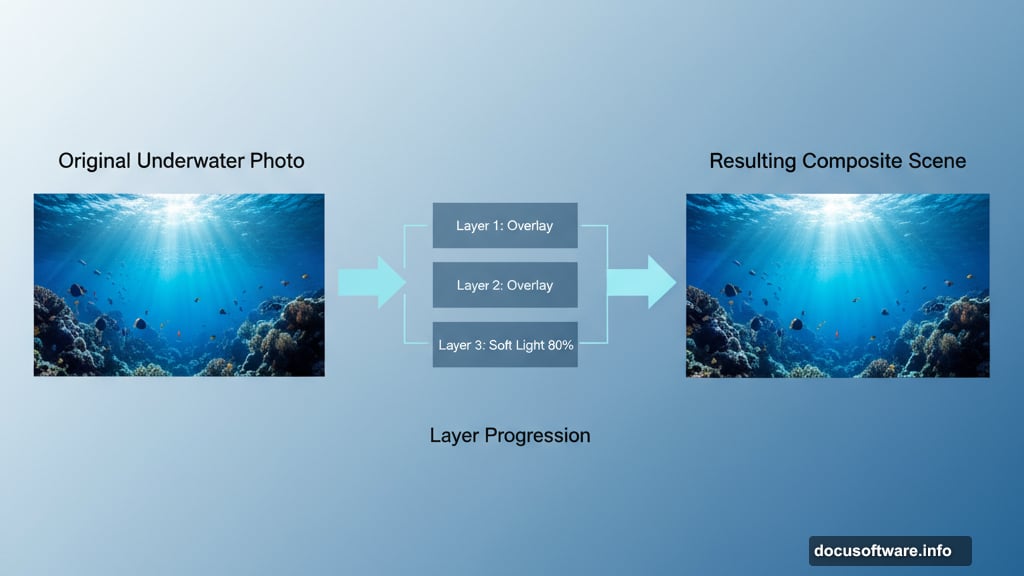
Change this base layer’s blend mode to Overlay. Why Overlay? It preserves both highlights and shadows while merging with layers underneath. That creates atmospheric depth water scenes need.
Layering Multiple Water Textures
Add your second underwater image the same way. Place, transform, scale proportionally. Set this one to Overlay blend mode too.
Now here’s where it gets interesting. Stack a third water texture but switch blend mode to Soft Light at 80% opacity. Soft Light blends more gently than Overlay. It adds subtle color and light variations without overpowering your base.
Multiple water layers at different blend modes simulate how light scatters through water at various depths. Real underwater environments have complexity. These layers recreate that naturally.
Adjusting Color and Brightness
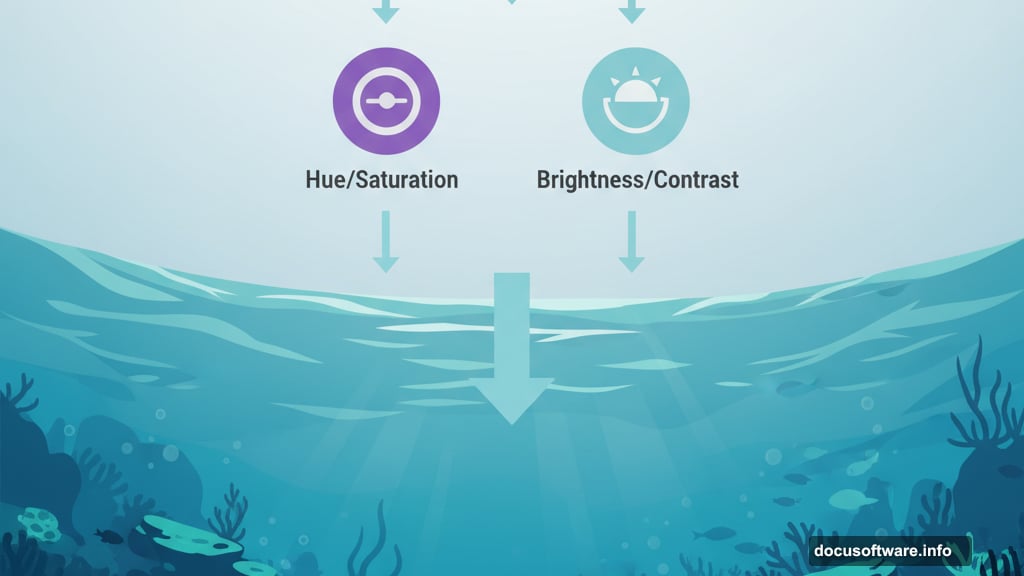
Add a Hue/Saturation adjustment layer now. This controls overall color intensity across all your water textures simultaneously. Push saturation slightly to enhance underwater blues and greens. Or pull it back for murkier water.
Next comes a Brightness/Contrast adjustment layer. Underwater scenes typically have reduced contrast compared to surface photography. Lower contrast slightly to match that aesthetic. Boost brightness if your water feels too dark.
These adjustment layers affect everything below them. So they unify your separate water textures into one cohesive environment. That’s the key to believable composites.
Adding the Whale Subject
Open your whale image separately. Select it using Quick Selection Tool (W). Click and drag across the whale. Photoshop automatically finds edges and expands your selection.
Once selected, copy (Ctrl/Cmd + C) and paste (Ctrl/Cmd + V) into your main document. Transform and position the whale where it feels natural. Scale it so proportions match your scene’s perspective.
Set the whale layer to Soft Light blend mode. This might seem counterintuitive. But Soft Light makes the whale interact with water layers below it. Light appears to pass through parts of the whale while maintaining its form.
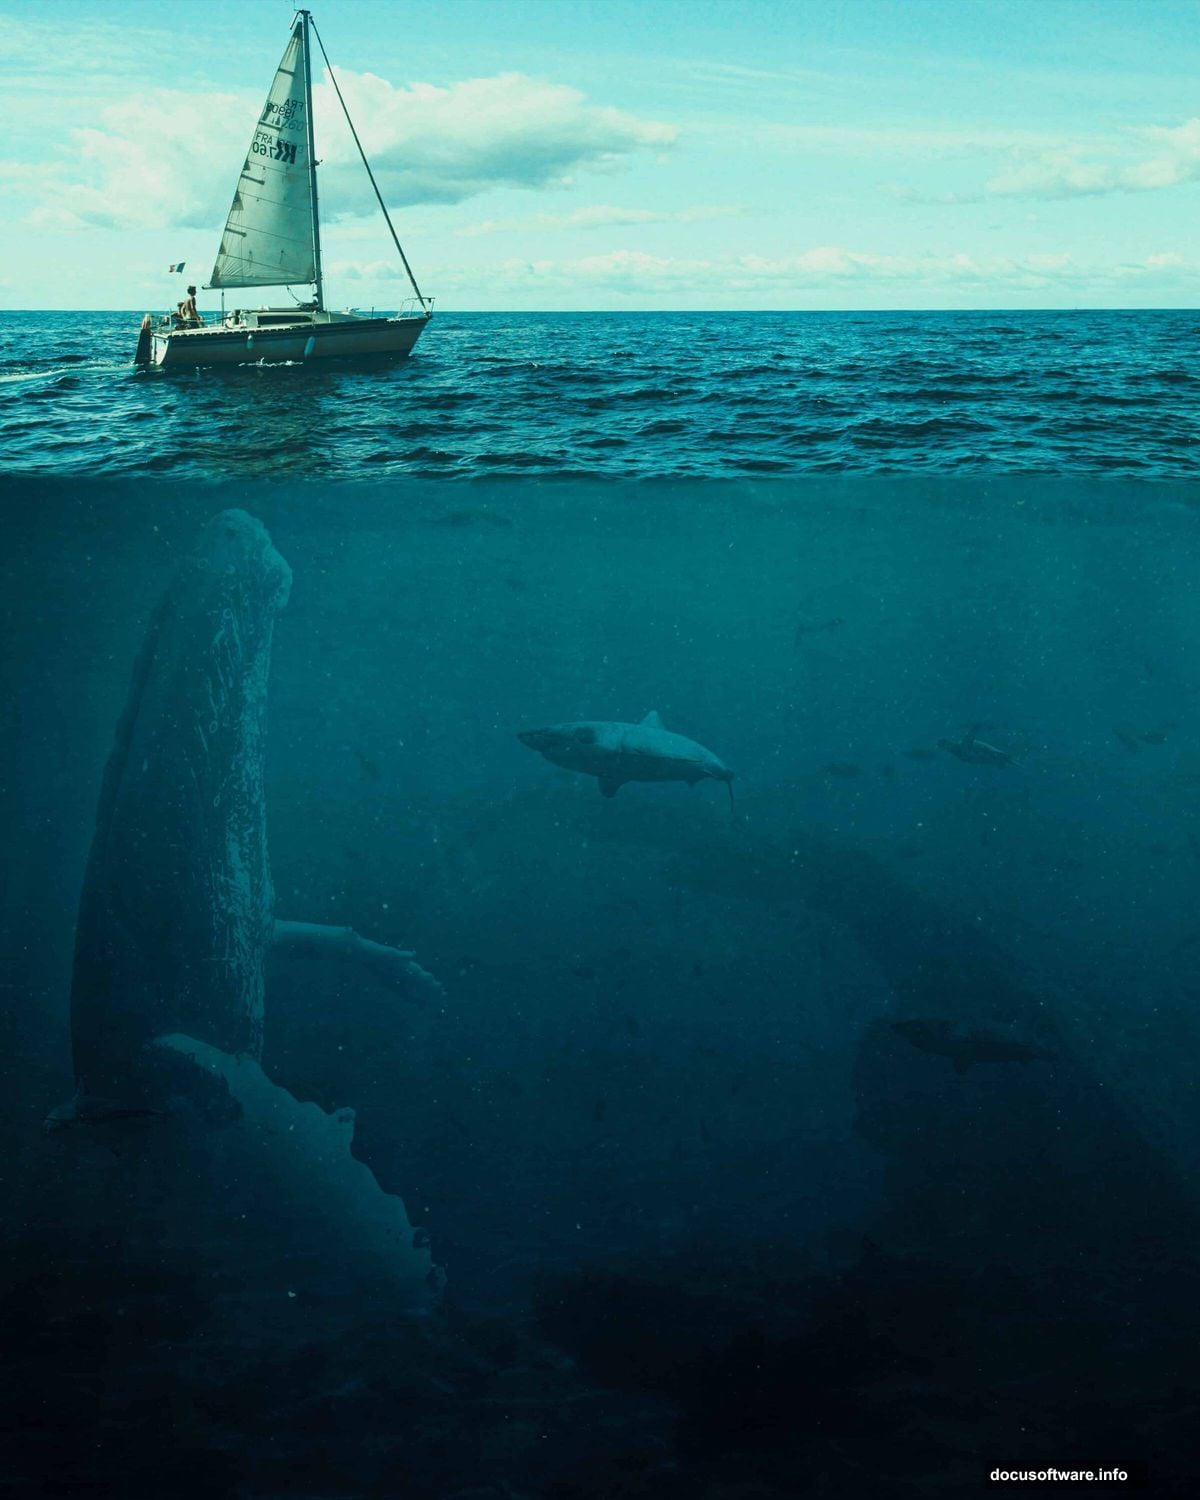
Blending Boats Into the Scene
Place boat images using the same technique. File > Place, transform, scale proportionally holding Alt (or Alt + Shift in older versions).
Add adjustment layers specifically for boats. Hue/Saturation controls boat colors. Brightness/Contrast makes them match water lighting. These targeted adjustments prevent boats from looking pasted on.
Boats should appear slightly obscured by water. Lower opacity or use layer masks to fade their lower portions. This simulates how water visibility decreases with depth.
Adding Sharks and Turtles
Place shark and turtle images using Quick Selection Tool for isolation. Copy and paste them into your scene. Position them at different depths for realistic spacing.
Smaller marine life should be lighter and less saturated than closer subjects. Why? Water filters light. The farther light travels underwater, the more blue wavelengths dominate. Reds and yellows disappear first.
So make distant sharks slightly more blue-tinted. Reduce their contrast. This creates depth perception through atmospheric perspective—an essential compositing principle.
Final Camera Raw Polish
Merge all visible layers or create a stamped copy (Ctrl/Cmd + Alt + Shift + E). Then apply Camera Raw Filter from the Filter menu.
Camera Raw gives you powerful color grading tools. Adjust temperature to make water warmer or cooler. Tweak clarity for sharper details or softer atmosphere. Play with dehaze to control how murky or clear your water appears.

The Tone Curve in Camera Raw lets you fine-tune highlights, shadows, and midtones separately. Lift shadows slightly so dark areas don’t turn completely black. Pull highlights down a bit so bright areas retain detail.
Why Blend Modes Matter More Than You Think
Most beginners ignore blend modes completely. They stack layers at Normal mode and wonder why composites look flat. But blend modes mathematically combine pixel values between layers.
Overlay darkens dark areas and lightens light areas simultaneously. Soft Light does this more gently. Screen lightens everything. Multiply darkens everything. Each mode serves specific purposes.
For underwater scenes specifically, Overlay and Soft Light work best. They simulate how light behaves in water—diffusing, scattering, creating variations in brightness. Normal mode can’t replicate that complexity.
The Layer Order That Actually Works
Bottom to top, your layer stack should be:
First, base water texture at Overlay. Second, additional water texture at Overlay. Third, final water texture at Soft Light. Next, adjustment layers for unified color and brightness. Then subjects (whale, boats, sharks, turtles) with appropriate blend modes. Finally, Camera Raw Filter on stamped layer.
This order matters. Adjustment layers affect everything below them but not above. So place adjustments after environments but before final subjects. That way you can fine-tune subjects separately if needed.
Common Mistakes That Ruin Whale Scenes
Biggest mistake? Ignoring scale relationships. Real whales are massive. If your whale looks tiny compared to boats, the illusion breaks. Research actual size comparisons and match them.
Second mistake—uniform lighting. Underwater light comes from above and scatters. Add subtle gradients with gradient tools or adjustment layers. Darken bottom portions of your scene. Lighten top areas where sunlight penetrates.
Third mistake—sharp edges everywhere. Real underwater photography has soft, slightly blurred edges due to water particles and light diffusion. Apply subtle Gaussian blur to distant objects. Use layer masks with soft brushes when combining subjects.
Advanced Blending With Layer Masks
Don’t rely entirely on blend modes. Combine them with layer masks for precise control. Add a mask to any layer by clicking the mask icon at bottom of Layers panel.
Paint with black to hide portions of that layer. Paint with white to reveal them. Use soft brushes at low opacity for gradual transitions. This technique lets you fade whale edges naturally into water or partially hide boats behind waves.
Layer masks are non-destructive. You can modify them endlessly without damaging original pixels. That flexibility makes them essential for complex composites.
Color Grading for Believable Depth
Water absorbs red light first, then orange, yellow, green, and finally blue. That’s why deep water looks blue—blue light penetrates farthest.
To simulate this, add Color Lookup adjustment layers. Choose underwater presets if available. Or manually shift colors toward blue-green in deeper areas using Hue/Saturation with layer masks.
Make closer subjects retain warmer tones. Farther subjects should shift cooler and more desaturated. This color progression creates depth perception that feels natural.
When to Use Camera Raw vs Adjustment Layers
Camera Raw offers slider-based controls that feel intuitive. Adjustment layers provide targeted modifications to specific parts of your image. Both have value.
Use adjustment layers during composition. They’re flexible and non-destructive. Apply Camera Raw as final polish after all elements are positioned. Camera Raw’s global adjustments unify the entire scene.
Camera Raw’s clarity slider is especially useful for underwater scenes. Reduce clarity for atmospheric haze. Increase it for sharper, clearer water. Experiment until it feels right.
The Truth About Photoshop Marine Life
Creating believable whale scenes isn’t about following exact steps robotically. It’s about understanding principles—how light behaves underwater, how layers interact, how color creates depth.
These techniques apply to any underwater composite. Dolphins, submarines, divers, shipwrecks—they all follow the same rules. Master blend modes and adjustment layers here and you can create any marine scene imaginable.
Plus, starting with solid environmental layers means subjects integrate naturally no matter what you add. Build your world first. Populate it second. Polish it last.
That’s how professionals work. That’s how you get results that don’t scream “Photoshop tutorial.”