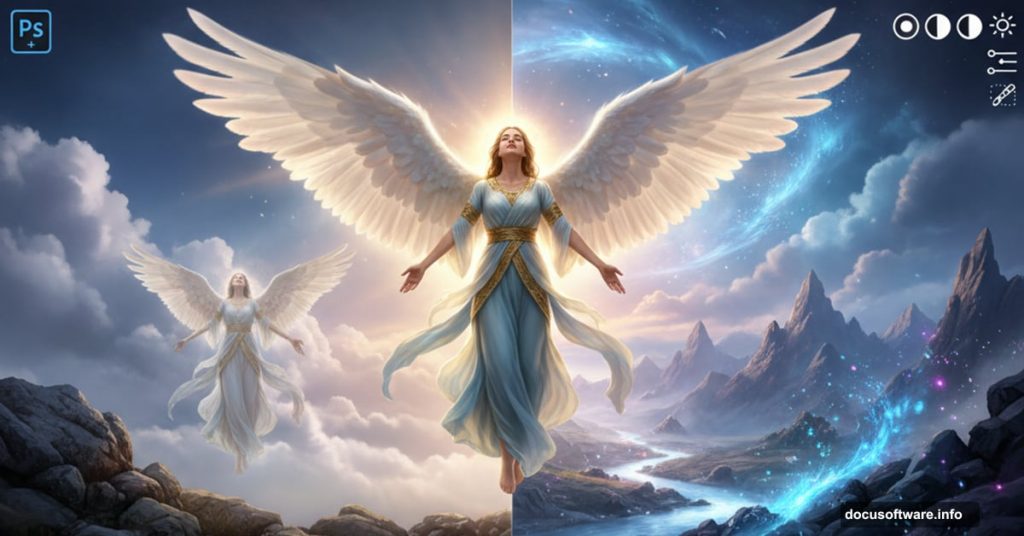
Want to create breathtaking angel artwork that looks professional? This tutorial breaks down every step of building an emotional fantasy scene from scratch.
You’ll learn the exact techniques pros use to blend stock images seamlessly, add realistic wings, work with dramatic lighting, and create that magical glow effect. Plus, I’ll show you how to handle tricky details like flowing hair and atmospheric particles.
This tutorial works best with Photoshop CS6 or newer. Grab your stock images and let’s dive in.
What You’ll Need Before Starting
First, download these free stock resources. Each serves a specific purpose in building your scene.
Essential Stock Images:
- Sand beach texture from Freeimages.com
- Dramatic sky by SalsolaStock
- Nebula texture by JennyLe
- Rain texture by Koko-Stock
- Additional beach photo by Fotophi
- Female model by Mjranum Stock
- Hair stocks by CindysArt
- Angel wings by Wolverine
- Falling leaves by MaureenOslder
- Debris brush pack by Zigabooooo
Make sure you save all these files in one folder. That way you won’t waste time hunting for images mid-tutorial.
Building Your Canvas Foundation
Start with the right canvas dimensions. Too small and you’ll lose quality. Too large and Photoshop slows to a crawl.
Go to File > New and create a 2000×3000 pixel document at 300 DPI. This gives you plenty of resolution for detailed work while keeping file sizes manageable.
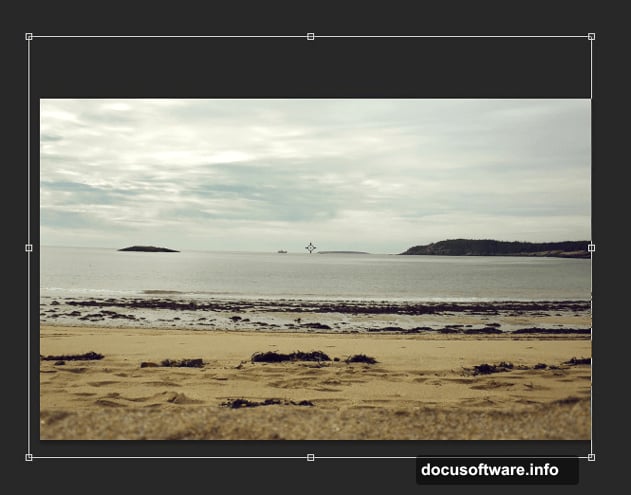
Now place your sand beach image onto the canvas. Use File > Place instead of dragging. Why? Photoshop automatically converts placed images to smart objects. That means you can resize without losing quality later.
Name this layer “base” so you can find it easily when your layer stack grows.
Creating the Beach Foundation
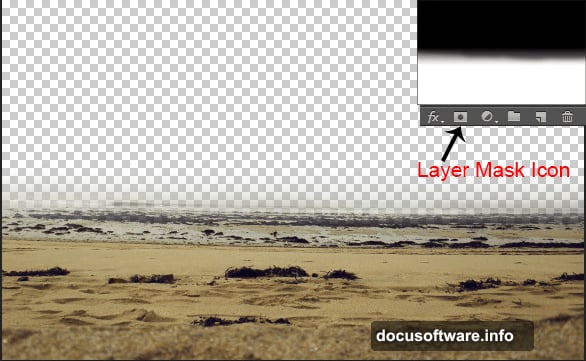
The sand beach needs adjustment to match our final mood. Add a layer mask by clicking the second button on the layer panel.
Grab your brush tool by pressing B on your keyboard. Set it to a soft round brush with black as your foreground color. Paint gently around the edges where the beach meets the canvas border.
This creates a natural fade effect. Hard edges scream “poorly done Photoshop.” Soft transitions feel realistic.
Next, add a Hue/Saturation adjustment layer. Click the clipping mask button so this adjustment only affects the base layer. Set Saturation to -15 and Lightness to +5.
These subtle shifts make the beach less vibrant and slightly brighter. That sets up the ethereal mood we’re building toward.
Adding Dramatic Sky Elements
Place your sky image below the base layer in your layer stack. This creates depth as the beach sits in front of the sky.
Now the sky needs color correction to match the beach. Add a Curves adjustment layer clipped to the sky.
In the RGB channel, pull the curve down slightly in the middle. This darkens midtones and adds drama. Then switch to the Blue channel and lift the curve up slightly. This adds a cool, mystical tint.
Follow up with a Brightness/Contrast adjustment layer. Set Brightness to -10 and Contrast to +15. The sky now has punch without looking oversaturated.
Blending the Nebula Texture
Place the nebula image above your sky layer. Set the blend mode to Screen. This mode only shows the bright parts of the nebula and hides the dark areas.
Reduce opacity to 40%. Full strength looks too artificial. Subtle works better for atmospheric effects.
Add a layer mask and use a soft black brush at 30% opacity. Gradually fade the edges of the nebula. Focus the brightest areas in the upper third of your canvas. That’s where the angel’s head will eventually be.
The nebula adds that magical, otherworldly quality. Without it, your scene feels too grounded in reality.
Placing and Preparing the Model
Now comes the fun part. Place your model image onto the canvas. Position her roughly in the center, but slightly off to one side. Perfect center feels static and boring.
Use the Pen Tool (P) to carefully trace around her silhouette. Take your time with hair strands. Messy selections ruin the final effect.
Once you’ve closed your path, right-click and choose Make Selection. Feather by 0.5 pixels. This tiny softening helps blend edges later.
Add a layer mask from your selection. The model now sits cleanly on your background without the original backdrop.
Matching Model Colors to Scene
The model probably doesn’t match your scene’s color palette yet. Add a Hue/Saturation adjustment layer clipped to the model layer.
Shift Hue by +5 to add warmth. Reduce Saturation to -10 so she’s not too vibrant compared to the muted background. These small tweaks make her feel like she belongs in the scene.
Follow up with a Curves adjustment layer. Slightly lift the shadows in the RGB channel. This prevents her from looking too dark against the bright background.
Also add a subtle S-curve for contrast. Click in the middle of the curve and drag up slightly. Then click near the bottom and drag down a bit. This adds dimension without crushing blacks or blowing out highlights.
Adding Realistic Shadows
Shadows sell the illusion that your subject exists in the scene. Without them, everything floats weirdly.
Create a new layer below the model layer. Name it “shadow.” Use a soft round brush set to black at 20% opacity.
Paint shadows where her feet would contact the ground. Make them darkest directly beneath her and softer as they extend outward.
Add another shadow layer for her body. Paint soft shadows on the ground that match her pose. If she’s standing upright, the shadow should extend behind her based on your light source direction.
Set this shadow layer to Multiply blend mode at 60% opacity. Pure black shadows look fake. Multiply mode integrates them naturally with the ground texture.
Working With Difficult Hair
Hair is notoriously tricky in photo manipulation. Those wispy strands refuse to cut out cleanly.
Here’s the fix. Place your hair stock images on layers above the model. Set them to Normal blend mode first so you can position them correctly.
Use Free Transform (Ctrl+T) to scale and rotate the hair to match her head angle. Warp the hair stocks to follow the contours of her head shape.
Now use layer masks to blend the hair stocks into her existing hair. Paint with a soft brush at varying opacities. Hard edges give it away. Varied opacity creates natural-looking integration.
For extra realism, add a Color adjustment layer clipped to the hair stocks. Match the color to her natural hair color using the sliders.
Attaching Angel Wings
Place your wing stock image on a new layer above the model. Position the wings behind her back, slightly higher than her shoulder blades.

Use Free Transform to adjust wing size and angle. Wings should look proportional to her body. Huge wings overpower the scene. Too small looks comical.
Add a layer mask to the wings. Paint away any hard edges where wings meet her body. Use a soft brush at 30% opacity for gradual transitions.
Now clip a Curves adjustment layer to the wings. Match the lighting direction from your scene. If light comes from upper right, brighten the right edges of the wings and darken the left side.
Also add shadows from the wings onto her back. Create a new Multiply layer and paint soft shadows where wings would block light hitting her body.
Creating the Angelic Glow
The signature angel look needs that ethereal glow. Create a new layer above everything and set it to Screen blend mode.
Pick a soft round brush. Set foreground color to pale yellow-white. Paint around the angel’s head and shoulders with a huge, soft brush at 10% opacity.
Build up the glow gradually. Multiple light passes look better than one strong blast. The glow should be strongest around her head and fade outward.
Add another Screen layer. This time use pure white at 5% opacity. Add tiny highlights on the highest points of her face, shoulders, and wing edges. These act as rim lights from your heavenly light source.
For extra magic, add a Gaussian Blur of 50 pixels to your glow layer. This creates soft, diffused light that wraps around her form.
Adding Atmospheric Particles
Place your leaves stock on a new layer. Set blend mode to Screen so dark backgrounds disappear.
Scale the leaves smaller using Free Transform. Scatter them throughout the scene using multiple duplicate layers at different scales.
Add motion blur to some leaf layers. Go to Filter > Blur > Motion Blur. Set angle to match falling direction and distance to 15 pixels. This creates the sense of leaves drifting through air.
Use the debris brush pack on a new layer. Set foreground color to light brown. Paint small particles floating through the scene. Vary brush size for depth. Smaller particles look farther away.
Reduce opacity of particle layers to 30-50%. Full strength looks too busy. Subtle particles add atmosphere without overwhelming the angel.
Final Color Grading
Time to unify everything with final adjustments. Add a Color Lookup adjustment layer at the top of your layer stack.
Try the “Moonlight” or “Late Sunset” LUT presets. These add cinematic color grading that ties all elements together. Reduce opacity to 50% if the effect is too strong.
Add a final Curves adjustment layer. Create a very subtle S-curve in the RGB channel. This adds final punch to contrast without crushing detail.
In the Blue channel, lift the shadow area slightly. This adds a cool tint to shadows which enhances the mystical mood.
Creating the Angel Halo
Want that classic halo effect? Create a new layer at the top. Set foreground color to pale gold.
Use the Ellipse Tool (U) to draw a circle above the angel’s head. Hold Shift while dragging to make a perfect circle.
Set this circle layer to Outer Glow. In the Layer Style dialog, set glow color to bright yellow-white. Increase size to 50 pixels and opacity to 75%.
Reduce the circle layer’s fill opacity to 0%. This keeps the glow effect while hiding the solid shape. The result is a soft, luminous halo that doesn’t look like a clipped graphic.
Add Gaussian Blur of 5 pixels to soften the halo further. Perfect halos feel too digital. Slight imperfection looks more natural.
Export Settings for Best Quality
When you’re happy with the result, flatten a copy for export. Go to Layer > Flatten Image on a duplicate file. Never flatten your working file.
Save as JPEG at quality level 10 for web sharing. For print work, save as TIFF with no compression to preserve maximum detail.
If you need transparency for other projects, export as PNG-24. This maintains quality while supporting transparent backgrounds.
The techniques you learned here work for any fantasy manipulation. Wings become capes. Halos become crowns. The principles of blending, lighting, and atmospheric effects apply universally.
Practice these steps with different stock images. Each project teaches you something new about color matching and lighting direction. Before long, you’ll blend scenes instinctively without following tutorials step by step.