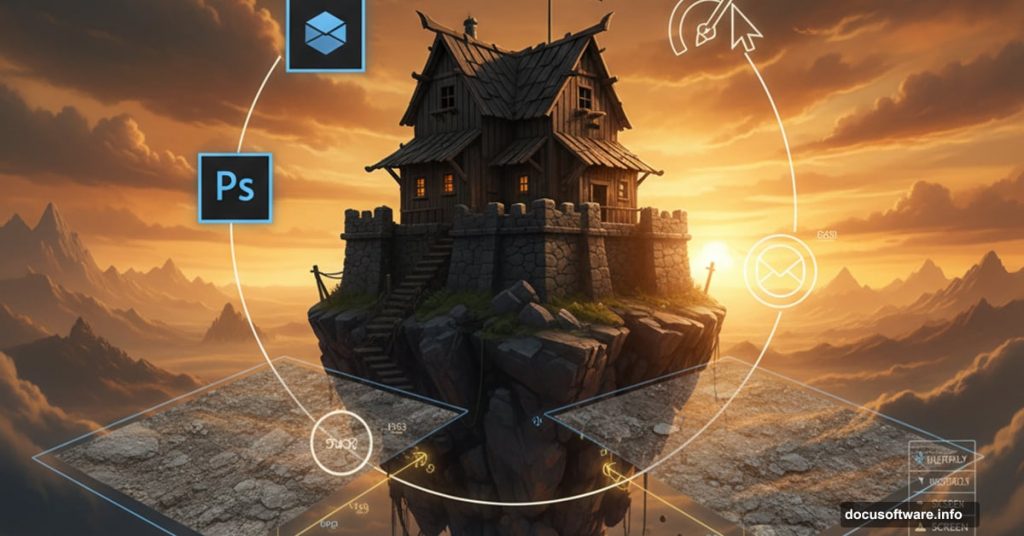
Want to create stunning fantasy photo manipulations? This pirate house dreamscape tutorial teaches essential Photoshop techniques through a complete project.
You’ll combine real photos of rocks, ruins, and landscapes into a dramatic scene. Plus, you’ll learn masking, blending, and lighting techniques that work for any manipulation project. The finished piece features a weathered pirate house perched on rocky mountains with warm, vivid lighting.
This project takes time. But each step builds skills you’ll use forever.
What You Need Before Starting
Gather your resources first. You’ll need Photoshop CS3 or higher and these stock images:
Landscape elements: Cloud photos from amka stock, waterscape from colourize stock, mountain imagery from solanaceae85. Beach scene from mithgariel stock works for water elements.
Structure pieces: Ruins from gueenselphie and leina1 provide castle elements. Tower images from fairiegoodmother add architectural details. Tree PNGs from camelfobia and waterfall shots from della stock complete the scene.
Final touches: Cosmos package 8 from funerium adds atmospheric effects. Pirate ships from moonchilde stock and crack textures from smevstock finish the composition.
Download everything before you start. Nothing kills creative flow like hunting for missing files mid-project.
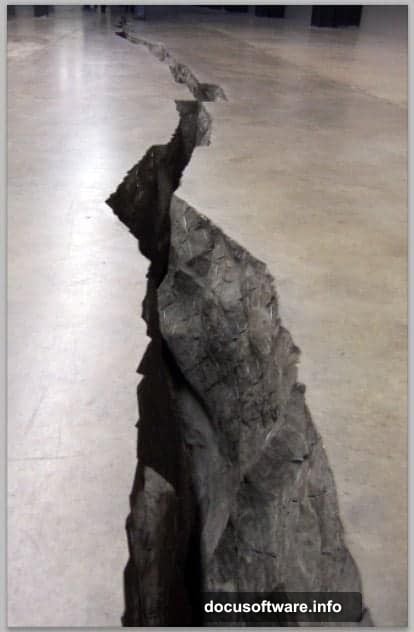
Build Rocky Mountains From Stone Photos
Creating realistic mountains requires careful selection and layering. Start with the crack texture image. This becomes your mountain foundation.
Take the Pen Tool (P) and carefully trace around the crack formation. Follow the natural edges precisely. Sloppy selection here means obvious edges later.
Copy your selection (Ctrl+C) and paste it (Ctrl+V) onto a new canvas. Set canvas dimensions to 3000×2000 pixels at 300 DPI. This gives you room to work without quality loss.
Now comes the stacking technique. Duplicate your first crack layer (Ctrl+J). Go to Edit > Transform > Flip Horizontal. Position this second layer behind the first, slightly offset. The overlap creates depth.
Add a third crack layer the same way. Flip it back to original direction. Stack it behind layer two. Vary the positions and sizes to build realistic mountain silhouettes.
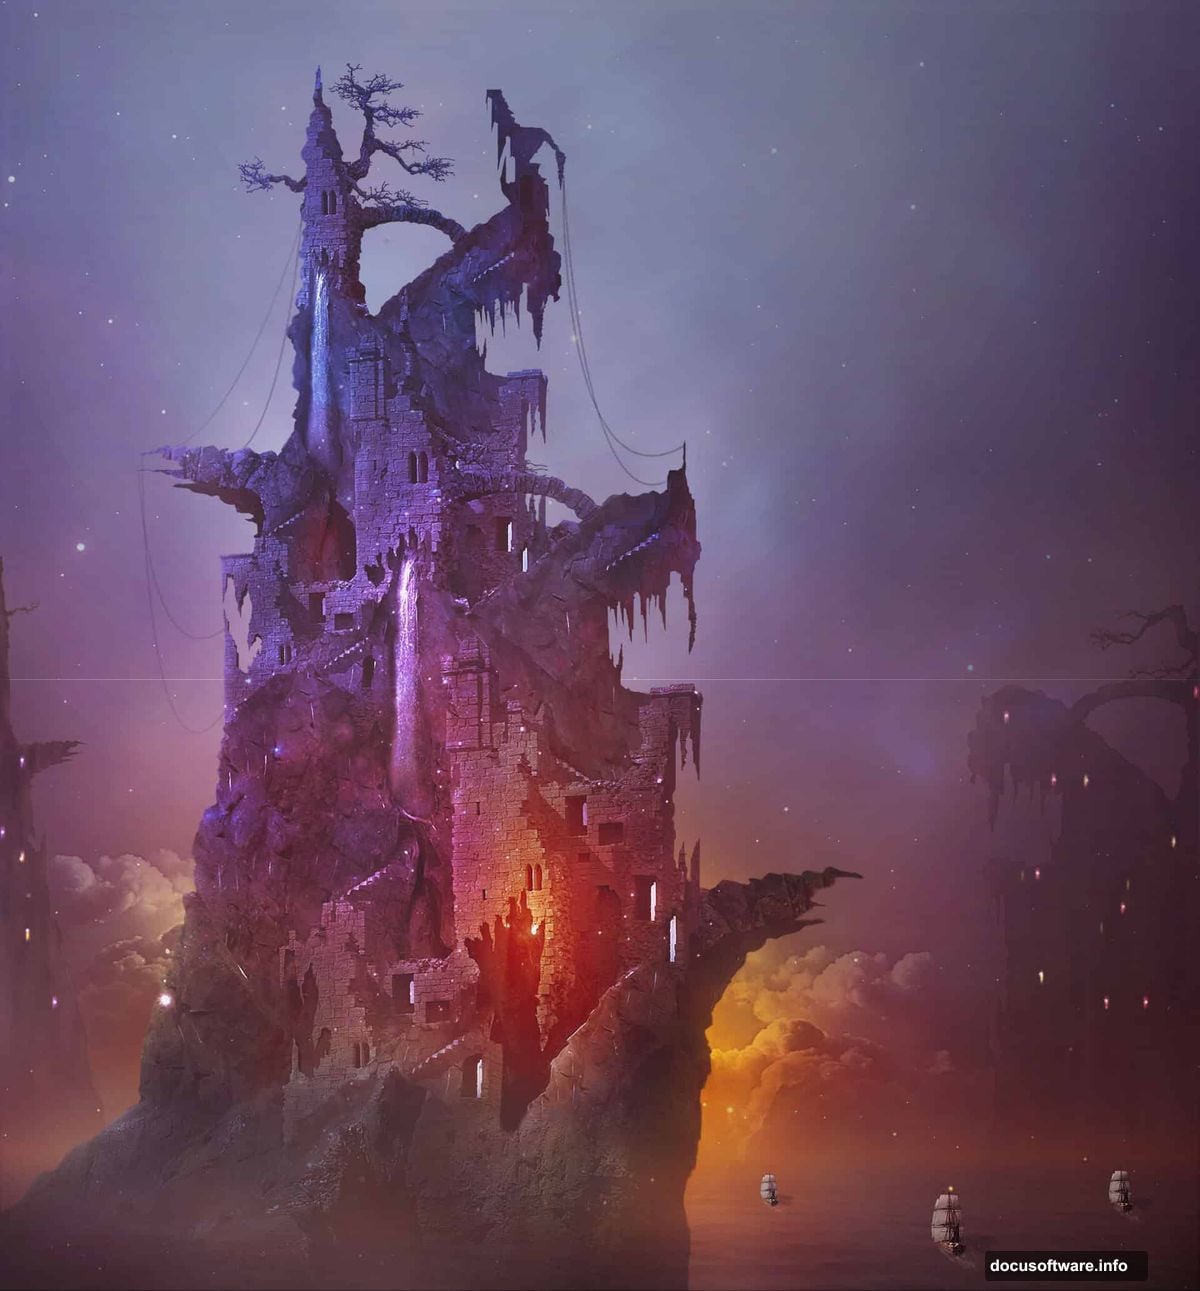
Construct the Pirate House Base
Medieval ruins make perfect pirate hideouts. Select the castle ruin image and isolate the main structure with the Pen Tool. You want walls, towers, and archways intact.
Paste your castle selection onto the mountain layers. Scale it down to fit naturally on the rocky peaks. Buildings look wrong when they’re too large for their foundation.
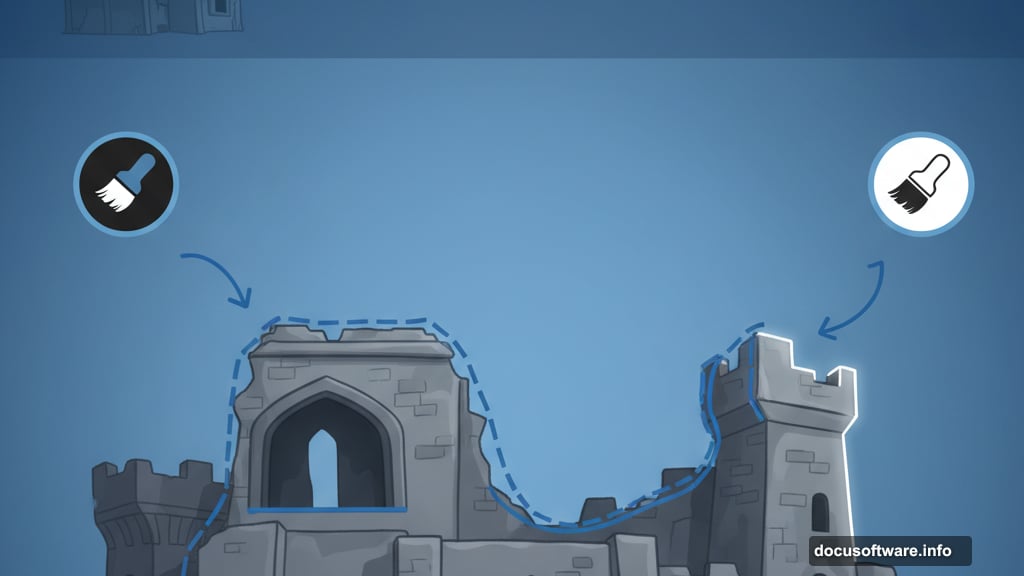
Next, add weathering. Real pirate houses endure harsh coastal weather. Create a new layer above your castle. Use a soft black brush at 30% opacity to paint shadows in corners and under overhangs.
Switch to white at 20% opacity for highlights on edges that catch light. This simple technique adds instant depth.
Blend Multiple Landscape Elements
Professional manipulations never look like cut-and-paste collages. Blending makes the difference.
Add your waterscape layer behind the mountains. The ocean provides context and fills negative space. But the edges probably look harsh right now.
Create a layer mask on your mountain layers. Select a soft brush at 50% opacity. Paint black on the mask where mountains meet water. This softens the transition.
For the sky, paste cloud images above everything. Set the layer blend mode to Screen or Lighten. Adjust opacity until clouds look natural, not pasted on.
Mountains need atmospheric perspective too. Objects farther away look hazier and less saturated. Add a Hue/Saturation adjustment layer. Reduce saturation by 20% on background mountains. This pushes them into the distance.
Add Dramatic Warm Lighting
Lighting sells the fantasy mood. This scene needs warm, golden-hour glow.
Create a new layer above all others. Set blend mode to Overlay. Take a large soft brush with warm orange color (#ff9933). Paint across the entire scene, concentrating on the horizon and sky areas.
Reduce opacity to 40-50%. The overlay blend mode enhances existing colors without covering details.
Now add directional light. Your pirate house needs a key light source. Create another Overlay layer. Use a smaller brush with brighter orange (#ffcc66). Paint light hitting one side of buildings and mountains.
Add rim lighting on the opposite side. Use a cool blue (#3366cc) at low opacity. This contrast makes structures pop from the background.
Refine With Essential Adjustment Layers
Raw composite images always need color correction. Start with a Curves adjustment layer. Slightly lift the midtones for overall brightness. Don’t blow out highlights.
Add a Vibrance adjustment. Increase vibrance by 20-30. This intensifies colors without over-saturating skin tones or existing saturated areas.
Color Balance helps unify the scene. Add warmth to highlights and midtones by pushing toward yellow and red. Add slight blue to shadows for depth.
Finally, add a subtle vignette. Create a new layer filled with black. Use a large soft eraser to remove black from the center. Set blend mode to Soft Light at 30% opacity. This draws eyes toward your pirate house.
Polish Final Details and Atmosphere
Small details separate good manipulations from great ones. Add atmospheric elements now.

Paste waterfall images near your castle. Use layer masks to blend them naturally into rock faces. Waterfalls add motion and life.
Place pirate ship stock images in the distant ocean. Scale them small. Remember atmospheric perspective—distant objects need less contrast and saturation.
Add flying birds from brush sets or stock images. Birds suggest scale and add life. Place them at varying distances for depth.
Create dust motes or floating particles. Make a new layer, fill with black. Go to Filter > Noise > Add Noise. Set to Gaussian, Monochromatic, amount 25%. Then Filter > Blur > Motion Blur at 45-degree angle. Set blend mode to Screen. These subtle particles add magical atmosphere.
Common Mistakes That Ruin Photo Manipulations
New manipulators make predictable errors. Avoid these pitfalls.
Harsh edges destroy realism. Every pasted element needs soft edges. Use layer masks with soft brushes. Never rely on hard selections alone.
Inconsistent lighting kills believability. Light must come from one direction. Shadows should all point the same way. Color temperature must match across all elements.
Wrong perspective breaks immersion. Buildings photographed from ground level don’t work in aerial views. Match perspective across all elements or viewers notice immediately.
Over-sharpening looks digital. Real scenes have depth of field. Foreground objects should be sharpest. Background elements need slight blur.
Missing atmospheric effects look flat. Real scenes have haze, dust, and air between objects and viewer. Add these subtle effects for depth.
Why This Project Builds Essential Skills
This pirate house manipulation teaches techniques that transfer to every photo composite. You practiced precise selections with the Pen Tool. You learned layer masking for seamless blending. You applied color theory through lighting adjustments.
Most importantly, you developed an eye for what makes manipulations believable. Real mastery comes from understanding light, perspective, and atmospheric effects. Technical skills matter less than artistic judgment.
Keep these techniques in mind for your next project. Whether you’re creating fantasy landscapes or realistic composites, the fundamentals stay the same. Practice them until they become instinctive.
Then you’ll create magic that looks effortless.
Post Title: Photoshop Photo Manipulation: Pirate House Tutorial
Meta Description: Want to create stunning fantasy photo manipulations? This pirate house dreamscape tutorial teaches essential [Photoshop](https://www.adobe.com/products/photoshop.html) techniques