
Color grading feels like two separate jobs. You nail the perfect look in Photoshop. Then you open Premiere Pro and start from scratch.
That split workflow wastes hours. Plus, your photos and videos never quite match. Photoshop CC solved this problem with custom 3D LUT exports. Now you can build color effects once and use them everywhere.
Let’s break down how to create and export your own 3D LUTs.
What 3D LUTs Actually Do
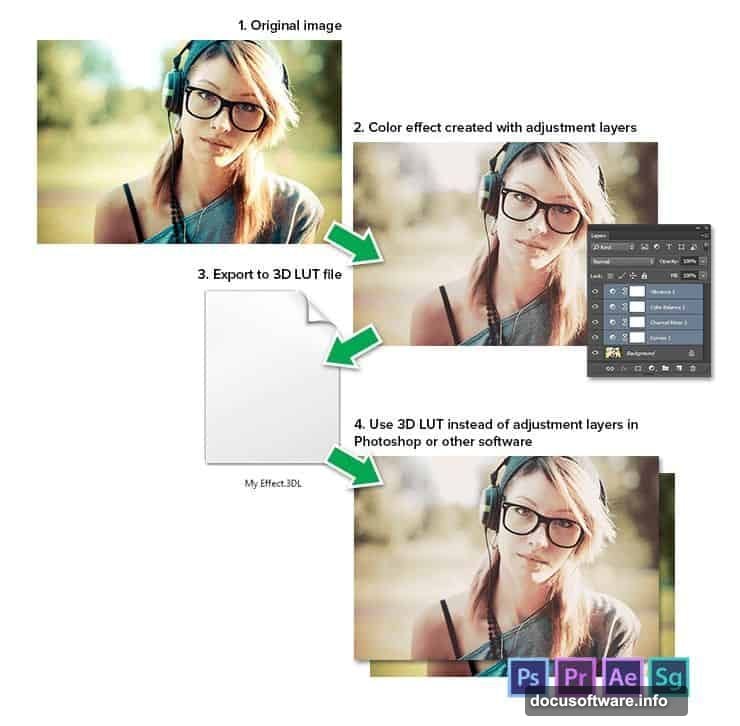
Think of 3D LUTs as color recipes. They store your entire color grading formula in a tiny file. Then you can apply that exact look to any photo or video.
So you create a vintage film effect in Photoshop. Export it as a 3D LUT. Then load it into Premiere Pro, After Effects, or even Adobe Media Encoder. Your footage instantly matches your photos.

Modern graphics cards process 3D LUTs directly. That means faster rendering and real-time previews. Video editors adopted them years ago for this reason.
How to Apply 3D LUTs in Photoshop
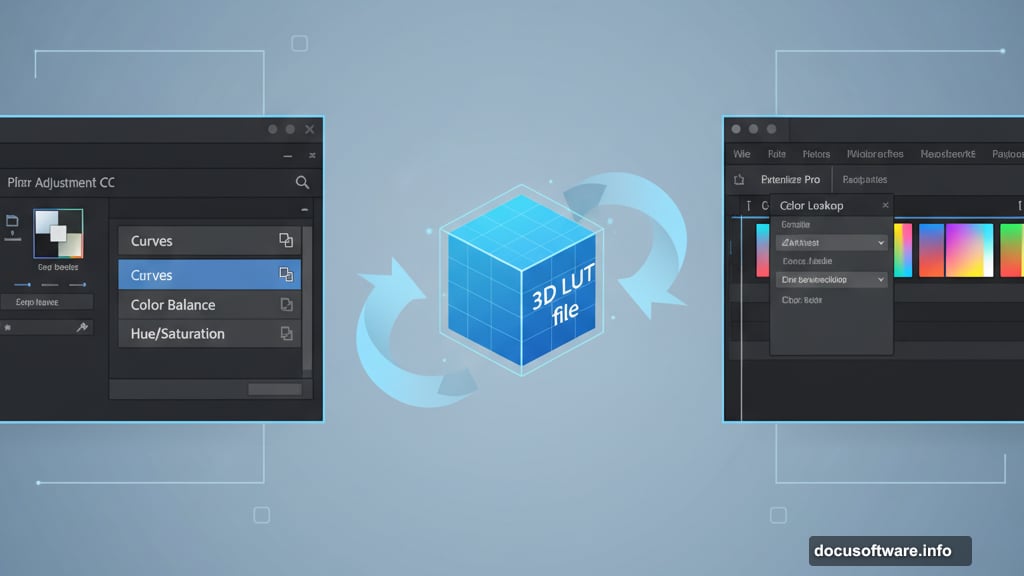
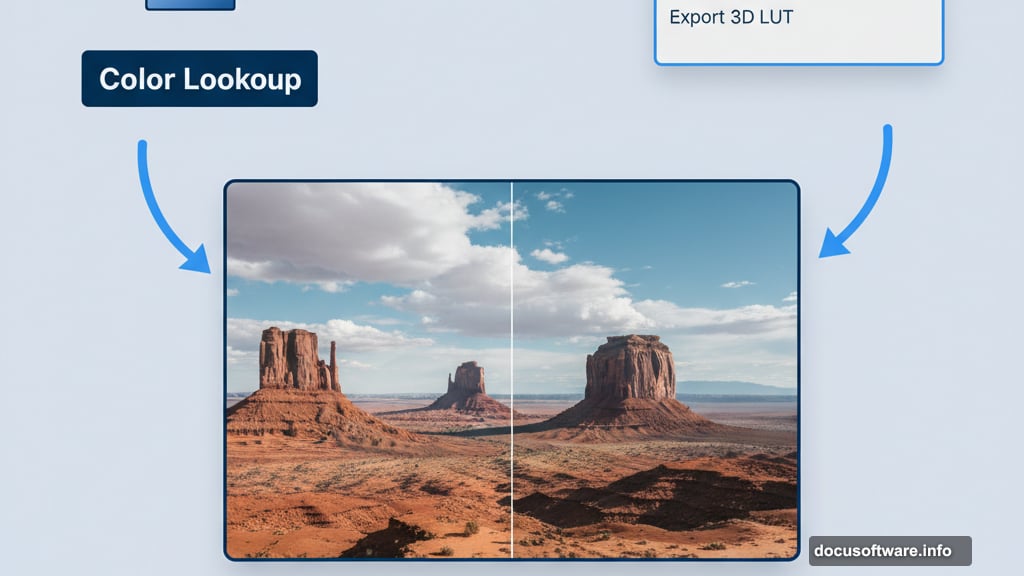
First, find the Color Lookup adjustment layer. Go to Layer > New Adjustment Layer > Color Lookup. A dropdown menu appears with preset looks.
You can load custom 3D LUT files here too. Just select “Load 3D LUT” from the menu. Browse to your file and click Open.
The effect applies instantly. No complex adjustment layer stacks needed. Plus, you can tweak intensity by adjusting the layer opacity.
Build Your Custom Color Effect
Open your base image in Photoshop CC. Then grab adjustment layers from the Adjustments panel (Window > Adjustments). Stack as many as you need.
For example, start with a Curves adjustment. Lift shadows slightly and add warmth to highlights. Then add a Color Balance layer to push cyan into shadows. Finally, use a Hue/Saturation adjustment to desaturate greens.
Test your effect on multiple images first. Make sure it works across different lighting conditions. Otherwise, your LUT might look amazing on one photo but terrible on others.
Here’s the catch. Your color mode matters for professionals. RGB mode exports 3DLUT and RGB device link formats only. CMYK mode exports ICC CMYK device link profiles.
But LAB color mode gives you maximum compatibility. It exports ICC abstract profiles that work in any color mode. So if you need flexibility, build your effect in LAB mode (Image > Mode > Lab Color).
Export Your 3D LUT File
Once your effect looks perfect, export it. Go to File > Export > Color Lookup Tables. A dialog box appears with several options.
Enter a description that explains your look. Something like “Warm Vintage Film Effect” works better than “LUT_001.” You’ll thank yourself later when browsing dozens of LUTs.
Add your name in the Copyright field. Photoshop automatically adds the copyright symbol and current year. Protects your work if you share LUTs with clients or online.
Next, adjust the Grid Points setting. Higher numbers mean better quality but larger files. Start with 32 for most projects. Bump to 64 if you notice color banding.
Now choose your export formats. The 3DL format works everywhere and keeps file sizes small. CUBE and CSP formats offer more precision but won’t work with After Effects CS5 or older.
Check “Include ICC Profile” if you need it. Most modern workflows don’t require this. But older color management systems might need the embedded profile.
Click Export. Name your file and choose a location. Done.
Load Your LUT in Premiere Pro
Open Premiere Pro and load your footage. Find the Lumetri Color panel (Window > Lumetri Color). Scroll to the Creative section.
Click the Look dropdown menu. Select “Browse” at the bottom. Navigate to your exported 3D LUT file. Click Open.
Your custom color effect applies instantly. Adjust the intensity slider if it’s too strong. You can also stack multiple LUTs for complex looks.
Remember that LUTs work best as starting points. Fine-tune with additional Lumetri adjustments after applying your LUT. Tweak exposure, contrast, or saturation to match specific shots.
Common Export Problems
Some users report that “Color Lookup Tables” doesn’t appear in the Export menu. This happens if you’re using an older Photoshop version. The feature requires Photoshop CC 2014 or newer.
Try pressing Ctrl + Shift + Alt + S (Cmd + Shift + Option + S on Mac). This keyboard shortcut forces the export dialog to open. Sometimes menu items glitch but shortcuts still work.
Another issue involves gamut differences. A 3DL file might look different depending on your image’s color space. An sRGB image produces different results than ProPhoto RGB.
So test your LUT across different color spaces before using it in production. Make adjustments if needed. Or create separate LUTs for different workflows.
Real-World Applications
Wedding photographers love this workflow. Shoot photos and video at ceremonies. Build one signature color grade in Photoshop. Then apply it to all footage in Premiere Pro. Everything matches perfectly.
Social media creators benefit too. Develop a consistent brand look across platforms. Export your LUT once. Then apply it to photos, videos, stories, and reels. Your content maintains visual consistency.
Even solo projects benefit. You’re making a travel documentary with photos and videos. Create your color palette in Photoshop. Export it. Then spend less time color grading hundreds of clips in Premiere Pro.
The Bigger Picture
Adobe built this feature because creators demanded it. Shooting hybrid photo and video content became standard. But matching colors between applications stayed frustratingly difficult.
3D LUTs bridge that gap elegantly. You’re not copying adjustment layers or eyeballing values. You’re exporting the actual math behind your color grade.
That precision matters for professional work. Clients expect consistent results across deliverables. Your hero image shouldn’t look different from your promo video.
So invest time building quality LUTs. Test them thoroughly. Document what each one does. Build a personal library of looks that define your style.
Your future self will appreciate the efficiency. And your work will maintain that polish that separates professionals from hobbyists.
Post Title: Match Color Grading: Photoshop to Premiere Pro Guide
Meta Description: Color grading feels like two separate jobs. You nail the perfect look in [Photoshop](https://www.adobe.com/products/photoshop.html). Then you open [Premiere