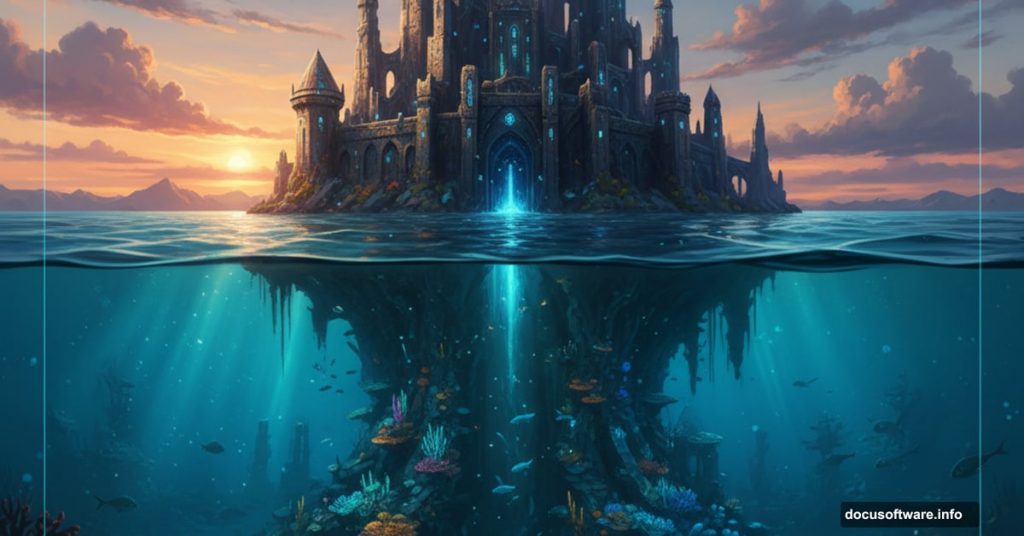
Ever wonder how those surreal underwater landscapes come together? The ones with castles sinking beneath the waves and mysterious skies overhead?
Turns out, it’s easier than you think. Plus, the techniques work for any fantasy scene you want to create. Let me walk you through exactly how to build this effect from scratch.
Start With Your Sky Foundation
First, create a 2000×2000 px canvas in Photoshop. That gives you plenty of room to work without losing quality.
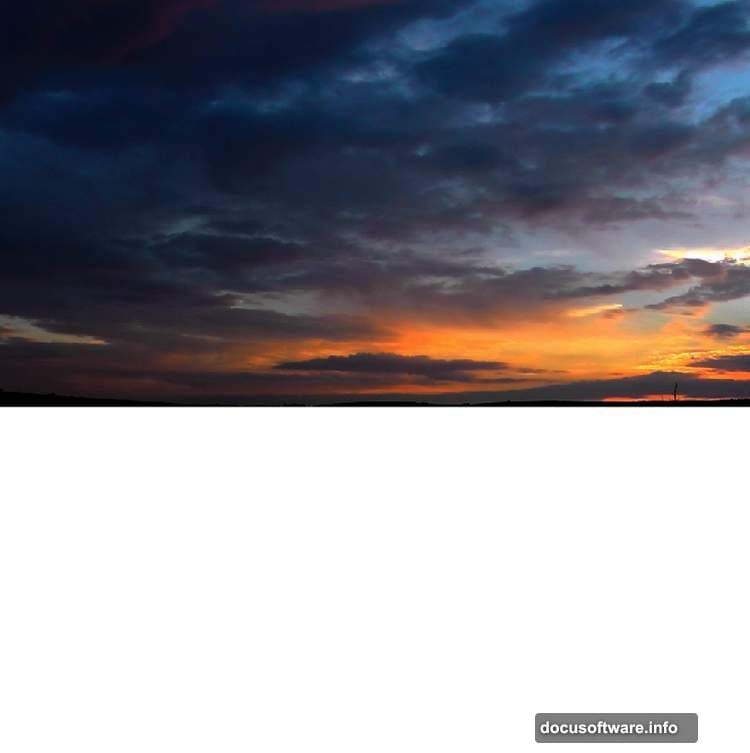
Now grab your sky image. Use the Rectangular Marquee Tool (M) to select just the sky portion. Then drag it onto your canvas with the Move Tool (V). Position it in the upper half.
Here’s a pro tip most tutorials skip. Right-click the layer and convert it to a Smart Object before doing anything else. This preserves your original image quality no matter how many edits you make.
Next, go to Filter > Noise > Dust & Scratches. Apply a subtle amount to smooth out any graininess. The sky should look clean but natural.
Build the Underwater Effect
Creating that mysterious underwater look takes just three steps. But they make all the difference.
Go to Layer > New Fill Layer > Solid Color. Pick a dark blue-green shade (try #062731). This creates your underwater base.
Now activate the layer mask. Use the Rectangular Marquee Tool to select the bottom half of your canvas. Switch your foreground color to black and hit Delete. The sky appears above while the dark underwater zone sits below.
Still, that transition looks too harsh. So grab a Curves adjustment layer and clip it to your underwater fill. Increase the lightness slightly. Then use a soft black brush on the mask to darken just the bottom area. This creates depth.
Add the Sea Surface
Open your sea image and select just the foreground water. Place it right above your underwater section.
Here’s where it gets interesting. Hit Ctrl+T to activate Free Transform. Compress this layer vertically until it’s much thinner than the original. You want a narrow band of water texture, not the entire sea.
Click the mask icon at the bottom of the Layers panel. Use a soft black brush to fade the hard edges. Focus on the horizon line and foreground. Blend until the transition feels natural.
Match the Colors
Right now, your sea probably looks disconnected from the rest. Fix that with a Color Balance adjustment layer clipped to the sea.
Adjust the Midtones settings. Push toward cyan and blue to match the underwater atmosphere. The exact numbers depend on your source images. But aim for cohesion over accuracy.
Then add a Curves adjustment layer. Darken the overall sea tone. On the layer mask, paint with a soft black brush (around 30-35% opacity) over the background. This keeps distant water lighter while the foreground stays dark.
Finally, throw in a Levels adjustment layer. Darken the foreground sea even more. Again, use that soft black brush on the mask to preserve some lightness in the background.
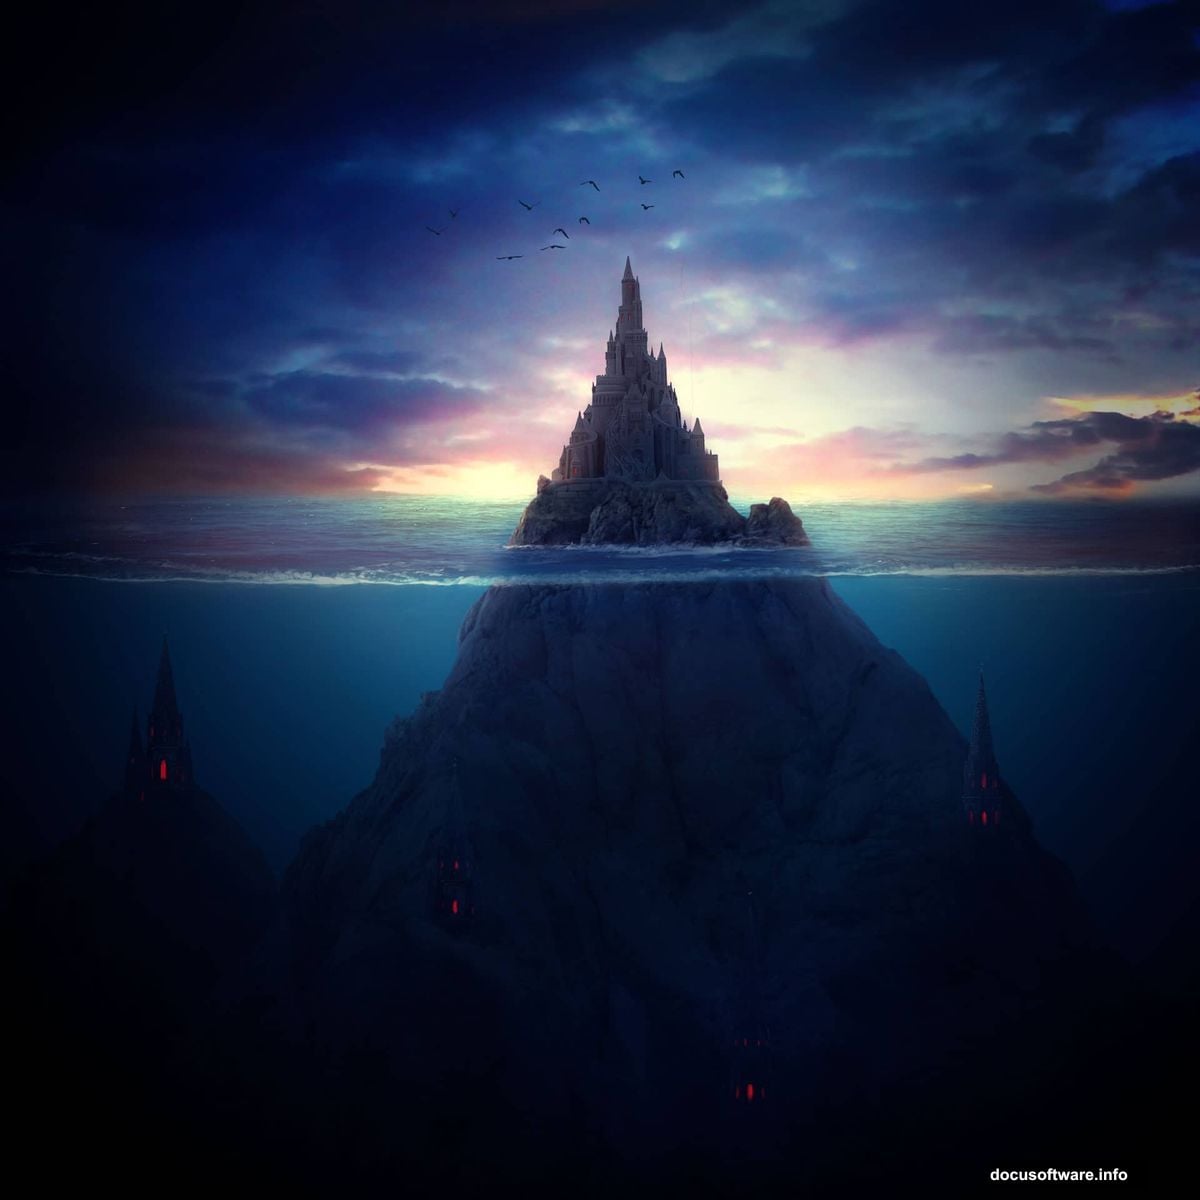
Position Your Rocks
Open the rock image and extract just the rock formation. Place it at the bottom of your canvas where the underwater section meets the sea.
Use a soft black brush on the layer mask to blend the base of the rocks into the dark underwater area. You want the rocks to appear as if they’re emerging from murky depths.
Create a Hue/Saturation adjustment layer clipped to the rocks. Reduce saturation significantly. Underwater objects lose color intensity, so dial it back until the rocks feel submerged.
Add another Curves adjustment layer. Darken the rocks overall. Then use a soft white brush on the mask to restore some lightness on the tops. This simulates how light filters through water.
Add Water Movement
Download water splash brushes or create custom ones. Load them into Photoshop.
Create a new layer and set it to Screen blending mode. Use white to paint water splashes and movement around the rocks. Vary brush sizes and opacity for natural randomness.
Then duplicate this layer and apply a Gaussian Blur (around 2-3 pixels). This creates depth by suggesting some splashes are closer to the viewer than others.
Import the Castles
Open your castle images. Extract each one carefully using the Quick Selection Tool or Pen Tool. Place them throughout your underwater scene.
Position the largest castle as your focal point. Smaller castles work better in the background to enhance depth.
For each castle layer, add a Hue/Saturation adjustment (clipped). Desaturate by about 40-50%. Then tweak the Lightness based on the castle’s position. Background castles should be lighter and hazier.
Create Curves adjustment layers for each castle. Adjust to match the overall underwater lighting. Generally, you’ll darken midtones while slightly lifting shadows to simulate how light scatters underwater.
Enhance the Atmosphere
Add a new layer set to Soft Light blending mode. Use a large, soft brush with dark blue (#062731) to paint shadows in corners and around objects. This pushes depth and mystery.
Create another layer set to Screen mode. Paint with a light cyan (#9dd9d2) where light would naturally penetrate. Focus on the upper portions of castles and the sea surface.
Integrate the Birds
Open your birds image. Extract the silhouettes and place them against the sky.
Since they’re above water, they shouldn’t match the underwater color scheme. But they should fit the overall moody atmosphere.
Add a Levels adjustment layer clipped to the birds. Darken them significantly until they’re nearly silhouettes. This draws attention to the underwater scene while adding scale.
Final Color Grading
Almost done. Now add a Vibrance adjustment layer at the top of your layer stack. Increase Vibrance by about +20 to make the blues pop without oversaturating.
Create a Color Lookup adjustment layer. Try “Moonlight” or “Late Sunset” presets. Adjust opacity until the effect feels subtle but impactful.
Finally, add a Curves adjustment layer. Create a gentle S-curve to boost overall contrast. Use the layer mask to reduce the effect on the brightest highlights.
The Details That Matter
Here’s what separates good composites from great ones. Consistency in lighting and color temperature across all elements.
Every time you add an object, ask yourself three questions. Does the lighting direction match? Does the color temperature fit? Does the level of detail feel appropriate for its distance?
Those questions guide your adjustment layers. They tell you when to desaturate, when to darken, when to blur slightly.
Plus, don’t forget about atmospheric perspective. Objects farther away should be lighter, less saturated, and slightly blurred. Objects closer should have more contrast and detail.

Why This Technique Works
This underwater scene method relies on building layers of depth. Sky, sea surface, underwater zone, rocks, structures. Each layer sits in its own atmospheric space.
Moreover, the color grading ties everything together. That consistent blue-green tone creates believability even in a fantasy scene.
The lighting follows logical rules too. Light filters down from above, objects cast subtle shadows downward, and everything gets darker with depth.
Beyond This Tutorial
Once you master this workflow, you can apply it to any surreal composite. Floating cities, submerged forests, alien landscapes.
The core principles remain the same. Build depth through layering. Match colors with adjustment layers. Use masks to blend naturally. Follow logical lighting rules.
So don’t just recreate this exact scene. Use these techniques to build your own impossible worlds. That’s where the real fun begins.
Start experimenting. Grab different stock images. Try different color schemes. Push the atmosphere darker or lighter. Make it yours.