Creating fantasy landscapes in Photoshop sounds intimidating. But once you break down the process into manageable steps, it becomes surprisingly achievable.
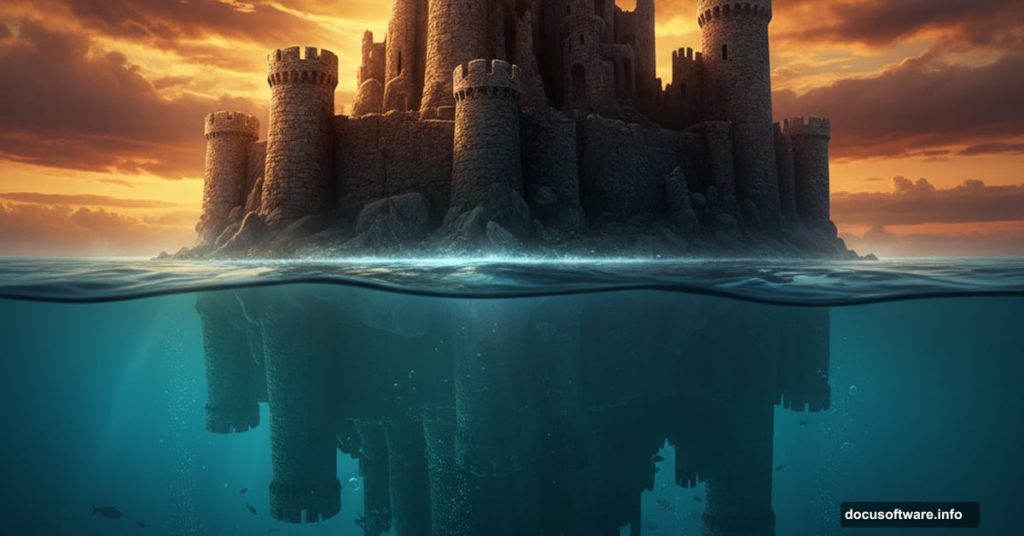
This tutorial walks you through building a mysterious underwater scene complete with submerged castles and atmospheric lighting. You’ll learn essential photo manipulation techniques that apply to countless other creative projects. Plus, the skills translate directly to professional composite work.
Let’s dive into the process and demystify advanced photo manipulation.
Gather Your Source Materials First
Before touching Photoshop, collect your base images. You’ll need sky, sea, rocks, castle photos, and bird silhouettes. Stock photo sites offer plenty of options, though free resources require more hunting.
Pro tip: Choose images with similar lighting conditions. Matching light direction saves hours of adjustment work later. Look for consistent color temperatures too. Warm sunset photos don’t blend naturally with cool midday shots.
Also, pay attention to resolution. Low-quality source images create low-quality final results. Aim for at least 2000px on the longest side for each element you’ll use prominently.
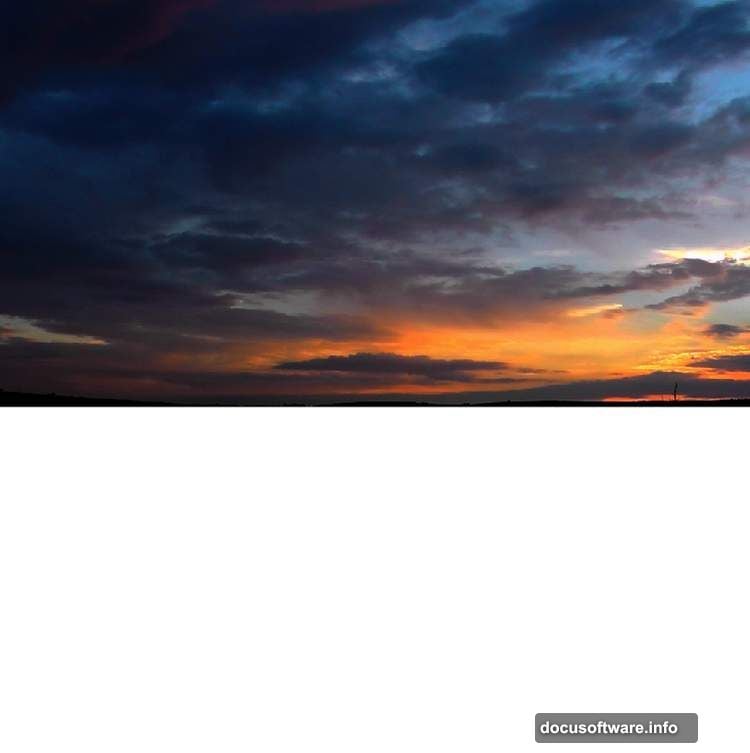
Build Your Base Canvas and Sky
Start with a 2000x2000px document filled with white. This square format works great for social media sharing and gives you flexibility to crop later.
Import your sky image using the Rectangular Marquee Tool. Select just the sky portion and drag it onto your canvas with the Move Tool. Position it in the upper half of your composition.
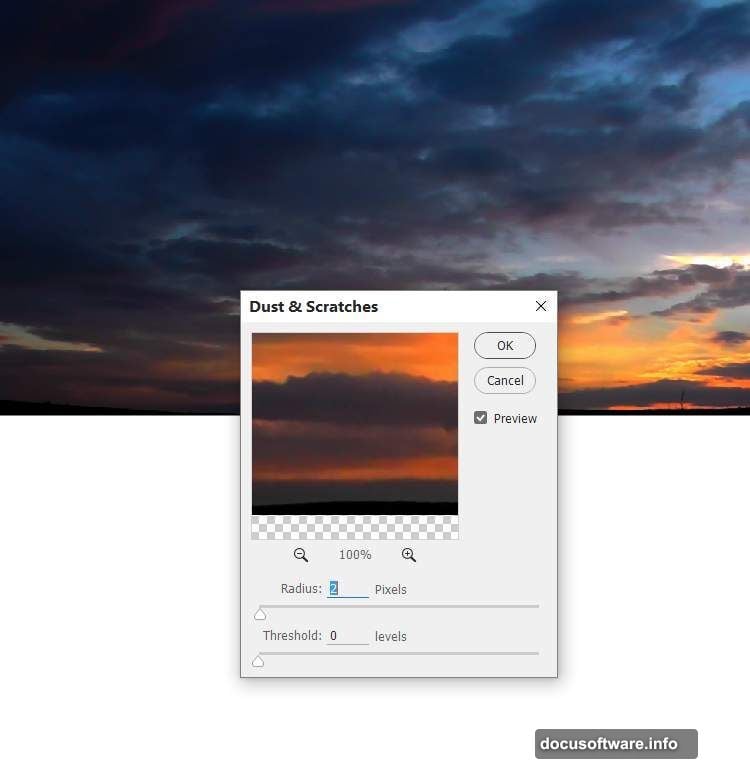
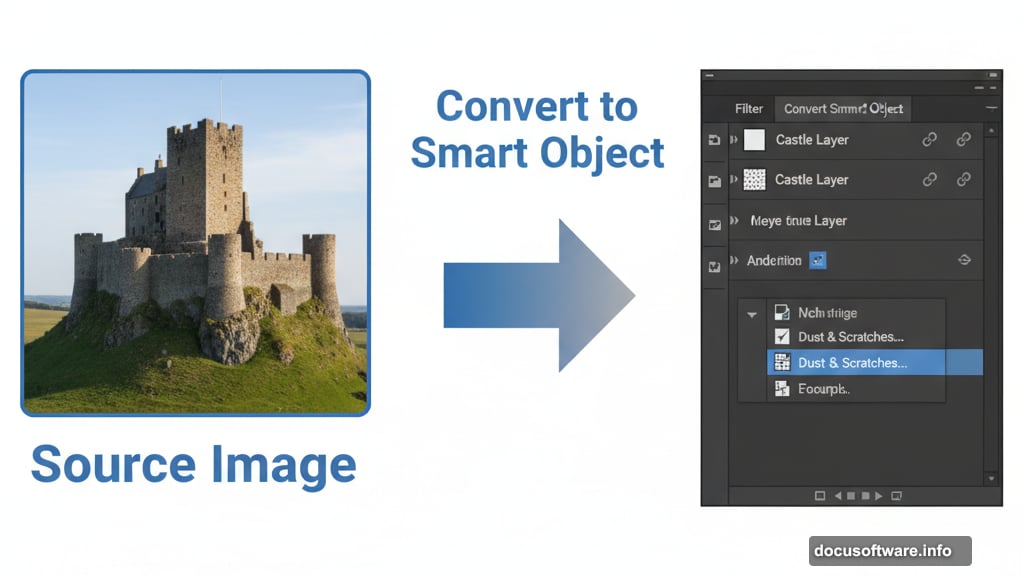
Convert this layer to a Smart Object before applying filters. Why? Smart Objects let you edit filters non-destructively later. Right-click the layer and choose “Convert to Smart Object.”
Then apply Filter > Noise > Dust & Scratches with minimal settings. This smooths out any graininess in your sky without making it look artificial.
Create the Underwater Foundation
Now comes the fun part. Creating the illusion of being underwater takes just a few steps.
Add a new Solid Color Fill Layer through Layer > New Fill Layer > Solid Color. Pick a dark blue-green shade like #062731. This creates your underwater base color.
Next, use the Rectangular Marquee Tool to select the lower half of your canvas on this layer’s mask. Switch your foreground color to black and hit Delete. This reveals your sky above while keeping the underwater color below.
The transition between sky and water should feel natural. If it looks too harsh, grab a soft brush and gently blend the edges on the layer mask.
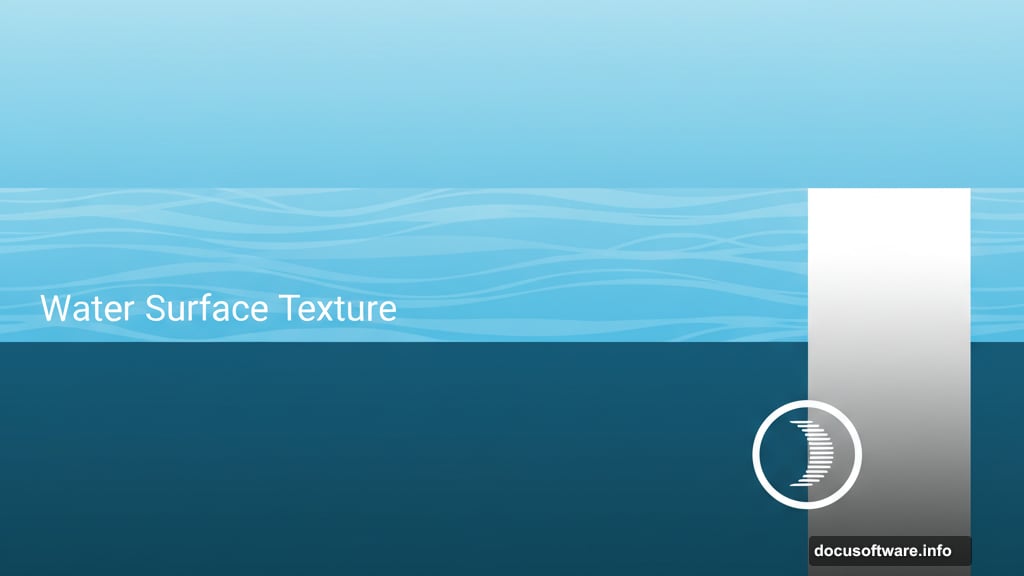
Add Realistic Water Surface Elements
Import your sea image and select just the water surface using the Rectangular Marquee Tool. Place this above your underwater base layer.
Use Free Transform (Ctrl+T) to make this water layer much thinner than the original. You want just a strip of surface texture, not the entire sea photo.
Add a layer mask and use a soft black brush to fade the edges. Pay special attention to the horizon line where sky meets water. This transition should be nearly invisible.
Soften the foreground too. Hard edges scream “bad composite” to viewers. Gentle gradients create believable scenes.
Balance Colors Across Elements
Mismatched colors ruin photo composites instantly. So adjust your sea layer to match the overall scene’s color palette.
Create a Color Balance adjustment layer and set it as a Clipping Mask. Adjust the Midtones settings until the sea’s color harmonizes with your sky and underwater base.
Then add a Curves adjustment layer to darken the sea appropriately. Water below the surface looks darker than the sky above. Use the layer mask to reduce darkness in the background while keeping foreground shadows strong.
Finally, add a Levels adjustment layer for fine-tuning. Darken the foreground more aggressively. But use a low-opacity brush on the mask to preserve detail in the background. Aim for 30-35% opacity for subtle control.
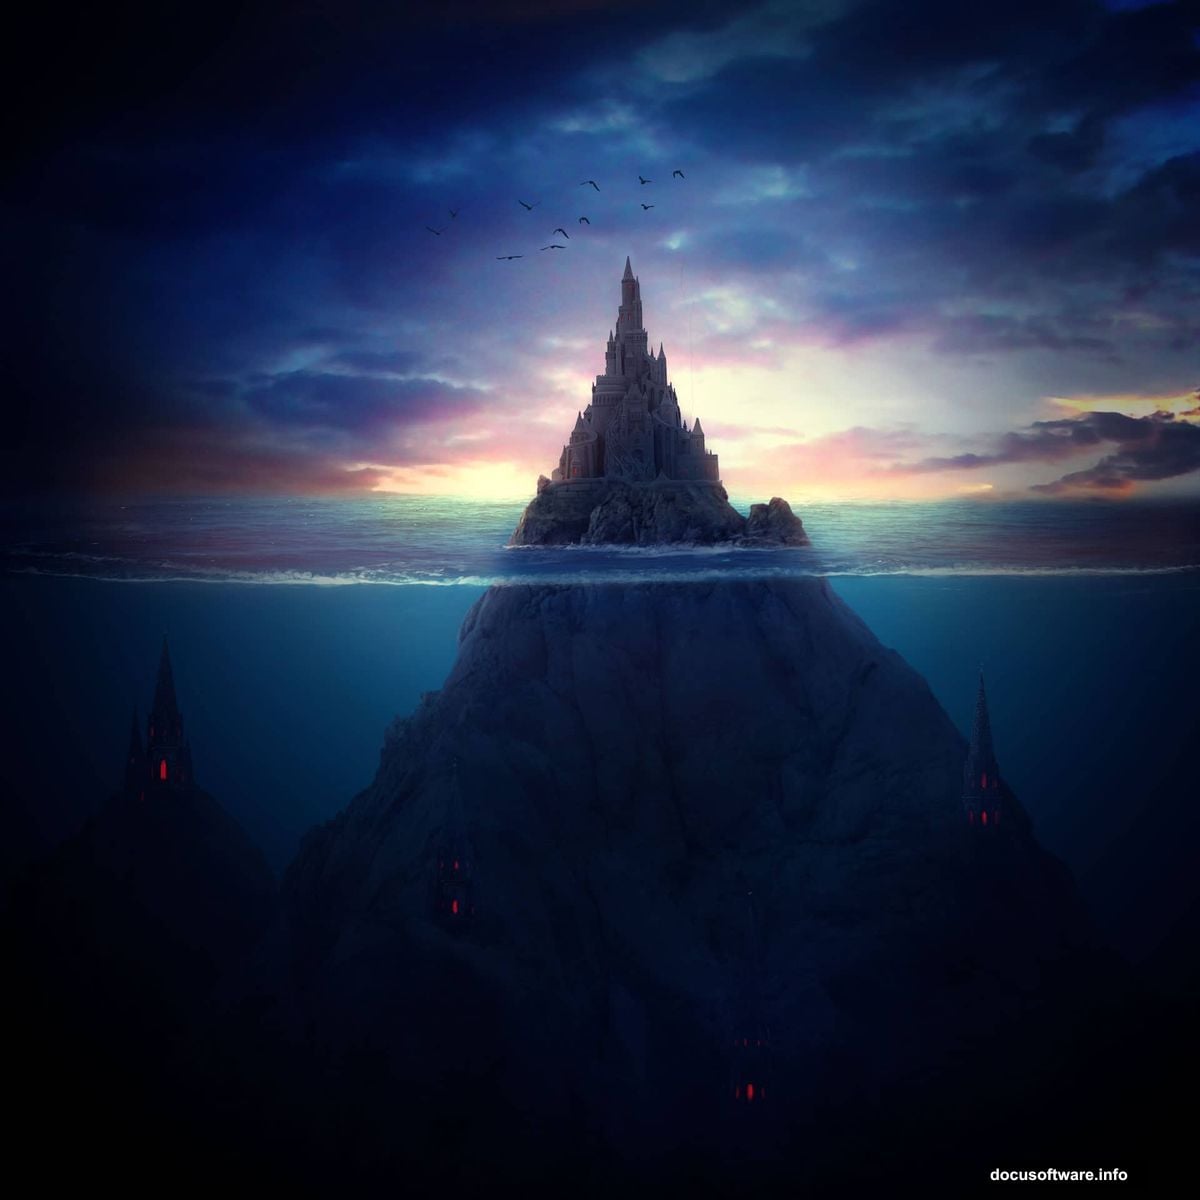
Import and Position Your Castle Structures
Now bring in your castle images. Place them below your water surface layer so they appear submerged. This layering order is critical for the underwater illusion.
Use Free Transform to resize and rotate each castle. Vary their sizes to create depth. Larger castles appear closer. Smaller ones recede into the background.
Don’t line them up perfectly. Natural-looking scenes have irregular spacing and slight rotation differences. Aim for visual interest, not geometric precision.
Add layer masks to each castle layer. Use soft brushes to fade the bottom portions. Underwater elements lose clarity with depth. This fading mimics how water obscures distant objects.
Add Atmospheric Water Effects
Underwater scenes need particle effects and light diffusion. This separates good composites from great ones.
Download water texture brushes or create custom ones. Paint subtle particles throughout your underwater section. Vary the opacity between 20-40% for realistic density.
Focus particles more heavily in the foreground. Background areas should stay clearer. This mimics how suspended particles behave in real water columns.
Also add light rays streaming down from above. Create a new layer set to Screen or Lighten blending mode. Use a soft white brush with low opacity to paint gentle beams. Make them originate from your sky’s brightest areas.
These rays should fade as they descend. Water absorbs light quickly in reality.
Adjust Castle Lighting and Contrast
Your castles probably don’t match the scene’s lighting yet. Time to fix that.
Create a Curves adjustment layer clipped to each castle. Adjust the curve to darken shadow areas while preserving highlights. This increases contrast and drama.
Then add a Color Balance adjustment layer to shift castle colors toward blue-green tones. Underwater environments cast color onto everything. Your castles should reflect that ambient light.
Use layer masks on these adjustments to vary the effect across each castle. Areas closer to light sources stay warmer. Deeper sections shift cooler and darker.
Blend Edges with Masking Techniques
Sharp edges break immersion instantly. So invest time in careful masking work.
Zoom in on each castle’s edges. Use a small, soft brush at low opacity to paint away harsh transitions. Work slowly and check your progress frequently.
For complex edges like towers and spires, try the Smudge Tool. Set it to 30-40% strength and gently blur edges into the background. This mimics how water distorts distant objects.
Don’t worry about perfection. Slight irregularity looks more natural than mathematically perfect blending.
Add Rock Elements for Depth
Import your rock images and place them in the foreground. Rocks anchor the composition and provide visual weight.
Use the same color adjustment techniques you applied to castles. Shift rocks toward blue-green tones and increase contrast appropriately.
Add strong shadows to rock undersides. These shadows ground elements in the scene. Without them, objects look like they’re floating awkwardly.
Also paint subtle highlights where light rays hit rock surfaces. This interaction between light and solid objects sells the realism.
Place Birds for Scale and Movement
Birds add life to static scenes. Place them in the sky portion using your bird silhouettes.
Vary their sizes dramatically. Closer birds appear much larger. This variation communicates depth more effectively than any other technique.
Blur distant birds slightly using Filter > Blur > Gaussian Blur. Sharp focus on everything looks unnatural. Selective focus directs viewer attention.
Also adjust bird opacity based on distance. Farther birds fade toward the sky’s color and brightness.
Final Color Grading with Vibrance
Almost done. Add a Vibrance adjustment layer above all other layers. This affects the entire composition simultaneously.
Increase Vibrance to boost color intensity without oversaturating skin tones. Though you don’t have people in this scene, Vibrance still provides smoother color enhancement than Saturation.
Reduce Vibrance if your scene looks too cartoonish. Underwater environments often have muted color palettes. Finding the right balance takes experimentation.
Also try adjusting Saturation separately. Sometimes you want rich colors in the sky while keeping underwater sections more subdued.
Problem-Solving Common Issues
Your composite might still have problems. Here’s how to fix the most common ones.
Harsh color transitions: Add more Color Balance and Hue/Saturation adjustment layers. Use masks to apply corrections only where needed.
Flat lighting: Layer multiple light ray effects at different angles and opacities. Real light scatters in complex ways underwater.
Floating objects: Add shadows beneath every element. Even subtle shadows dramatically improve believability.
Muddy details: Sharpen your final image selectively using Filter > Sharpen > Unsharp Mask. Apply it only to foreground elements through a layer mask.
My Take on Photo Manipulation Workflow
Building complex composites teaches patience more than anything else. You can’t rush the masking and adjustment process without degrading quality.
Start with solid source images. No amount of Photoshop wizardry fixes fundamentally mismatched photos. Spend time finding complementary elements before combining them.
Also, work non-destructively whenever possible. Smart Objects, adjustment layers, and layer masks let you revise decisions later. Direct pixel editing locks you into choices you might regret.
Finally, study real underwater photography. Understanding how light, color, and clarity behave underwater elevates your composites from good to exceptional. Reference reality even when creating fantasy scenes.