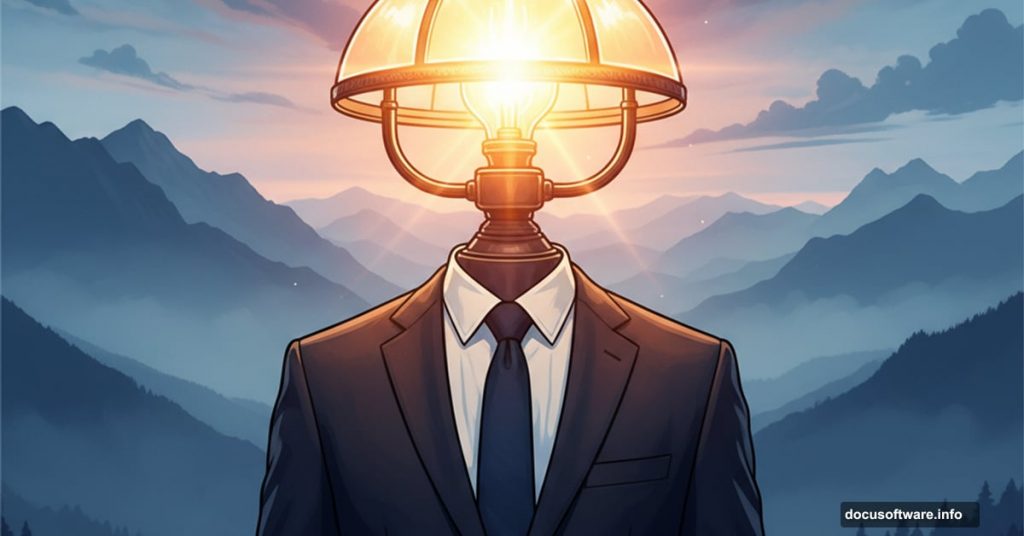
Want to create eye-catching surreal art that stops viewers mid-scroll? This step-by-step tutorial walks you through building a dreamlike scene featuring a man with a lamp for a head.
You’ll learn essential photo manipulation techniques that apply to countless creative projects. Plus, most of these methods work in Photoshop CS3 and later versions. So even older software handles these effects perfectly well.
Gather Your Source Images First
Before opening Photoshop, collect all the images you’ll need. This tutorial requires seven specific elements.
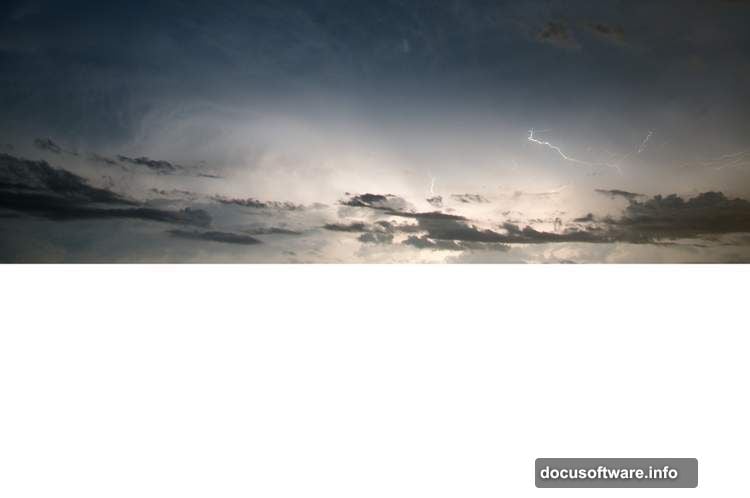
You’ll need a sky photo for the background base. Mountain images create depth and atmosphere. An arch rock adds dramatic foreground interest. Two different bird photos provide flying subjects. Finally, grab images of a man, lamp, and tree for your main subjects.
Make sure your source photos have similar lighting conditions. That consistency saves hours of adjustment work later. Also, choose high-resolution images when possible. Larger files give you more flexibility during editing.
Build Your Base Scene Layer by Layer
Start by creating a new 2000×1333 pixel document with a white background. This canvas size works great for web display while maintaining enough detail for prints.
Drag your sky image onto the canvas using the Move Tool (V). Position it in the upper portion of your composition. Then adjust the layer’s contrast using a Curves adjustment layer. Increase the lightness values significantly to create that ethereal, dreamlike quality.
Next, open your mountain image. Use the Rectangular Marquee Tool (M) to select only the sky and mountain portions. Add this selection to your main canvas and position it over the existing sky area.
Here’s where masking becomes crucial. Click the mask icon at the bottom of your Layers panel. Now grab a soft round brush with black as your foreground color. Paint along the top edges to blend the mountains seamlessly into the sky background.
Adjust Colors for Cohesive Atmosphere
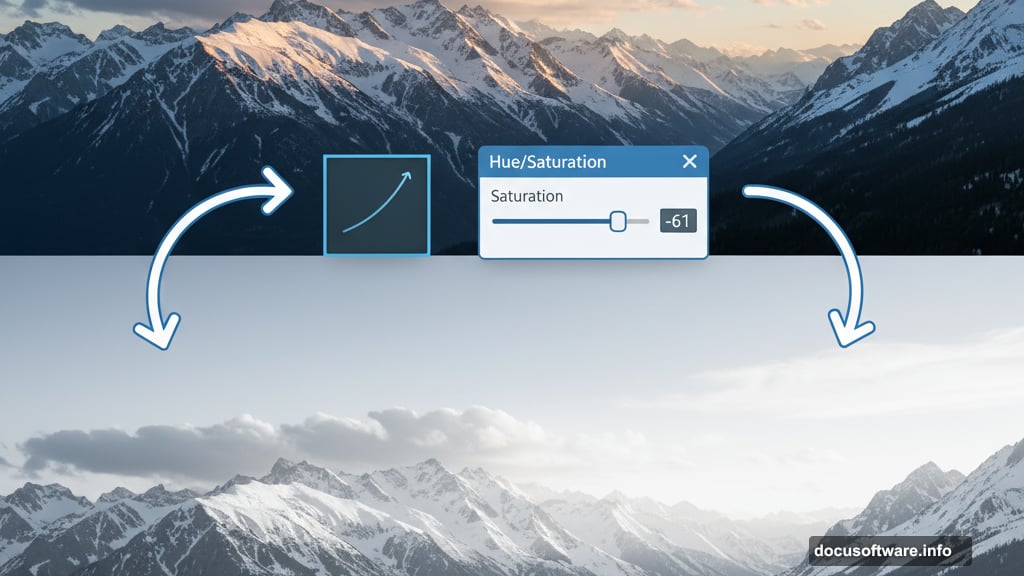
Your scene needs unified color tones to look believable. Create a Hue/Saturation adjustment layer above the mountains layer. Set it as a Clipping Mask so it only affects that specific layer.
Drag the Saturation slider down to -61. This desaturation helps the mountains recede into the background naturally. Moreover, it creates visual hierarchy by making foreground elements pop more.
Add another Curves adjustment layer (also as a Clipping Mask) to brighten the mountains slightly. This maintains detail while keeping the dreamy, soft atmosphere intact.
Position Your Architectural Anchor Point
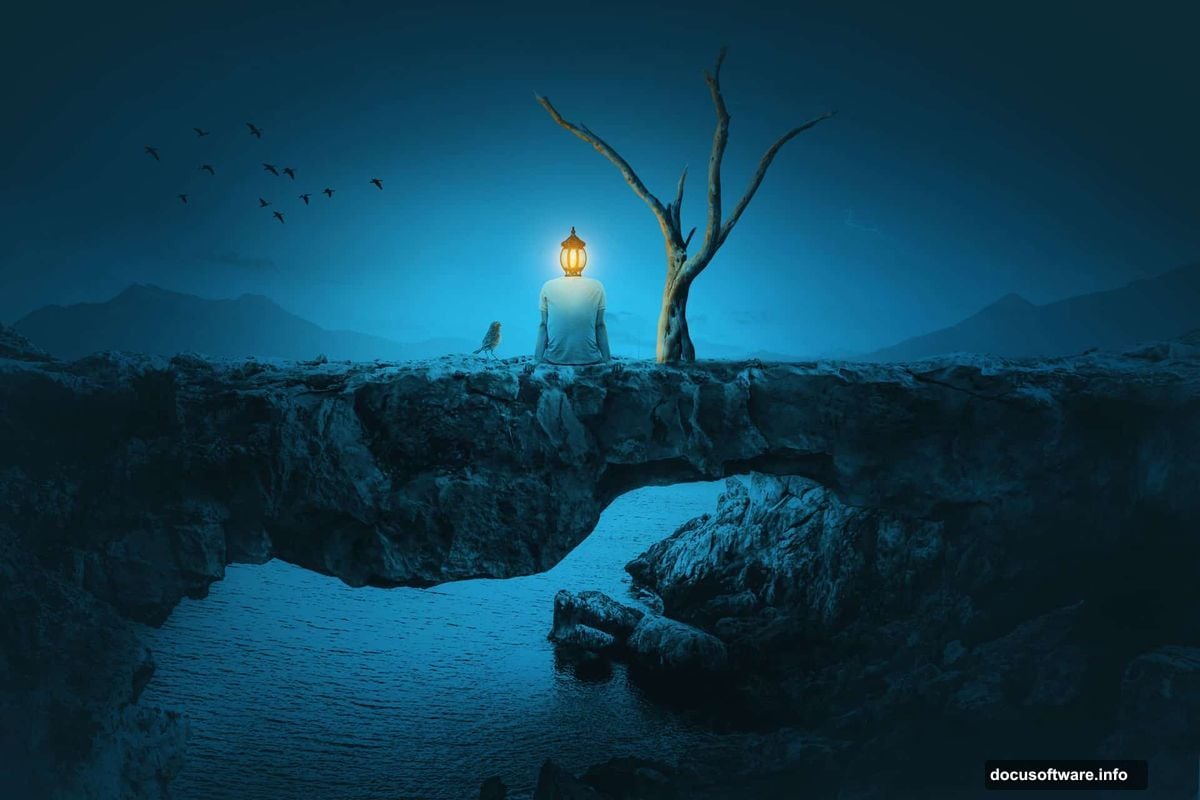
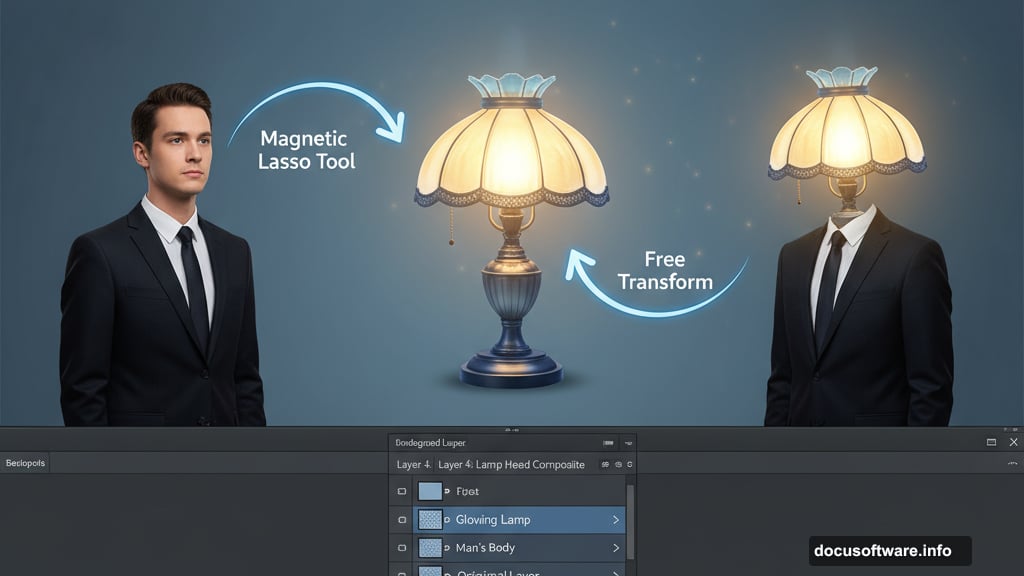
Open your arch rock image next. Use the Magnetic Lasso Tool (L) to isolate the arch along with the surrounding sea area. This tool follows edges automatically, which speeds up your selection process.
Place the arch selection in the lower portion of your canvas. Now press Ctrl+T to activate Free Transform. Distort the arch’s perspective slightly to match your scene’s viewing angle. This subtle adjustment makes the difference between “photoshopped” and “photographic.”
Create a Hue/Saturation adjustment layer for the arch. Drop the Saturation values to -76. This heavy desaturation unifies the arch with your sky and mountain tones.
Then add a Color Balance adjustment layer. Shift the colors toward cooler tones to match your overall atmosphere. Cooler colors naturally recede, which reinforces the depth you’re building.
Create Dramatic Light and Shadow
Add a Curves adjustment layer to darken the arch’s back areas and rock surfaces. But don’t darken everything uniformly. That’s the amateur mistake that makes composites look flat.
Instead, grab a soft black brush on the Curves layer mask. Paint away the darkness on the arch’s front surface and visible details. This selective brightening creates the illusion that light hits the arch from your scene’s light source.
Remember, light and shadow tell viewers where to look. So always consider your implied light direction when adjusting brightness values.
Import and Blend Your Main Subject
Now comes the fun part. Open your man image and carefully select the figure using your preferred selection method. The Pen Tool creates the cleanest edges for human subjects, though it requires more time.
Position the man in your scene where the composition feels balanced. Use Free Transform to scale him appropriately relative to the arch and mountains.

Next, open your lamp image. Select just the lamp head portion and place it over the man’s head area. This is your surreal element, so take time getting the scale and angle perfect.
Blend the lamp base into the neck area using layer masks and a soft brush. Paint gradually along the edges where lamp meets body. Build up the effect slowly with multiple brush strokes at reduced opacity.
Add Natural Environment Elements
Your tree image adds organic contrast to the hard geometric lamp shape. Place the tree in your composition where it balances the visual weight of your other elements.
Use Hue/Saturation adjustment layers to match the tree’s colors to your scene. Then add Curves adjustments to match the lighting direction you established earlier.
Create shadows beneath the tree using a new layer set to Multiply blend mode. Paint soft shadows with a black brush at low opacity. These shadows anchor objects to the ground plane convincingly.
Populate Your Sky with Movement
Open both bird images. Select individual birds using the Quick Selection Tool or Magic Wand. Copy each bird to a new layer so you can position them independently.
Scale the birds to different sizes. Larger birds appear closer, while smaller ones seem distant. This size variation creates convincing depth in your sky area.
Blur distant birds slightly using Filter > Blur > Gaussian Blur. Real cameras can’t keep everything in focus simultaneously. So this selective blur mimics photographic depth of field.
Add motion blur to some birds using Filter > Blur > Motion Blur. Set the angle to match each bird’s flight direction. This subtle touch suggests movement and brings your static image to life.
Paint Dramatic Lighting Effects
Create a new layer above all your other layers. Set this layer’s blend mode to Screen or Linear Dodge (Add). These modes make your painted light appear luminous.
Choose a soft brush with yellow or warm white as your foreground color. Paint light emanating from the lamp head, as if it’s actually glowing. Start with a large brush at very low opacity (around 10-15%).
Build up the glow gradually with multiple brush strokes. Paint brighter highlights where light hits nearby surfaces like the man’s shoulders or collar. Then extend fainter light rays into the surrounding atmosphere.
Remember, less is more with glow effects. Overdoing it creates that cheesy “beginner Photoshop” look. So add light conservatively and step back frequently to assess your progress.
Unify Everything with Final Adjustments
Now add global adjustment layers that affect your entire composition. Start with a Curves adjustment to fine-tune overall contrast and brightness values.
Create a Color Lookup adjustment layer to apply a cinematic color grade. Photoshop includes several preset color grades, or you can create custom ones. Experiment until you find one that enhances your surreal atmosphere.
Add a final Hue/Saturation adjustment layer. Make subtle tweaks to individual color channels if any elements still feel disconnected from the scene.
Finally, consider adding a subtle vignette. Create a Curves adjustment layer and darken the midtones. Then invert the layer mask (Ctrl+I) and use a large soft brush with black to paint away darkness from the center of your image.
Polish and Perfect Your Composition
Zoom in and examine edges carefully. Even small masking errors become obvious when viewers look closely. Clean up any rough edges using a small, hard-edged brush on your layer masks.
Check your light consistency. Does light appear to come from a single direction? Inconsistent lighting destroys believability instantly. So adjust shadows and highlights until everything makes logical sense.
Review your color harmony. Surreal doesn’t mean chaotic. The most successful surreal images maintain cohesive color palettes that guide the viewer’s eye smoothly through the composition.
Step back from your monitor periodically. Fresh eyes catch mistakes you stop seeing after hours of editing. Better yet, save your work and return the next day before making final decisions.
This lamp-head portrait demonstrates fundamental photo manipulation techniques you’ll use in countless projects. Master these blending, masking, and adjustment layer skills now. Then apply them to create increasingly complex surreal compositions that showcase your unique creative vision.