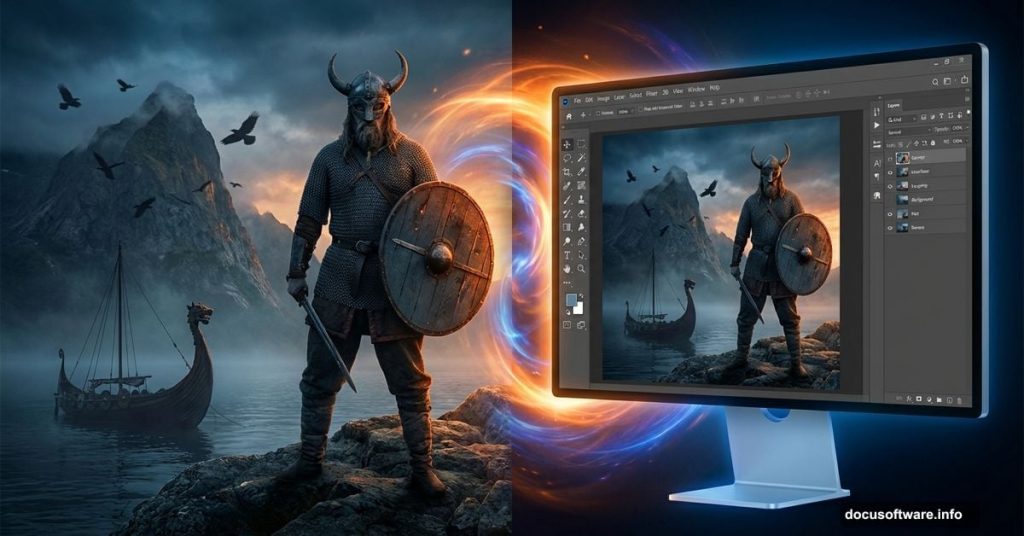
Photoshop transforms ordinary photos into legendary scenes. This tutorial builds an ancient Scandinavian epic from scratch.
You’ll combine landscapes, ships, and warriors into one dramatic composition. Plus, you’ll master layer masks, adjustment layers, and atmospheric effects along the way. The techniques work in any Photoshop version.
This project takes patience. But the results justify every minute spent blending elements together.
Gather Your Visual Arsenal First
Successful photo manipulation starts with quality source images. You need landscapes, ships, models, and atmospheric elements before opening Photoshop.
Download everything to one folder. Organizing files upfront saves frustration later. You’ll jump between images constantly throughout this project.
Required elements include Nordic landscapes, fjord photos, sailing ships, warrior models, ravens, stones, and dramatic skies. Stock photo sites provide most materials. DeviantArt hosts many free resources too.
Keep originals in a separate backup folder. You might need different angles or alternate shots as your composition evolves.
Build Your Canvas Foundation
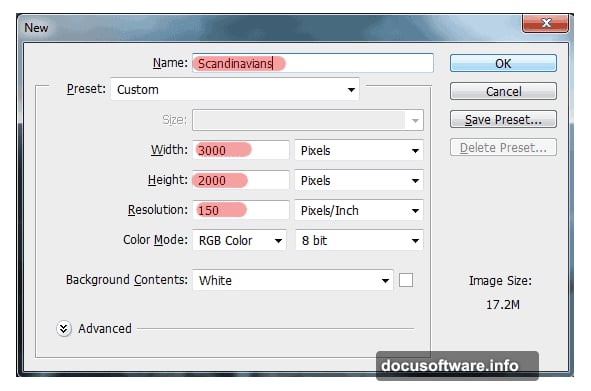
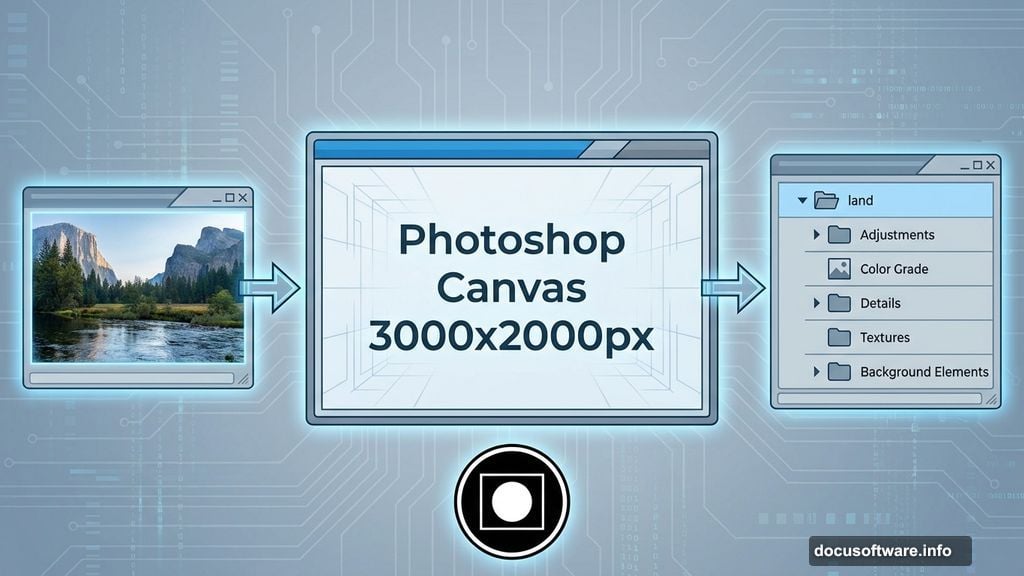
Create a new document at 3000×2000 pixels. This resolution provides enough detail for professional results without overwhelming your system.
Go to File > New or hit Cmd/Ctrl+N. Name your project something memorable like “Norse Warriors” or “Viking Legend.”
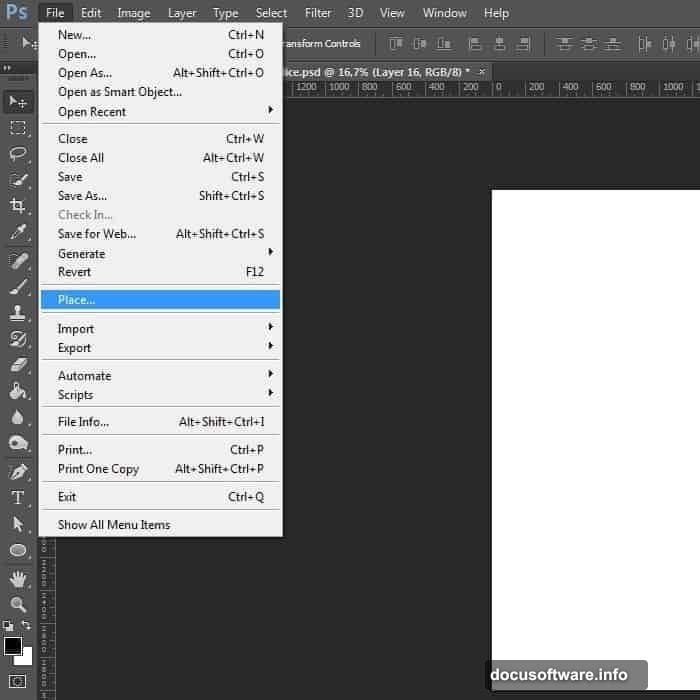
Place your reference landscape first. This image guides your composition but gets removed later. Think of it as scaffolding for a building.
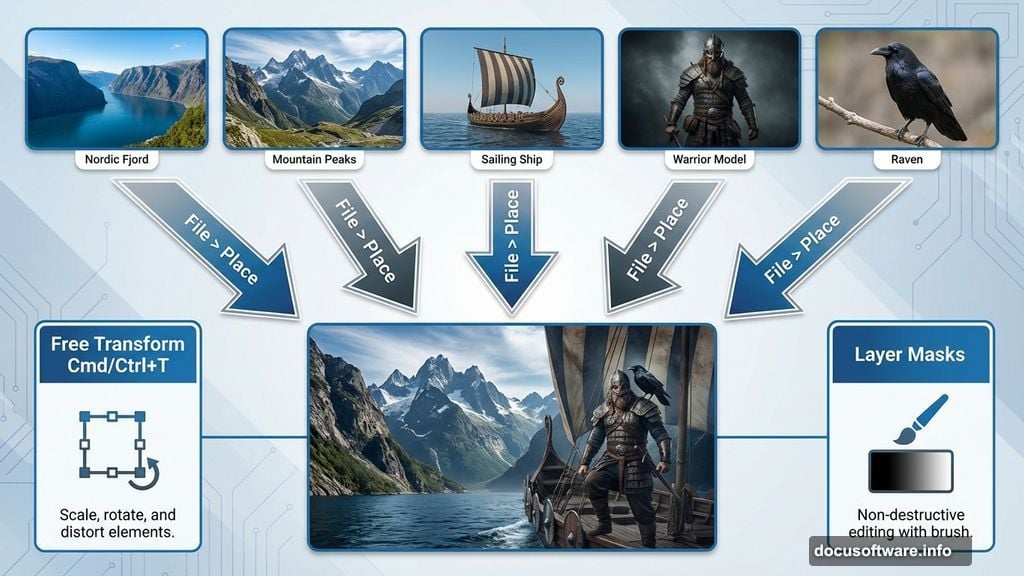
Hit File > Place and select your base landscape. The image imports with transform handles active. Stretch it beyond the canvas edges. Don’t worry about quality loss since this layer serves purely as composition reference.
Construct the Landscape Base
Create a new group called “land” in your Layers palette. Organizing layers into groups prevents chaos as your project grows complex.
Good layer management makes editing faster. You’ll thank yourself later when hunting for specific elements.
Start building terrain with your fjord photo. Place this image using File > Place again. Position it carefully to establish your scene’s foundation.
The fog adds atmosphere immediately. Nordic landscapes naturally include mist and low clouds. These elements sell the ancient setting convincingly.
Transform the fjord layer to fit your composition. Use Cmd/Ctrl+T to activate Free Transform. Pull corner handles to resize and rotate as needed.
Blend the Mountain Elements
Mountains create drama and scale. They make human figures look small and vulnerable against nature’s power.
Add your mountain landscape photo next. Place it above your current layers. The peaks should tower over your scene’s horizon line.
Layer masks become essential here. Create a mask by clicking the mask icon at the bottom of your Layers panel. Paint with black to hide unwanted areas. Paint with white to reveal them again.
Soft brushes work best for blending natural elements. Set your brush opacity around 30-50% for gradual transitions between images.
Match lighting direction across all landscape pieces. Inconsistent shadows destroy believability fast. Study where light hits each source photo before positioning.
Position the Viking Ships
Sailing vessels anchor your composition in history. They tell viewers immediately what era this scene represents.
Place ship images into your document. These need careful positioning to look natural in the water. Too high looks fake. Too low hides important details.
Transform each ship to proper scale. Ancient Nordic vessels weren’t massive like later warships. Keep proportions realistic compared to landscape elements.
Add subtle shadows beneath each hull. Ships sitting on top of water without shadows float unconvincingly. Use dark, soft-edged brushes at low opacity to paint shadows directly on the water layer.
Masts and rigging should align with your composition’s perspective. Ships tilted at odd angles break immersion immediately.
Integrate Warrior Models
Human figures bring your scene to life. They provide scale and narrative focus that pure landscape lacks.
Place your warrior model photos. These require the most careful masking work. Hair and fur details demand precision to avoid obvious cutout edges.
Use the Pen Tool for clean selections around hard edges like weapons and armor. Switch to Refine Edge for complex areas like hair and fur trim.
Match model lighting to your landscape. If light comes from the left in your scene, your models need left-side highlights too. Mismatched lighting screams “fake composite.”
Add contact shadows where feet meet ground. Even small shadow details increase realism dramatically. Paint these shadows on separate layers so you can adjust them non-destructively.
Add Atmospheric Details
Ravens circling overhead reinforce the Norse theme. Birds add movement and life to otherwise static compositions.

Place crow images at various sizes and positions. Distant birds appear smaller. Closer ones show more detail. This depth variation creates convincing three-dimensional space.
Blur distant ravens slightly. Atmospheric perspective makes far objects less sharp than near ones. Apply subtle Gaussian Blur to background birds.
Stones and rocks in the foreground add texture and framing. They guide the viewer’s eye toward your main subjects. Place larger stones near frame edges to create natural compositional boundaries.
Enhance the Sky Drama
Nordic skies shift between clear and stormy fast. Dramatic clouds set the mood for your entire scene.
Replace the original sky if needed. Overcast conditions suit Viking themes better than sunny blue skies. Look for threatening, heavy cloud formations.
Blend your new sky using layer masks. Paint away hard horizon lines where sky meets mountains. Soft transitions look natural. Hard edges look cut-and-pasted.
Adjust sky colors to match your overall color scheme. Use Hue/Saturation or Color Balance adjustment layers. These non-destructive adjustments let you experiment freely.
Unify With Adjustment Layers
Color harmony ties disparate source images together. Without color adjustments, composites look like random photos pasted together.
Add a Curves adjustment layer above everything. Adjust the curve to establish your overall tonal range. Pull up shadows slightly for detail. Pull down highlights to prevent blowouts.
Create a Color Balance layer next. Push colors toward cooler tones for Nordic atmosphere. Add slight blue to shadows and midtones. This creates cohesion across all elements.
Selective Color adjustment layers target specific color ranges. Modify yellows, blues, and cyans independently to fine-tune your color palette. For this scene, push blues toward cyan and yellows toward gold.
Apply Atmospheric Effects
Fog and mist sell the Nordic setting convincingly. These effects also hide imperfect blending between elements.
Create a new layer and paint white fog using a large, soft brush at very low opacity. Build up fog gradually across multiple strokes. Subtle application looks natural. Heavy-handed fog looks obviously painted.
Lower the fog layer opacity to around 40-60%. This allows underlying details to show through realistically. Completely opaque fog obliterates too much detail.
Add subtle vignetting to focus attention. Create a Curves adjustment layer with a layer mask. Paint black around the edges to darken the frame corners slightly.
Fine-Tune Final Details
Step back and evaluate your composition objectively. Look for inconsistencies in lighting, color, or perspective that break the illusion.
Adjust individual element brightness using Curves or Levels adjustment layers clipped to specific layers. This targeted approach avoids affecting your entire image.
Sharpen strategically. Apply sharpening only to focal points like warrior faces and weapons. Leave background elements softer to enhance depth perception.
Check your composition’s narrative flow. Does the viewer’s eye travel naturally through the scene? Adjust element positions if needed to improve visual storytelling.
Export Your Epic Creation
Save your master PSD file with all layers intact. This preserves complete editing flexibility for future adjustments.
Create a flattened copy for sharing. Go to Layer > Flatten Image, then save as JPEG at maximum quality. This produces a sharable file without massive PSD file sizes.
Consider saving a web-optimized version too. File > Export > Save for Web produces smaller files suitable for online portfolios and social media.
Share your creation and note which techniques you found most challenging. Other artists benefit from your experience and struggles as much as your successes.
Photo manipulation rewards patience and experimentation. Each project teaches new blending techniques and compositional strategies. The skills transfer directly to any fantasy or historical scene you imagine next.