
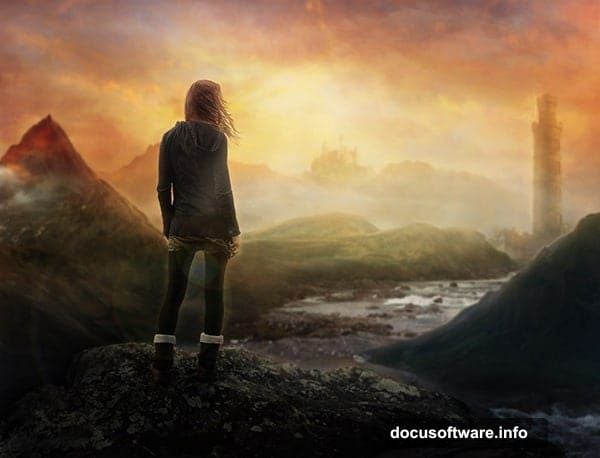
Creating surreal landscapes in Photoshop sounds intimidating. But it’s actually straightforward once you understand a few core techniques.
This guide walks you through building dreamlike environments using non-destructive editing methods. You’ll learn how to blend multiple images seamlessly, use depth of field to create realistic distance, and combine elements that shouldn’t exist together into cohesive scenes.
No advanced skills required. Just patience and attention to detail.
Set Up Your Canvas Right
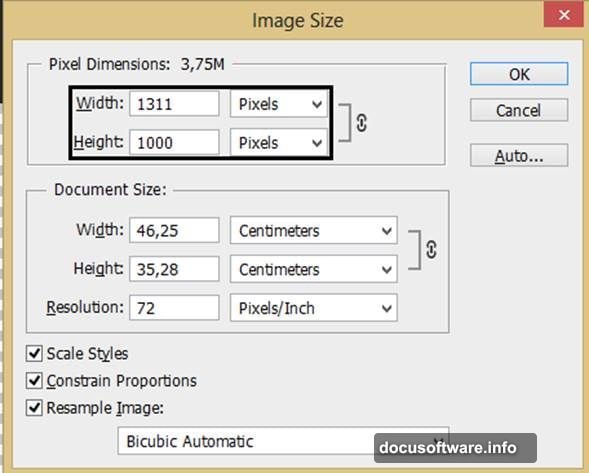
Start with proper dimensions. Create a new file at 1311px wide by 1000px tall. This gives you enough resolution for detailed work without slowing down your computer.
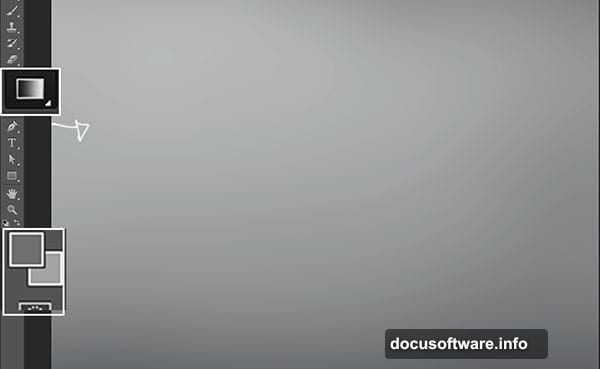
Before adding any photos, build your base layer. Use the Gradient Tool to create a sky-like background. Pick colors that match the mood you want. Soft blues and purples work well for mystical scenes. Warm oranges and reds create dramatic tension.
This gradient becomes your lighting reference. Every element you add should match its color temperature and intensity.
Place Images Without Destroying Originals
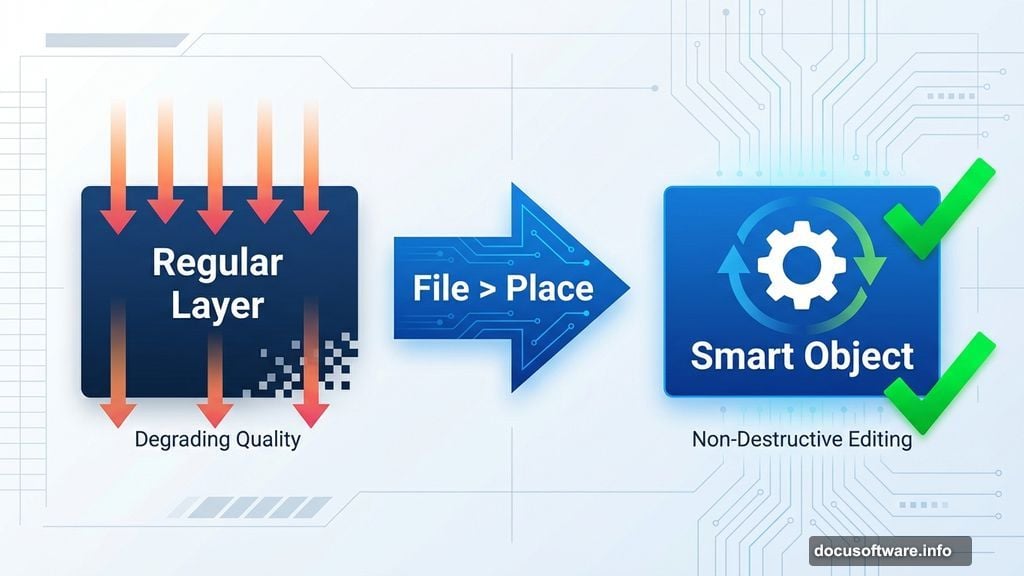
Never drag and drop images directly onto your canvas. Instead, go to File > Place. This imports images as Smart Objects.
Why does this matter? Smart Objects preserve the original image data. You can resize, transform, and adjust them repeatedly without quality loss. Regular layers degrade every time you make changes.
Plus, you can double-click a Smart Object to edit its contents in a separate window. Make color adjustments, apply filters, then save. Those changes appear automatically in your main composition.
Blend Mountains Using Layer Masks
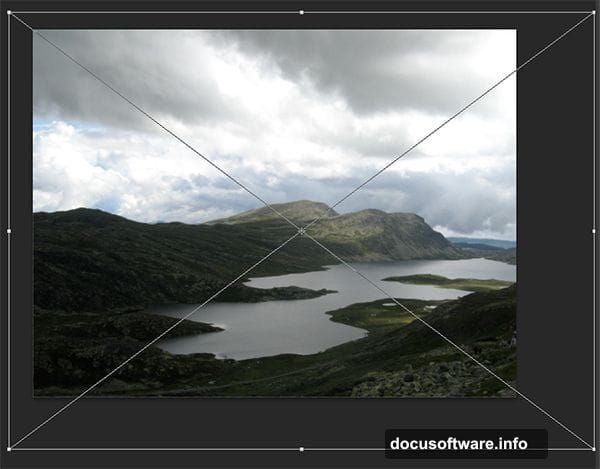
Import your first mountain image using Place. Resize it by dragging corner handles while holding Shift. This maintains proportions and prevents distortion.
Now reduce the layer opacity to 80%. This lets you see how it interacts with the background gradient.
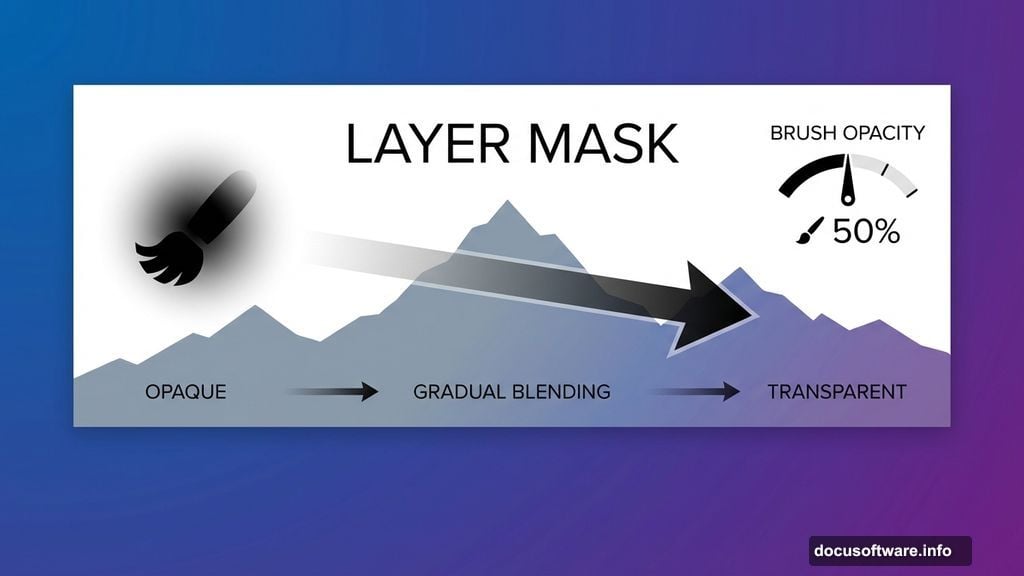
Add a layer mask by clicking the mask icon at the bottom of the Layers panel. Select a soft round brush with black paint and 50% opacity. Paint over areas you want to hide, particularly sky portions or hard edges.
The key is gradual blending. Don’t just erase. Use varying brush opacities to create smooth transitions between elements.
Adjust Colors to Match Your Scene
Your imported photos won’t match the lighting of your gradient background. Fix this with Smart Object color adjustments.
Double-click the image thumbnail to open it for editing. Press Ctrl+U to open Hue/Saturation. Check the Colorize option. Reduce saturation to around 12 for subtle tinting.
This unifies the color palette across all elements. Every piece should share similar color temperature and saturation levels. Otherwise your composition looks like a collage instead of a cohesive scene.
Save the Smart Object with Ctrl+S. The color changes apply to your main canvas automatically.
Layer Multiple Mountains for Depth
Import additional mountain images using the same Place method. Vary their sizes to create perspective. Larger mountains appear closer. Smaller ones recede into the distance.
Stack layers strategically. Background mountains go at the bottom of your layer stack. Foreground elements go on top. This creates proper depth layering.
Apply layer masks to each mountain. Use soft brushes to blend edges where mountains meet sky or overlap each other. Reduce opacity on distant mountains to simulate atmospheric perspective.
Add Water Elements That Flow Naturally
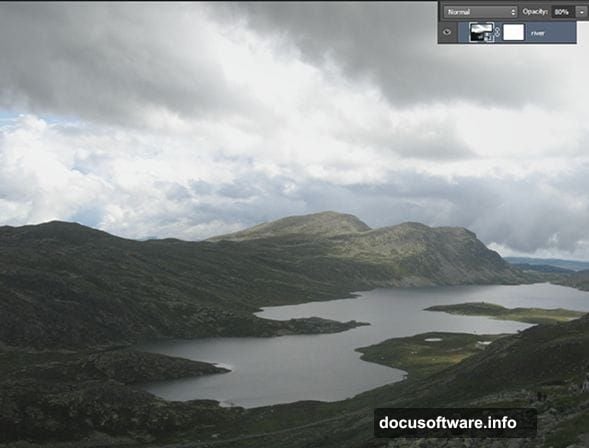
Place your river image and resize it to fit the foreground. Position it so the water appears to flow naturally through your landscape.
Reduce layer opacity to 80%. Add a layer mask and paint away clouds or sky portions. Focus on keeping just the water and immediate surroundings.
Move this river layer above your mountain layers. This puts water in the foreground where it belongs. Adjust the stacking order until the spatial relationships feel right.
Use Selection Tools for Complex Shapes
Some elements like castles or towers have intricate edges. Layer masks alone won’t cut it. Use the Magic Wand tool to select the sky around these objects first.
Click the sky with the Magic Wand. Adjust tolerance settings if needed. Higher tolerance selects more similar colors. Lower tolerance selects fewer pixels.
Once the sky is selected, invert the selection with Ctrl+Shift+I. Now only the building is selected. Click the layer mask icon to create a mask from this selection. This gives you clean edges automatically.
Create Atmospheric Depth with Blur
Objects farther away should appear slightly out of focus. This mimics how our eyes actually see distance.
Select background mountain layers. Apply a subtle Gaussian Blur by going to Filter > Blur > Gaussian Blur. Use a radius of 2-3 pixels. Don’t overdo it.
Foreground elements stay sharp. Middle-ground elements get minimal blur. Background elements get the most blur. This creates convincing depth of field.
Match Lighting Across All Elements
Every element must share the same light direction and intensity. Look at your gradient background. Is light coming from the left or right? Top or bottom?
Use Curves adjustments to brighten or darken parts of each element. Press Ctrl+M to open Curves. Lift the curve to brighten. Lower it to darken.
Apply these adjustments to Smart Objects whenever possible. This keeps your workflow non-destructive and reversible.
Add Final Details for Realism
Small details sell the illusion. Add atmospheric haze by creating a new layer above everything. Fill it with a light blue or purple color matching your sky. Reduce opacity to 10-20%.
This haze unifies the entire composition. It makes everything feel like it exists in the same environment instead of separate photos stitched together.
Use adjustment layers for final color grading. Curves, Color Balance, and Selective Color all work well. Make subtle changes. You’re refining, not transforming.
Save Your Work Properly
Always save a PSD file with all your layers intact. This lets you make changes later without starting over.
For sharing online, save a JPEG copy. Go to File > Export > Save for Web. Choose JPEG format and quality setting around 80-90. This balances file size with image quality.
The Real Challenge Nobody Mentions
Surreal landscape creation tests your patience more than your technical skills. Each element needs careful attention. Rushing produces obvious collages.
But that’s also what makes it satisfying. You’re building impossible worlds that feel real. The more time you invest in subtle blending and lighting consistency, the more convincing your final image becomes.
Your first attempts won’t look professional. That’s expected. But each composition teaches you something new about how light, color, and depth interact. Keep practicing. The techniques become intuitive eventually.