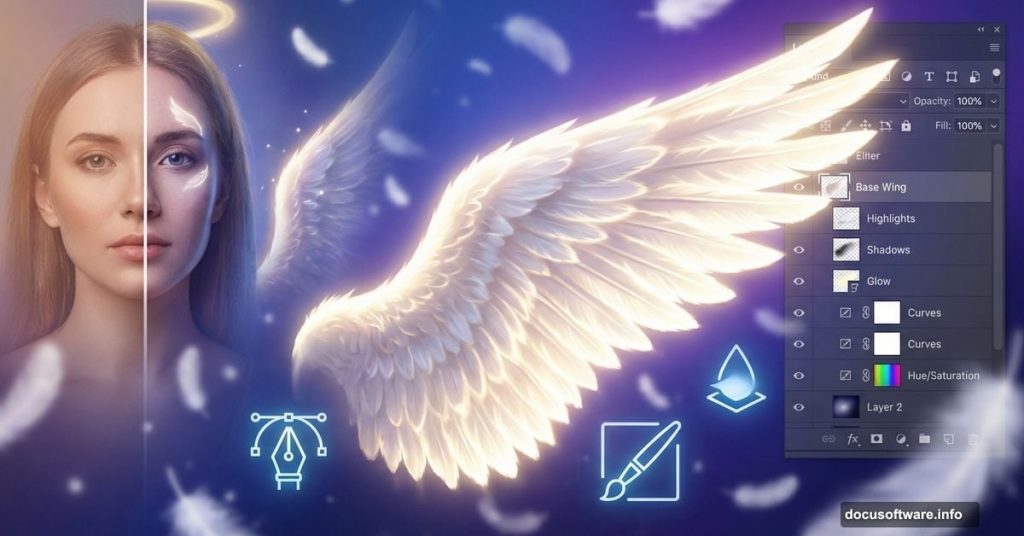
Creating ethereal angel portraits in Photoshop requires more than basic masking skills. This guide walks you through advanced photo manipulation techniques to craft emotionally powerful imagery.
You’ll learn professional retouching methods, atmospheric color grading, and seamless compositing. Plus, these same techniques work for any fantasy portrait manipulation you want to create.
Gather Your Source Materials First
Before touching Photoshop, collect high-quality stock images. You need at least four elements for this manipulation.
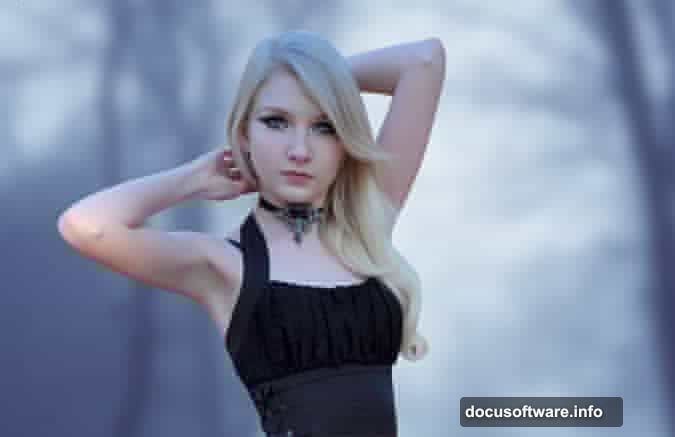
Start with a model portrait shot against a clean background. Look for images with soft, even lighting. Harsh shadows make compositing harder later.
Next, find ethereal background imagery. Cloudy skies, misty forests, or abstract textures work beautifully. Make sure the resolution matches your model image to avoid quality mismatches.
Then grab wing stock photos. Feathered bird wings photograph better than illustrated versions. Real textures always look more convincing in final composites.
Finally, collect scattered feather images and decorative crown elements. These finishing touches add narrative depth to your manipulation.
Build Your Atmospheric Base Layer
Open your background image in Photoshop. Crop and position it to create your desired composition space.
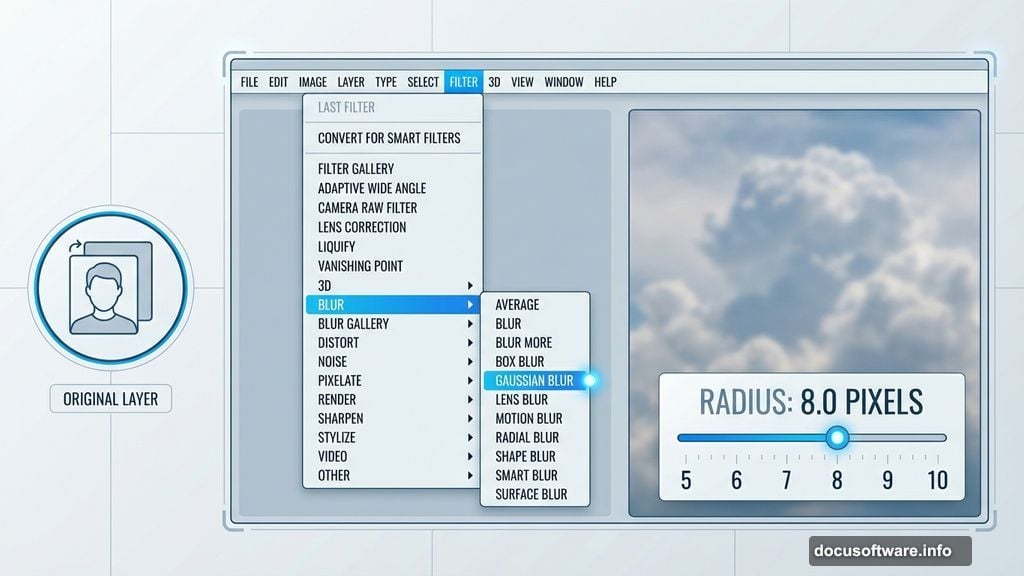
Now soften the background to push it deeper into your scene. Go to Filter > Blur > Gaussian Blur and apply a 5-10 pixel radius. This creates depth of field that makes your subject pop forward.
Next, adjust the color mood. Add a Hue/Saturation adjustment layer above your background. Reduce saturation by -38 to desaturate overly vibrant colors.
Then stack a Color Balance adjustment layer. Push the midtones toward cyan by dragging the slider -20 units toward cyan. This creates that signature cool, ethereal tone in fantasy portraits.
Your background now sets the emotional foundation. Everything you add later should harmonize with these atmospheric choices.
Extract Your Model Cleanly
Place your model image into your document. Position her where she’ll sit in the final composition.
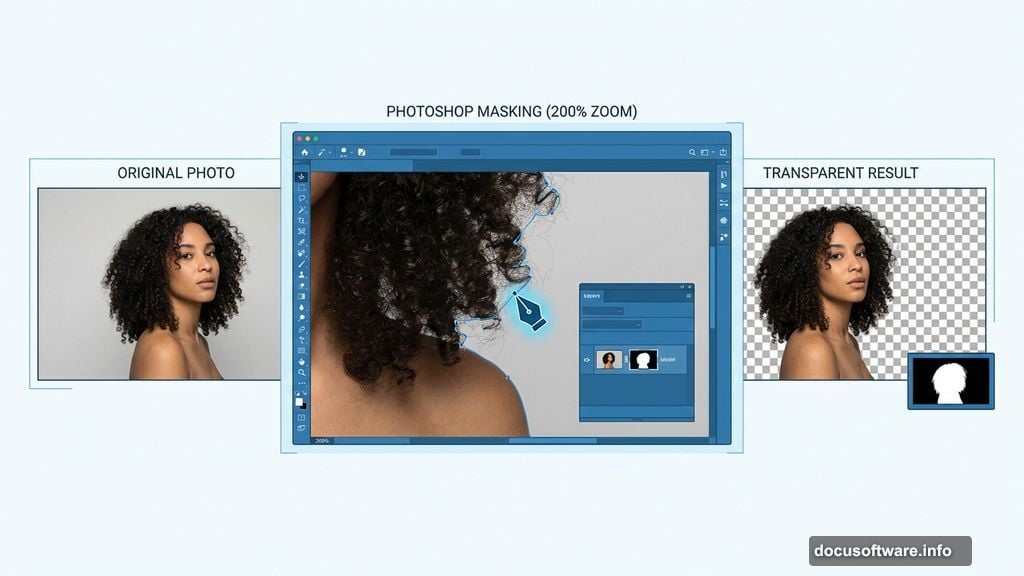
Select the Pen Tool for precision masking. Zoom to 200% and carefully trace around your subject’s silhouette. Take extra care around hair and fine edges.
However, the Pen Tool isn’t always the fastest choice. If you’re comfortable with a graphics tablet, try this instead. Add a layer mask to your model layer, then use a soft eraser to paint away the background. This works especially well for wispy hair and soft edges.

Either method works. Just make sure you’re working non-destructively with masks, not deleting actual pixels. You might need those edges later.
Enhance Skin Texture With Smart Filters
Right-click your model layer and choose Convert to Smart Object. This lets you apply non-destructive filters you can edit anytime.
Go to Filter > Blur > Surface Blur. Set Radius to 10 pixels and Threshold to 30. This smooths skin while preserving important edges like eyes and lips.
But wait. That blurred everything. Click the smart filter mask (the white thumbnail) and fill it with black by pressing Alt+Backspace. This hides the blur completely.
Now grab a soft white brush at 50% opacity. Paint over skin areas you want to soften: forehead, cheeks, shoulders, and hands. Avoid eyes, nostrils, and lip edges where you need sharp detail.
This selective blur technique creates that signature smooth skin without looking plastic or overprocessed.
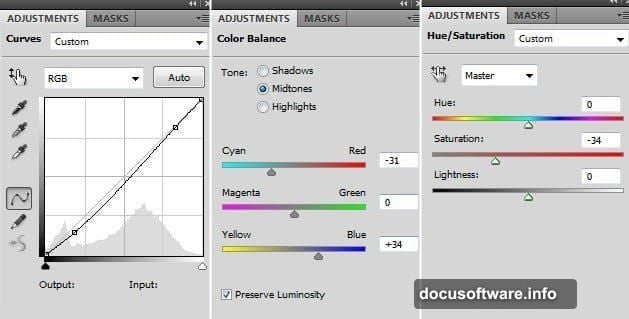
Color Grade Your Subject to Match
Your model probably doesn’t match the background’s color mood yet. Stack three adjustment layers above your model, then clip them so they only affect her.
Add a Curves adjustment first. Create an S-curve to add contrast: lift highlights slightly and darken shadows. This adds dimension to flat lighting.
Next, add a Color Balance layer. Push shadows slightly toward cyan and blue to match your cool background atmosphere. Keep skin tones natural by leaving midtones relatively neutral.
Finally, stack a Hue/Saturation layer. Reduce overall saturation by -10 to -15. This subtle desaturation helps your subject integrate into the dreamy background.
To clip these adjustments, hold Alt and click between adjustment layers. Or press Ctrl+Alt+G. When clipped properly, each adjustment layer shows a small arrow pointing down.
Blend Hard Edges With Layer Styles
Even perfect masking creates harsh cutout edges. Fix this with subtle layer styling.
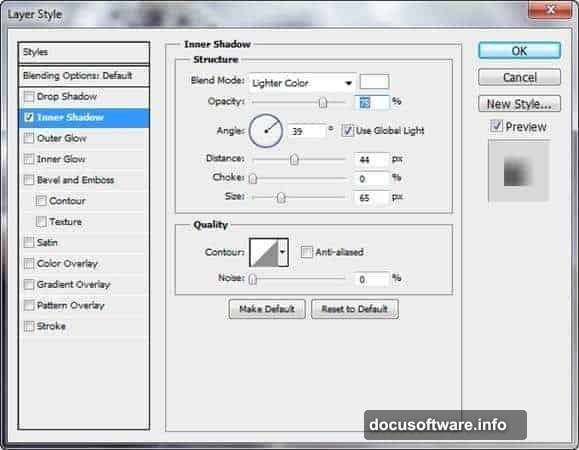
Select your model layer and go to Layer > Layer Style > Inner Shadow. Set blend mode to Normal, opacity to 30%, and distance to 5 pixels. Use a soft shadow color sampled from your background.
This creates a subtle darkening along your subject’s edges. It mimics how atmospheric haze softens distant objects, making your composite look more realistic.
Alternatively, try Inner Glow instead. Set it to a dark color at 20% opacity. Both techniques work by softening that telltale “cut and paste” edge.
These subtle effects make the difference between amateur cutouts and professional composites.
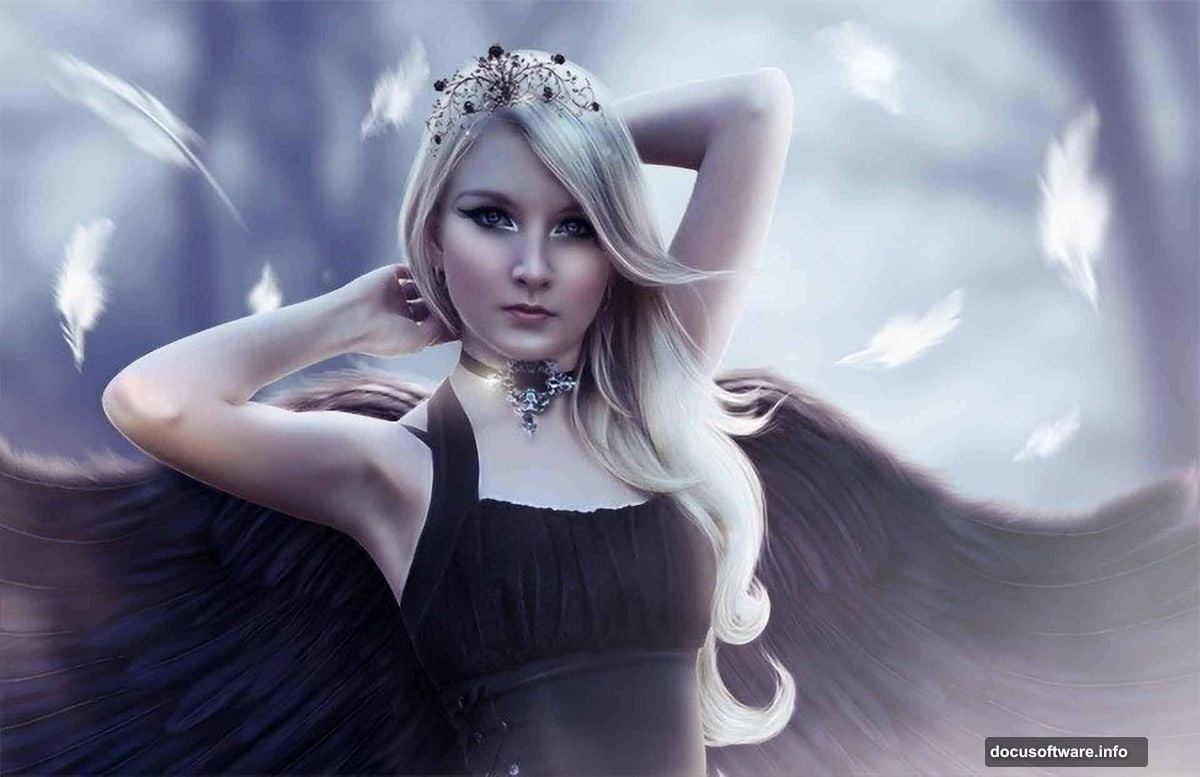
Position Wings for Natural Integration
Import your wing stock images. Position them behind your model layer so they appear to emerge from her back.
Use Free Transform (Ctrl+T) to resize and rotate wings until they match your subject’s pose. Wings should follow the natural shoulder blade position, not float randomly in space.
Add layer masks to each wing. Use a soft brush to blend the wing bases into your model’s body. This creates the illusion that wings grow from her back rather than sitting on top.
Then match wing colors to your scene. Add clipped adjustment layers to shift wing tones toward your blue-cyan color palette. Desaturate slightly so wings don’t overpower your subject.
Finally, reduce wing opacity by 10-15% and add a subtle Gaussian Blur (1-2 pixels). This pushes wings slightly back in depth, making the overall composition feel more cohesive.
Scatter Floating Feathers for Movement
Import individual feather images. Place them throughout your composition at various sizes and angles.
Create visual flow by positioning feathers along curved paths. Imagine wind patterns moving through your scene. Feathers should follow these invisible currents.
Vary feather sizes dramatically. Larger feathers in the foreground, smaller ones toward the background. This creates depth through atmospheric perspective.
Then blur distant feathers more than close ones. Apply 2-5 pixel Gaussian Blur to background feathers, while keeping foreground feathers sharp. This mimics how our eyes naturally perceive depth.
Reduce opacity on some feathers to 40-60%. This makes them feel lighter and more ethereal. Solid feathers at 100% opacity can look heavy and distracting.
Finally, add subtle motion blur to a few feathers using Filter > Blur > Motion Blur. This suggests they’re actively falling through space.
Add Finishing Decorative Elements
Import your crown or halo element. Position it to frame your subject’s face without covering important features.
Use the same color-matching workflow you applied to wings. Add clipped adjustment layers to shift the crown toward your scene’s blue tones.
Then soften the crown’s integration. Reduce opacity by 20-30% so it doesn’t dominate the composition. Add a 1-pixel Gaussian Blur to push it slightly back in visual space.
Consider adding subtle rim lighting around your subject. Create a new layer set to Screen blend mode. Use a soft white brush at 10% opacity to paint light along shoulders, hair, and wing edges. This creates separation from the background.
These finishing touches add visual interest without overwhelming your main subject.
Balance Overall Color Harmony
Step back and evaluate your entire composition. Everything should feel unified, not like separate pasted elements.
Add a final Color Lookup adjustment layer at the top of your layer stack. Try “Moonlight” or “Late Sunset” presets for instant atmospheric color grading.
Then stack a final Curves adjustment. Create a gentle S-curve to add overall contrast. Lift the curve slightly in highlights to add a dreamy glow.
Consider adding a subtle vignette. Create a new layer, fill it with black, then use a large soft eraser at 30% opacity to reveal the center. Set this layer to 20% opacity. This draws viewer attention toward your subject.
Finally, add a slight overall blur to everything except your subject’s face. Merge visible layers (Ctrl+Alt+Shift+E), then apply a 1-pixel Gaussian Blur at 30% opacity. This creates a soft-focus effect that enhances the dreamlike quality.
Export Your Final Masterpiece
Before exporting, create a final sharpening pass. Merge visible layers again (Ctrl+Alt+Shift+E) and convert to a Smart Object.
Go to Filter > Sharpen > Unsharp Mask. Use Amount: 80%, Radius: 1.0, Threshold: 0. This adds crisp detail without creating harsh edges.
Then evaluate your output size. For web display, 1920 pixels on the longest edge works perfectly. For print, maintain at least 300 DPI at your intended print size.
Save your master PSD file with all layers intact. You’ll thank yourself later when you want to make adjustments.
Export a flattened JPEG at quality level 10-12. This balances file size with image quality. For portfolios, also save a PNG version for maximum quality.
Why These Techniques Transform Your Work
Photo manipulation isn’t about perfectly cutting out objects. It’s about creating emotional cohesion across disparate elements.
The techniques here work because they mimic how light, atmosphere, and depth actually behave. Selective blurring creates depth. Color matching creates harmony. Subtle layer effects create integration.
Master these fundamentals and you can create any fantasy portrait you imagine. The specific elements change, but these core principles remain constant.
So experiment. Try different stock images, color palettes, and atmospheric effects. Every manipulation teaches you something new about visual storytelling.