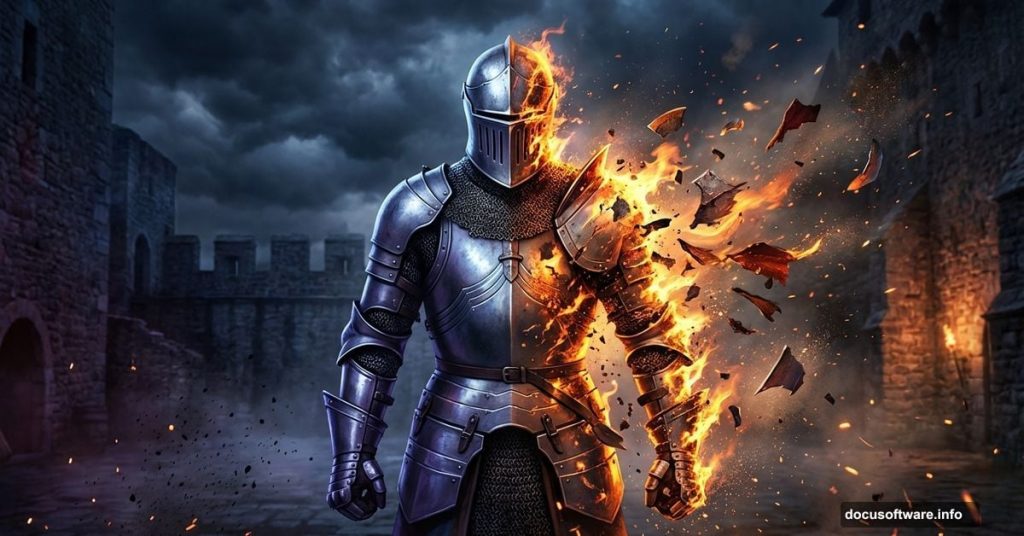
Want to make a knight explode into fiery debris? This Photoshop tutorial shows you exactly how.
We’ll combine stock images, fire elements, and custom brushes to create a dramatic scene. Plus, you’ll learn lighting techniques that work for any photo manipulation project. The disintegration effect looks complex but breaks down into simple steps.
Set Up Your Medieval Battlefield
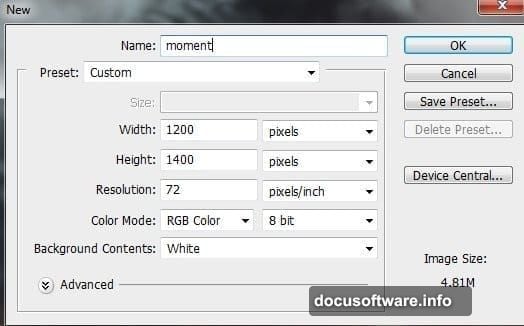
Start with a new Photoshop document at 2000×1333 pixels. Keep the resolution at 300 DPI for print quality.
Import your castle background image. Then apply a 6-pixel Gaussian Blur to create depth of field. This makes the background recede while your subject stays sharp.
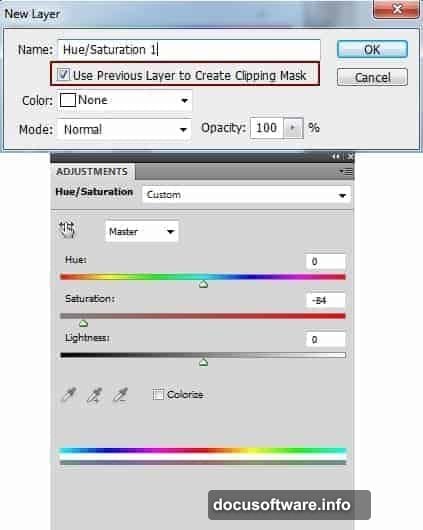
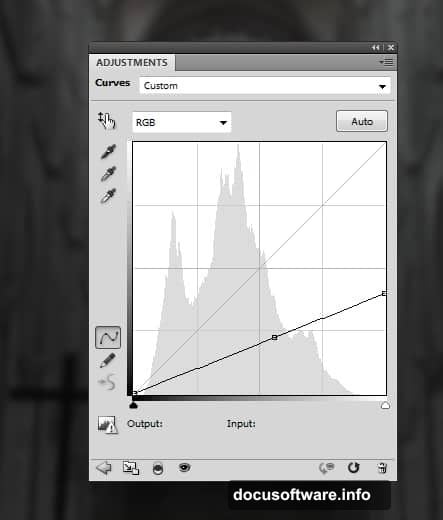
Next, desaturate the castle using a Hue/Saturation adjustment layer. Set it as a clipping mask to affect only the background. Finally, add a Curves adjustment layer to darken the castle and create a moody atmosphere.
Position Your Knight Subject
Place the knight image in the center of your canvas. Use a layer mask to remove the background cleanly.
Now comes the fun part. Switch to your debris brushes and paint directly on the knight’s arms. This creates the initial shattered effect.
However, you’ll need more debris pieces. Create a new layer and paint debris shapes in white. Turn off this layer temporarily.
Hold Cmd/Ctrl and click the debris layer thumbnail to load its selection. Right-click on the knight layer and choose “Layer via Copy.” Move these copied pieces onto the shoulders for scattered fragments.
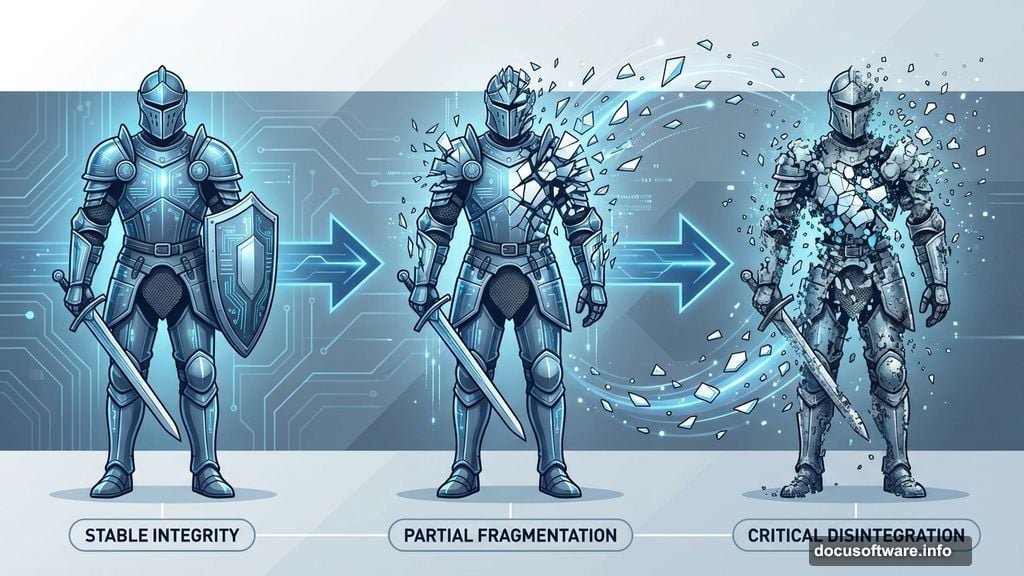
Build the Disintegration Effect
Repeat this copy-and-scatter technique across the knight’s body. Use layer masks to clean up unwanted debris pieces.
Focus on areas where fire will touch the armor. Those spots need the most disintegration. In fact, clustering debris near light sources makes the effect more believable.
Take your time with this step. More debris pieces create a more dramatic effect. But too many can look messy, so balance is key.
Add Fire Elements
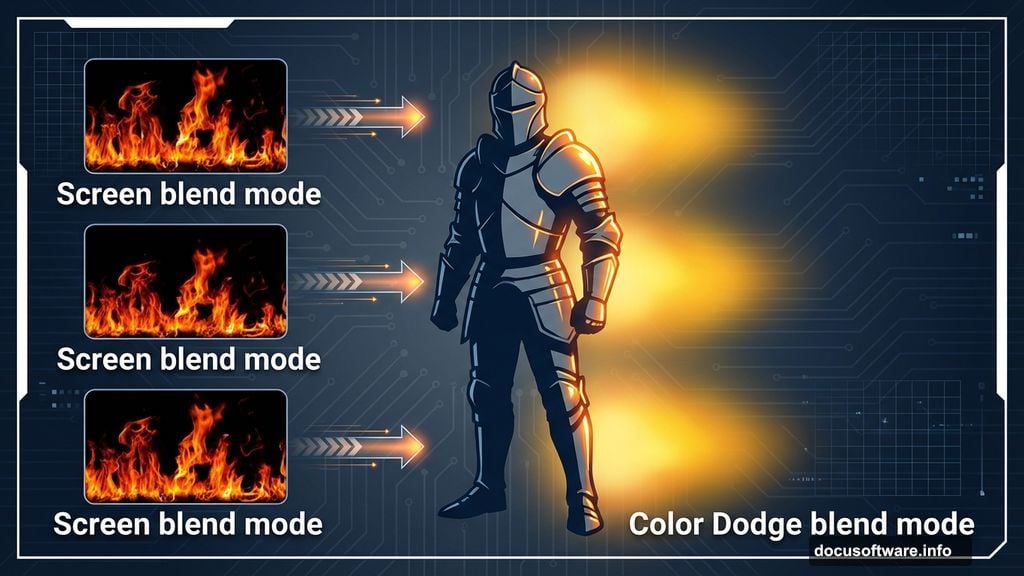
Import your fire stock images onto separate layers. Position flames near the disintegrating areas of the knight.
Change each fire layer’s blend mode to Screen. This removes the black background automatically. Then adjust opacity until the flames look natural.
Create a new layer set to Color Dodge blend mode. Use a soft brush with orange and yellow colors to paint glowing light around the fire sources. This makes the flames appear to cast actual light.
Paint Light and Shadow
Fire creates strong lighting contrasts. Add a new layer set to Overlay blend mode.
Paint with a soft brush using warm colors (orange, yellow) where fire touches the knight. Then switch to cool blues and purples for shadow areas away from flames.
Lower the layer opacity to 30-40% for subtle results. You can always duplicate the layer if you need stronger effects.
Fine-Tune With Adjustments
Add a Curves adjustment layer to boost overall contrast. Push the highlights up and shadows down slightly.
Next, create a Color Balance adjustment layer. Add warm tones to highlights and midtones. This unifies the color scheme across all elements.
Finally, add a Vibrance adjustment layer. Increase vibrance to 20-30 without oversaturating skin tones. This makes colors pop while maintaining realism.
Create Flying Sparks
Use a small, hard brush to paint white dots on a new layer. Vary the dot sizes for natural variety.
Apply a Gaussian Blur of 1-2 pixels to soften the sparks slightly. Then add an Outer Glow layer style with orange color.
Copy this spark layer and move the duplicates to different positions. This creates the illusion of embers floating through the scene.
Polish the Final Scene
Zoom out and check your composition. Add more debris or fire where needed.
Create a new layer at the top and fill it with 50% gray. Set the blend mode to Overlay. Use the Dodge and Burn tools to enhance specific areas.
Dodge brightens fire-lit areas. Burn darkens shadows for more drama. This subtle adjustment makes everything feel more three-dimensional.
Common Problems and Fixes
Fire looks flat? Add multiple fire layers at different opacities. Stack them for depth instead of using one bright layer.
Debris pieces float awkwardly? Add shadows beneath each piece. Use a soft black brush at low opacity on a layer set to Multiply.
Colors clash? Stick to a warm color palette. Orange, yellow, and red for fire areas. Blue and purple only for deep shadows.
Knight disappears into the background? Add a rim light. Paint white or bright orange along the knight’s edges where fire would hit.
The disintegration effect sells this scene. Take time perfecting the debris placement before adding fire. Once the base looks solid, lighting effects enhance everything naturally.
This technique works for any action scene requiring destruction effects. Experiment with different subjects and elements to develop your style.