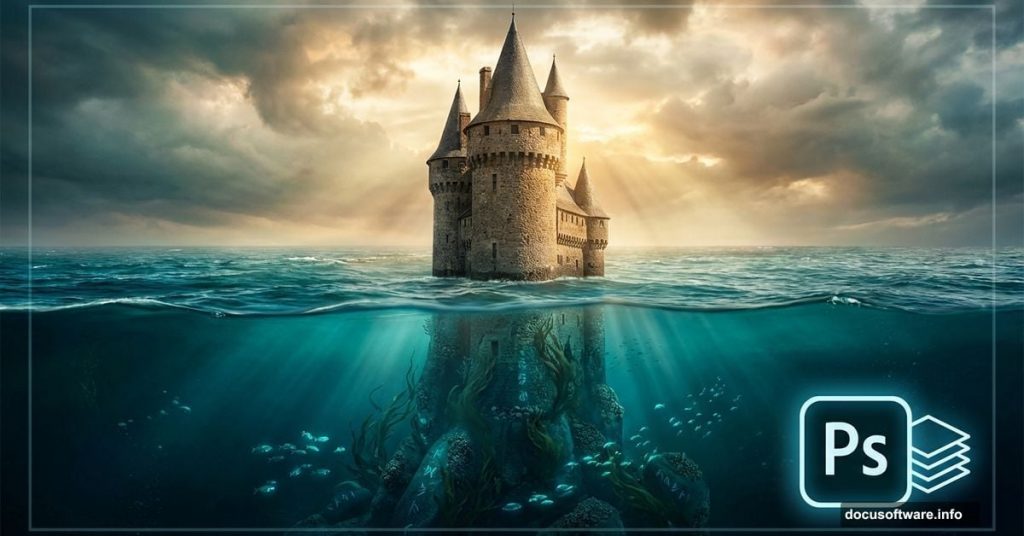
Creating surreal underwater landscapes sounds complicated. But Photoshop makes it surprisingly straightforward once you understand the core techniques.
This tutorial walks through building a mysterious submerged castle scene from scratch. You’ll learn how to blend multiple images seamlessly, create realistic water effects, and manipulate light to sell the underwater atmosphere. Plus, these same techniques work for any fantasy landscape you want to create.
Let’s dive in.
What You’ll Need Before Starting
Gather these resources first. It saves time once you start working.
Required Images:
- Sky photograph (preferably dramatic clouds)
- Sea/ocean surface shot
- Rock or cliff formations
- Castle images (at least 2-3 different angles)
- Flying birds silhouettes
Photoshop Tools You’ll Use:
- Layer masks and adjustment layers
- Smart Objects for non-destructive editing
- Blend modes and opacity controls
- Custom brushes for water effects
Most stock photo sites offer these images. Free alternatives exist too, though licensing gets tricky for commercial work. Consider investing in proper stock photos if you’re building portfolio pieces.
Build Your Base Scene First
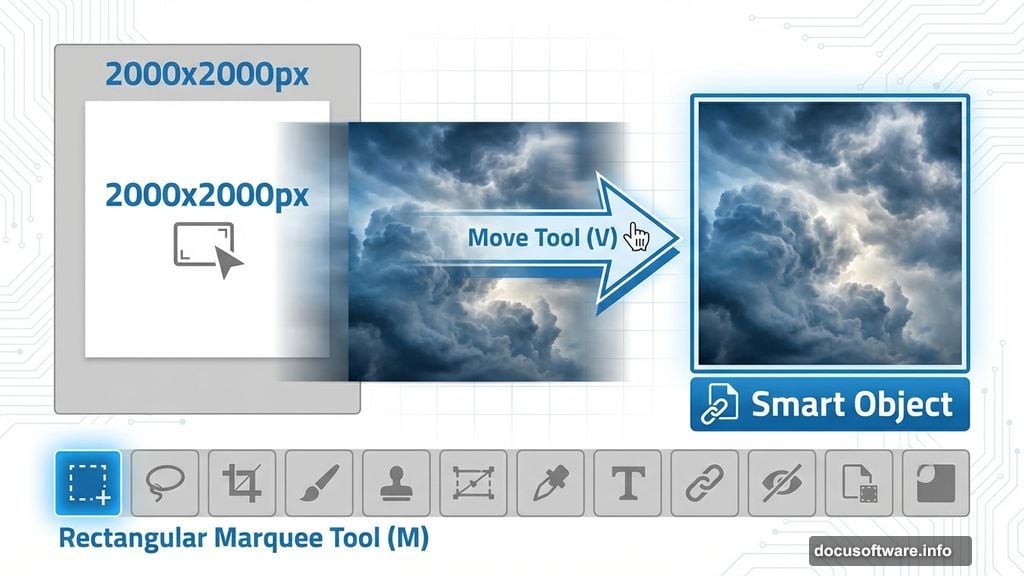
Start with a 2000×2000 pixel canvas. White background works fine for now.
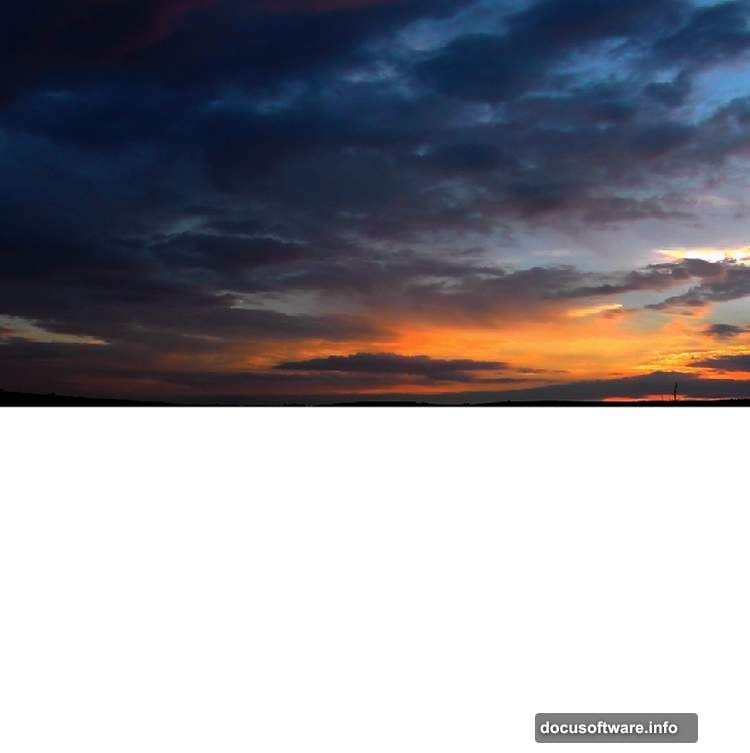
Import the Sky Layer:
Open your sky image. Use the Rectangular Marquee Tool (M) to select just the sky portion. Drag it onto your canvas with the Move Tool (V). Position it in the upper half of your document.
Here’s a pro tip. Convert this layer to a Smart Object immediately (right-click > Convert to Smart Object). This protects your original image quality when you make adjustments later.
Reduce Sky Noise:
Go to Filter > Noise > Dust & Scratches. Apply subtle settings here. Too much destroys detail. You just want to smooth out any graininess in the sky.
Create the Underwater Section
Now for the tricky part. Making the underwater portion look believable.
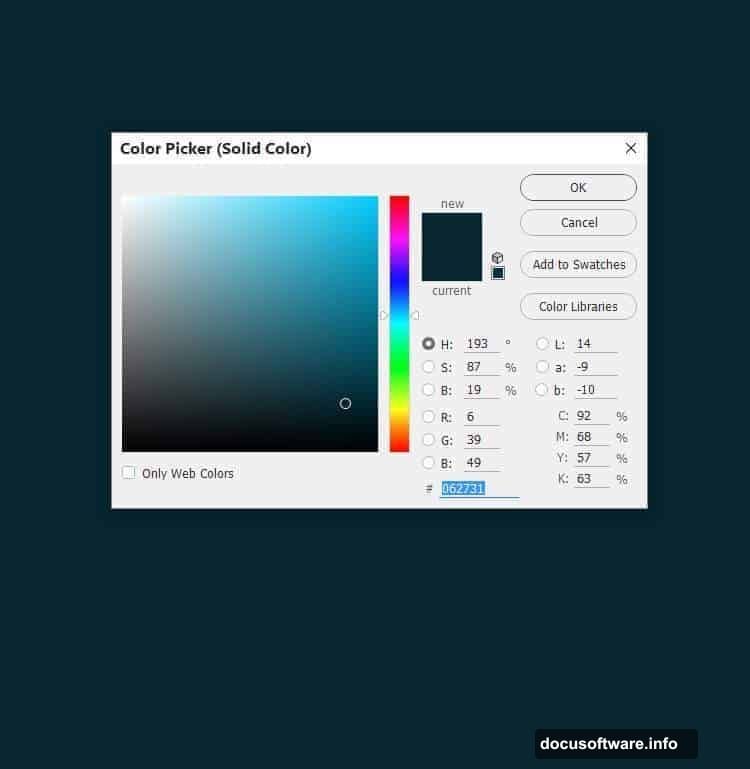
Add the Dark Base:
Go to Layer > New Fill Layer > Solid Color. Pick a deep blue-green like #062731. This becomes your underwater color base.
Grab the layer mask for this fill layer. Select the Rectangular Marquee Tool again. Mark the lower half of your canvas. Switch your foreground color to black, then hit Delete. This reveals the sky above while keeping the dark underwater below.
Adjust Underwater Lighting:
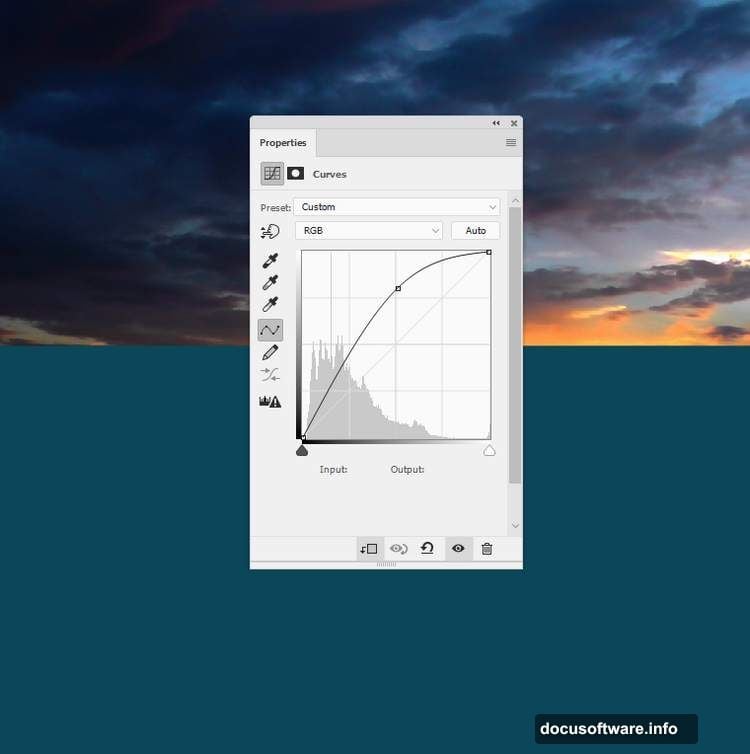
Create a Curves adjustment layer (Layer > New Adjustment Layer > Curves). Set it as a Clipping Mask so it only affects the underwater section.
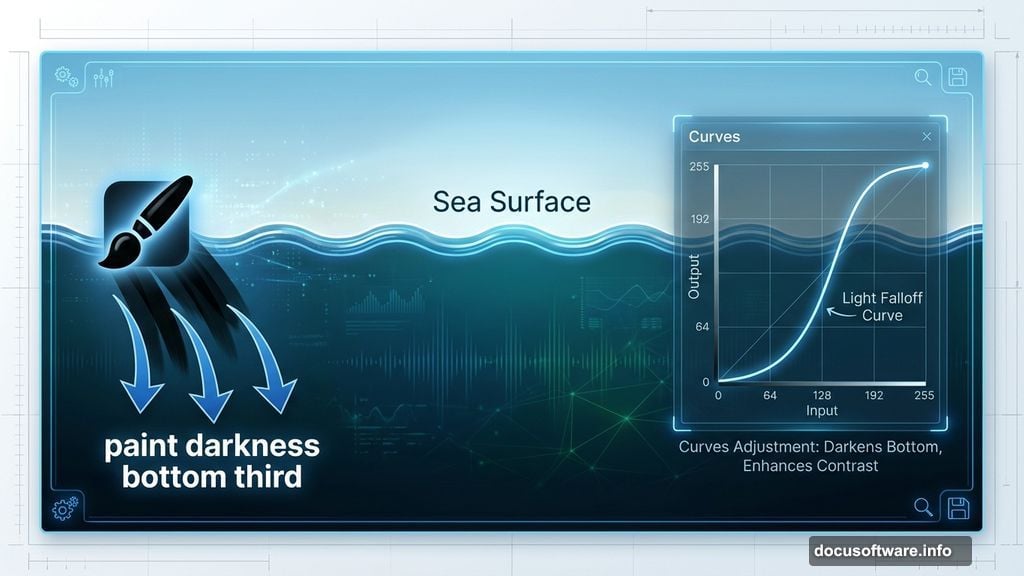
Increase the lightness slightly. But here’s the key. Use a soft black brush on the layer mask to paint darkness back onto the bottom third. This creates natural light falloff as you go deeper underwater.
Real underwater scenes get darker toward the bottom. Always darker.
Add the Sea Surface
Open your ocean surface image. Select the foreground water with the Rectangular Marquee Tool. Place it where your sky meets the underwater section.
Resize and Position:
Hit Ctrl+T for Free Transform. Make this sea layer much thinner than the original. You want just a strip of surface water, not the entire ocean photo.
Blend the Edges:
Click the mask icon at the bottom of your Layers panel. Use a soft black brush to fade the hard edges. Paint along the horizon line and the bottom edge. This creates seamless transitions instead of obvious cutoffs.
Color Match Everything
Your layers probably look mismatched right now. Different photos, different lighting, different color temperatures.

Balance the Sea Colors:
Add a Color Balance adjustment layer. Set it as a Clipping Mask for just the sea layer. Adjust the Midtones settings until the sea color harmonizes with your underwater base.
Typically you’ll push toward cyan and blue. But trust your eyes more than any formula.
Darken for Depth:
Create a Curves adjustment layer. Darken the sea significantly. Then use a soft black brush on the mask to reduce the effect in the middle background. This creates atmospheric perspective, making distant water lighter than foreground water.
Add another Levels adjustment layer. Darken the foreground even more. Use a 30-35% opacity brush to subtly reduce this effect in the background.
Import and Position Rocks
Underwater landscapes need terrain. Rocks work perfectly.
Place Rock Formations:
Open your rock images. Select interesting cliff formations or underwater-looking rocks. Place them in your underwater section using the same import process as before.
Convert each rock layer to a Smart Object. This lets you scale and adjust without quality loss.
Blend Rocks Into Scene:
Add layer masks to each rock. Use soft brushes to fade the bottom edges. This makes rocks appear to disappear into the murky depths.
Adjust colors with Color Balance layers. Underwater everything shifts toward blue-green. Your rocks should too.
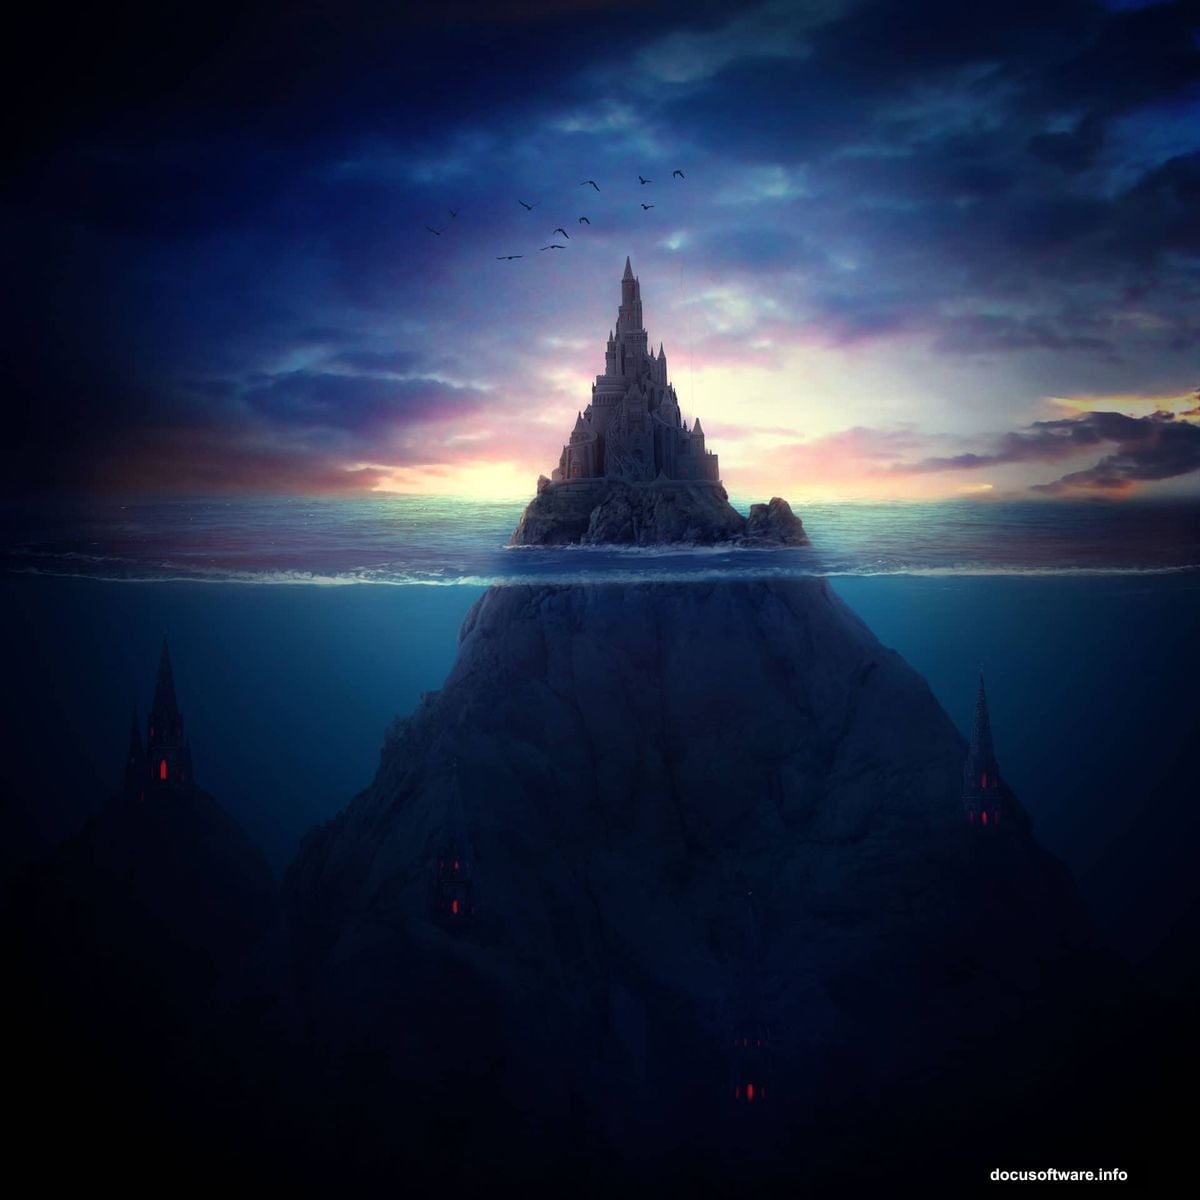
Position the Castles
Here’s where the scene gets interesting.
Import Castle Images:
Open your castle photos. Use the Quick Selection Tool or Pen Tool to cut castles from their backgrounds. Place them on separate layers in your underwater section.
Scale them appropriately. Distant castles should be smaller. Foreground castles bigger. This sells depth and scale.
Adjust Castle Lighting:
Create Curves adjustment layers for each castle. Make them darker overall, since they’re underwater. But leave some highlights visible to maintain structure definition.
Add Color Balance layers. Push castles toward the same blue-green as your water. They should look like they’ve been submerged for centuries.
Create Water Distortion:
Real underwater objects look distorted through water. Add subtle Liquify effects (Filter > Liquify) to castle edges. Don’t overdo it. Just enough to suggest water movement.
Add Realistic Water Effects
This separates amateur composites from professional work.
Download Water Brushes:
Custom water brushes create realistic underwater particle effects. Download sets specifically designed for underwater scenes.
Paint Floating Particles:
Create a new layer above your castles. Use white or light blue at low opacity (15-20%). Paint scattered particles floating in the water. Vary brush sizes for depth.
Smaller particles in the background. Larger particles in the foreground. This reinforces your depth of field.
Add Light Rays:
Create another layer. Use a soft white brush at very low opacity (5-10%). Paint subtle light rays coming from above. These should fade as they descend.
Set this layer to Screen or Soft Light blend mode. Adjust opacity until it looks natural, not overdone.
Final Adjustments and Polish
Almost finished. Now for the finishing touches.
Add Birds for Scale:
Import bird silhouettes flying above the water surface. This gives viewers a reference point and makes the underwater castles feel massive by comparison.
Make birds small. They should barely be noticeable at first glance.
Global Color Correction:
Create a Vibrance adjustment layer at the top of your layer stack. Increase vibrance slightly to make colors pop without oversaturating.
Add a final Curves adjustment layer. Make subtle tweaks to overall contrast. Brighten highlights just a touch. Deepen shadows slightly.
Sharpen Strategically:
Merge all layers to a new layer (Ctrl+Alt+Shift+E). Go to Filter > Sharpen > Unsharp Mask. Apply conservative settings: Amount 50%, Radius 1.0, Threshold 0.
Add a layer mask. Use a black brush to remove sharpening from blurry background elements. You want focus on your main castle structures.
Common Mistakes to Avoid
After creating dozens of these scenes, I’ve noticed patterns in what fails.
Color Temperature Inconsistency:
Every element needs the same underwater color shift. If one castle looks warm while another looks cool, the illusion breaks. Always apply Color Balance layers consistently.
Unrealistic Lighting:
Light doesn’t travel far underwater. Your deepest elements should be much darker than surface elements. If everything’s equally bright, it won’t look submerged.
Over-Sharpening:
Underwater scenes should have some softness. Too much sharpening makes everything look like it’s sitting on top of the water, not under it.
Ignoring Atmospheric Perspective:
Distant objects should be lighter, less saturated, and less detailed. This applies underwater just like it does above water. Maybe even more so.
Why This Technique Matters
These compositing skills transfer to countless other projects. Product photography, portrait compositing, matte painting, concept art. Once you understand layer masking, color matching, and atmospheric effects, you can build any scene imaginable.
The underwater theme just happens to be particularly forgiving. Water naturally obscures details, so your blending doesn’t need to be perfect. It’s an ideal learning project.
Start simple. Build your first scene following these exact steps. Then experiment. Change castle positions. Try different color schemes. Add fish or underwater vegetation.
Each variation teaches you something new about how Photoshop handles complex composites. That knowledge compounds quickly.