Spirographs and fractals look intimidating. Complex geometric patterns that seem to require advanced math skills or specialized software.
Wrong. You can create stunning spirograph effects in Photoshop with just a few clicks and one powerful keyboard shortcut. Plus, the results work perfectly for backgrounds, photo manipulations, and graphic design projects.
Let’s break down how to make these eye-catching patterns from scratch.
The Magic Keyboard Shortcut Nobody Uses
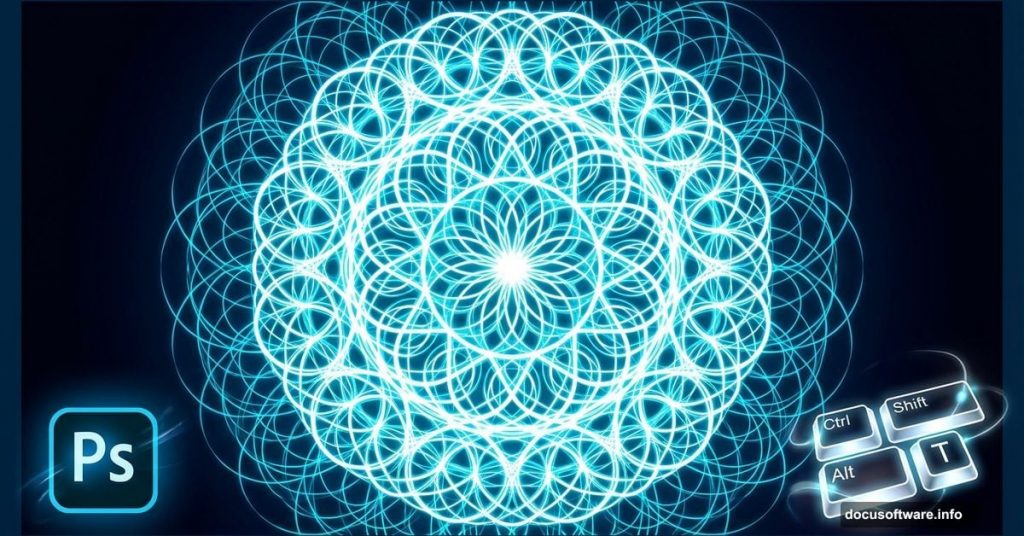
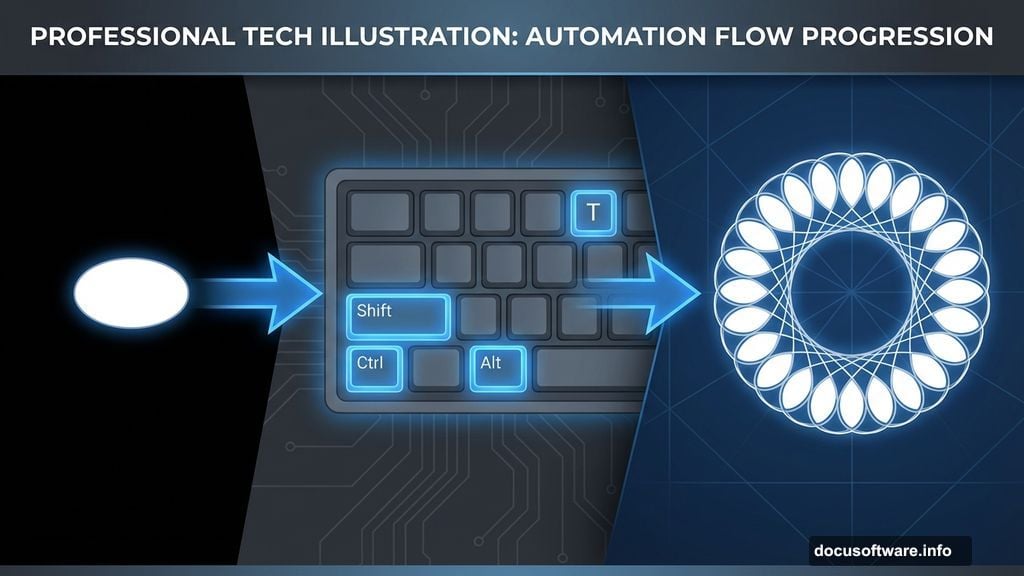
Here’s the secret that makes everything work. After you transform an object once, press Ctrl+Shift+Alt+T on Windows or Command+Option+Shift+T on Mac.
This repeats your last transformation. Keep pressing it to duplicate and transform repeatedly. So you can create perfect circular patterns in seconds instead of manually copying and rotating dozens of times.
Most designers never learn this shortcut. But it’s the difference between spending 30 minutes on repetitive tasks and finishing in under two minutes.
Start With Basic Shapes
Create a new 2000×2000 pixel document with a black background. You can adjust the size later based on your project needs.
Grab the Ellipse Tool and set it to Shape mode. Make the fill transparent and the stroke white. Draw a simple oval in the center of your canvas.
Nothing fancy yet. The magic happens in the next steps when you start duplicating and transforming this basic shape.
Free Transform Creates the Foundation

Switch to the Move tool by pressing V. Then activate Free Transform with Ctrl/Cmd+T.
Click and drag outside the transform box to rotate your shape. Hold Shift while dragging to snap rotations to 15-degree increments. This keeps everything perfectly aligned.
Press Enter to apply the rotation. Now comes the fun part.
Duplicate Until It Forms a Circle
Make sure you’re still using the Move tool. Then press that magic keyboard shortcut repeatedly: Ctrl+Shift+Alt+T (or Command+Option+Shift+T on Mac).
Watch your shape duplicate and rotate around the center point. Keep pressing until you complete a full 360-degree circle. The result? A perfect spirograph pattern that looks like it took hours to create.
But you’re just getting started. Basic spirographs are nice. Advanced spirographs are stunning.

Change the Reference Point for Wild Effects
The transform reference point controls where your shape rotates from. By default, it sits in the center. Move it somewhere else and watch what happens.
Open Free Transform again. Look for the small crosshair icon in the transform box. Drag it to a corner or edge instead of the center.
Now when you duplicate with that keyboard shortcut, your shapes rotate around the new point. This creates completely different patterns from the same basic shape. Experiment with different positions to discover unexpected designs.
Adjust Width and Height During Transformation
While your Free Transform box is active, try changing the width or height percentages in the options bar. Scale your shape down to 95% width before rotating it.
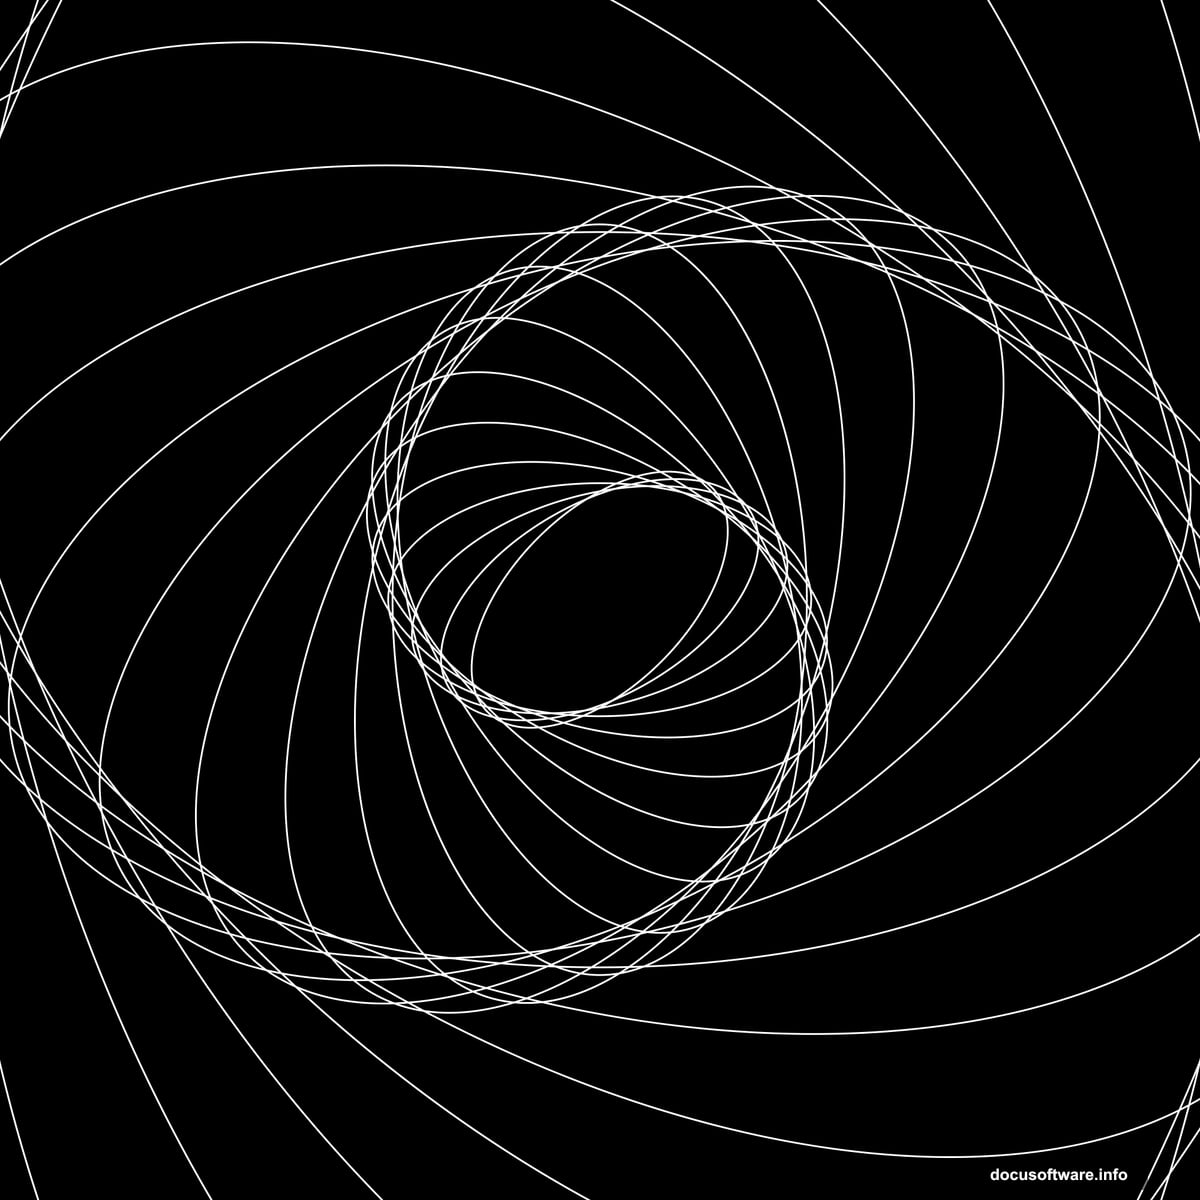
Then use the duplicate shortcut. Each copy gets slightly smaller as it rotates. The result looks like a spiral tunnel instead of a flat circle.
You can also try increasing the size. Or change just the height while keeping width constant. Each variation produces a unique fractal effect.
Add Skew for Dimensional Depth
Right-click inside the Free Transform box and choose Skew. Drag one of the corner handles to slant your shape at an angle.
Apply the transformation and start duplicating. The skewed shapes create patterns with apparent 3D depth. Some sections seem to push forward while others recede into the background.
This technique works especially well when you combine skew with rotation and scaling. The overlapping effects create complexity that’s hard to achieve any other way.
Rasterize Shapes Before Using Actions
Ready to take things further? Actions let you automate even more complex transformations. But first you need to rasterize your vector shapes.
Right-click on your shape layer and choose Rasterize Layer. This converts the crisp vector outline into pixels. Now you can apply filters and adjustments that don’t work on vector layers.
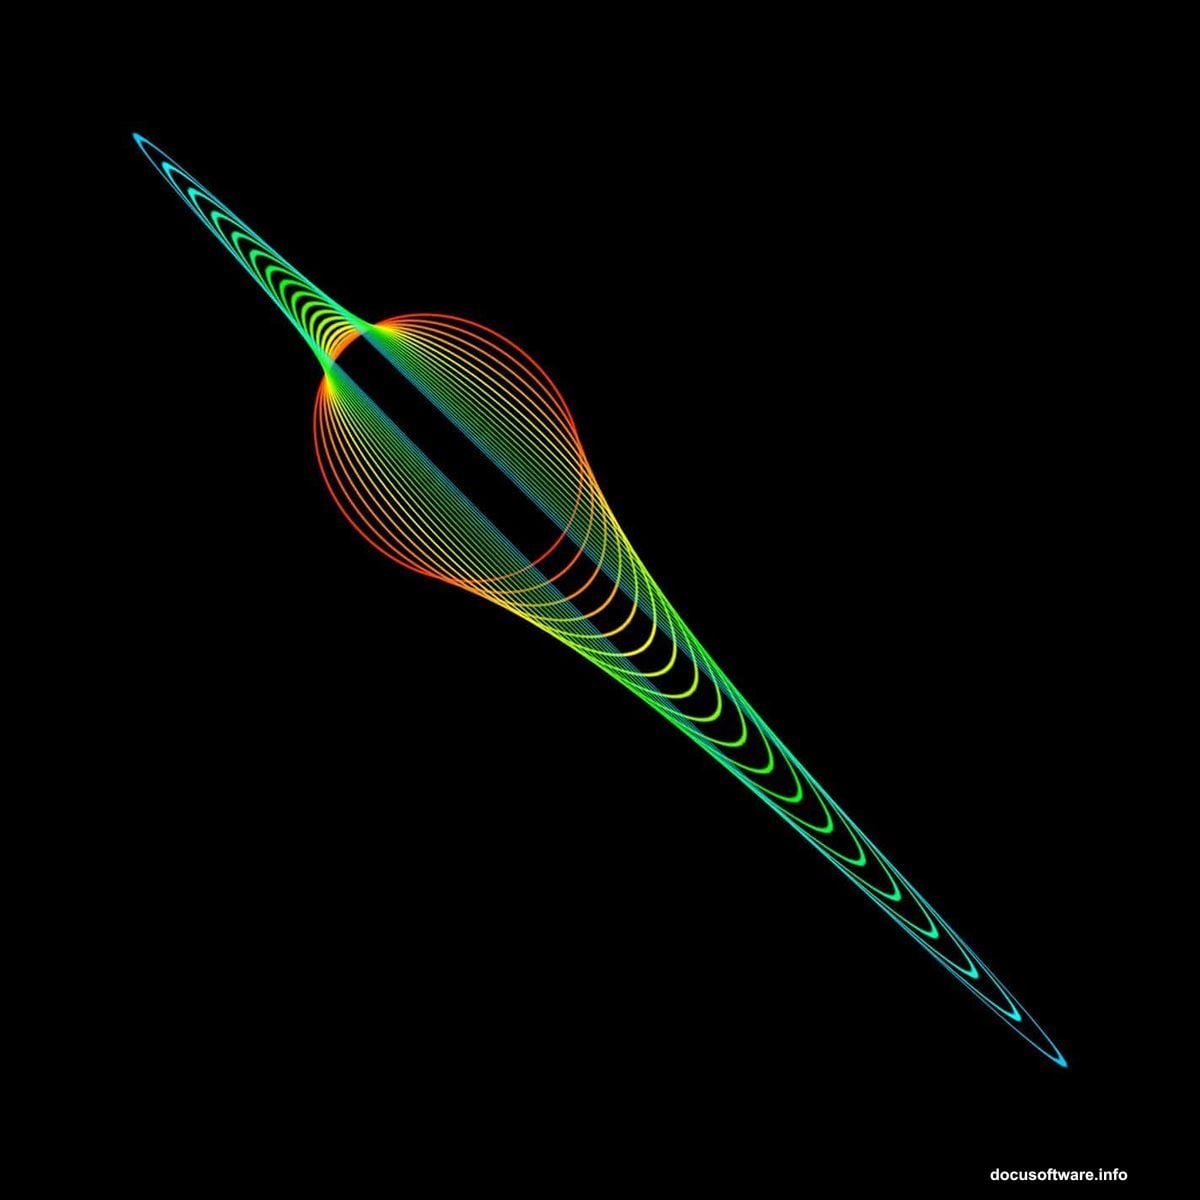
Draw a simple colored outline. I usually start with a red or blue oval to make the effect more visible. Make sure the layer is rasterized before moving to the next step.
Record Actions for Color and Opacity Changes
Open the Actions panel and create a new action. Hit record and perform whatever adjustments you want to repeat.
Try changing the layer opacity to 80%. Or add a slight color shift with Hue/Saturation. Maybe apply a subtle blur. Then stop recording.
Now play that action while repeatedly pressing the duplicate transform shortcut. Each new copy gets the same adjustments applied automatically. The result? Spirographs with gradual color transitions or fading opacity that create stunning depth.
Filter Effects Add Extra Complexity
Once you’ve built your basic spirograph, you can push it further with filters. Try Filter > Other > Offset to shift your entire pattern and create interlocking designs.
Or use Filter > Blur > Radial Blur with a Zoom setting. This adds motion blur that radiates from the center, making your spirograph look like it’s spinning.
Experiment with different filter combinations. Some will look terrible. But when you hit on the right combination, the results can be spectacular.
Export Techniques That Preserve Quality
Save your spirographs as PNG files if you need transparency. The black background disappears and your pattern works perfectly over any other design.
For print projects, keep your working file at 300 DPI minimum. Those 2000×2000 pixel documents work great on screen but might look pixelated when printed large.
Always save a PSD copy with all your layers intact. That way you can tweak colors, opacity, or blend modes later without starting from scratch.
The beauty of spirographs lies in their mathematical perfection combined with creative chaos. You control the initial parameters. Then let the duplication process generate patterns that surprise even you.
Start simple with basic circles. Then experiment with reference points, scaling, and skewing. Once you master the fundamentals, actions and filters open up infinite possibilities.
Most importantly? Don’t be afraid to mess up. Some of the best spirograph effects come from “mistakes” where you tried something weird and it worked perfectly. Keep experimenting until you find patterns that match your creative vision.