
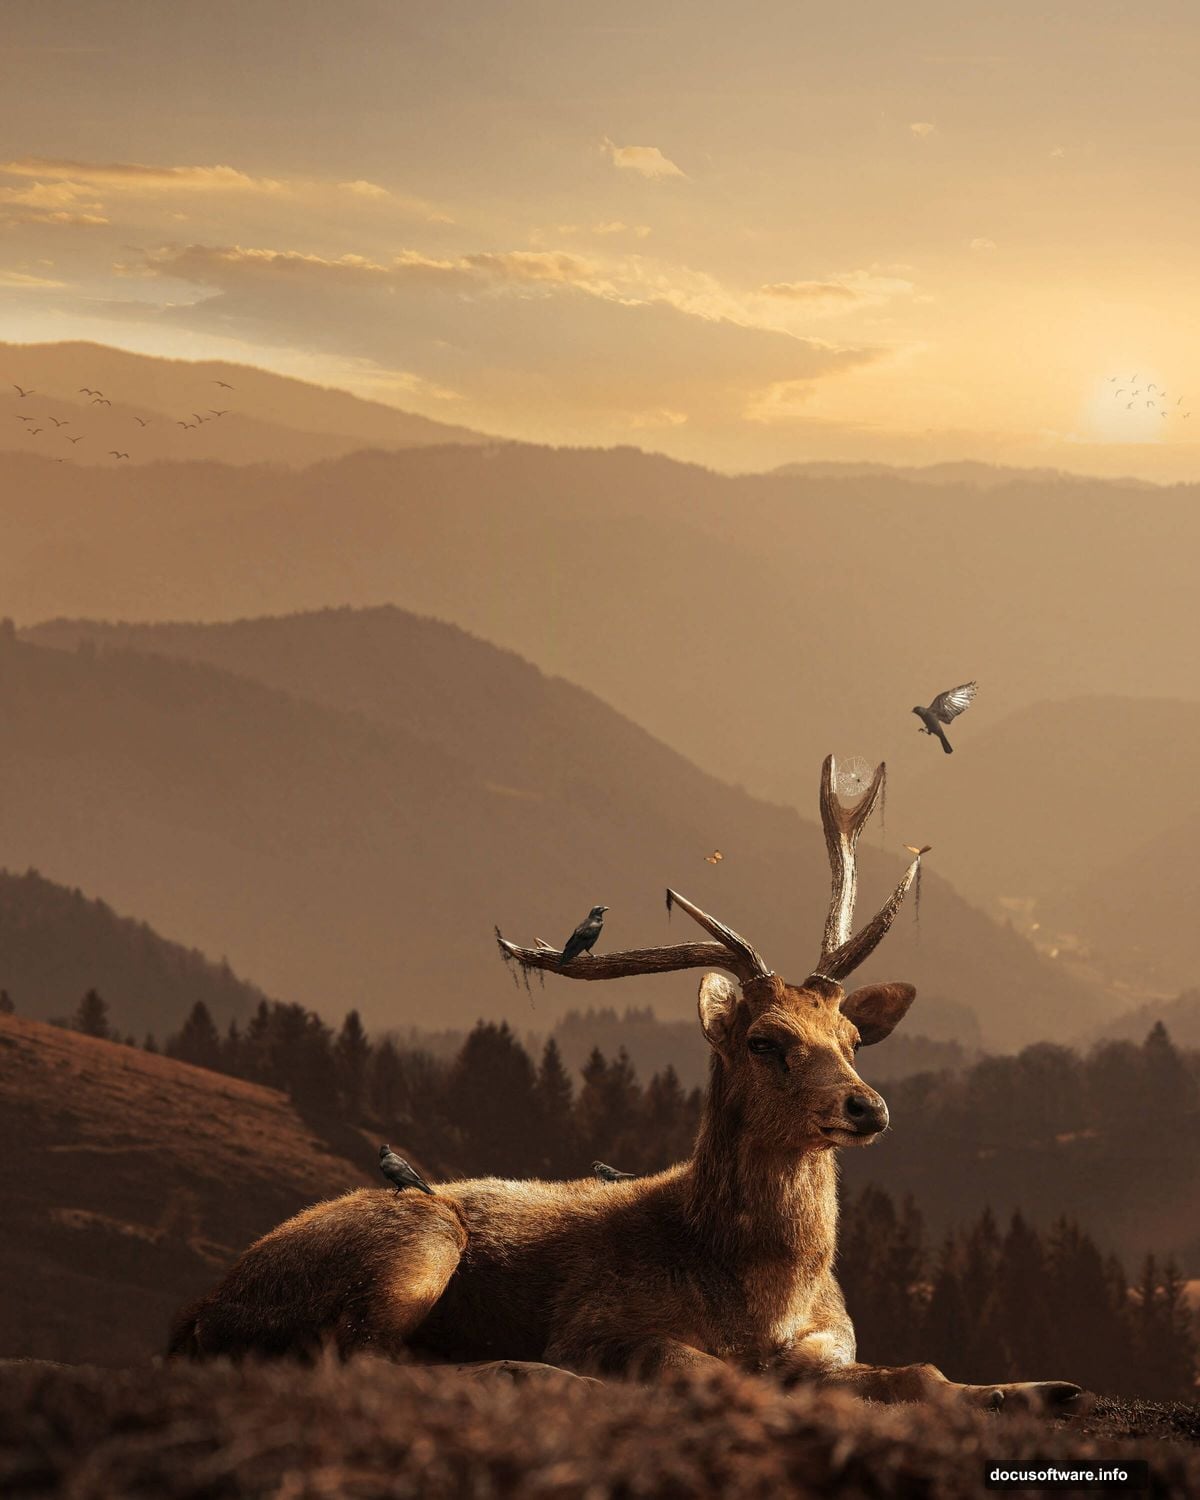
Want to create a moody forest landscape with wildlife that looks like it stepped out of a fantasy novel? This tutorial breaks down the process into manageable steps anyone can follow.
You don’t need years of Photoshop experience. Just basic layer knowledge and about an hour. Plus, the techniques work for any animal and landscape combination you want to try.
Let’s build this scene from scratch.
Set Up Your Canvas Right
First, create a new document with the right dimensions. Go to File > New and input these settings:
Canvas specs:
- Width: 3080px
- Height: 3850px
- Resolution: 300px
- Color Mode: RGB Color 8 bit
- Background: Transparent
Why these numbers? The high resolution ensures your final image stays sharp even when printed. Plus, the portrait orientation works perfectly for social media posts.
Remember to set the background to transparent. That gives you flexibility for later adjustments without destroying your original work.
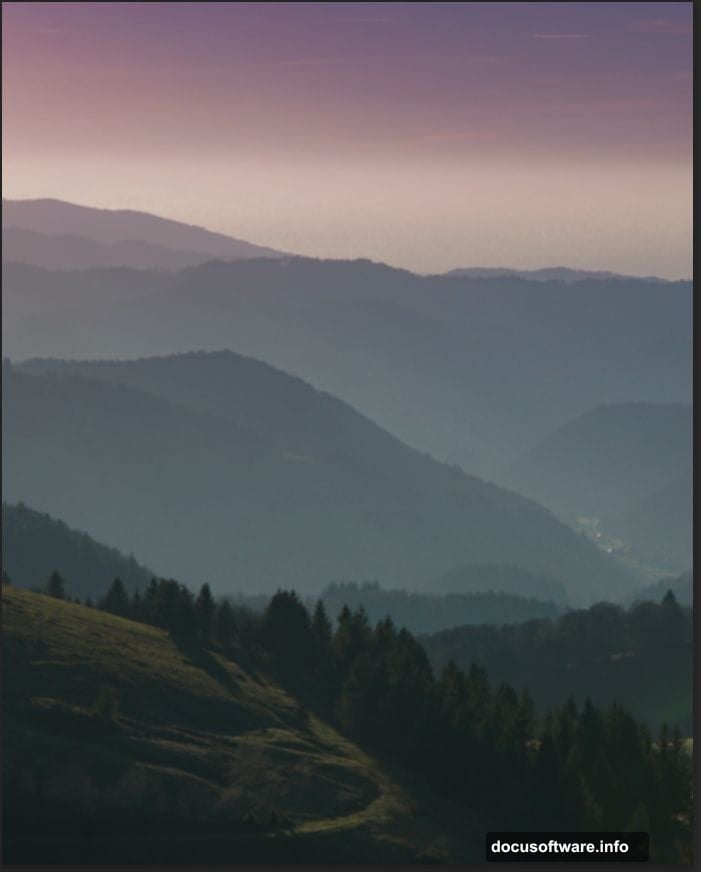
Build Your Base Landscape
Now place your background image. Go to File > Place and select your forest scene.
Position it with the Transform tool (Ctrl/Cmd + T). Here’s a pro tip: hold Alt + Shift while dragging corners to resize proportionally. In Photoshop CC, just Alt alone works fine.
The background forms your foundation. Everything else builds on top of this layer. So take time getting the composition right before moving forward.
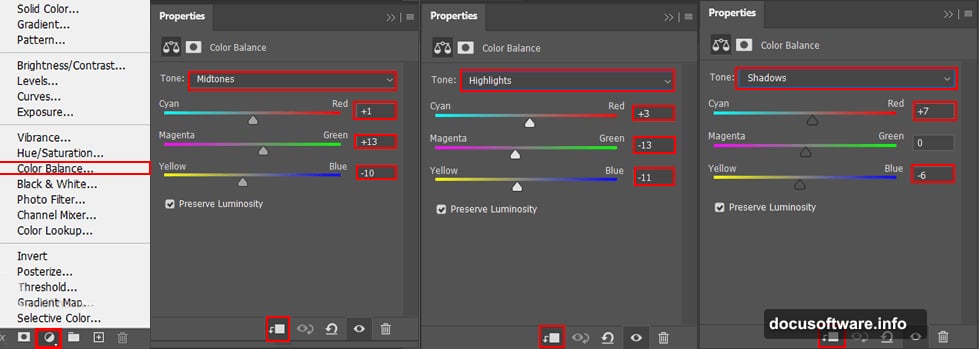
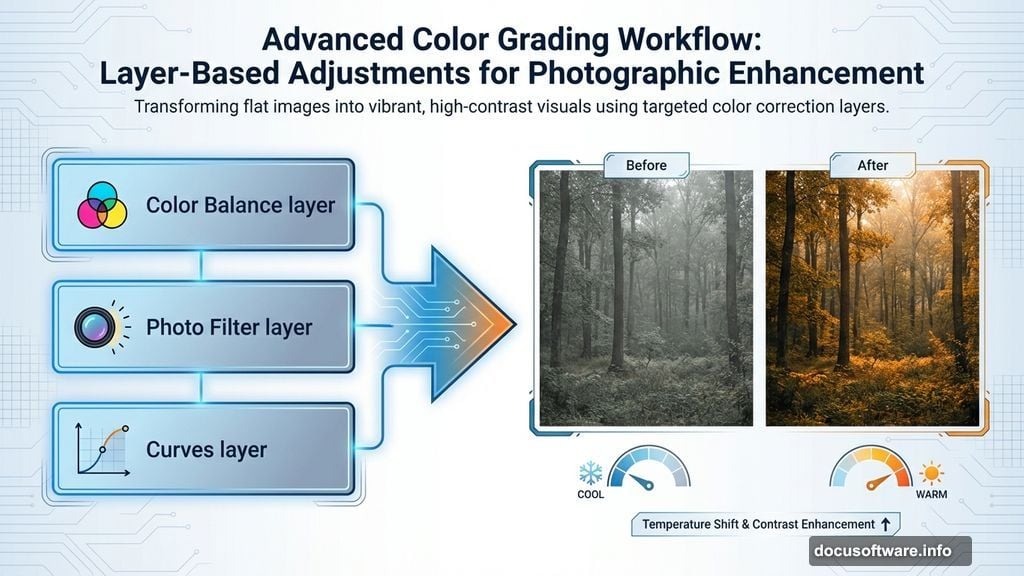
Warm Up the Color Tone
Raw landscape photos often look flat. Three adjustment layers fix that fast.
First, add Color Balance. This shifts the overall mood. Push the midtones slightly toward yellow and red for that golden hour feel. The shadows can go slightly blue for contrast.
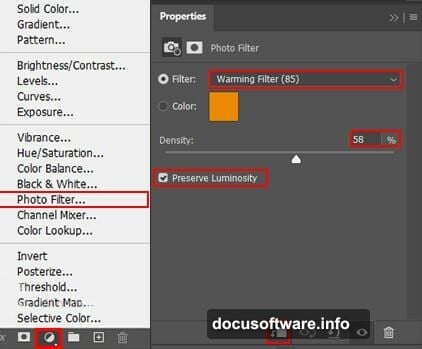
Next, add a Photo Filter. Choose Warming Filter (85) at around 25% density. This creates that cozy, late afternoon atmosphere.

Finally, tweak Curves. Lift the midtones slightly while keeping shadows dark. The S-curve shape adds punch without looking overdone.
These three adjustments transform boring into beautiful in seconds. Moreover, they’re non-destructive, so you can adjust them anytime.
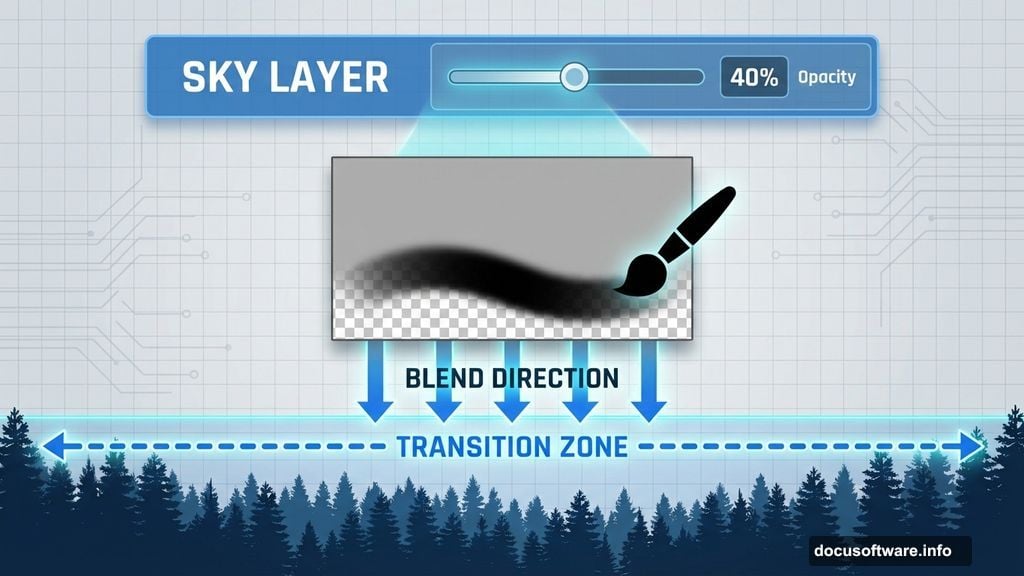
Blend in a Better Sky
Stock landscape skies often disappoint. Swapping them out makes huge differences.
Open your replacement sky image. Use the Rectangular Marquee Tool (M) to select the portion you want. Hold Shift while dragging to keep your selection perfectly rectangular.
Copy and paste that sky into your main document. Then create a layer mask and grab a Soft Round Brush.
Set your foreground color to black. Paint along the bottom edge where sky meets landscape. This blends the transition smoothly instead of leaving a harsh line.
Drop the sky layer opacity to 40%. Full opacity looks fake. Partial transparency lets some original sky show through for natural blending.
Add Your Main Subject
Time for the star of the show. Open your deer image separately.
Grab the Pen Tool (P) and carefully trace around the animal. Take your time here. Clean selections make everything easier later.
When you finish tracing, right-click and choose “Make Selection.” Then create a layer mask. This preserves your original image while hiding the background.
Pro tip: Zoom way in around edges like antlers and fur. Those details matter most for realistic compositing. Sloppy edges scream “fake Photoshop job.”
Position your deer where it catches the light naturally. Animals in real forests stand in clearings or on paths, not buried in dense brush.
Match the Deer to Environment
Your deer probably doesn’t match the landscape lighting yet. Fix that with targeted adjustments.
Create a new Curves adjustment layer. But here’s the key: clip it to your deer layer only. Right-click the Curves layer and choose “Create Clipping Mask.”
Now adjustments only affect the deer. Darken shadows slightly and warm up midtones to match your background color temperature.
Add a subtle Color Balance adjustment the same way. Push it toward the same warm tones you used on the landscape.
Finally, paint shadows under the deer’s hooves. Create a new layer below the deer. Use a soft black brush at low opacity to paint where the animal touches ground. This anchors it in the scene.
Add Atmospheric Details
Empty forests look boring. Small details bring scenes alive.
Spider webs work great for this. Download free spider web brushes. Create a new layer and paint webs between tree branches in your foreground. Use white or light gray at low opacity.
Set that layer to Screen or Lighten blending mode. This makes webs look translucent and realistic.
Add moss to tree trunks. More free brushes here. Paint moss in greens and yellows on shadowed sides of trees. Vary your brush sizes for natural randomness.
Throw in some birds. Flying birds add movement and scale. Place them in the background, keeping them small and slightly blurred to show distance.
These touches take five minutes but make your scene feel lived-in instead of staged.
Create Depth With Butterflies
Butterflies in the foreground create beautiful depth separation. They also add whimsy to outdoor scenes.
Place butterfly images on separate layers. Position some sharp in the foreground, others slightly blurred in midground.
Here’s the depth trick: Apply Gaussian Blur to midground butterflies. Just 2-3 pixels of blur. This mimics how your eye focuses on different distances.
Vary butterfly sizes dramatically. Big ones in front, tiny ones in back. This exaggerates depth more than any other technique.
Adjust butterfly colors with Hue/Saturation to match your warm color scheme. They should complement, not clash with your palette.
Unify Everything With Camera Raw
Almost done. Time to make everything look like it belongs together.
Go to Filter > Camera Raw Filter. This powerful tool gives you global controls over your entire composite.
Push these sliders:
- Exposure: +0.3 (brightens slightly)
- Contrast: +15 (adds punch)
- Highlights: -20 (recovers bright spots)
- Shadows: +15 (reveals detail)
- Vibrance: +10 (saturates subtly)
- Saturation: +5 (careful here)
In the color grading section, add warm tones to midtones and cool tones to shadows. This creates that cinematic look where shadows feel blue and highlights feel golden.
Don’t overdo it. Subtle wins over dramatic every time in compositing.
Test Your Scene
Before calling it finished, check these points:
Does the lighting direction match across all elements? Shadows should fall the same way on deer, trees, and ground.
Are edges clean without visible halos? Zoom to 100% and inspect carefully.
Does color temperature feel consistent? Everything should live in the same warm or cool color space.
Finally, view your image at actual size. What looks good zoomed in sometimes feels different at normal viewing distance.
Why This Approach Works
This tutorial teaches fundamental compositing principles that apply to any scene. You learned:
- How adjustment layers create mood without destroying originals
- Why matching color temperature matters more than perfect selections
- How small atmospheric details sell realism
- When to use blending modes versus opacity adjustments
These skills transfer directly to product photography, portrait compositing, or any digital art that combines multiple images.
The deer scene is just one example. Try the same techniques with different animals and landscapes. Each combination teaches you more about light, color, and composition.
Your growing Photoshop skills prove your place in the creative forest. Each project makes you stronger and more capable than before.