Creating epic space scenes in Photoshop looks complicated. But the technique breaks down into simple, repeatable steps.
This tutorial shows you how to build a realistic view from space looking down at Earth. You’ll learn planet placement, atmospheric blending, and lighting effects that make your scene pop. Plus, the same techniques work for any space composition you want to create.
Let’s jump in.
Gather Your Assets First
Before opening Photoshop, collect these resources. Having everything ready saves time and keeps your workflow smooth.
You’ll need high-resolution images of Earth and another planet. Look for NASA’s free image library or stock photo sites. The higher the resolution, the better your final result.
Also grab spaceship silhouettes, lens flare overlays, and cloud brushes. These add depth and realism to your scene. Most are available free from brush sharing sites.
One more thing. Download a good lens flare texture pack. Natural lens flares beat Photoshop’s built-in filter every time.
Set Up Your Canvas
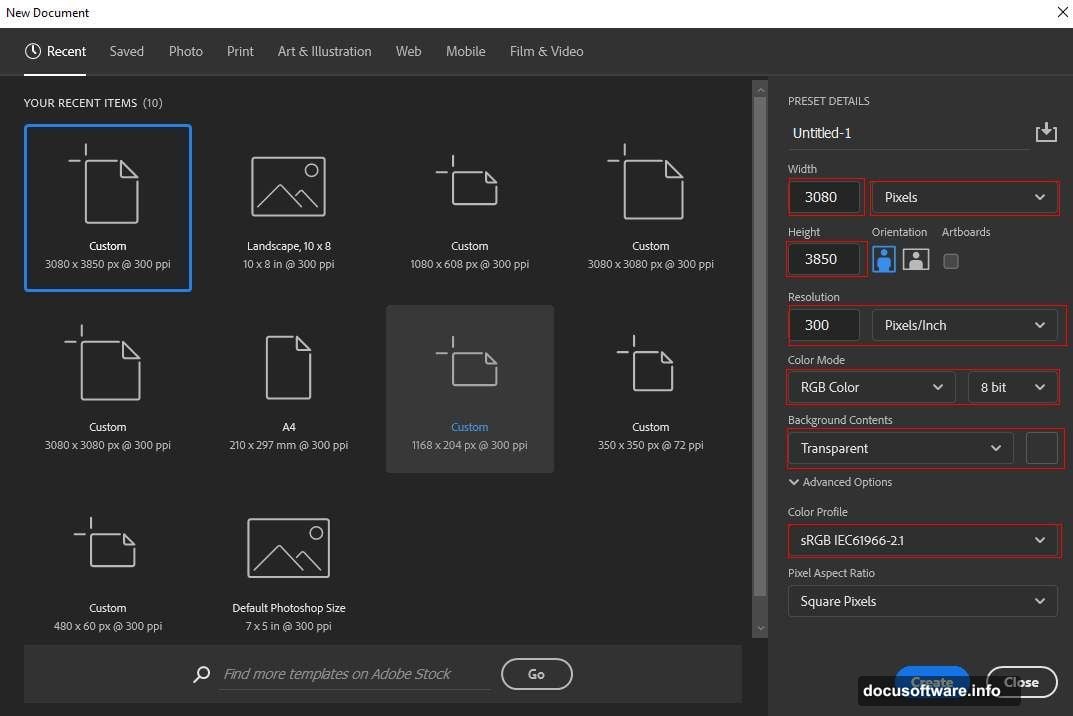
Create a new document with these exact specs. They matter for print quality and professional output.
Go to File > New. Set width to 3080 pixels and height to 3850 pixels. Keep resolution at 300 DPI for sharp prints. Choose RGB Color 8-bit mode and transparent background.
Why these dimensions? They give you flexibility to crop different ratios later. Plus, the resolution ensures your work looks crisp at any size.
Save this as your master file immediately. Name it something you’ll remember. Trust me on this one.
Place and Warp Your Earth
Now comes the fun part. Placing Earth sets the foundation for everything else.
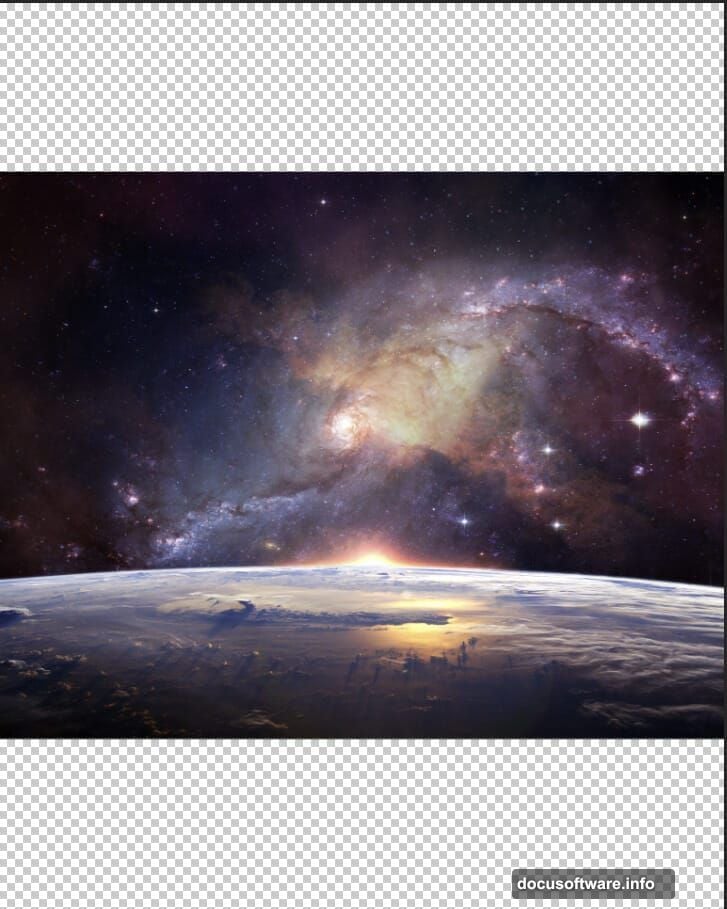
Go to File > Place and select your Earth image. Don’t just drag it in. Placing as a Smart Object gives you non-destructive editing later.
Hit Ctrl/Cmd + T to activate Transform. Hold Alt + Shift while dragging corners to resize proportionally. Position Earth in the lower third of your canvas.
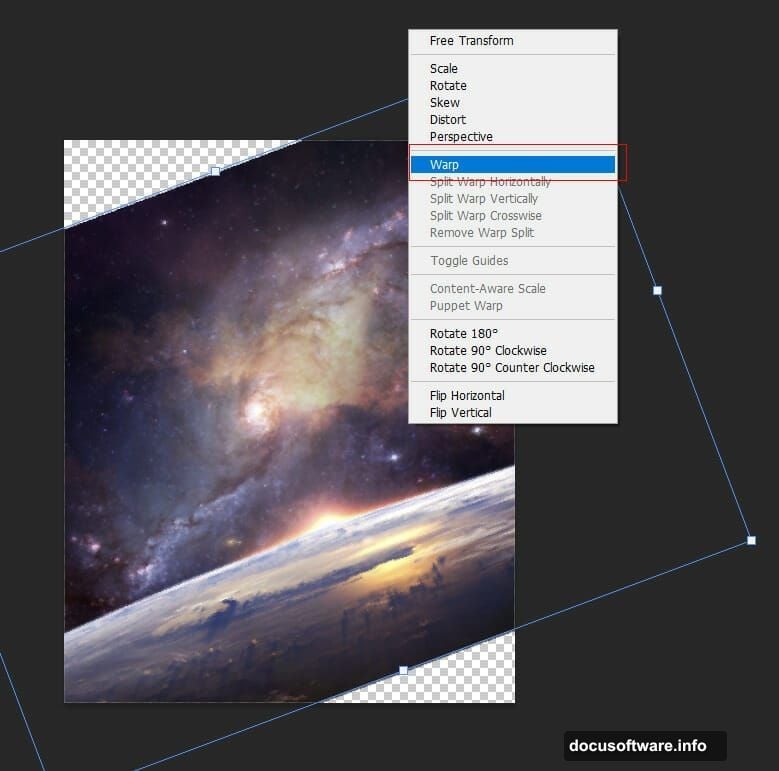
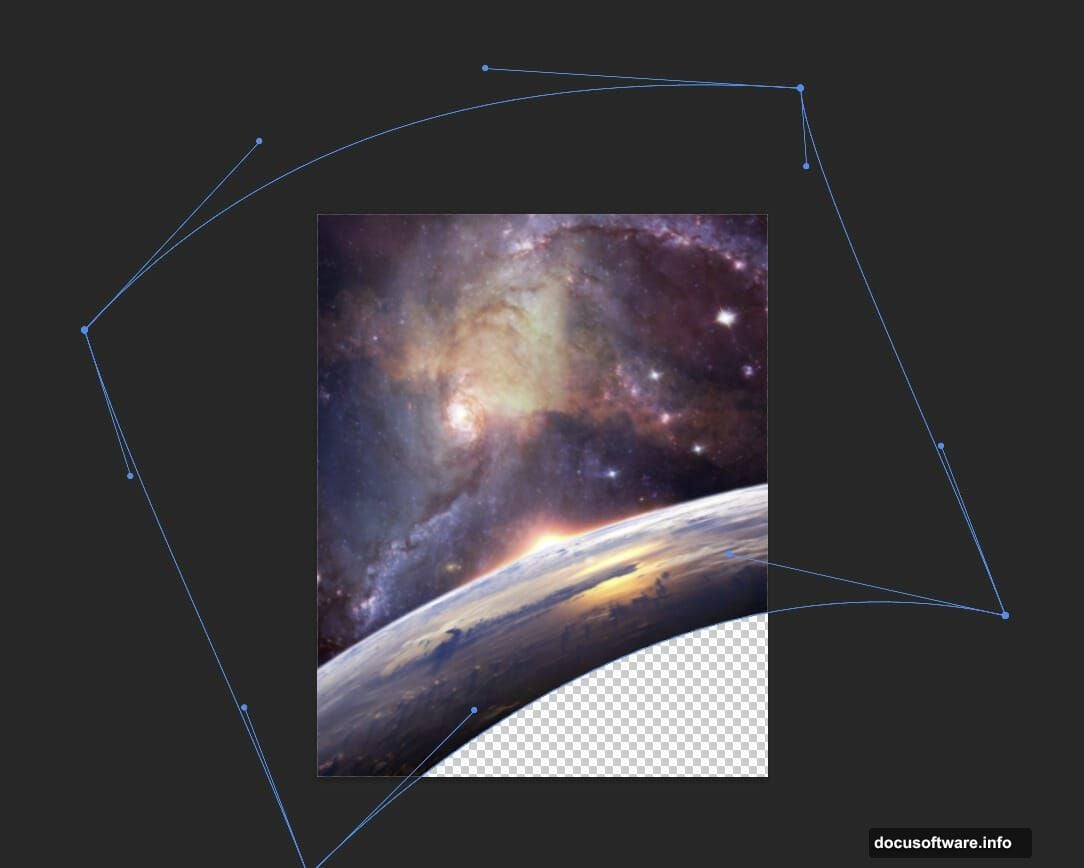
Here’s where it gets interesting. Right-click and choose Warp from the transform menu. This lets you bend Earth’s curvature naturally. Pull the control points until it looks like you’re viewing it from space orbit.
The warp makes all the difference. Flat planets scream “fake.” Curved horizons sell the realism.
Balance Earth’s Colors
Raw planet photos rarely match the lighting you need. Color adjustments fix that fast.
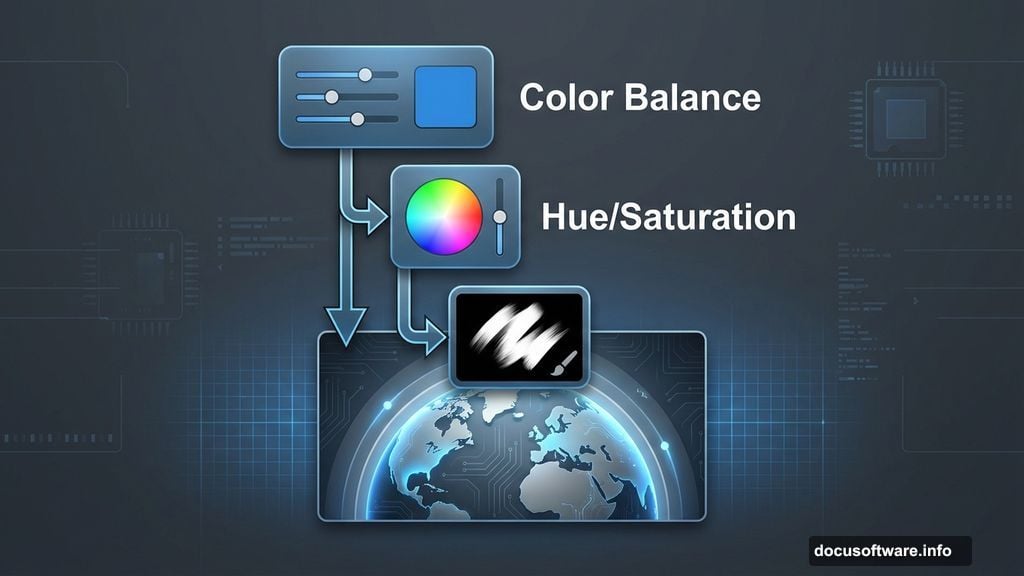
Add a Color Balance adjustment layer. Clip it to your Earth layer by Alt-clicking between them. Bump up the blues in shadows and cyans in midtones. This mimics atmospheric scattering.
Next, add a Hue/Saturation layer. Press Ctrl/Cmd + I to invert its mask to black. Grab your Brush Tool (B) with white foreground color. Paint over areas where you want color intensity.
This selective adjustment lets you emphasize certain regions. Maybe boost greens over forests or blues over oceans. Small touches create big impact.
Add Your Second Planet
One planet looks lonely. Two creates composition and scale.
Place your second planet image the same way you did Earth. Position it in the upper portion of your canvas. Make it smaller than Earth to show distance.
Create a layer mask on this planet. Use a soft round brush with black to paint away the bottom edge. This blends it into the space background naturally.
The key here is subtlety. Your second planet should feel present but not dominate the scene. It’s atmospheric context, not the star.
Adjust Planet Atmosphere
Your second planet needs color harmony with the rest of your scene. Three adjustment layers handle this perfectly.
First, add Color Balance clipped to your planet layer. Push some warmth into highlights and coolness into shadows. This creates dimensional lighting.
Second, add a Curves adjustment. Pull down the highlights slightly and lift the shadows. This reduces contrast and makes the planet feel farther away.
Finally, add Hue/Saturation. Again, invert the mask and paint where you want color shifts. Maybe add some atmospheric haze on one side where light hits.
These adjustments take 30 seconds but transform flat images into believable celestial bodies.
Create Atmospheric Glow
Space scenes need that signature glow around planets. Here’s how to nail it without overdoing it.
Create two new layers above your planets. Change both to Soft Light blend mode. This makes whatever you paint interact beautifully with layers below.
On the first layer, use a large soft brush with blue (#1967d6) as your foreground color. Paint gentle halos around your planet edges. Build up slowly with multiple strokes.
On the second layer, switch to warm orange (#d6b6aa). Paint this on the side where your imaginary light source hits. This mimics sunlight hitting atmospheric particles.
The two-color approach creates depth. Cool blues recede while warm oranges advance. It’s basic color theory making your image work.
Add Spaceships for Scale
Empty space feels vast but formless. Small details give viewers reference points.
Place spaceship silhouettes in your scene. Make them tiny compared to planets. This sells the massive scale you’re creating.
Position ships at different depths. Some closer, some farther. Vary their sizes accordingly. Maybe add slight motion blur to suggest movement.
Don’t overdo it. Two or three ships placed strategically beat a dozen scattered randomly. Less really is more here.
Layer in Lens Flares
Natural lens flares add photographic realism. They suggest this scene was captured by a camera, not just painted digitally.
Place your lens flare texture on a new layer. Set blend mode to Screen or Linear Dodge. This makes black areas disappear while bright spots glow.
Position flares where they make sense. Maybe one from your main light source. Another catching off a spaceship’s metallic surface. Keep them subtle.
Also, reduce opacity. Full-strength flares scream amateur work. Dial them back to 30-40% for believable integration.
Final Camera Raw Polish
This step ties everything together. Camera Raw Filter gives you professional-grade color grading in one interface.
Go to Filter > Camera Raw Filter. This opens your entire composition in Adobe’s powerful color tool.
Bump up Clarity slightly for edge definition. Add some Vibrance for color punch without oversaturation. Maybe cool down the overall temperature a touch.
Play with the Tone Curve. S-curves add contrast and dimension. But go easy. Harsh contrast ruins the atmospheric mood you built.
Finally, add a subtle vignette. Darken edges slightly to draw eyes toward your planets. This completes the cinematic look.
Common Mistakes to Avoid
Even following this tutorial, certain pitfalls trap beginners. Watch for these issues.
First, over-sharpening planets. Space photography has softness from atmospheric distortion. Razor-sharp edges look unnatural.
Second, identical lighting on all elements. Your planets, ships, and effects need consistent light direction. Check this as you work.
Third, too many adjustment layers. Each adjustment degrades image quality slightly. Combine adjustments when possible and work non-destructively.
These scenes take practice. Your first attempt won’t be perfect. That’s fine. Each version teaches you something new.
Take This Further
This tutorial covers basics. But space composition offers endless creative possibilities.
Try adding nebula backgrounds from stock photos. Blend them at low opacity behind your planets. Or paint stars using scatter brushes for varied depth.
Experiment with different planet combinations. Mars and Jupiter together create different moods than Earth and a fictional world. Color relationships change everything.
Also consider animated versions. Slight rotation on planets or moving ships creates mesmerizing loops. After Effects makes this surprisingly simple.
The techniques here apply to any sci-fi scene you imagine. Master these fundamentals and your only limit becomes creativity.