Photoshop‘s basic tools hide serious power. Most tutorials throw fancy plugins at you. But this one? Pure fundamentals that create stunning results.
Today we’re building an unsettling 3D room scene. Just transform tools, masks, and adjustment layers. No expensive extras needed. Plus, beginners can follow every step without getting lost.
What You’re Actually Creating
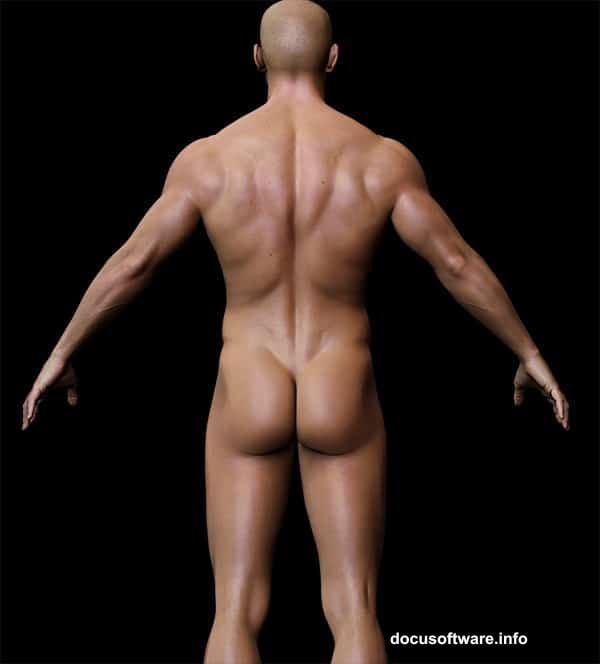
Think dystopian sci-fi meets industrial nightmare. A figure stands in a dimensional space that shouldn’t exist. Chains hang from impossible angles. Pipes twist through walls that defy logic.
The secret? Perspective tricks your brain into seeing depth where none exists. So we’ll construct that illusion piece by piece using Photoshop CS5 or newer.
Start With Smart Extraction

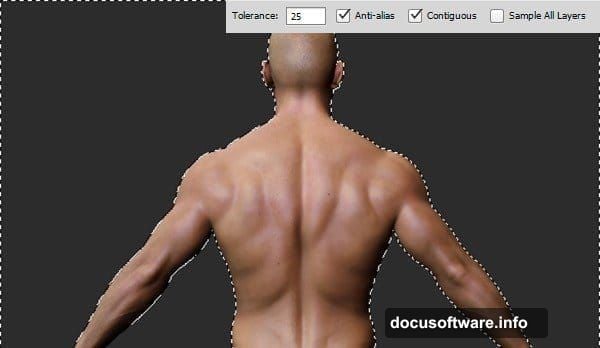
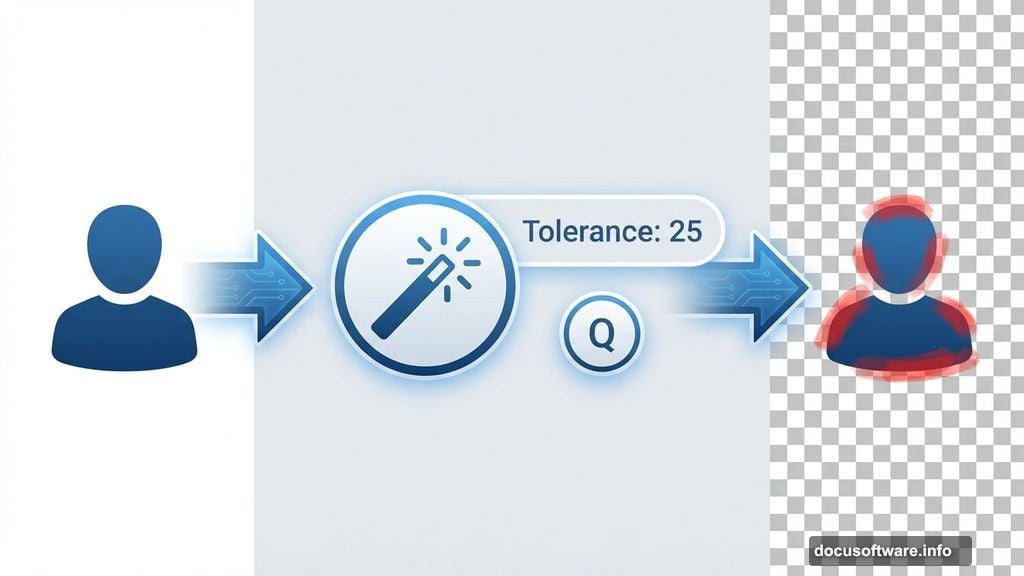
First, separate your subject from the background. The Magic Wand Tool works perfectly for images with distinct color zones.
Unlock your Background layer by double-clicking it. Then grab the Magic Wand Tool (W) and set Tolerance to 25 in the Options bar. Click the background once.
The selection won’t be perfect. That’s fine. Press Q to enter Quick Mask Mode. Now paint with a hard brush to refine edges. Red overlay shows unselected areas. Keep painting until edges look clean.
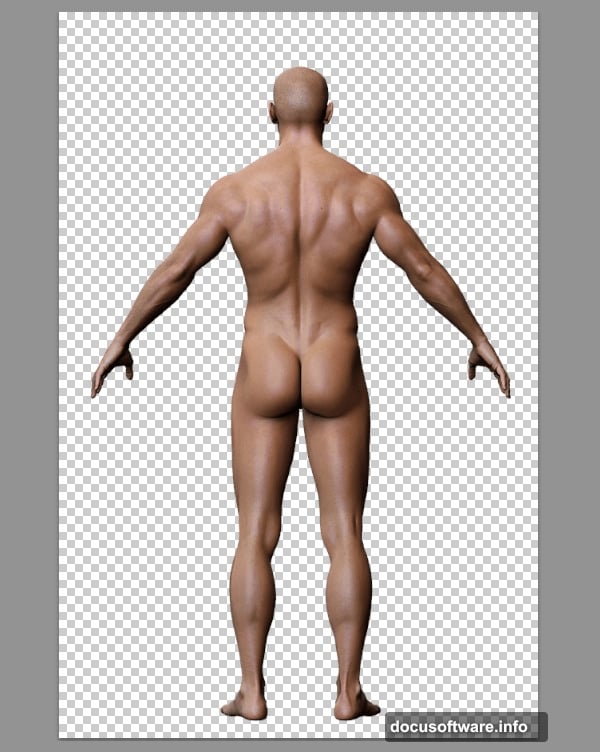
Press Q again to exit Quick Mask. Hit Delete to remove the background. Clean extraction complete.
Build Your Dimensional Canvas
Head to Image > Canvas Size. Uncheck Relative and enter 3362 x 3719 pixels. Photoshop warns about clipping. Click Proceed.
Position your subject lower on the canvas so the head stays visible. Then hold Ctrl and click the New Layer icon. This creates a layer below your subject.
Go to Edit > Fill and choose Black. Your foundation is set.
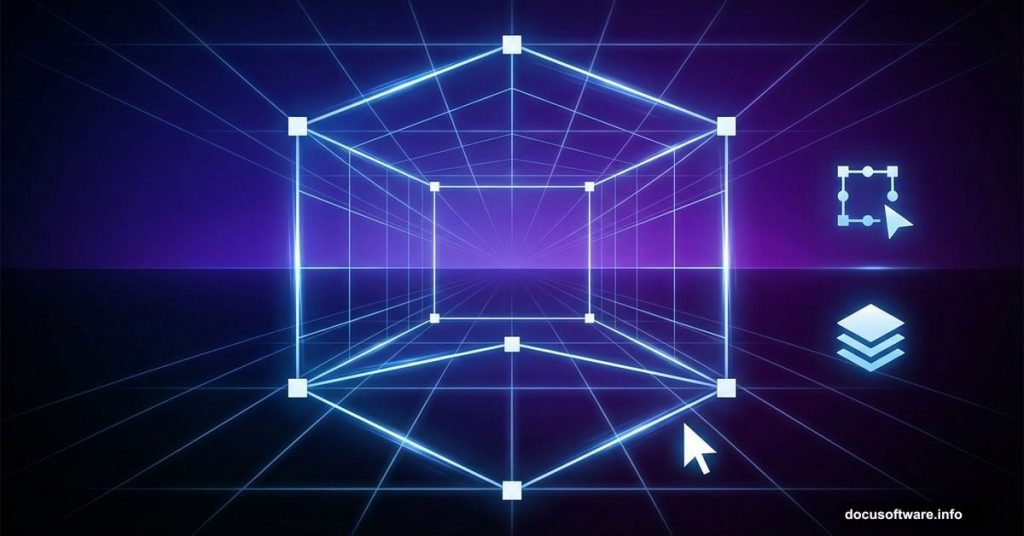
Create the Perspective Grid
Here’s where the magic happens. This grid guides every element you add later. Without it, your scene looks flat.
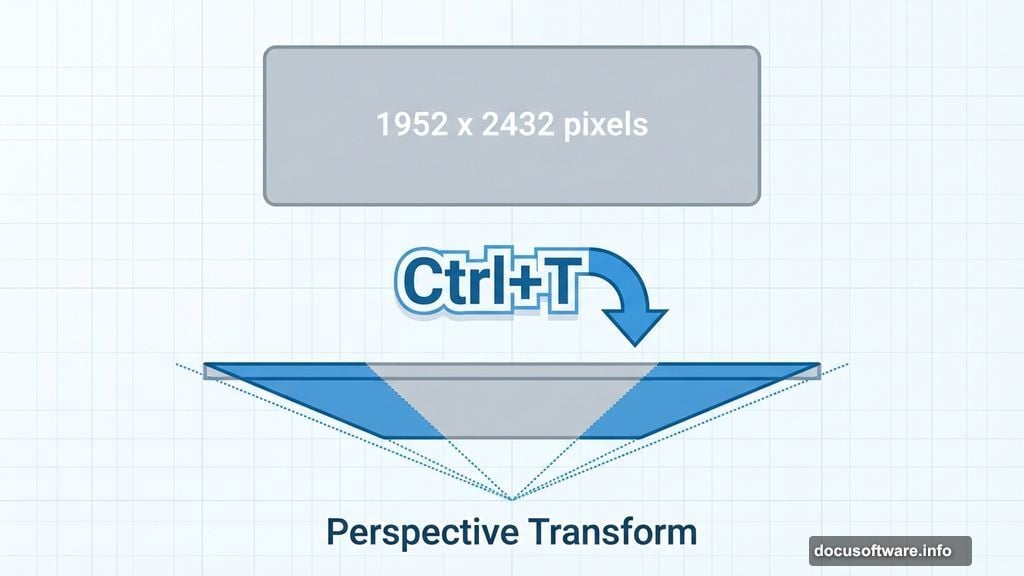
Make a new layer below your subject layer. Grab the Rectangular Marquee Tool (M) and draw a rectangle roughly 1952 x 2432 pixels in the canvas center.
With selection active, go to Edit > Fill again. But now choose 50% Grey instead of black.
This grey rectangle becomes your perspective guide. Every wall, chain, and pipe you add needs to align with this geometry. Otherwise, the 3D illusion breaks.
Transform Into Three Dimensions
Now comes the perspective transformation. Select your grey rectangle layer. Press Ctrl+T to enter Free Transform mode.
Right-click inside the transform box. Choose Perspective from the menu. Drag the top corners outward. This creates vanishing point perspective.
The rectangle should look like you’re staring up at tall walls. Keep adjusting until it feels right. Hit Enter to commit the transformation.
Add Industrial Elements
With perspective established, start building your environment. Chains need to follow the perspective lines exactly. So do pipes, wires, and any structural elements.
Each piece you add requires careful transformation. Use the same perspective technique. Match vanishing points. Keep everything aligned.
Layer masks help blend elements naturally. Paint black on masks to hide hard edges. Use soft brushes for gradual transitions. The goal? Make separate images look like one cohesive space.
Shadows Sell the Illusion
Nothing looks 3D without proper shadows. Create new layers set to Multiply blend mode. Paint soft shadows where objects meet walls or hang in space.
Pay attention to light direction. Pick one light source and stick with it. Shadows should all point the same way. Inconsistent lighting destroys believability.
Reduce shadow layer opacity until they look natural. Too dark feels fake. Too light adds no depth. Somewhere around 40-60% opacity usually works.
Texture Everything
Clean digital elements scream “fake.” So add grime, rust, and wear to every surface. Metal textures overlay on walls using Overlay or Soft Light blend modes.
Crack textures break up smooth surfaces. Stain textures add age and history. Even subtle texture makes huge differences.
Keep adjusting opacity. You want visible texture without overwhelming the scene. The details should enhance mood, not distract from composition.
Final Polish With Adjustments
Adjustment layers unify everything. A Curves adjustment can shift the entire color palette toward blue for cold dystopia. Or warm oranges for oppressive heat.
Levels adjustments crush blacks and lift highlights. This adds drama and contrast. Your scene should have strong darks and bright spots. Flat midtones look boring.
Color Balance adjustments shift individual channels. Add cyan to shadows. Push yellow into highlights. These subtle shifts create cinematic color grading.
Common Mistakes to Avoid
Beginners rush the perspective setup. They skip the guide rectangle and eyeball everything. That’s how you get wonky geometry that ruins the illusion.
Others forget about consistent lighting. Shadows point different directions. Elements look pasted instead of placed. Always establish one light source first.
Finally, many overdo texture overlays. Less is more. You want atmosphere, not visual noise that hides your subject.
Why This Technique Matters
This isn’t just about making one cool image. You’re learning perspective construction that applies everywhere. Product mockups need the same skills. Architectural visualization uses identical techniques.
Plus, mastering basic tools beats relying on plugins. When you understand transform controls and blend modes, you solve problems plugins can’t handle. That flexibility makes you faster and more creative.
The dystopian aesthetic works because it taps into something primal. Confined spaces with industrial elements create tension. Your brain recognizes hostile environments. So the image provokes emotional response beyond “that looks neat.”
Start with solid perspective. Add elements methodically. Shadow everything properly. Texture for realism. Adjust for mood.
Those five steps build surreal 3D scenes that stop scrolling dead. No expensive tools required. Just patience and practice with Photoshop’s core features.