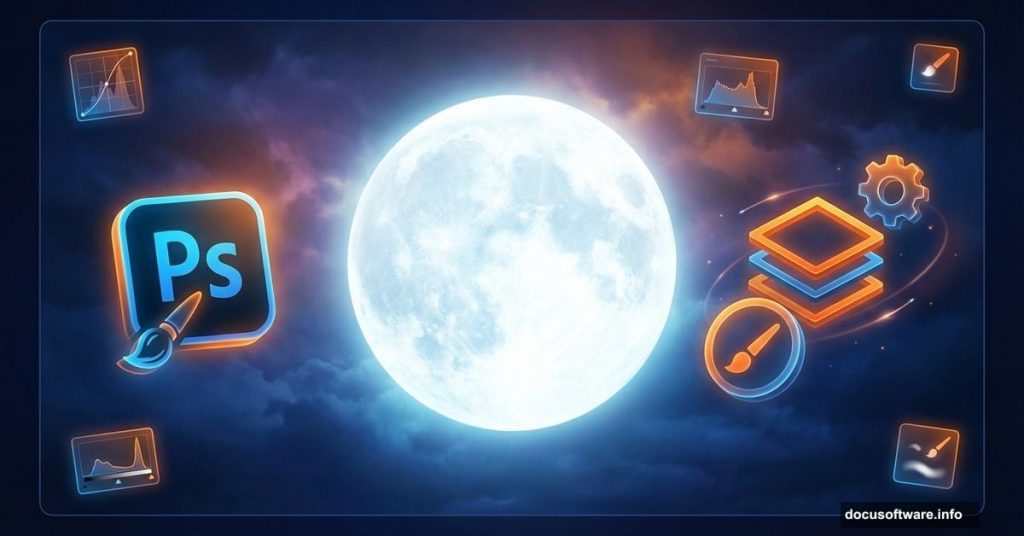
Want to create spooky Halloween artwork that stands out? This tutorial breaks down exactly how to build a surreal witchy scene using photo manipulation and custom brushes.
No fluff. Just practical techniques you can apply to your next Halloween project. Plus, we’ll cover adjustment layers that actually make a difference.
Set Up Your Canvas Right
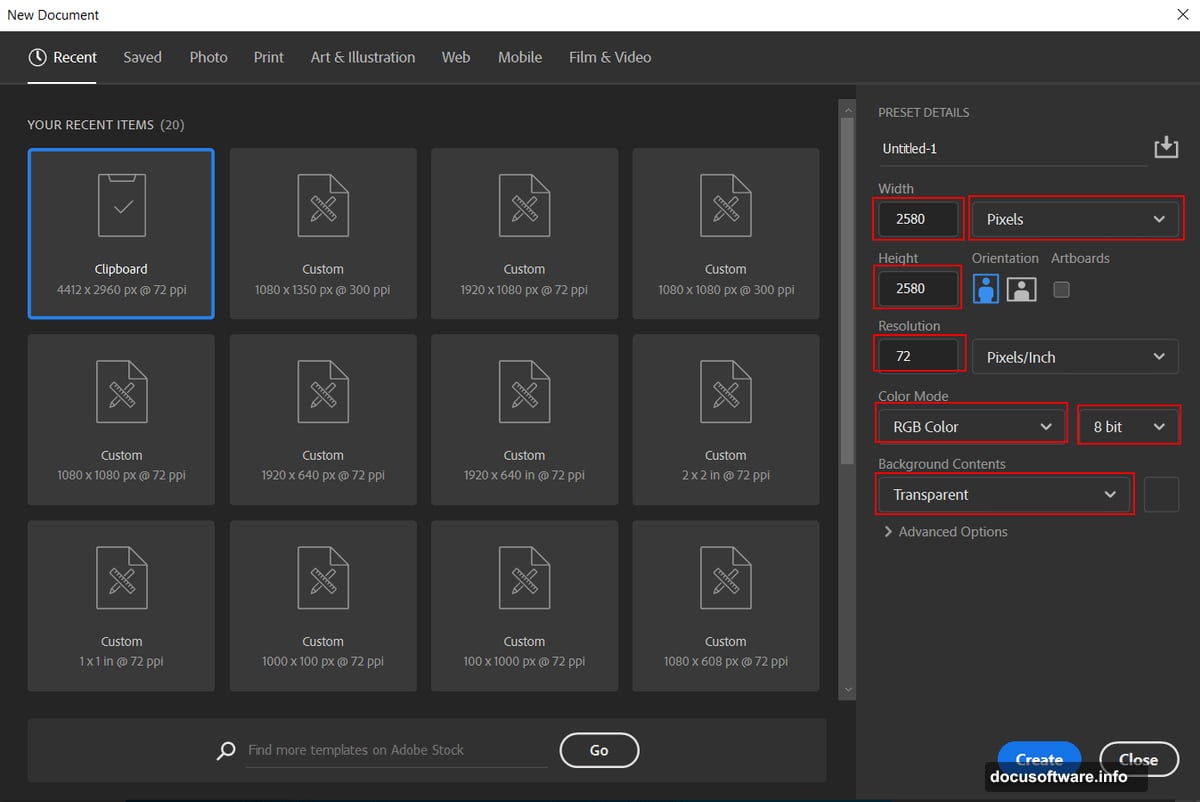
Start with proper dimensions. Create a new file at 2580×2580 pixels with 72 DPI resolution. Why square? It works perfectly for social media and gives you flexibility for cropping later.
Set your color mode to RGB 8-bit. That’s standard for digital work. Keep the background transparent so you can add your own sky later.
Here’s the thing most tutorials skip. Converting to a Smart Object early saves headaches. You can resize without losing quality and apply filters non-destructively.
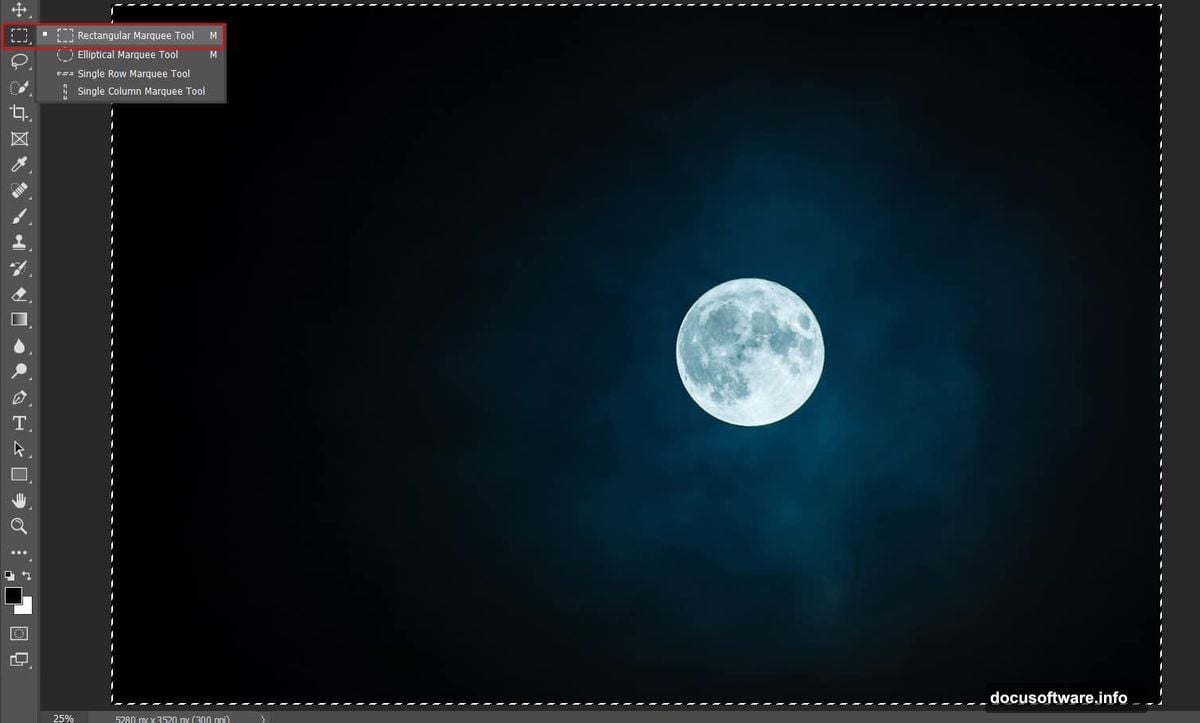
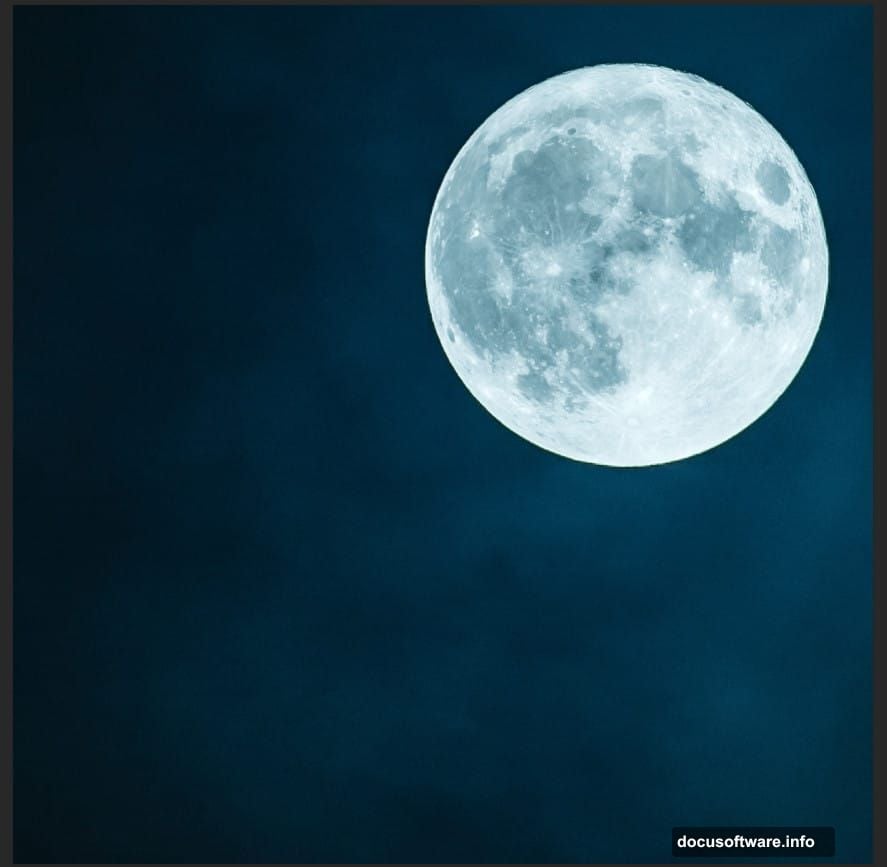
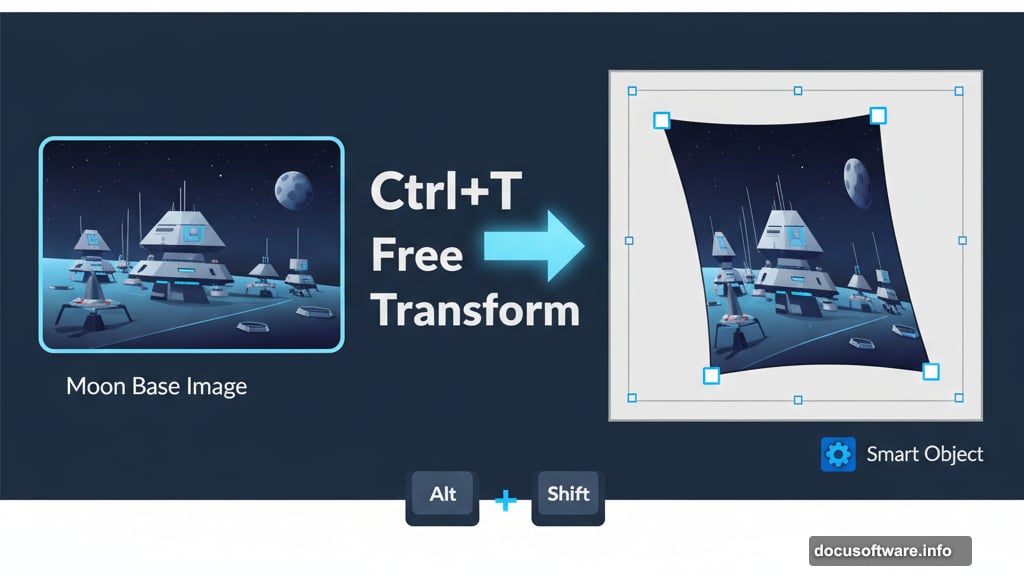
Import Your Moon Base
Open your moon photo and grab the Rectangular Marquee Tool. Select the portion you want and copy it to your main canvas.
Now comes the transform step. Press Ctrl/Cmd + T to activate Free Transform. In older Photoshop versions, hold Alt + Shift while dragging corners to scale proportionally. Photoshop CC simplified this—just hold Alt.
Right-click your moon layer and convert it to a Smart Object. This preserves quality no matter how many times you adjust it later.
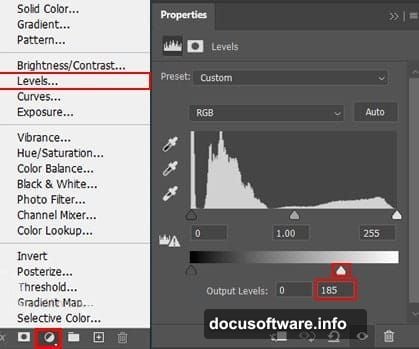
Balance Moon Brightness
Add a Levels adjustment layer above your moon. This gives you precise control over highlights and shadows. Drag the middle slider left slightly to brighten midtones.
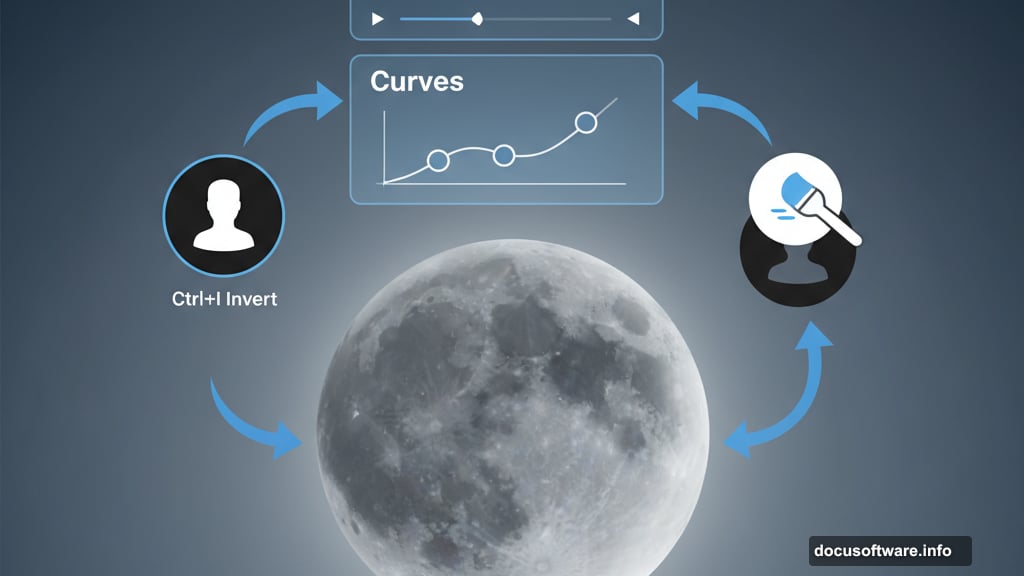
Next, stack a Curves adjustment layer on top. Press Ctrl/Cmd + I to invert the mask to black. This hides the effect initially.
Grab a soft round brush with white foreground color. Paint over the moon in your mask. This brightens only the moon while keeping the rest untouched. Way better than blanket adjustments.
Add Atmospheric Glow
Create a new layer above your adjustments. Select a large soft brush with white color. Paint gentle strokes around the moon’s edges.
Change the blend mode to Soft Light at 64% opacity. This creates that ethereal glow without looking fake. Hard Light would be too intense here.
Soft Light mimics real atmospheric light scatter. It’s subtle but makes a huge difference in believability.
Import Cloud Brushes
Click the Brush Tool and right-click anywhere on canvas. Hit the gear icon in the brush panel. Select “Import Brushes” and choose your downloaded cloud brush set.
Most cloud brushes work best at larger sizes. Start around 800-1000 pixels depending on your canvas size. You can always scale down.
Pro tip: Download multiple cloud brush packs. Variety prevents your scenes from looking repetitive.
Paint Dynamic Cloud Layers
Create a fresh layer for clouds. Set your foreground color to deep blue (#02557c). Select one of your cloud brushes.
Click once, rotate the brush slightly, click again. Build up cloud density gradually with multiple clicks at varying opacities. Never use 100% opacity for clouds—it looks flat.
Mix different cloud brush shapes. Combine wispy cirrus-style brushes with puffy cumulus shapes. Real skies have variety. Your Photoshop sky should too.
Lower opacity on some cloud sections to create depth. Clouds farther from the light source should appear darker and less defined.
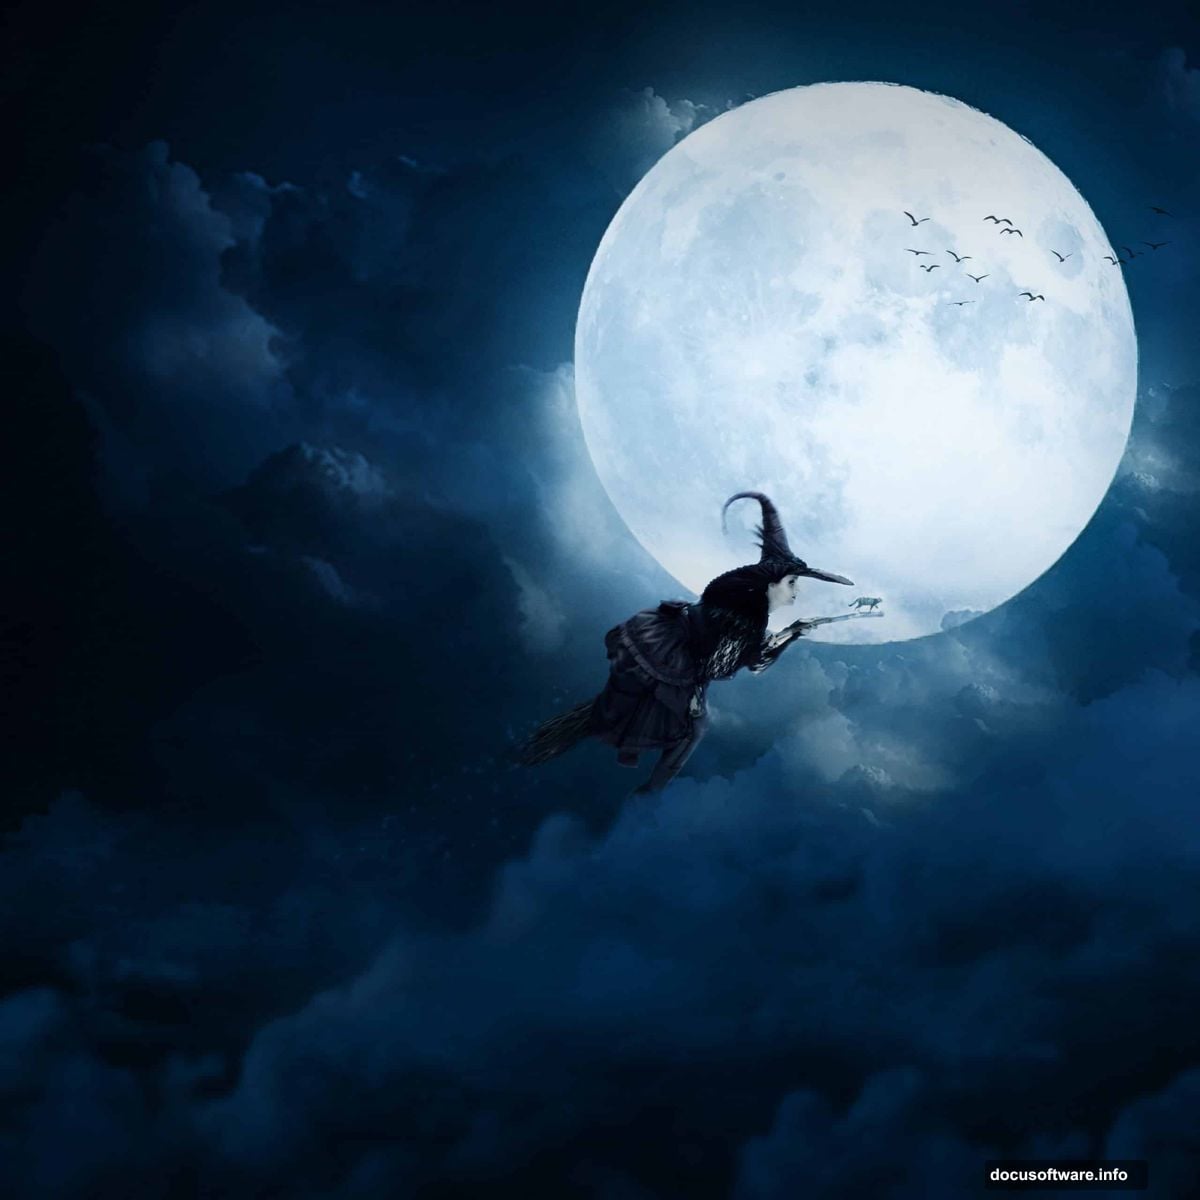
Place Bird Silhouettes
Go to File > Place and select your bird image. Photoshop imports it as a Smart Object automatically. Scale it down using Free Transform.
Position birds flying across the moon. That’s the classic Halloween shot. Set the layer blend mode to Normal with 65% opacity.
Why 65%? It makes birds look distant and atmospheric. Full opacity would make them too prominent and distract from your main subject.
Duplicate the bird layer and position copies at different sizes. Smaller birds appear farther away. This adds depth to your composition.
Add Your Witch Subject
Place your witch photo using the same technique. Use the Pen Tool to create a precise selection path around the figure. Right-click the path and choose “Make Selection.”
Copy the selection to a new layer. Delete the background. Position your witch where she interacts with the moon—maybe sitting on it or flying past.
Match the witch’s lighting to your moon. Add a Curves adjustment layer clipped to the witch layer. Brighten the side facing the moon, darken the opposite side.
Paint Mystical Stars
Import your star brushes using the same process as clouds. Create a new layer above everything except your final adjustments.
Set foreground color to pure white. Select various star brushes and click randomly across your sky. Vary brush sizes between 20-200 pixels.
Lower the layer opacity to 40-50%. Stars should twinkle, not scream. Reduce individual star brightness by using a soft eraser at low opacity on the brightest spots.
Cluster more stars away from the moon. Light pollution from your moon should make nearby stars harder to see.
Stack Color Grading Layers
Add a Gradient Map adjustment layer near the top of your layer stack. Choose a purple-to-orange gradient for that classic Halloween color scheme.
Set the blend mode to Color at 30-40% opacity. Too much looks cartoonish. You want to enhance mood, not overpower your image.
Add another Curves adjustment for final contrast tweaks. Lift shadows slightly in the blue channel to add coolness. Push highlights warmer in the red channel.
Apply Camera Raw Filter
Merge all your layers into a new layer at the top. Press Ctrl/Cmd + Alt/Opt + Shift + E. This creates a merged copy without flattening your work.
Convert this merged layer to a Smart Object. Go to Filter > Camera Raw Filter. This opens powerful color grading tools.
Boost clarity by 10-15 points for sharper details. Add 5-10 points of vibrance to make colors pop without oversaturating. Pull highlights down if your moon is too bright.
Adjust temperature slightly toward blue for that cold Halloween night feel. Around -5 to -10 works well. Push tint slightly magenta to enhance those spooky purple tones.
Resource Quality Matters
Your final image only looks as good as your source photos. High-resolution moon photos with visible craters work best. Avoid compressed JPEGs that introduce artifacts.
Cloud brushes should have at least 2000 pixel dimensions. Smaller brushes look pixelated at larger canvas sizes. Many free brush packs skimp on resolution.
Download multiple bird silhouette sets. Variety prevents your compositions from looking repetitive. Mix ravens, crows, and bats for different vibes.
Common Mistakes to Avoid
Stop using 100% opacity on atmospheric elements. Clouds, stars, and distant objects should never be fully opaque. Layer transparency creates depth.
Don’t ignore color temperature. Your moon emits cool light. Your witch should reflect that. Warm colors on a cool-lit subject looks wrong.
Skip the temptation to crank saturation. Halloween scenes need rich colors, but oversaturation looks amateur. Use vibrance instead—it protects skin tones and prevents color clipping.
Never flatten your layers until final export. Keep adjustment layers separate. You’ll thank yourself when you need to make changes later.
Making It Your Own
This tutorial provides the foundation. Now experiment. Try different color schemes—maybe green and purple instead of orange and blue.
Swap the witch for other Halloween characters. A werewolf silhouette works great. So do ghosts or creepy trees. The techniques stay the same.
Add fog using the same cloud brush technique but with lower opacity. Fog near the ground adds mysterious depth. Use gray tones instead of blue.
Experiment with light sources. Add a secondary light—maybe a glowing jack-o’-lantern or mysterious portal. Multiple light sources create more complex and interesting scenes.
The key is practice. Your first Halloween scene won’t be perfect. Your tenth will be dramatically better. Save your PSD files and revisit old projects with fresh eyes.
Keep building your brush and texture libraries. Good resources make future projects faster and better. Invest time in finding quality assets.