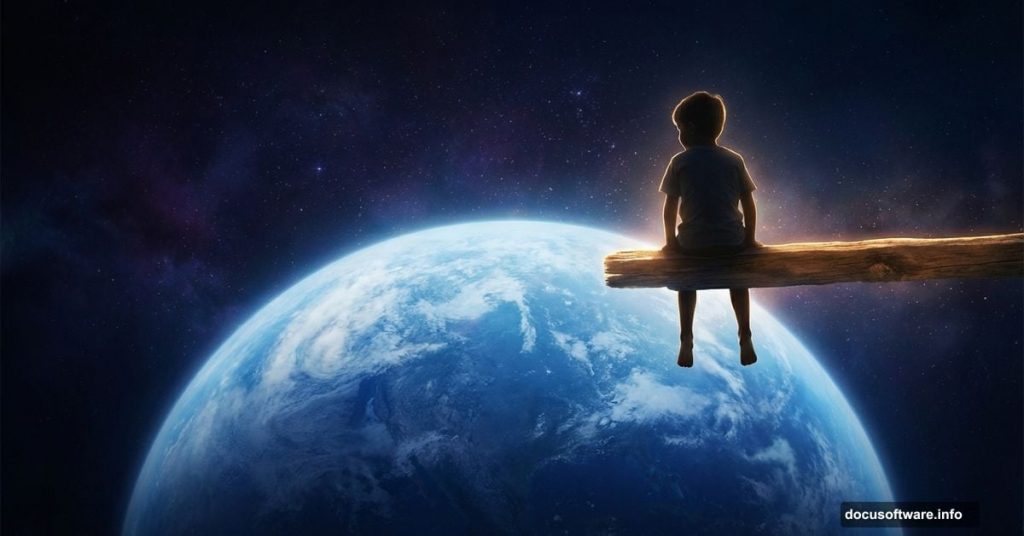
There’s something about space photography that stops you cold. That famous quote from astronaut Edgar Mitchell captures it perfectly: “The Earth was small, light blue, and so touchingly alone, our home that must be defended like a holy relic.”
In this tutorial, we’re going to build on that feeling. You’ll combine multiple stock photos into one dreamlike composition featuring a boy sitting on a beam above Earth. Along the way, you’ll practice Pen Tool selections, Adjustment Layers, layer masking, and Camera RAW color grading. It’s a lot of fun, and the result looks genuinely stunning.
Let’s walk through it step by step.
![Hero image showing the final surreal Photoshop composite of a boy sitting on a beam above a glowing Earth set against a dramatic space sky]
Gather Your Stock Photos First
Before opening Photoshop, pull together everything you need. For this project you’ll want a model photo, a mountain image, a sky shot, an astronaut reference, an Earth texture, a second texture layer, and a custom brush set.
Having all your assets ready before you start saves a lot of frustration mid-project. Trust me on this one.
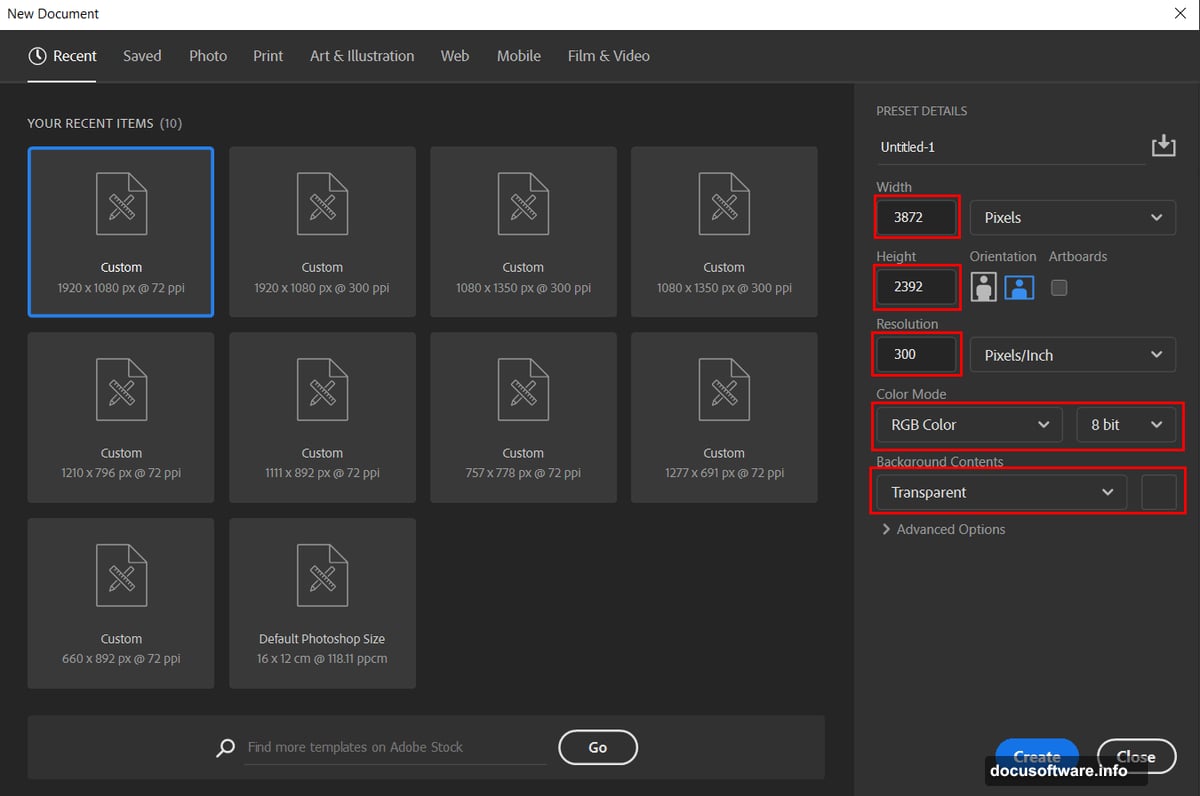
Setting Up Your New Document
Open Photoshop and create a new document. Match the settings shown in the tutorial reference image for Step 1. Getting your canvas dimensions right from the start means you won’t have to resize things awkwardly later.
Cut Out Your Model with the Pen Tool
Now open your model photo. Go to File, then Open, and select it.
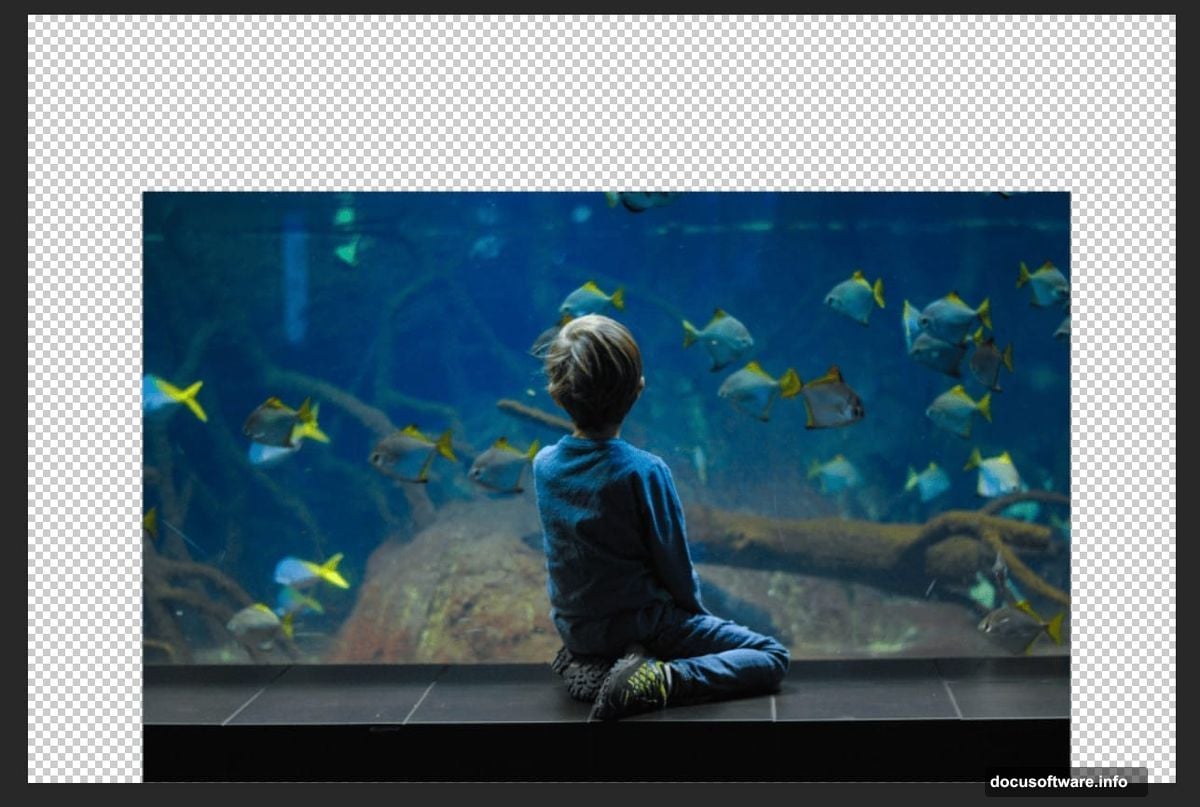
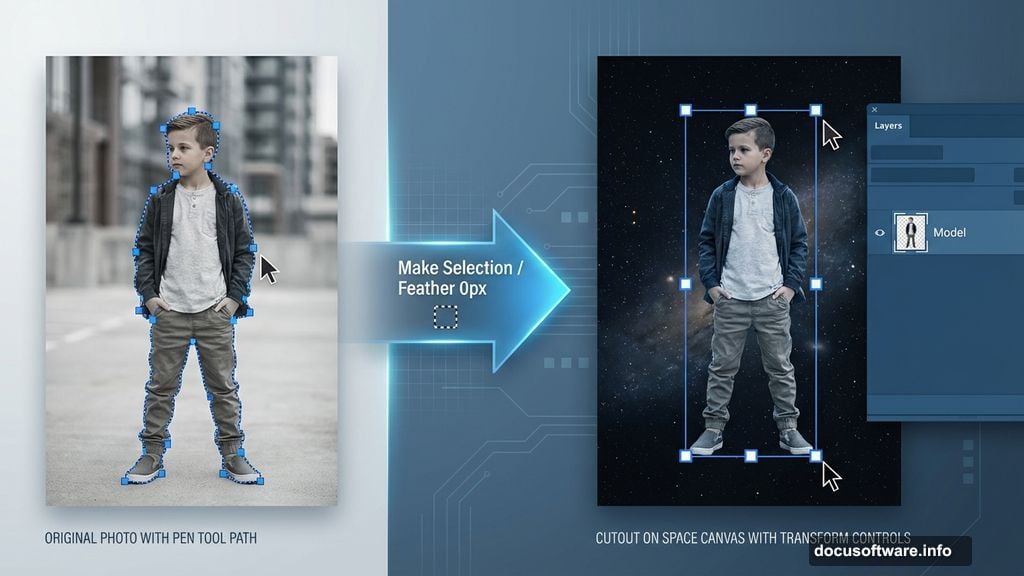
Switch to the Pen Tool by pressing P. This is where the magic of clean selections happens. Click to place your first anchor point at the edge of the boy’s silhouette. Keep clicking around the outline to create straight line segments connected by corner points. Each new anchor point appears as a solid square, while older ones turn hollow.
To close your path, hover the Pen Tool back over your very first anchor point. A small circle appears next to the cursor when you’re in the right spot. Click to close it. Then right-click and choose “Make Selection.” Set your Feather Radius to 0px and check Anti-aliased for a crisp edge.
Copy the selection with Ctrl/Cmd + C, then paste it onto your main canvas with Ctrl/Cmd + V. Use the Transform Tool (Ctrl/Cmd + T) to resize and position him. Hold Alt + Shift to scale proportionally, or just Alt in Photoshop CC to scale all sides together.
Fine-Tune the Model with Adjustment Layers
![Supporting image showing the Photoshop layers panel with Levels, Hue/Saturation, Curves, and Brightness/Contrast adjustment layers stacked above the model layer]
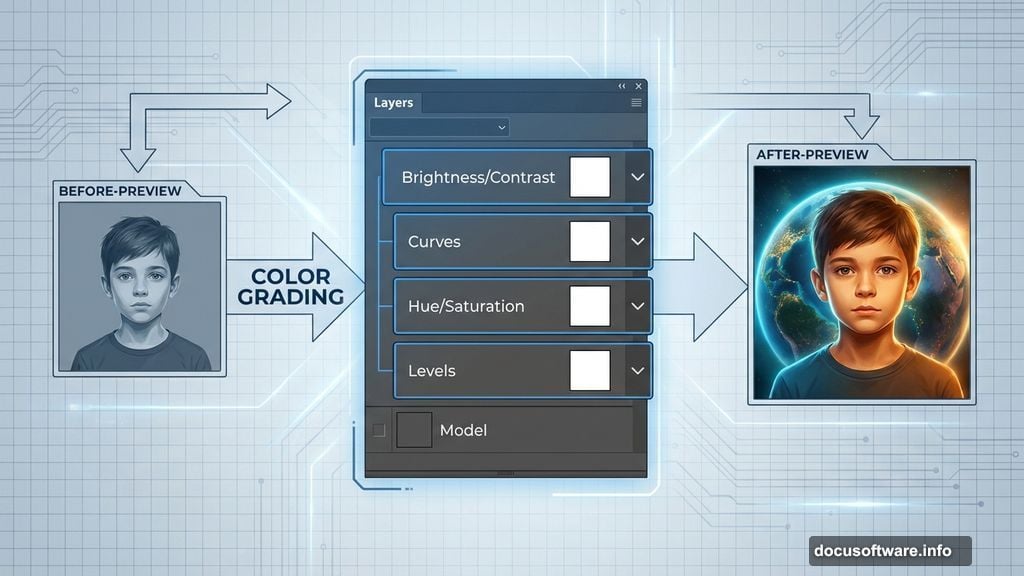
This is where your composite starts feeling cohesive. Add these Adjustment Layers one at a time, directly above your model layer.
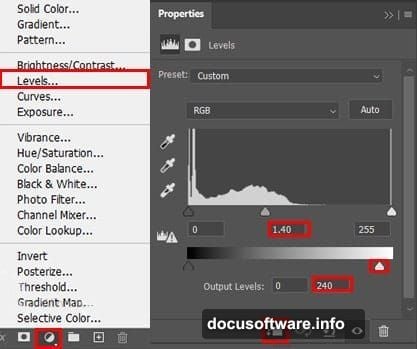
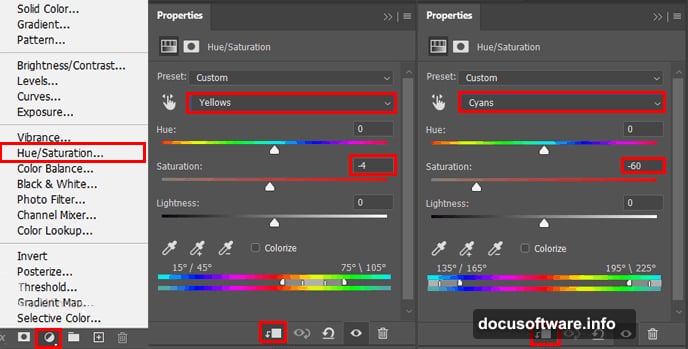
First, add a Levels Adjustment Layer to balance the overall tonal range. Then stack a Hue/Saturation layer on top to shift the color temperature so the boy matches the mood of the scene. Follow that with a Curves layer for more precise contrast control.
Finally, add a Brightness/Contrast Adjustment Layer. Here’s a small trick: immediately press Ctrl/Cmd + I to invert the layer mask to black. That hides the effect completely. Then grab your Brush Tool (B), pick a soft round brush, set your foreground color to white, and paint only over the beam where the boy sits. This creates a subtle light effect that grounds him in the scene naturally.
Duplicate Your Group for Depth
Select all your model layers and group them together with Ctrl/Cmd + G. Now duplicate that group with Ctrl/Cmd + J.
Use the Move Tool (V) to shift this first copy slightly to the right. Duplicate the original group again and nudge that copy slightly to the left. This staggered layering creates a gentle sense of depth and dimension.
Now select your original group and add a Layer Mask. The goal here is to clean up any harsh lines at the edges of the image. Grab your Brush Tool again with a soft round tip and black foreground color. Paint along the edges on the mask to fade them out smoothly. This blending step is what separates a polished composite from one that looks hastily assembled.
Keep Building Through the Remaining Steps
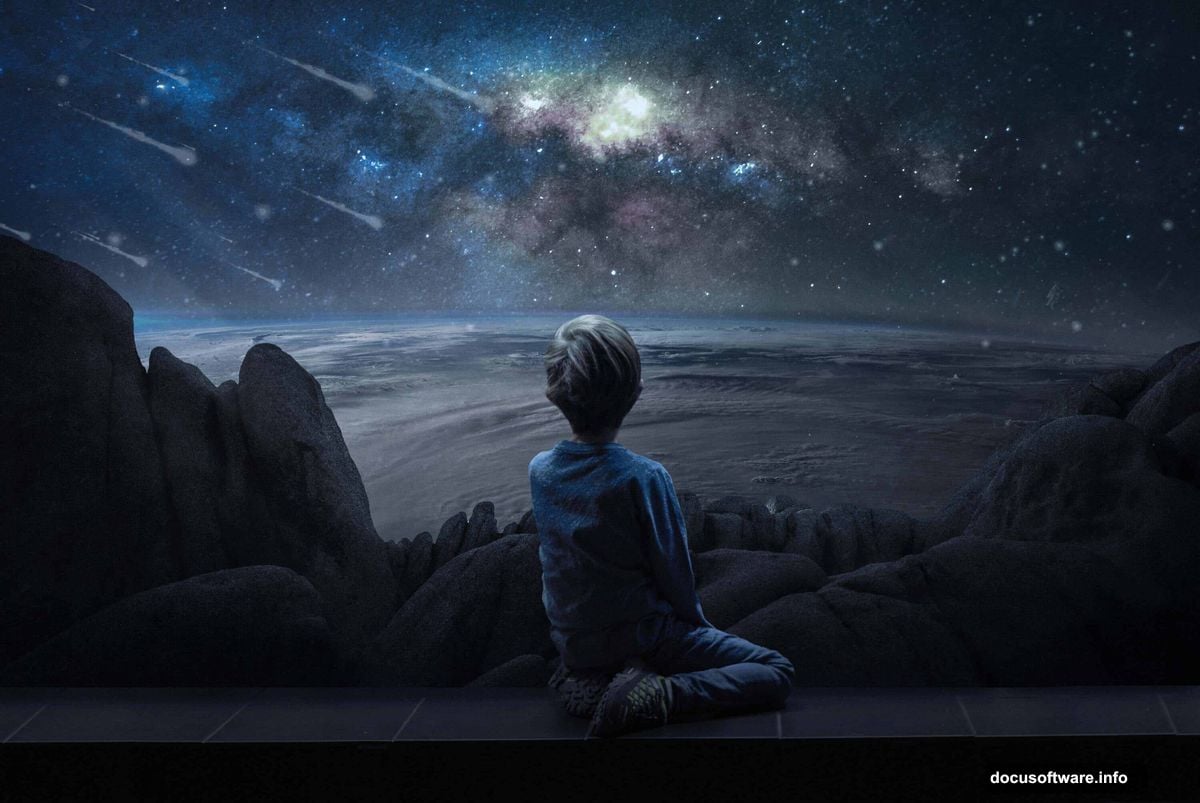
The tutorial continues across several more pages, walking you through placing the Earth texture, adding the sky background, integrating the mountain layer, and bringing in the astronaut element. Each stage uses the same core techniques you just practiced: masking, adjustment layers, and careful blending.
The final step is color grading the whole image using the Camera RAW Filter. This is where everything clicks together. Camera RAW lets you adjust white balance, exposure, shadows, highlights, and add a color grade all in one place. A slight cool shift in the shadows and a warm glow in the highlights gives the finished piece that otherworldly, cinematic quality you’re aiming for.
Why This Technique Is Worth Mastering
Photo manipulation like this teaches you something important about Photoshop. The software rewards patience. Rushing through the Pen Tool selection or skipping the masking step shows immediately in the final image.
But when you take your time with each layer, the result genuinely surprises you. Suddenly a photo of a kid sitting somewhere ordinary becomes a breathtaking scene suspended above the planet. That’s the payoff for learning these tools properly.
Start simple, practice the Pen Tool on easy shapes before tackling complex silhouettes, and don’t skip the Adjustment Layers. They’re doing heavy lifting that your eyes barely notice individually but would definitely miss if removed.