Photo manipulation sounds intimidating. But with the right approach, even a simple dance photograph can become something that looks like it belongs in a gallery.
This Photoshop tutorial walks you through combining multiple photos and adding special effects to create a dazzling final composition. Plus, you’ll pick up some clever tricks to keep your file size manageable and your layer count under control — two things that make a huge difference when working on complex projects.
Here’s what the process looks like from start to finish.
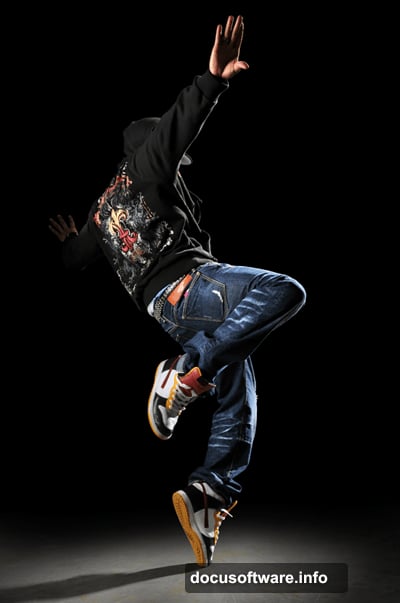
Load Your Dancer Image First
Start by opening your dancer photograph in Photoshop. This becomes the foundation of your entire composition, so take a moment to make sure it’s the resolution you want to work with.
The original tutorial uses the highest resolution images available from Dreamstime stock photography. Working with high-resolution files gives you much more flexibility when resizing and blending elements later. Lower resolution images can look pixelated when you start layering effects.
Place Clouds as a Smart Object
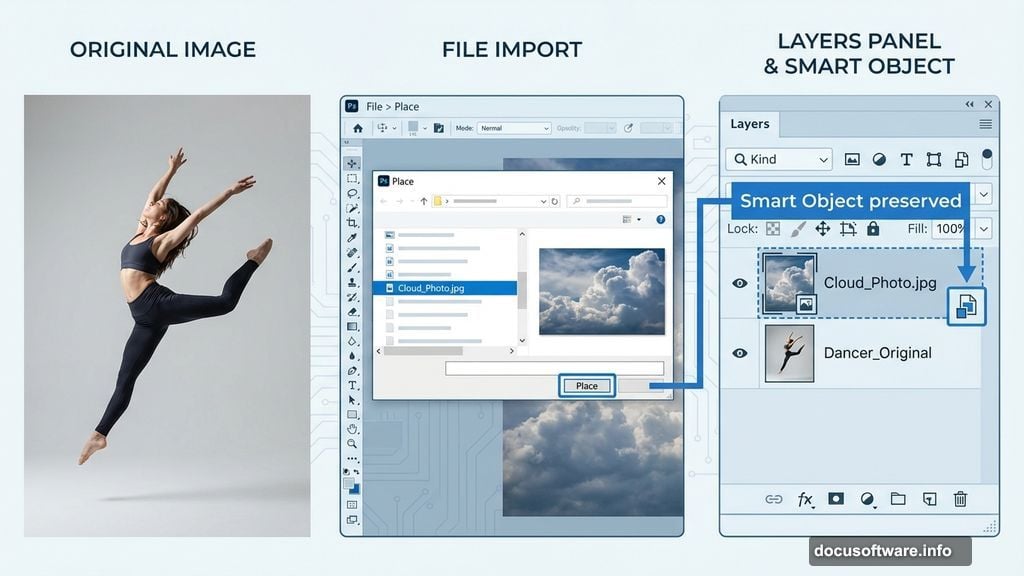
Next, bring in your cloud image using File > Place rather than the standard copy-paste method. This distinction matters more than you’d think.
When you use the Place command in Photoshop CS2 or newer, the image automatically becomes a smart object. Smart objects preserve original image data, which keeps your file size significantly smaller — especially when you save without the “maximize compatibility” option enabled. So it’s a small habit that pays off on larger projects.
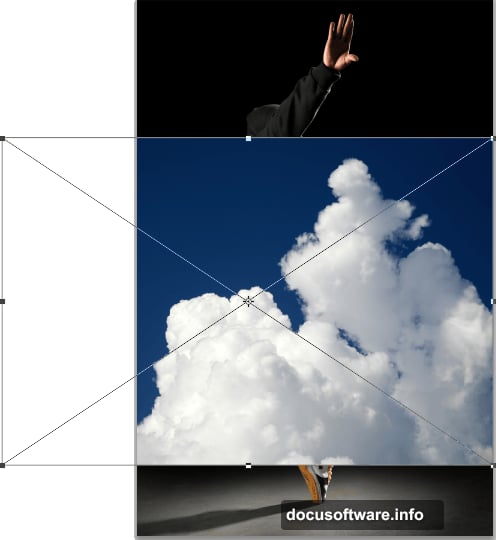
Once your cloud layer appears, resize and reposition it wherever looks good, then press Enter to confirm the transformation.
Blend the Clouds Without Adding a Mask
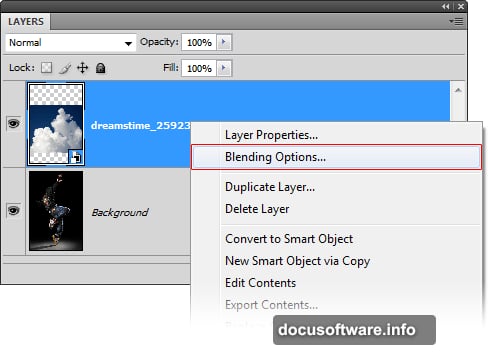
Here’s where things get interesting. Most people would reach for a layer mask to remove the sky from the cloud image. Instead, this tutorial uses Blending Options — and that choice keeps your document cleaner and lighter.
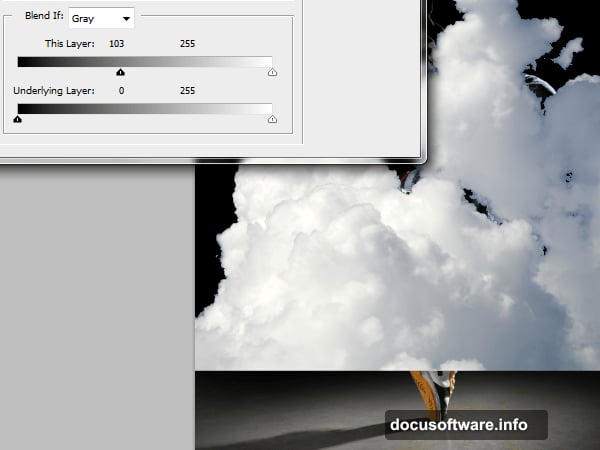
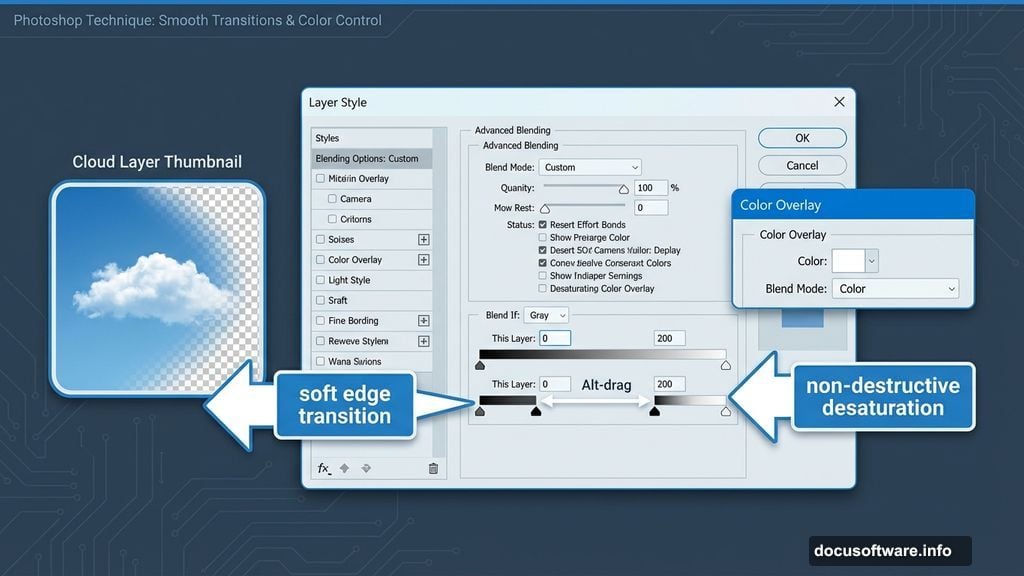
Right-click the cloud layer and choose Blending Options. Inside, drag the black input slider to the right until the sky area disappears from view. Then hold Alt and drag that same slider all the way right. This splits the slider, which softens the transition and removes harsh edges around the clouds.
The result looks much more natural than a simple mask cutout.
Desaturate Using Color Overlay
Still inside the Layer Style window, click on Color Overlay. Set the color to white and the blend mode to Color. Click OK.
This is a non-destructive trick for desaturating a layer entirely through layer styles rather than flattening or adjusting the actual pixels. It’s quick, reversible, and doesn’t add any extra layers to your document. And since you’re staying inside the blending options, everything applies cleanly to the same smart object you placed earlier.
That combination — smart objects plus blending options — is the core philosophy behind keeping this kind of photo manipulation manageable. Complex compositions can spiral into dozens of layers and massive file sizes. These techniques fight that from the beginning rather than trying to clean things up at the end.
Why These File-Size Tricks Matter
Working with high-resolution stock images while adding cloud layers, light effects, and special textures adds up fast. A Photoshop document that starts at a few hundred megabytes can balloon quickly.
Smart objects compress referenced image data when saved properly. Blending options and Color Overlays handle visual adjustments without requiring extra adjustment layers or merged copies. Together, these habits can cut document size noticeably on a multi-element composition like this one.
For anyone building a creative Photoshop workflow, those habits are worth developing early. The more complex your projects become, the more grateful you’ll be that you didn’t stack fifty layers of rasterized edits.
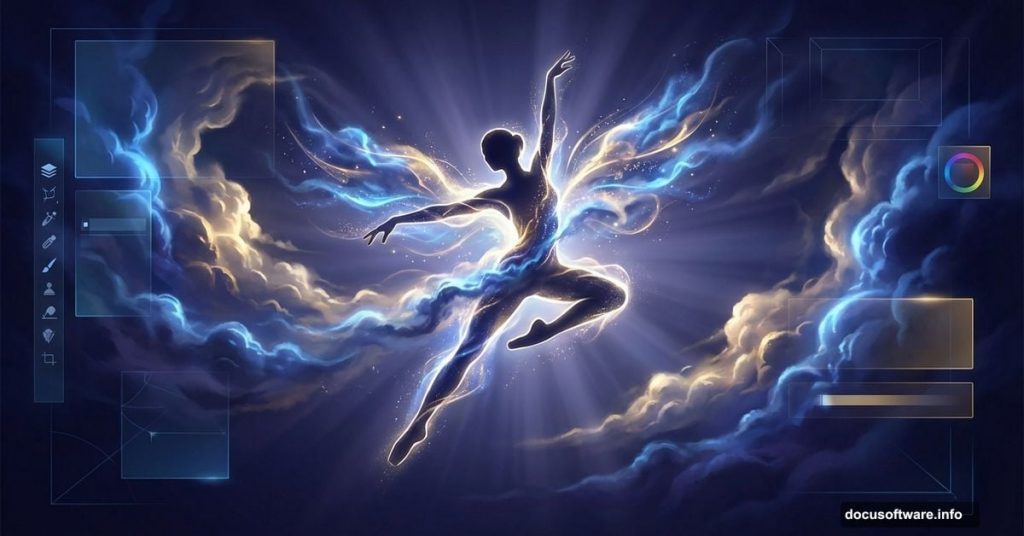
Photo manipulation like this — combining a dancer with atmospheric cloud effects and special lighting — rewards patience and experimentation. Each blending decision changes how the elements relate to each other. So don’t rush the early steps. Get the cloud placement and blending feeling right before moving on to effects, because those foundational choices shape everything that comes after.
The final result should feel like the dancer exists inside the cloud environment, not like two separate photos stuck together. That’s the goal that drives every technique in this tutorial.