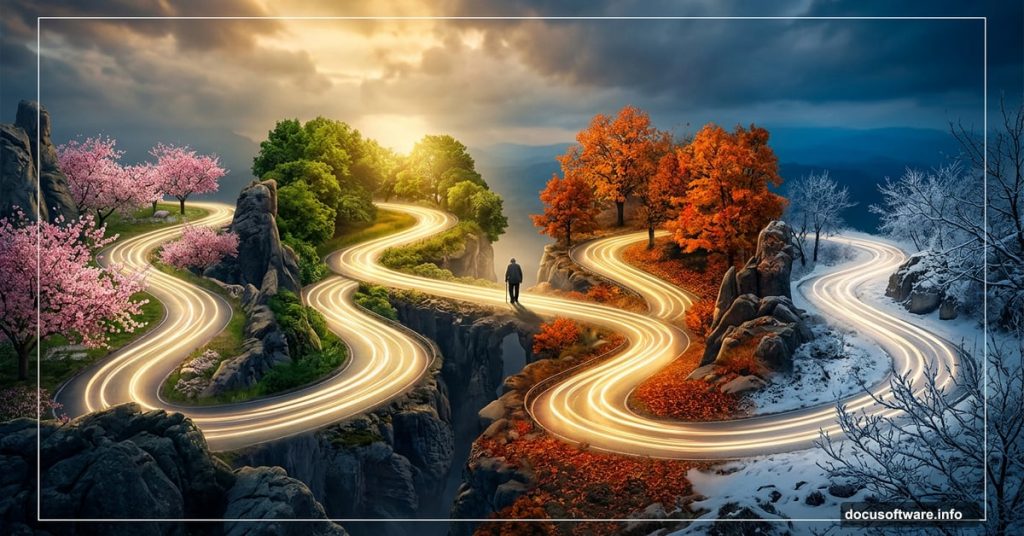
Photo manipulation is one of those skills that feels like pure magic once you get the hang of it. You take a handful of separate images and weave them into a single, emotionally powerful scene that never existed in real life. This tutorial walks you through building a conceptual “life journey” artwork, complete with a zigzag road, rock walls, seasonal trees, and a lone wandering figure.
The finished piece tells a visual story about the different stages of life. And the techniques you pick up here? You’ll use them on nearly every composite project going forward.
Here’s what we’re building and how to get there.
What You’ll Need Before You Start
Gather these resources first so you’re not hunting for images mid-project:
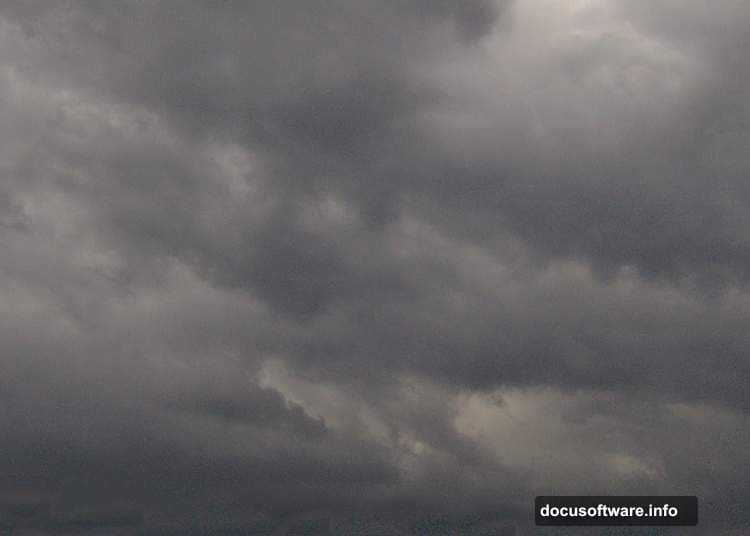
- A dramatic sky photo
- Rock texture image
- Grass or grassy path photo
- An old man figure
- Tree branches (bare and leafy)
- Full tree image
- Individual leaf assets
The original tutorial uses specific stock images, but similar alternatives work perfectly fine. Just look for high-resolution shots with good lighting and clean edges.
Also, you’ll want a working knowledge of Photoshop’s basic tools. Specifically, get comfortable with the Pen Tool, layer masks, and adjustment layers before diving in. This isn’t a beginner project, but it’s absolutely manageable if you take it step by step.
Setting Up Your Canvas and Sky
Start by creating a new document at 2800 x 2000 pixels and fill it with white. This large canvas gives you room to work without losing quality.
Open your sky photo and drag it onto the canvas using the Move Tool (V). Hit Ctrl+T to open Free Transform, then scale the sky up until it covers the entire canvas. Once it fits, right-click the layer and convert it to a Smart Object. This keeps your image non-destructive, so you can always go back and adjust.
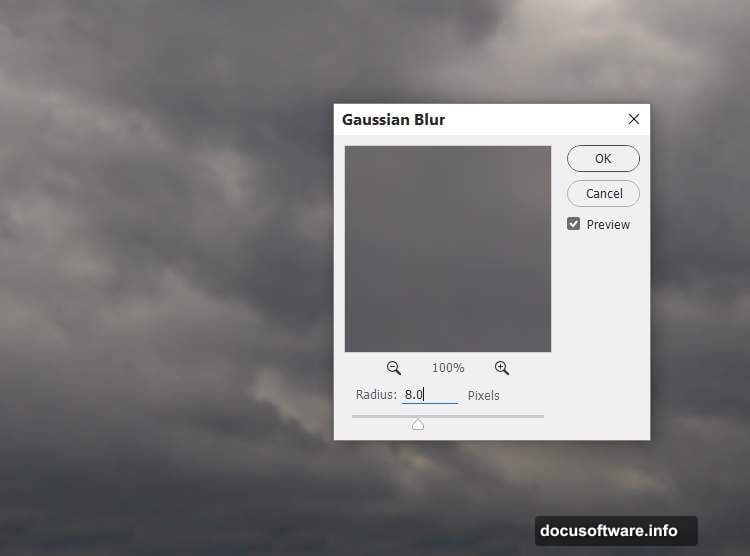
Now soften the sky slightly. Go to Filter > Blur > Gaussian Blur and enter a radius of 8 pixels. This gives the sky a softer, more painterly feel that blends better with the other elements you’ll add later.
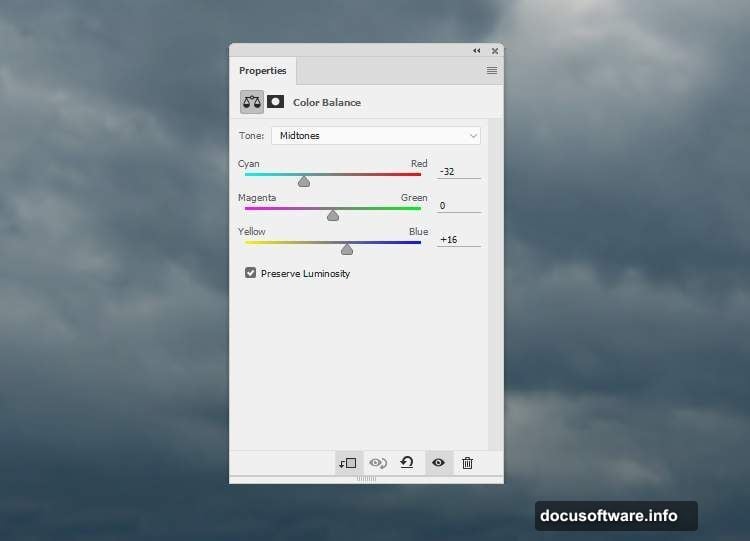
Adjusting Sky Color and Light
Next up, color grading. Add a Color Balance adjustment layer via Layer > New Adjustment Layer > Color Balance and clip it to the sky layer. Shift the Midtones slider toward cyan and blue. This cools the sky down and sets a moody, atmospheric tone for the whole scene.
Then create a Curves adjustment layer and pull the curve down to darken the image overall. Here’s the trick though — you don’t want everything dark. Activate the Brush Tool (B), grab a soft round brush with black paint, and erase the darkening effect from the upper right of the canvas. That’s where your main light source will live.
Add a second Curves layer, this time brightening things up. Paint black on the layer mask over the left side and lower portion of the sky to protect those areas. The result is a sky with natural-looking light coming from the upper right. It’s subtle but makes a huge difference to the final mood.
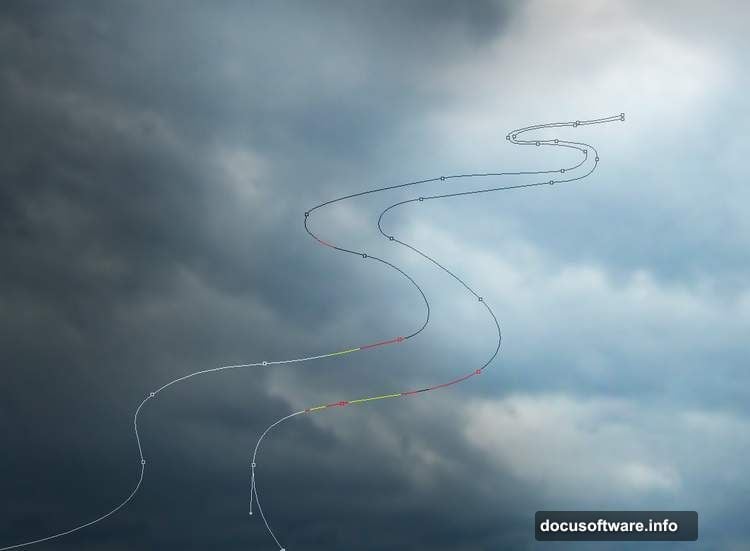
Building the Zigzag Road
This is the structural heart of the whole composition. Create a new layer, then grab the Pen Tool (P). Draw the shape of a zigzag path winding through the canvas. Think of it like a mountain road that cuts back and forth as it climbs.
When your path looks right, press Ctrl+Enter to convert it into a selection. Fill that selection with the color #959698 — a neutral mid-gray that mimics stone or packed earth. This is your base road shape.
Now comes the rock texture. Open your rock image, drag it in, and convert it to a Smart Object. Rotate it with Ctrl+T to match the angle of your road. Hold Ctrl and click the base road layer’s thumbnail to load its selection. Then hit the mask icon at the bottom of the Layers panel. Instantly, your rock texture clips perfectly to the road shape.
Roughing Up the Road Edges
A perfectly clean-edged road looks digital and fake. So here’s how to fix that.
Hide the gray base shape layer. On the rock layer mask, switch to the Brush Tool with a hard round brush at about 30-40 pixels. Use black paint to chip away at the edges of the road, creating an irregular, rugged look. Think of erosion — uneven chunks missing, some spots smoother than others.
This step takes patience. But the rough edges are what make the road feel like it was actually carved out of stone rather than dropped in from a stock photo.
layers panel](inline-image)
Adding the Grassy Road, Trees, and Human Figure

Once the rocky road looks solid, layer in the grassy path sections to contrast with the stone. Use masking techniques similar to the rock layer — clip the grass texture to road sections where you want that softer, living earth feel.
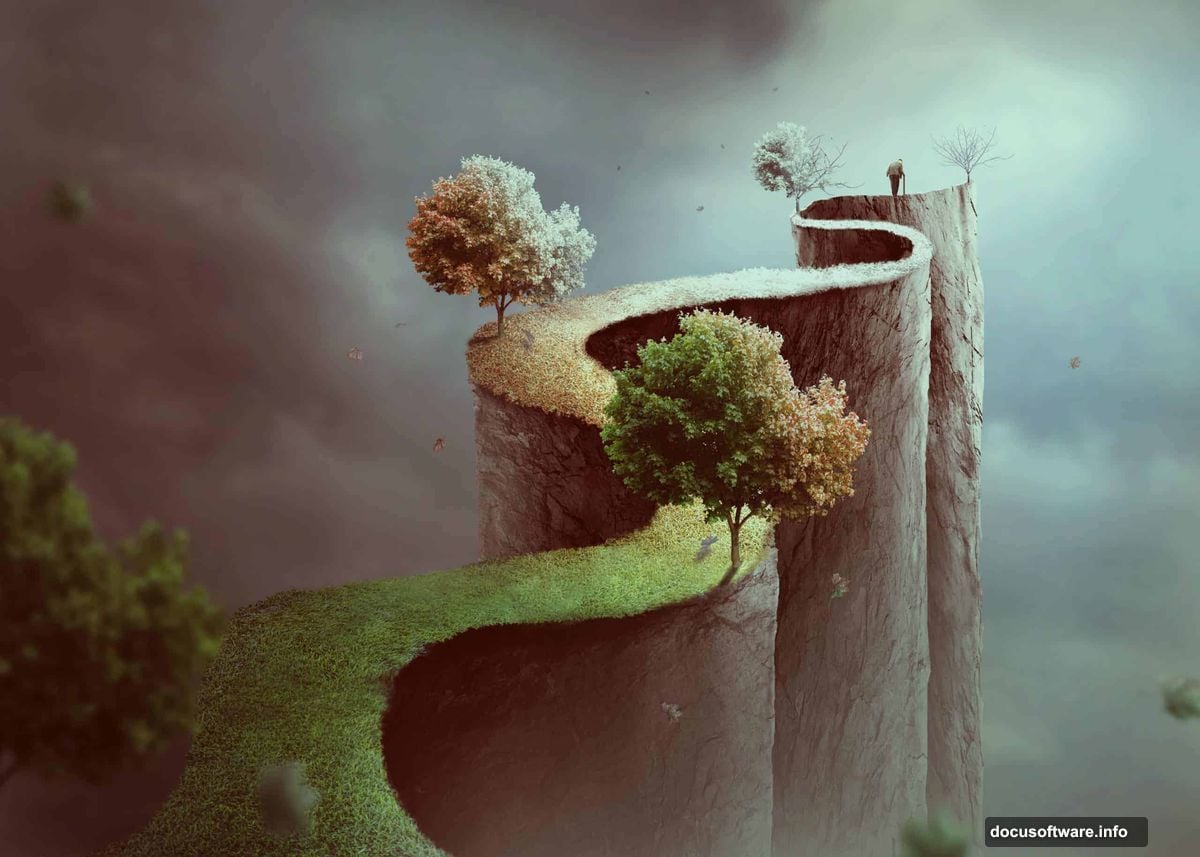
The trees and branches are where the “journey of life” concept comes alive. Place trees at different points along the road and change their colors to represent different seasons. Bare winter branches on one end, full summer green on another. This visual progression mirrors the stages of life, from youth to old age, with the color shifts doing the storytelling.
Add the old man figure walking the path. Position him thoughtfully — somewhere in the middle or latter portion of the road works well symbolically. Use masking to blend his feet and shadow naturally into the ground beneath him.
Finally, scatter flying leaves throughout the scene. These add movement and a sense of time passing. Rotate and resize individual leaves so they look naturally caught in the wind rather than copy-pasted in a pattern.
Finishing with Adjustment Layers

The last phase pulls everything together visually. Stack several adjustment layers at the top of your layer panel — these affect the entire composition rather than individual elements.
Experiment with Hue/Saturation to unify the color palette. A slight desaturation can make the image feel more cinematic. Add a final Curves layer to boost contrast and punch up the shadows. A gentle Color Balance tweak across the whole image ties all the separate elements into one cohesive scene.
The goal is for someone to look at your finished piece and see a single world rather than a collection of photos. Adjustment layers are how you get there.
This kind of conceptual photo manipulation takes time to get right, and honestly, that’s part of what makes it rewarding. Every masking decision, every color tweak, every leaf placement is a creative choice. The zigzag road isn’t just a design element — it’s a metaphor. And building that meaning through Photoshop techniques is what separates a simple composite from actual artwork worth sharing.
Take your time with each step, save often, and don’t be afraid to revisit earlier stages once you see how everything fits together.