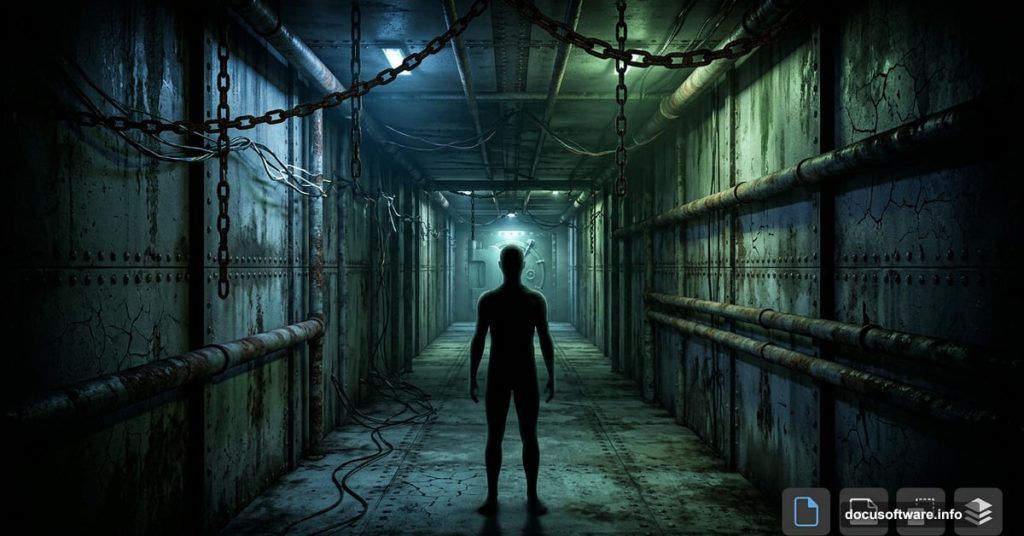
Ever look at a piece of digital art and feel genuinely unsettled by it? That’s the goal here. This Photoshop tutorial walks you through building a perspective-based 3D room scene that feels dark, industrial, and just a little bit wrong — the kind of image that makes people stop scrolling.
The best part? You don’t need advanced skills to pull this off. Photoshop’s built-in tools do most of the heavy lifting.
What You’ll Build Before You Start
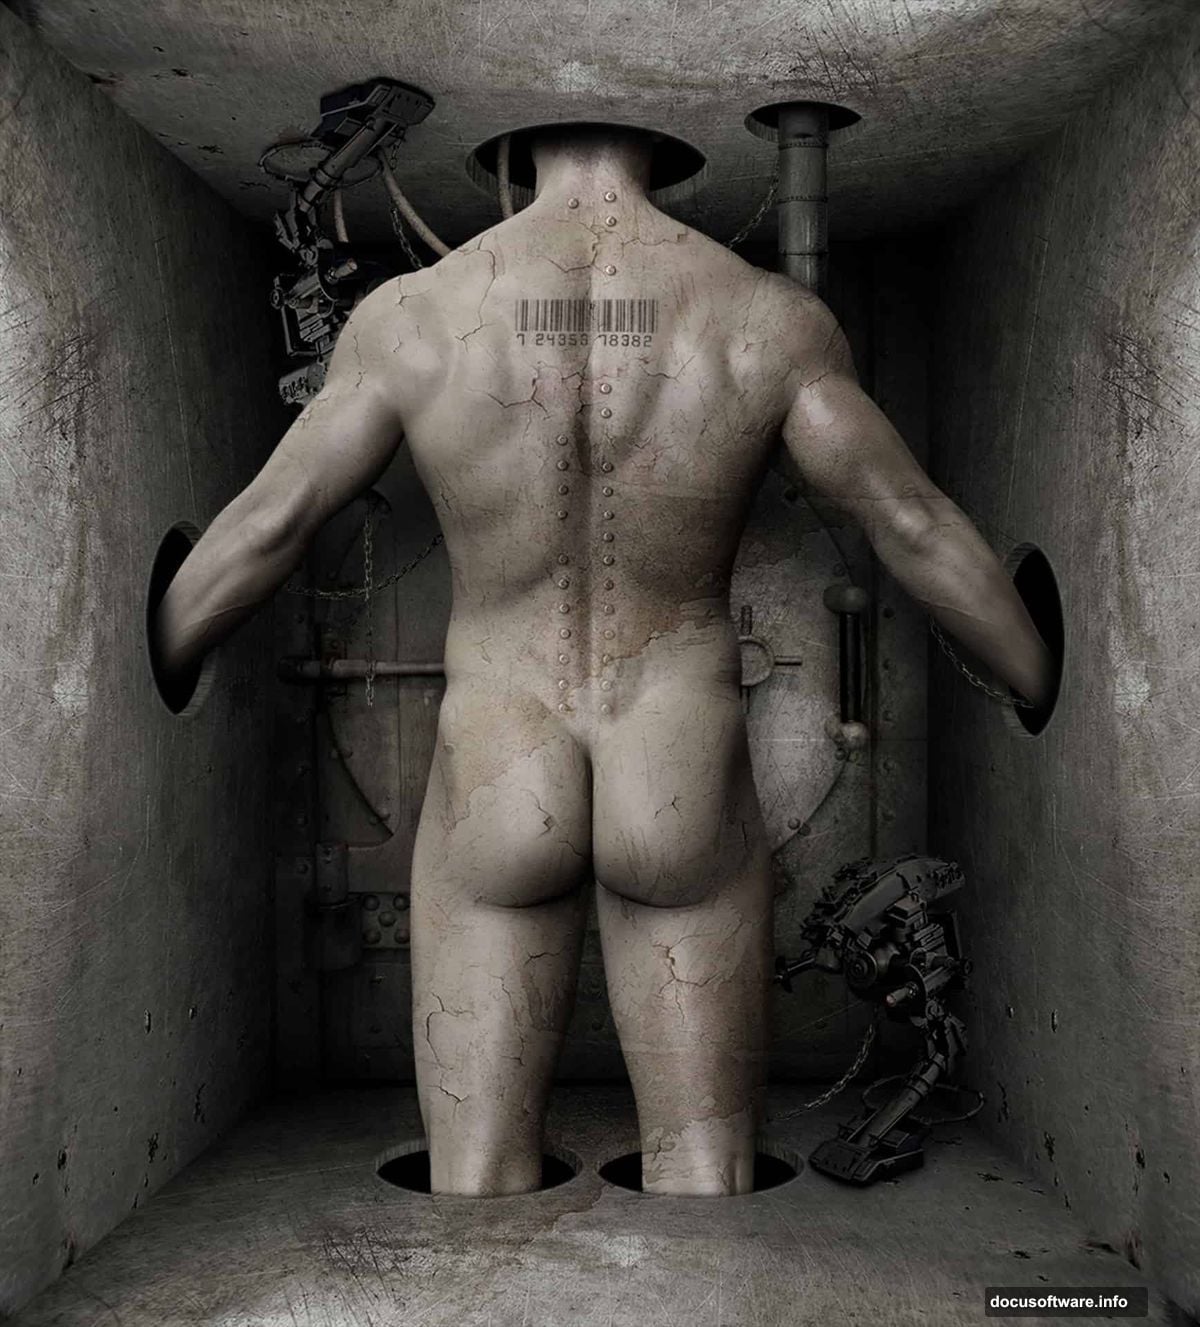
The final scene combines a central figure, a deep perspective background, and a collection of gritty industrial elements — chains, pipes, wires, and worn metal textures. Together they create that unnerving, sci-fi atmosphere you see in concept art and movie posters.
You’ll need Photoshop CS5 or newer. Grab these free and paid stock resources before diving in:
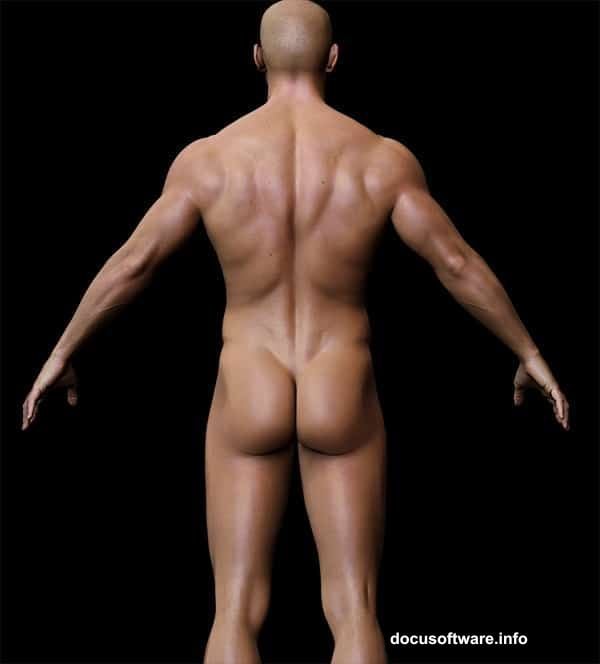
- Man figure — Shutterstock
- Metal Texture — Markpiet
- Vault — Kiyoi-Stock
- Sci-Fi Prop — Inadesign-Stock
- Steam Stock — Random-Acts-Stock
- Chain — Lemurianwanderer
- Wire — Enframed
- Crack Texture — Obsidian-Fox-Stock
- Metal Texture 2 — Mercurycode
- Rivets — Enframed
- Barcode — SXC.hu
- Stain Texture — Kizistock
Got everything? Good. Let’s build something creepy.
Step 1: Cut Out the Figure With Magic Wand and Quick Mask
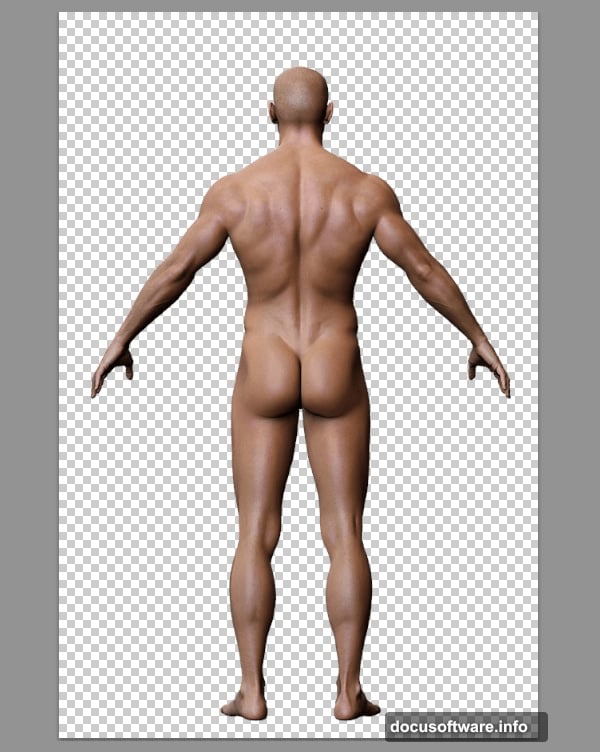
Open your man image first. Before touching anything else, double-click the Background layer in the Layers panel to unlock it. Locked background layers can’t be edited, so this step matters.
Now grab the Magic Wand Tool by pressing W. This tool works beautifully when your subject sits against a fairly uniform background — it selects areas of similar color and tone in one click.
Set the Tolerance to 25 in the Options bar. Then click on the background area around the figure. You’ll get a selection, but it probably won’t be perfect. Rough edges are normal at this stage.
Here’s where Quick Mask Mode saves you. Press Q on your keyboard to enter it. The unselected areas turn red, giving you a clear visual of where your selection needs cleanup. Grab the Brush Tool (B) and paint over any rough spots with a hard-edged brush. Paint red where you want to remove the selection, paint white where you want to keep it.
Once the edges look clean and smooth, press Q again to return to Normal Mode. Then hit Delete to remove the background. Your figure should now sit on a transparent layer, ready to place into the scene.
Step 2: Expand the Canvas and Prep Your Layers
With your figure extracted, go to Image > Canvas Size. Uncheck the Relative option and set the dimensions to 3362 x 3719 pixels. Photoshop will warn you that clipping will occur — just click Proceed and move on.
Reposition the man slightly downward so his head sits visible in the upper portion of the canvas. This placement will make more sense once the background perspective takes shape around him.

Next, create a new layer below the figure layer. Hold Ctrl and click the New Layer icon at the bottom of the Layers panel — this places the new layer beneath the currently selected one rather than above it. Go to Edit > Fill and choose Black from the Contents dropdown. This becomes your base background, the dark void the whole scene grows out of.
Step 3: Build the Perspective Guide
This step is the foundation of the whole composition. A perspective guide gives you reference lines to build your 3D background accurately, so everything feels like it exists in the same space.

Create another new layer, this time below the man layer. Select the Rectangular Marquee Tool by pressing M, then draw a rectangle in the center of the canvas. Aim for roughly 1952 x 2432 pixels — it doesn’t need to be exact, just centered and proportionate.
With the selection still active, go back to Edit > Fill. This time choose 50% Grey. That grey rectangle becomes your perspective anchor point. Everything you build outward from it — walls, floor, ceiling, depth — will reference this shape.
From here, the tutorial continues through adding shadow depth, placing industrial elements, applying metal and crack textures, and tying the whole scene together with adjustment layers that pull the mood into something genuinely atmospheric.
Why This Technique Produces Such a Strong Effect

The perspective approach here works because it mirrors how our eyes actually perceive space. When lines converge toward a central vanishing point, our brains interpret depth automatically — even in a flat image.
Adding worn textures, chains, and industrial props on top of that perspective framework makes the space feel inhabited. It feels like somewhere real, just not anywhere you’d want to visit. That psychological tension between realistic depth and nightmarish content is exactly what makes surreal digital art so effective.
Plus, the techniques themselves — transform tools, masking, blending modes, and adjustment layers — are the same core skills you use in almost every Photoshop project. So this tutorial doubles as a solid workout for your foundational skills while producing something genuinely striking at the end.
Start with the extraction, nail the perspective guide, and the rest of the scene builds naturally from there. Take your time with the Quick Mask cleanup especially — clean edges on your figure make everything downstream look more polished and believable.