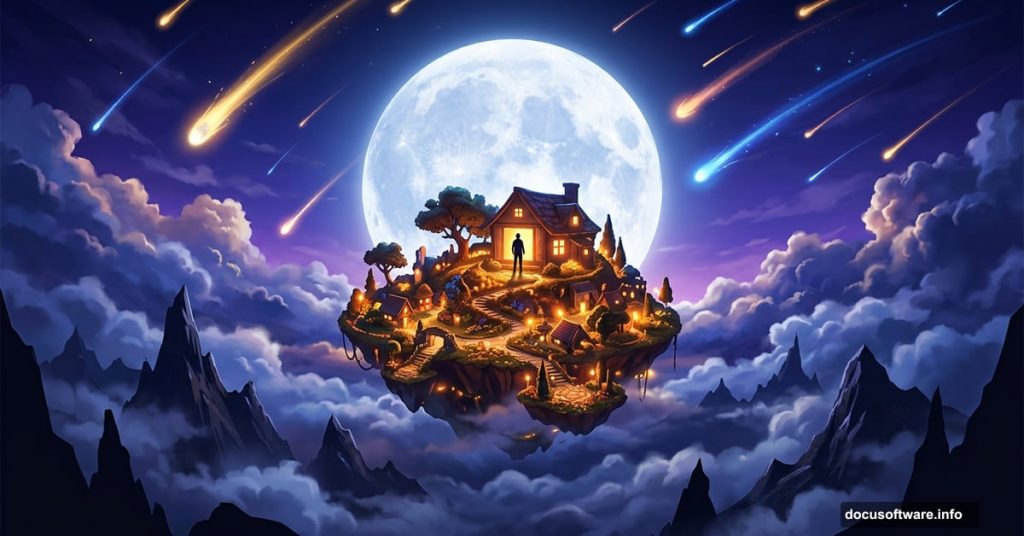
Ever looked at a sunset and wished you could actually live inside that moment? This Photoshop tutorial turns that feeling into a full scene. You’ll build a dreamy destination floating above the clouds, complete with mountains, a glowing moon, comets, and even a person watching it all from a window.
The result is stunning, and the process teaches you some genuinely useful skills along the way.
What You’ll Build (and What You’ll Learn)
This isn’t just a pretty picture. Each step teaches a core compositing technique.
You’ll learn to blend layers with blend modes like Lighten and Soft Light. You’ll practice masking with a soft round brush. Plus, you’ll get hands-on time with the Pen Tool, Elliptical Marquee Tool, and Camera Raw Filter for final color grading.
By the end, you’ll have a polished, surreal sky scene that looks like concept art.
Resources You Need Before Starting
Grab these stock images and assets before you open Photoshop:
- Mountains photo
- Big window image
- Clouds photo
- Plane stock image
- Satellite photo
- Floor texture
- Moon photo
- Man silhouette
- Comet brushes
Having everything ready saves you time mid-tutorial. Nothing breaks flow like hunting for files halfway through a complex composite.
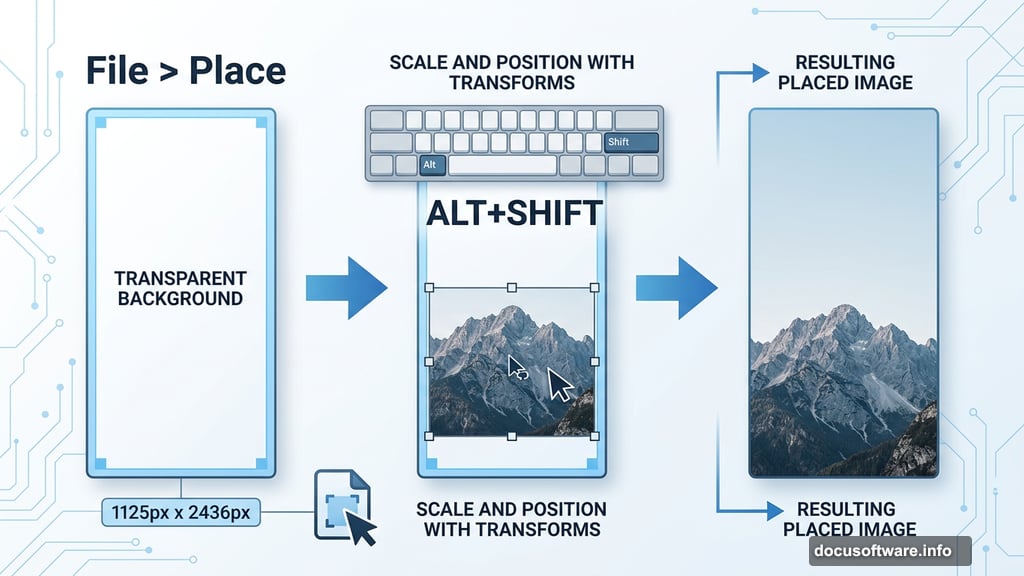
Step 1: Set Up Your Canvas
Start fresh. Go to File > New and enter these exact settings:
- Preset: Custom
- Width: 1125px
- Height: 2436px
- Resolution: 300px
- Color Mode: RGB Color, 8-bit
- Background Contents: Transparent
This tall, vertical format works beautifully for a sky scene. It gives you room to stack elements from the ground up into the clouds above.
Step 2: Place the Mountains
Go to File > Place and select your mountains image. Once it lands on the canvas, hit Ctrl/Cmd + T to open the Transform Tool. Hold Alt + Shift to resize from the center while keeping proportions locked. In Photoshop CC, just hold Alt to resize all sides together.
Position the mountains toward the bottom third of the canvas. This anchors the scene and gives your floating destination something to rise above.
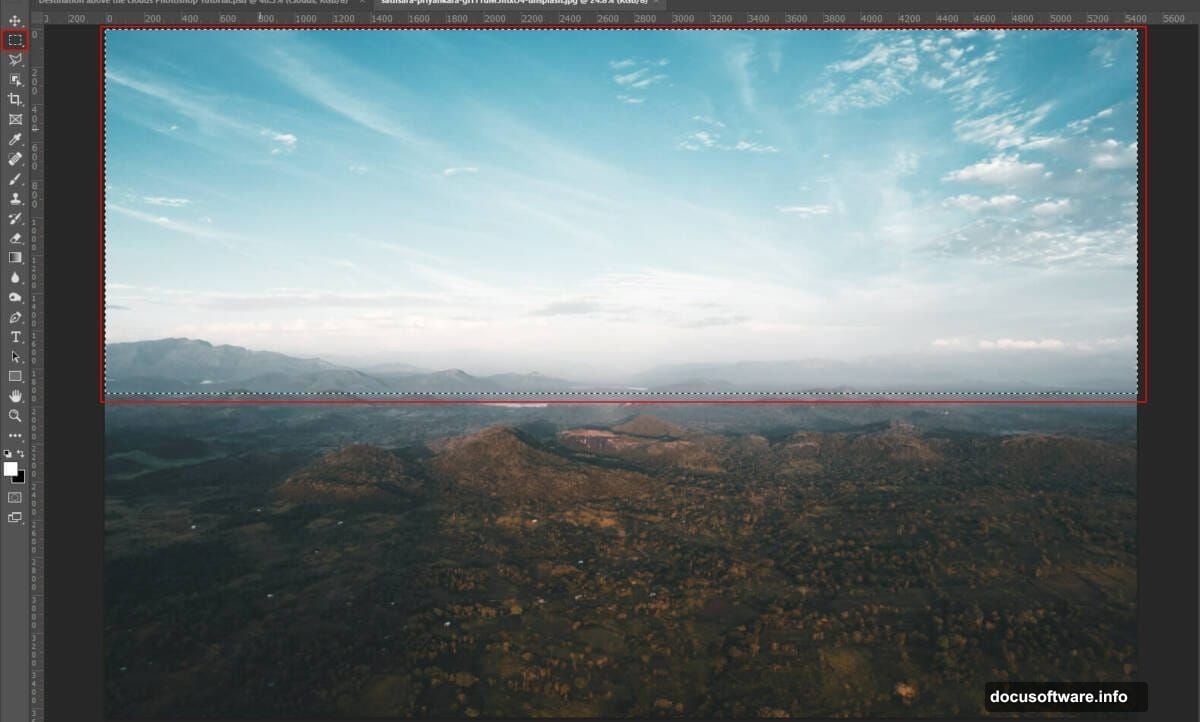
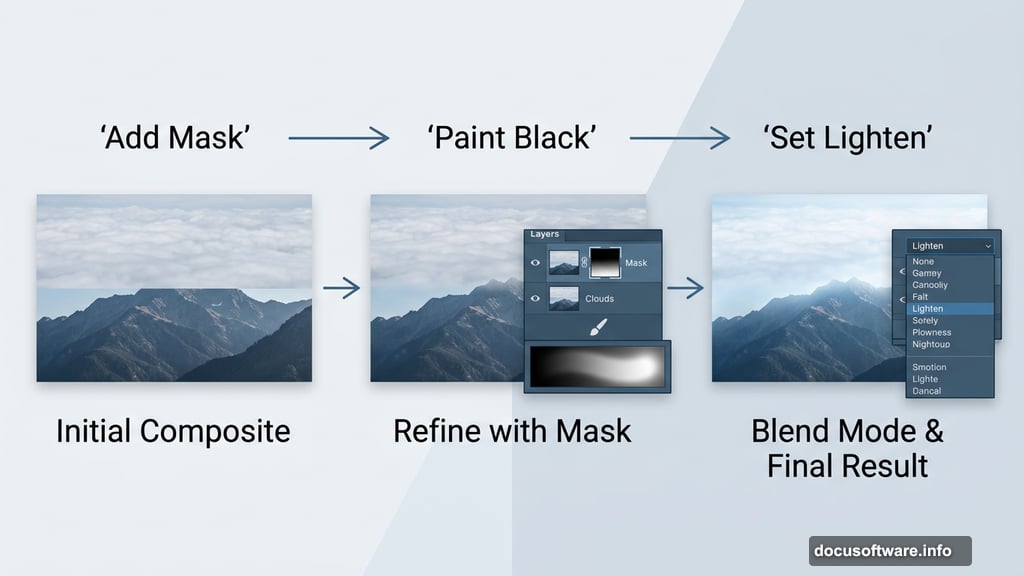
Step 3: Layer in the Clouds
Open your clouds image separately. Grab the Rectangular Marquee Tool (M), draw your selection, then copy (Ctrl/Cmd + C) and paste (Ctrl/Cmd + V) it onto the main canvas.
Use the Transform Tool again to position and scale it. Then add a Layer Mask and paint over the bottom edge with a soft round brush set to black. This fades the clouds into the mountains naturally, no hard edges.
Finally, change the cloud layer’s blend mode to Lighten. This makes the clouds glow against the mountain background instead of sitting on top like a flat cutout.
Step 4: Paint Comets With Custom Brushes
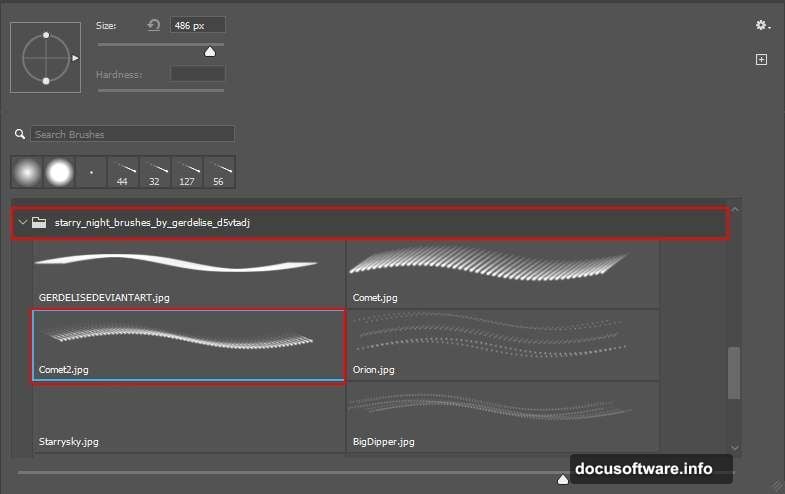
Here’s where things get fun. Select the Brush Tool (B) and right-click anywhere on the canvas. Click the gear icon and choose Import Brushes, then select your downloaded comet brush set.
Create a new layer above the clouds. Set its blend mode to Soft Light and your foreground color to white. Now paint your comets across the sky. The Soft Light mode keeps them looking ethereal rather than pasted on. A few loose strokes look better than many tight ones, so don’t overdo it.
Step 5: Add the Moon
Go to File > Open and bring in your moon photo. Switch to the Elliptical Marquee Tool (M) to select just the moon itself.
A few tips for a clean selection. Hold Shift while dragging to constrain the shape to a perfect circle. Hold Alt (Windows) or Option (Mac) after you start dragging to pull the selection outward from the center point instead of a corner. Once selected, copy and paste the moon onto your main canvas.
Scale it to feel dramatic but not overwhelming. A large moon placed slightly off-center adds real visual weight to the scene.
Bring It All Together With Adjustment Layers
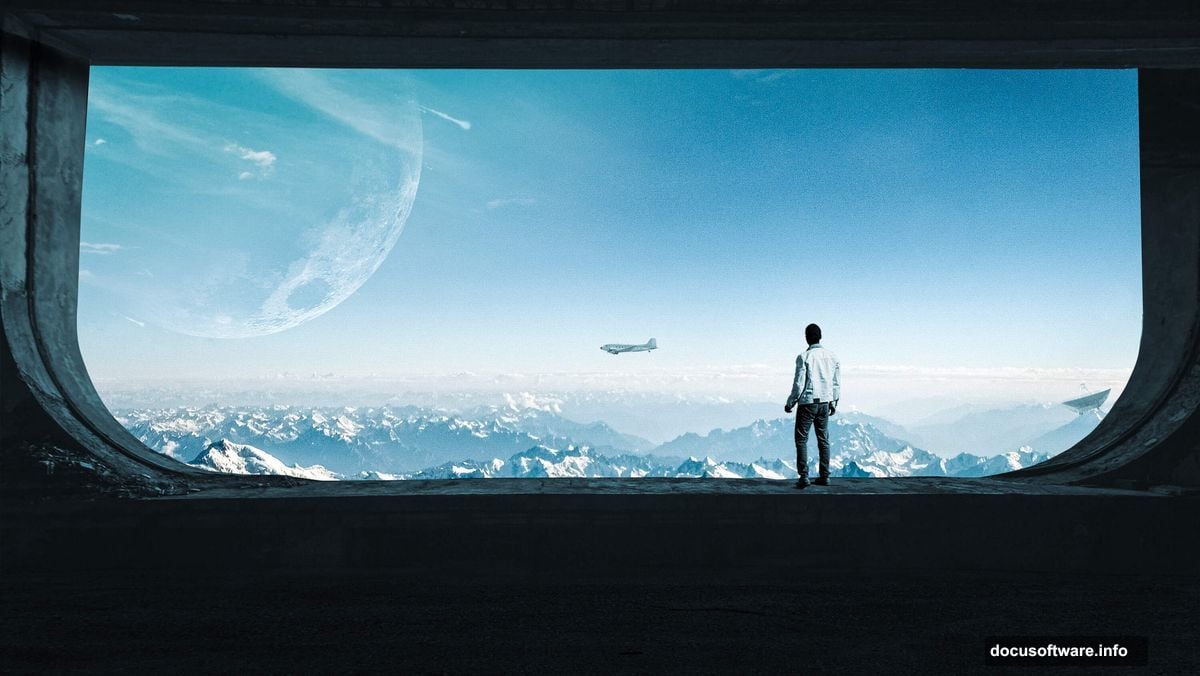
Once you’ve placed the window, satellite, man, plane, floor, and extended the wall and roof, group all your layers together. This keeps things manageable and lets you apply adjustments cleanly.
Add adjustment layers on top of the group to blend everything. Play with Hue/Saturation, Color Balance, and Curves until the scene feels unified. Different elements shot under different lighting need coaxing to feel like they belong together.
For the final touch, apply a Camera Raw Filter to the flattened or merged composite. This is where you pull the whole mood together. Push the blues and purples in the shadows, lift the highlights in the sky, and add a slight vignette to draw the eye inward.
The Camera Raw Filter gives you the kind of cinematic color grading that makes the finished image look intentional rather than assembled.
A Few Extra Tips
Blend modes are your best friends in compositing. When a layer looks flat or harsh, try Lighten, Screen, or Soft Light before reaching for the Eraser. You’ll get much more natural results.
Masking beats erasing every time. A mask is reversible. An erased pixel is gone. Always mask, always keep your options open.
And work with groups. Labeling and grouping related layers keeps your file manageable as it grows. A composite like this can hit 20 or 30 layers quickly.
This project is a great exercise in visual storytelling through compositing. Every element you add should serve the scene. The moon sets the mood. The comets add motion. The figure at the window gives it human scale. Together, they build a place you genuinely want to visit.