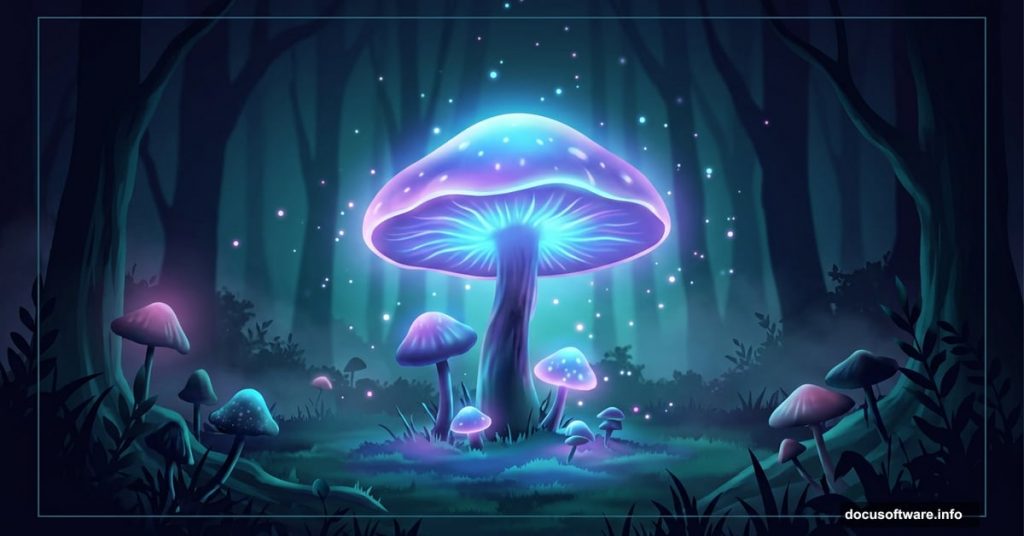
There’s something magical about transforming a bright, ordinary daylight photo into a glowing, mysterious night scene. Add some oversized mushrooms, soft bioluminescent light, and a dreamy atmosphere, and suddenly you’ve got something that feels pulled straight from a fairy tale.
This tutorial walks you through exactly how to do that. You’ll learn how to shift a day scene into night, blend in natural elements like branches and giant mushrooms, and polish everything with Camera Raw Filter for a stunning final look.
What You Need Before Starting
Grab these resources before diving in. You’ll need a background forest photo, a mushroom image, butterfly references, a branch, a model photo, and some custom brushes. Having everything ready saves a lot of back-and-forth later.
Also worth noting: a few steps differ slightly between older Photoshop versions and Photoshop CC. Where that matters, it’s called out clearly below.
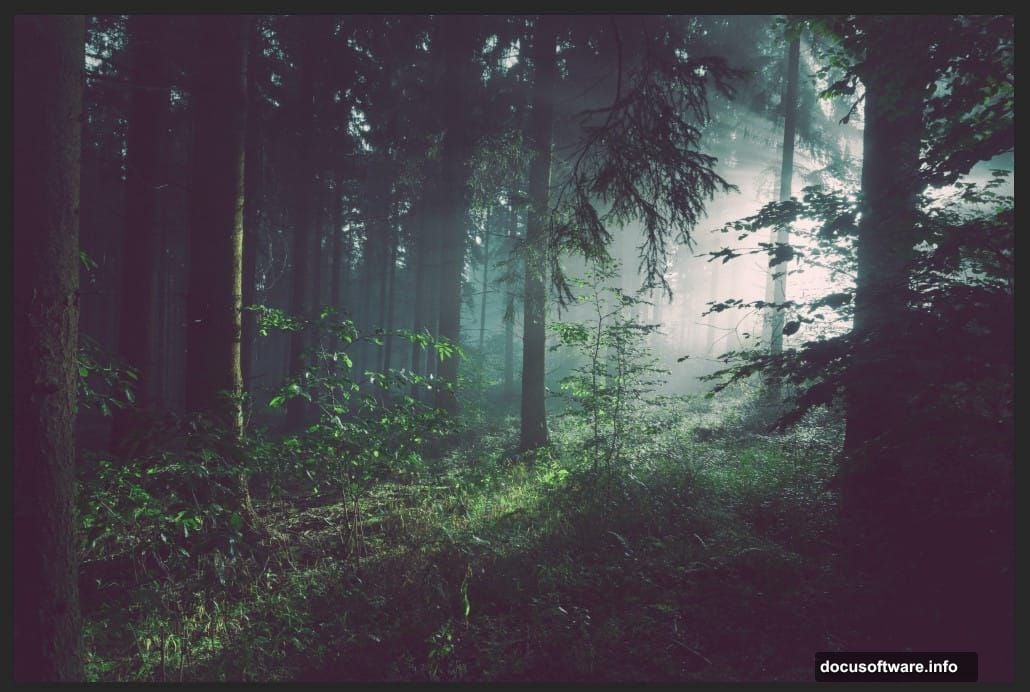
Step 1: Open and Blur Your Background
Start by opening your background image. Go to File > Open and select your forest photo.
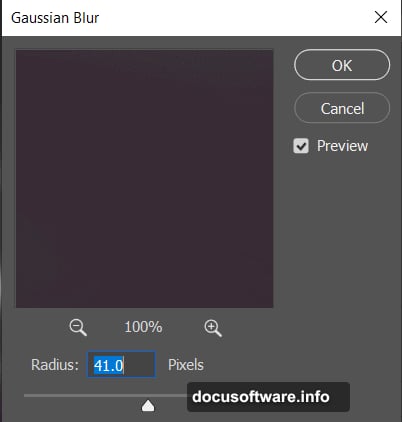
Right-click the layer and choose Convert to Smart Object. This keeps your blur non-destructive, meaning you can always go back and adjust it later.
Then go to Filter > Blur > Gaussian Blur and set the Radius to 41px. That soft blur helps push the background into the distance, making your scene feel deep and atmospheric.
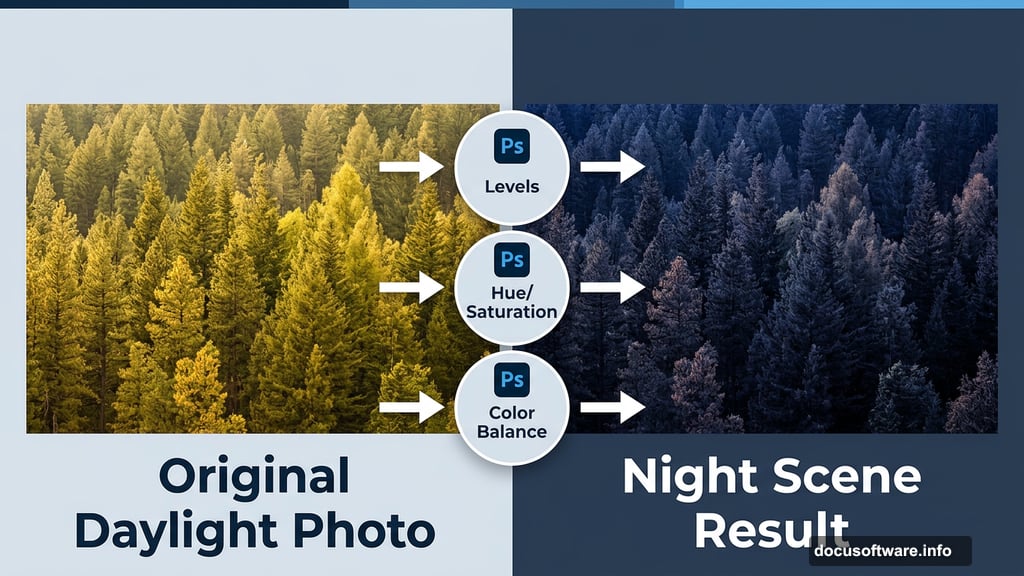
Step 2: Add a Levels Adjustment Layer
Add your first Levels Adjustment Layer directly above the background. This gives you control over the tonal range, letting you crush the highlights and push the shadows darker to start building that night-time feel.
Pull the midtones slider left to brighten selectively, or right to deepen shadows. At this stage, aim for a moodier, darker overall tone.
Step 3: Adjust Hue and Saturation
Next, add a Hue/Saturation Adjustment Layer. Reduce the overall saturation to desaturate the warm daytime colors. You want to strip away the golden greens and sunny yellows that scream “daytime.”
This step is subtle but important. It preps the scene for the cool blue and purple tones you’ll layer in next.
Step 4: Shift Colors with Color Balance
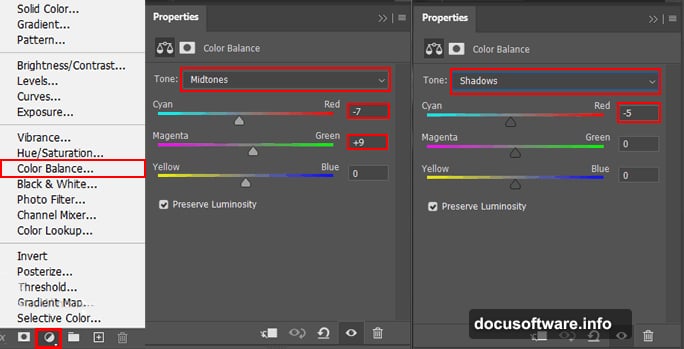
Add a Color Balance Adjustment Layer. Here’s where the night transformation really starts to show.
Push the Midtones toward Cyan and Blue. Do the same gently for Shadows. This cools down the entire scene and gives it that unmistakable moonlit quality. You can also add a touch of Magenta in the Highlights to create a subtle, ethereal glow.
Step 5: Bring in the Branch
Open your branch image separately. Select the Quick Selection Tool (W) and drag it over the branch to create a selection.

Quick tip: check the Auto-Enhance option in the Options bar before you start selecting. It automatically tightens the selection edges and handles detail better. If your selection misses a spot, just click and drag over that area to add it.
Once selected, copy (Ctrl/Cmd + C) and paste (Ctrl/Cmd + V) it onto your main canvas. Use the Transform Tool (Ctrl/Cmd + T) to reposition and resize it. Hold Alt + Shift to resize proportionally in older versions. In Photoshop CC, just hold Alt alone to resize all sides together.
Position the branch naturally in the scene, typically along one side or across the lower frame to add foreground depth.
Step 6: Add Another Levels Adjustment for the Branch
Clip a new Levels Adjustment Layer directly to the branch layer. This lets you match the branch’s lighting to the rest of your darkened scene without affecting everything else.
Drag the Output Levels black slider slightly right to soften the darkest shadows on the branch. This prevents it from looking pasted on and helps it feel naturally lit by moonlight.
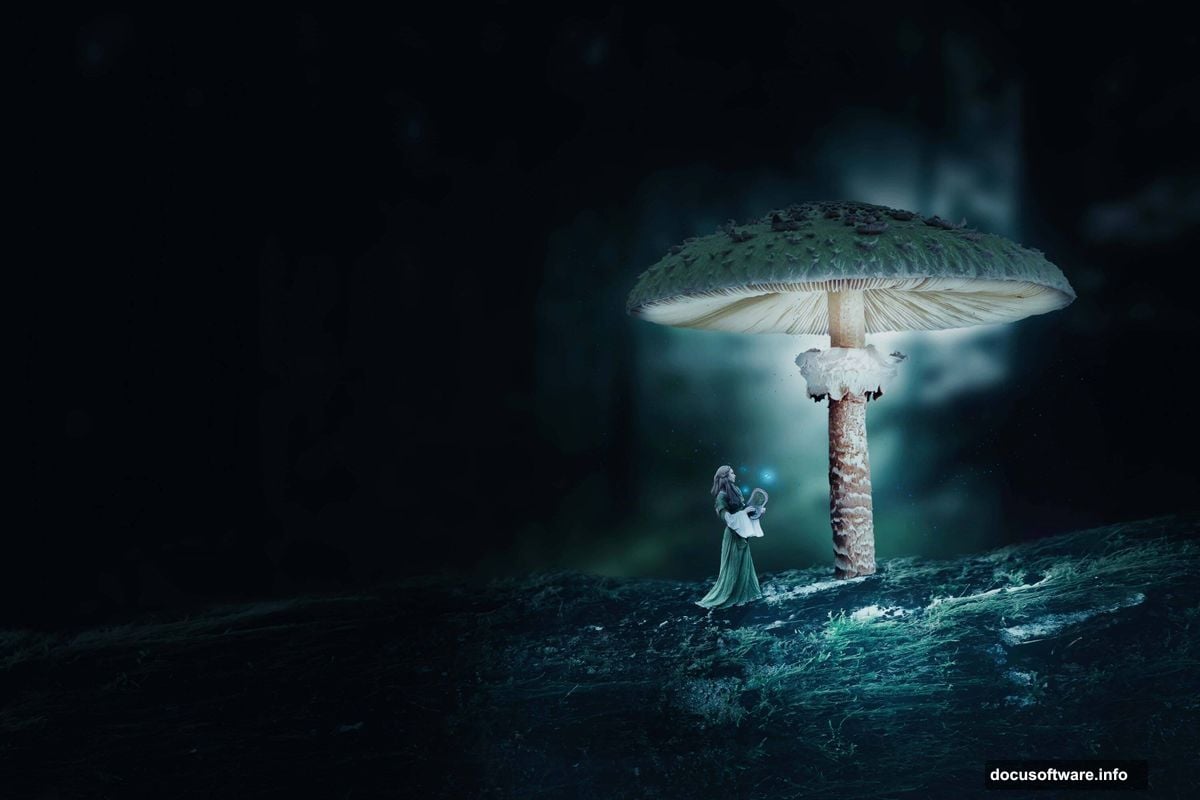
Step 7: Place the Mushroom
Open your mushroom image. Use the Quick Selection Tool (W) again to select the largest mushroom in the image.
Copy and paste it onto your canvas, then use Ctrl/Cmd + T to position and scale it. Oversized mushrooms are the heart of this composition, so don’t be shy about making it big. Place it slightly off-center for a more natural, dynamic feel.
Repeat this process for additional mushrooms if you want to build out a fuller forest floor. Each mushroom gets its own layer, which makes lighting and blending them individually much easier.
Building the Glow and Atmosphere
With your main elements placed, the real fun starts. Create new empty layers above each mushroom and use soft round brushes set to low opacity to paint warm yellow and orange glows around the mushroom caps. Set these layers to Screen or Overlay blending modes.
Add a few more layers for the misty forest atmosphere. A large, soft brush with a cool blue color painted lightly around the background creates that signature bioluminescent haze. Keep the opacity low, around 20-30%, and build it up gradually.
Butterflies and the model can be added using the same selection and paste workflow as the branch and mushrooms. Each element gets its own Levels or Curves adjustment clipped to it, letting you match lighting individually.
Final Polish with Camera Raw Filter
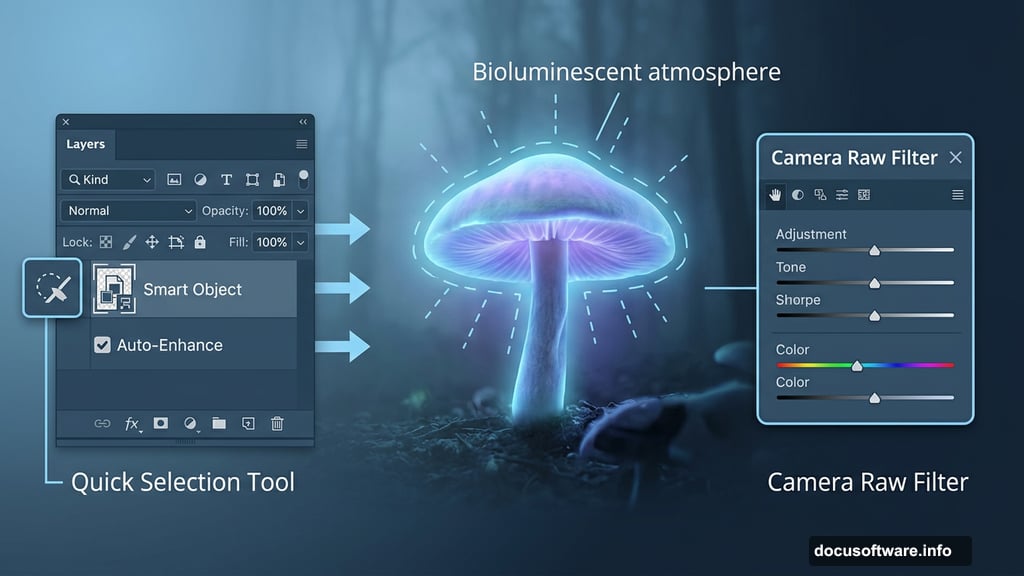
Once all your layers are in place, flatten a merged copy of your composition. Go to Filter > Camera Raw Filter. This is where everything comes together.
In Camera Raw, reduce the Temperature slightly to reinforce the cool blue night tones. Boost Clarity just a touch to add crispness to the mushrooms and branches. Then use the Radial Filter or Graduated Filter to add localized glows around your light sources.
Finally, push the Shadows slider up slightly to lift the darkest areas and reveal detail. Drop the Highlights to keep the glowing caps from blowing out. The result should feel rich, deep, and otherworldly.
The best part of a composite like this is how forgiving the process is. Night scenes naturally hide imperfect edges and blending mistakes. The darkness, the glow, and the atmospheric blur all work in your favor.
Take your time with the lighting layers. That’s where the magic lives. A mushroom with a convincing inner glow reads as fantasy. Without it, it’s just a big mushroom in a dark forest. Build up those light sources slowly, trust the Camera Raw filter for final color, and you’ll end up with something genuinely stunning.