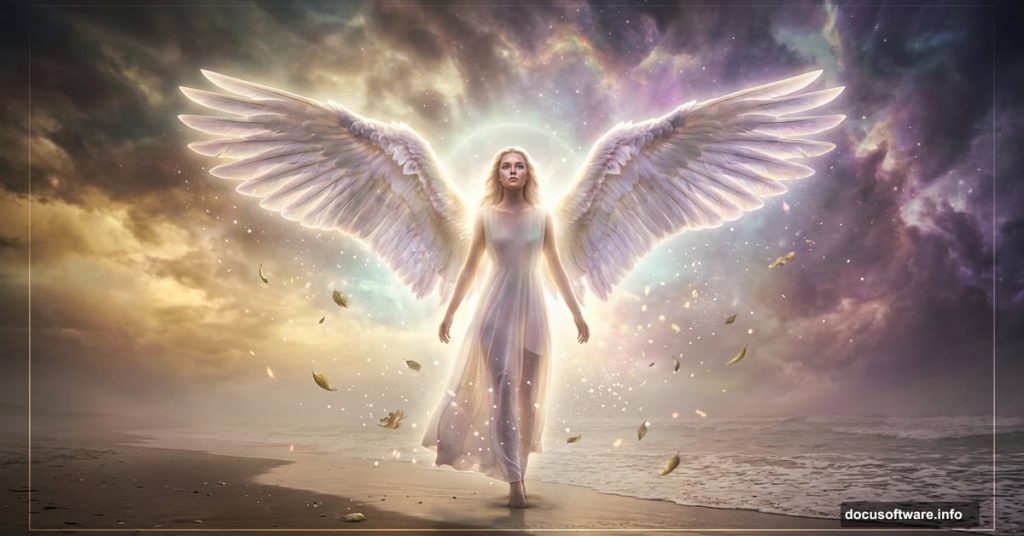
Creating something truly magical in Photoshop starts with a vision. This tutorial walks you through building a beautiful, emotionally charged angel scene from scratch — combining stock images, mastering blend modes, and adding that final polish that makes a manipulation feel alive.
By the end, you’ll know how to composite a full scene, add a model with wings, work with hair stocks, and create a glowing aura that ties everything together. Best of all, all you need is Photoshop CS6 or newer.
Let’s get into it.
Stock Resources You’ll Need First
Before opening Photoshop, gather your materials. Here’s everything this project uses:

- Sand Beach – Freeimages.com
- Sky – SalsolaStock
- Nebula – JennyLe
- Rain Texture – Koko-Stock
- Beach – Fotophi
- Model – Mjranum Stock
- Hair Stocks – CindysArt
- Wings – Wolverine (Alternative link available)
- Leaves – MaureenOslder
- Debris Brush – Zigabooooo
Having everything downloaded before you start saves a lot of interruptions. Trust me on that one.
Setting Up Your Canvas
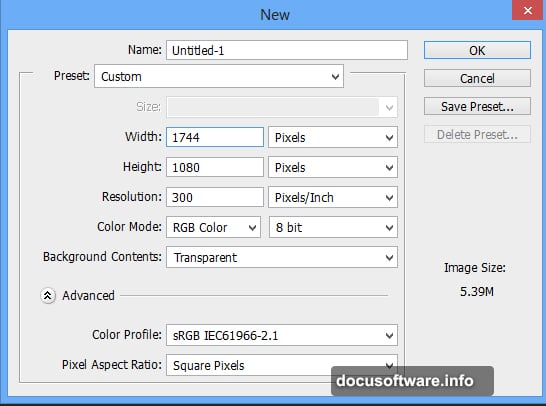
Step 1: Open Photoshop and go to File > New. Set your document dimensions as shown in the tutorial reference image. Getting the canvas size right from the start prevents headaches later when you’re compositing multiple images together.
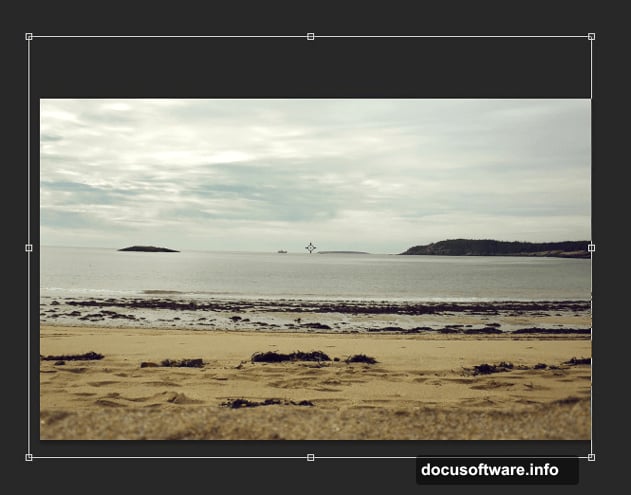
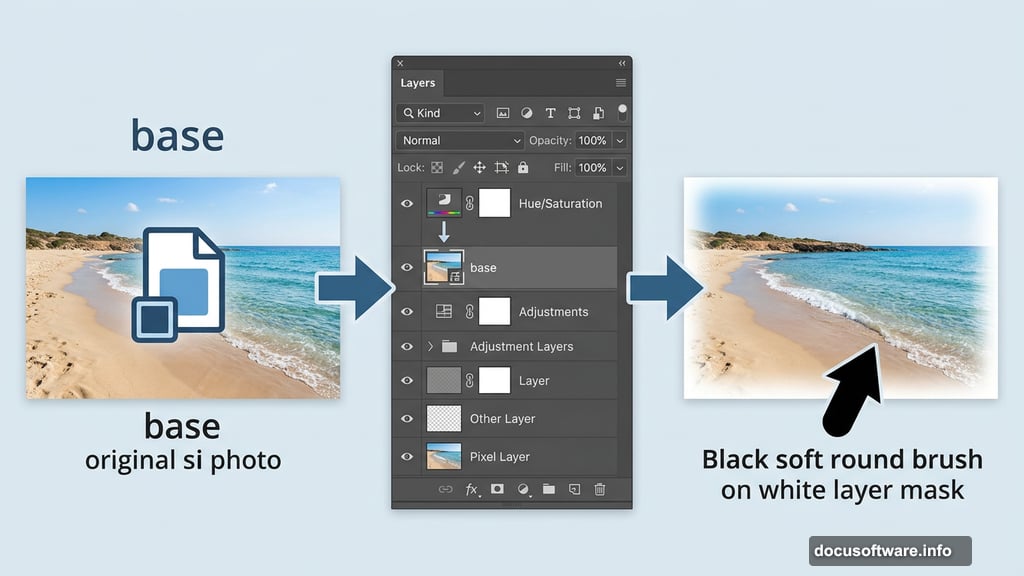
Step 2: Place your sand beach image onto the canvas. Go to File > Place, find your beach file, and name the layer “base.” Using Place automatically converts the image to a Smart Object — which means you can resize it non-destructively as many times as you like without losing quality.
Blending the Base Scene
Step 3: Add a layer mask to your base layer by clicking the second button at the bottom of the Layers panel. Now grab the Brush tool (press B), choose a soft round black brush, and gently paint over the edges of the beach image on the mask. This softens the transition and helps the beach blend naturally with the sky you’ll add next.
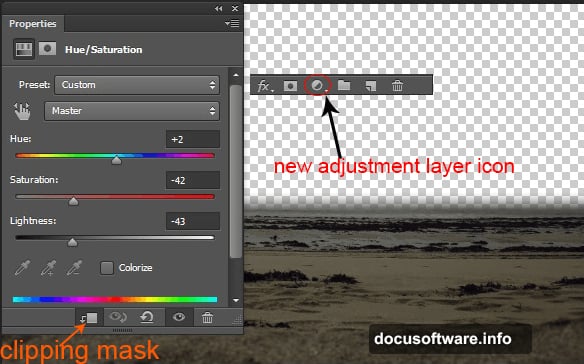
Step 4: Add a Hue/Saturation adjustment layer above your base. Go to Layer > New Adjustment Layer > Hue/Saturation. Then click the clipping mask button to clip it directly to your base layer. This is important — clipping keeps the adjustment from affecting every layer below it. Dial in the settings to push the sand toward the mood you’re building.
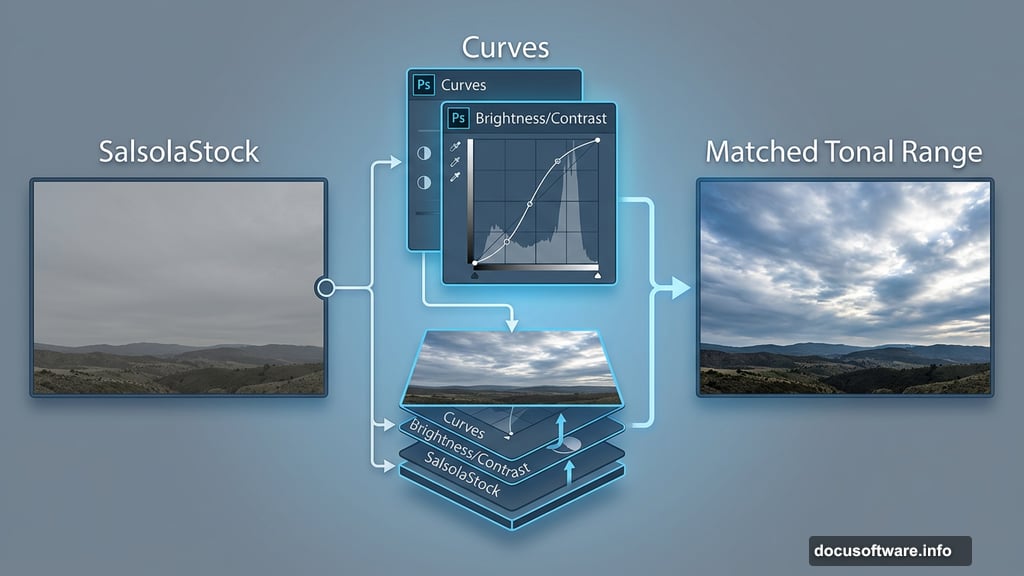
Step 5: Place the sky image below your base layer. Positioning matters here. The sky sits underneath so the masked beach blends seamlessly over it, creating one continuous scene.
Step 6: Add Curves and Brightness/Contrast adjustment layers above the sky layer. These let you match the sky’s tonal range to your beach, so both elements feel like they were photographed under the same light.
Building the Full Scene with Texture and Depth
Once your base landscape feels cohesive, it’s time to add atmosphere. The nebula image layers in beautifully using blend modes — try Screen or Overlay to integrate it without losing your sky detail.
The rain texture adds a subtle vignette effect that draws the eye toward the center of the image. Lower its opacity and experiment with blend modes until it feels like atmosphere rather than an obvious overlay.
Adding the Model and Creating the Angel
This is where the real magic starts. Place your model stock above the scene layers and begin working on the edges, especially the hair. Hair masking is genuinely tricky, and this is where dedicated hair stock images earn their keep. The CindysArt hair stocks layer over your model to add natural flow without the painful process of extracting every strand manually.
Next, add your wing stock. Position the wings behind the model layer so they appear to grow naturally from her back. Use Free Transform (Ctrl/Cmd+T) to scale and rotate them until the perspective feels convincing.
Shadows, Lighting, and Colour Matching
A believable composite lives or dies by its lighting consistency. Ask yourself: where is the light source? Every shadow and highlight on your model, wings, and added elements needs to match that answer.
Use Curves adjustment layers clipped to individual elements to push highlights and shadows where they need to go. Add Color Balance or Selective Color adjustments to match the colour temperature of your model to the scene. Cooler tones in shadows, warmer tones in highlights — that contrast creates depth.
For shadows, create a new layer set to Multiply blend mode and paint dark tones where the model would naturally cast shadow onto the ground or other elements.
Leaves, Debris, and Final Atmosphere
Scatter the leaves from MaureenOslder across the scene, particularly around the angel’s lower body. This grounds the figure and adds organic movement to an otherwise static composition. The Zigabooooo debris brush adds floating particles that catch light and sell the ethereal quality of the whole piece.
Creating the Angel’s Aura
Here’s the finishing touch — and it’s simpler than you’d expect. Create a new layer above everything. Select a soft brush, set it to a pale gold or white, reduce opacity to around 20-30%, and paint a gentle circle around the angel’s head. Build it up in passes rather than one heavy stroke.
You can also use a Radial Gradient on a layer set to Screen blend mode. This creates a natural, diffused glow that doesn’t look painted on.
Final Adjustment Layers
Once your scene feels complete, add global adjustment layers at the very top of your stack. A Gradient Map set to low opacity can unify the colour palette across every element. A Vibrance layer gives the image that final punch of life. And a Photo Filter in a warm amber tone ties the whole composition into one consistent mood.
Pull back, squint your eyes, and check that no single element jumps out as obviously composited. That’s how you know you’re done.
Photo manipulation like this takes patience more than anything else. Every step — the masking, the colour matching, the lighting — is a conversation between layers. The more you practice, the faster your eye learns what a scene needs. This angel project is a genuinely excellent way to push those skills forward.