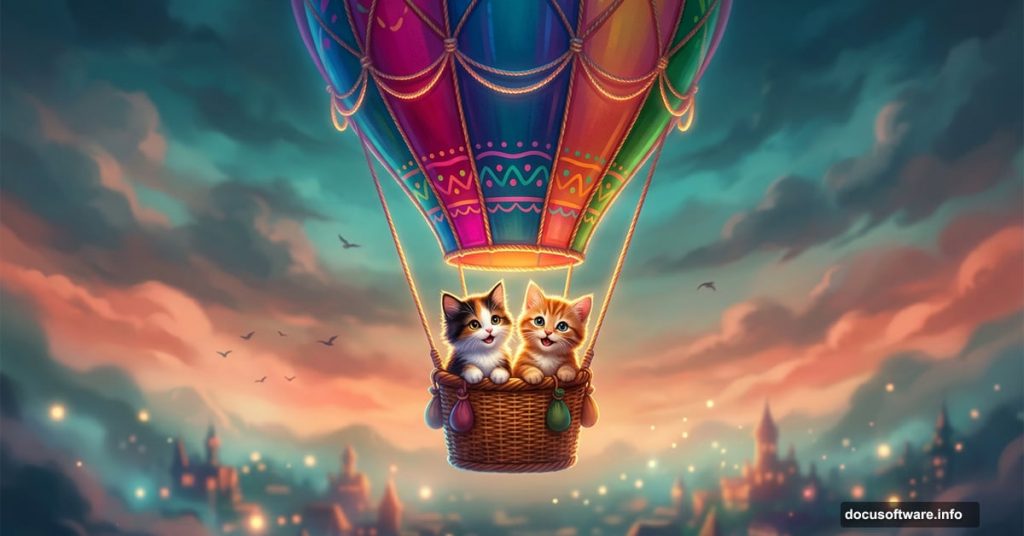
Ever wanted to send a pair of kittens soaring through a dreamy fantasy sky? This Photoshop photo manipulation tutorial does exactly that. You’ll build a whimsical scene featuring two kittens riding a hot air balloon high above a blurred cityscape, complete with birds, moody lighting, and atmospheric color grading.
The whole project comes together in stages. First you build the background, then drop in the balloon and kittens, and finally polish everything with adjustment layers and masking. Let’s walk through how it all works.
Building Your Sky and City Background
Start by creating a new 1800×2300 px document in Photoshop and filling it with white. This tall canvas gives you plenty of vertical space for that soaring, floating feeling.
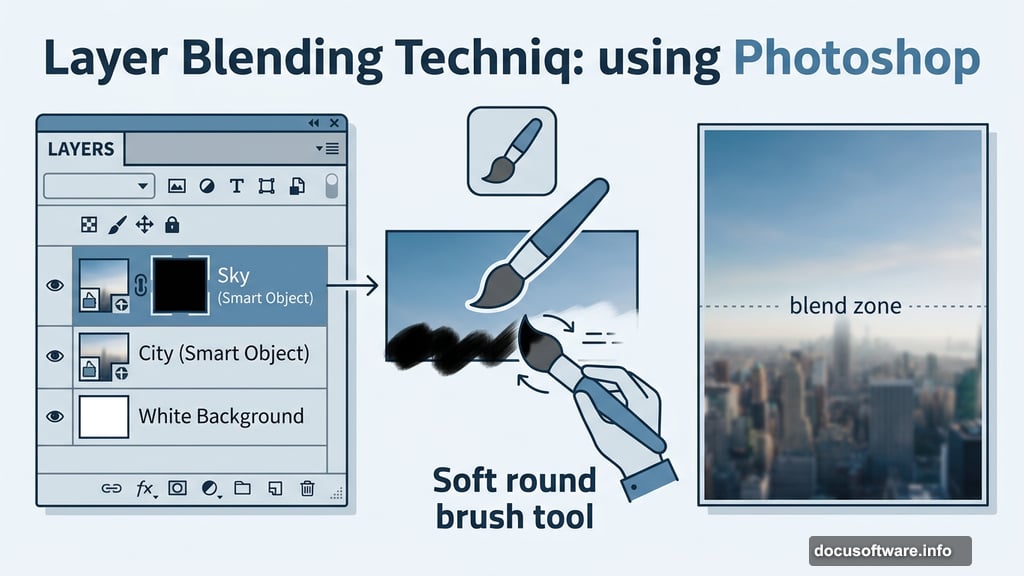
Bring in the city image using the Move Tool (V) and position it toward the bottom of the canvas. Convert it to a Smart Object right away. This protects your original image and lets you apply filters non-destructively.
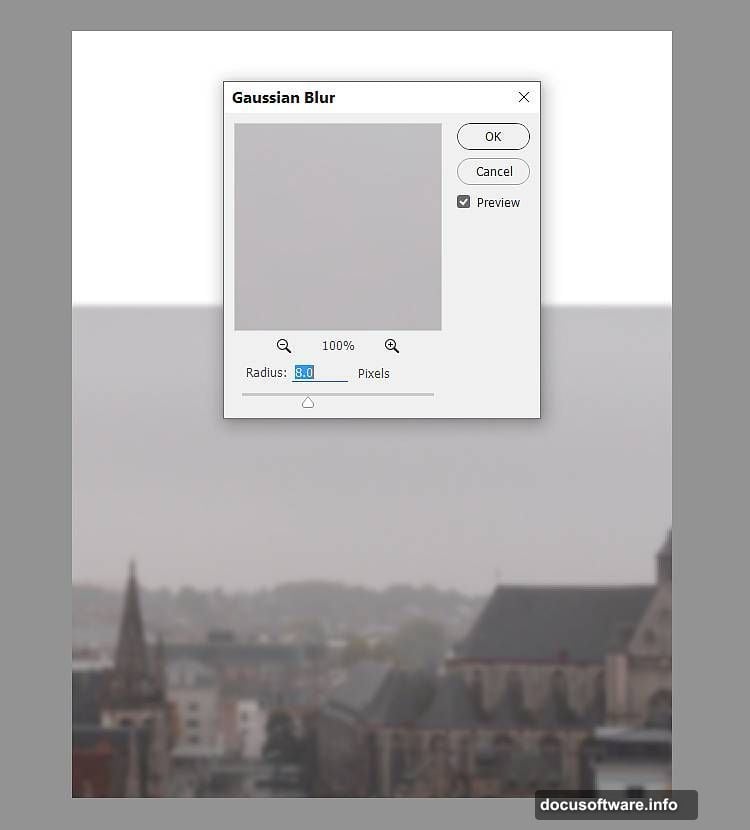
Next, go to Filter > Blur > Gaussian Blur and set the radius to 8 px. That soft blur pushes the city into the background, creating natural depth. It tells your eye that the city is far below, which sells the whole flying illusion.
Color Grading the City Layer
Raw photos rarely match each other straight out of the box. So now you’ll color-grade the city to fit the fantasy mood.
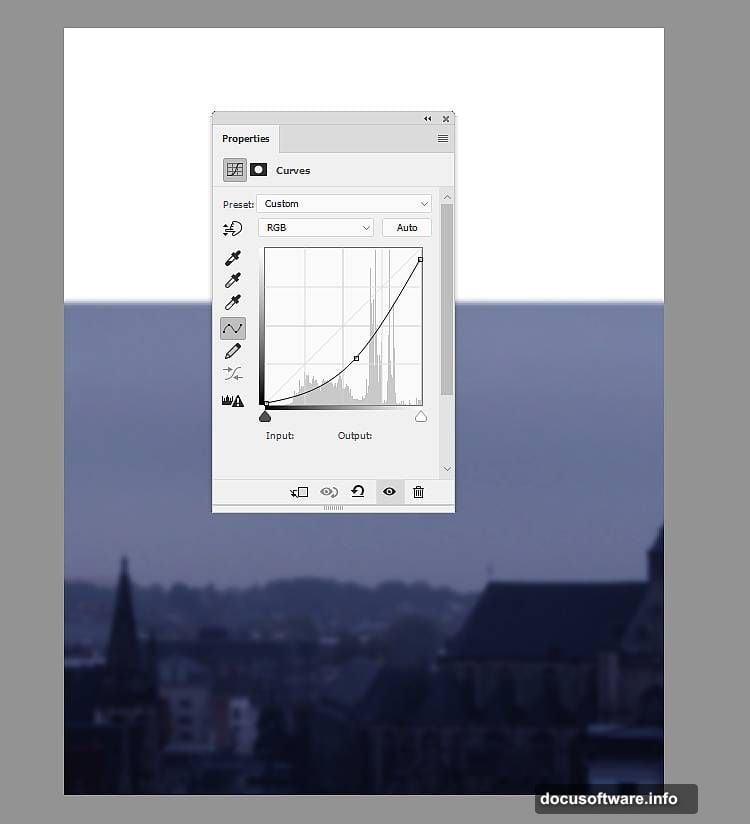
Add a Color Balance adjustment layer and clip it to the city layer. Adjust the Midtones settings to shift the color tone. Then add a Curves adjustment layer, also clipped, and pull the curve down slightly to darken the city. This keeps it from competing visually with the main subjects above.
Bringing in the Sky
Open your sky image and place it above the city on the canvas. Convert it to a Smart Object and apply a light Gaussian Blur of 3 px. This softens it just enough to match the dreamy atmosphere you’re building.
Click the mask icon at the bottom of the Layers panel to add a layer mask to the sky layer. Then grab a soft round brush set to black and paint over the bottom edge of the sky. This blends the sky smoothly into the city below, with no harsh lines. The two images start feeling like one seamless world.
Atmospheric Color Adjustments
Here’s where the mood really takes shape. Add a Color Balance adjustment layer clipped to the sky and tweak the Midtones values to warm or cool the sky to taste.
Then add a Curves adjustment layer to reduce the overall lightness of the sky. Fantasy scenes tend to feel more cinematic with slightly moodier, deeper tones.
Using Gradient Maps for Depth and Drama
Gradient Map adjustment layers are one of the most powerful tools for creating cohesive color grading. Place a Gradient Map layer at the top of your layer stack using the colors #0a5952 and #ff9672. Set this layer to Soft Light at 100% opacity.
This blends a teal-to-coral gradient softly across the whole scene. It adds warmth to bright areas and cool depth to shadows, which gives the image a painterly, illustrated quality.
Add a second Gradient Map using #e10019 and #00601b. Drop this layer’s opacity to just 20%. It adds a subtle red-green tension that enriches the overall color without overpowering everything else.

Finally, add a Color Balance adjustment layer and fine-tune both the Midtones and Highlights. This is your chance to unify the entire background before the main subjects come in.
Placing the Hot Air Balloon
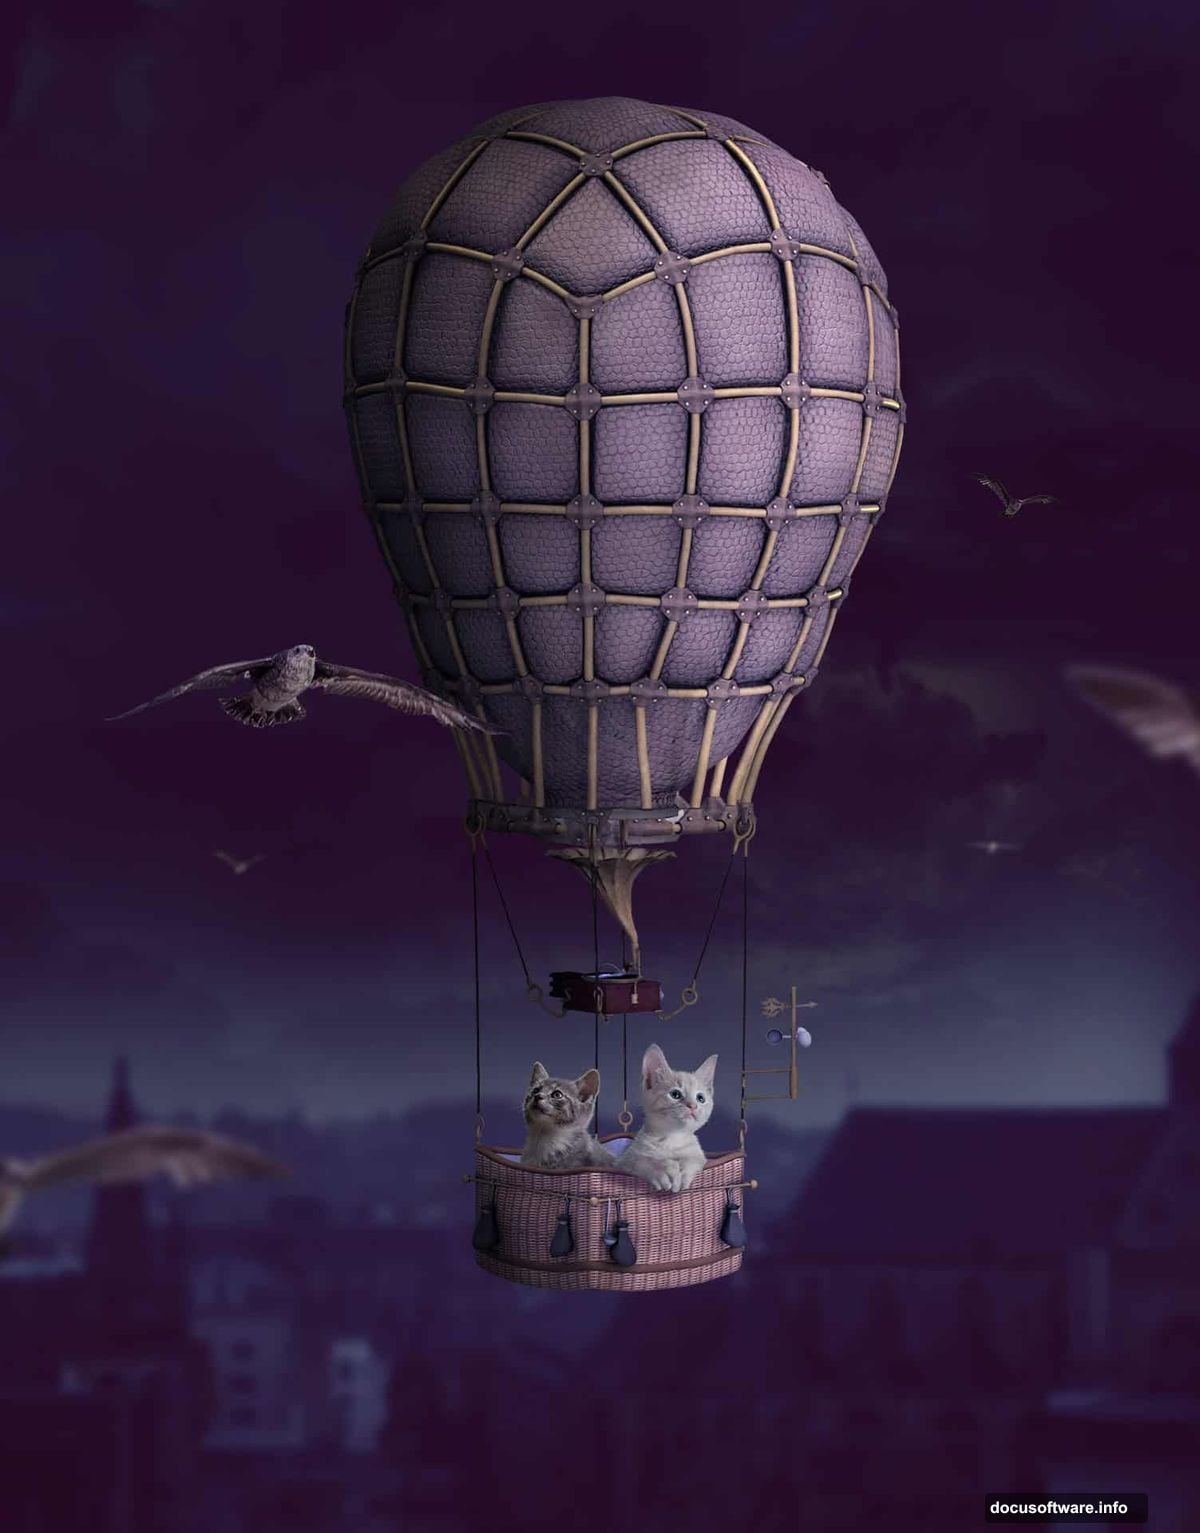
Open the hot air balloon image. Rather than placing it in one piece, you’ll break it apart and add sections separately. This gives you more control over scale and positioning.
Use the Lasso Tool (L) to select the envelope, which is the large fabric balloon section at the top. Place it in the upper center of the canvas.
Now use Free Transform (Ctrl+T) and switch to Warp mode. Gently tweak the bottom edge of the envelope to give it a more natural, slightly distorted shape. Real balloons have organic curves, so a tiny warp makes it feel more believable.
Adding the Kittens and Birds
With the balloon in place, bring in both kitten images and position them inside or around the balloon basket. Use masking to remove backgrounds and blend the kittens naturally into the scene. Adjustment layers clipped to each kitten let you match their lighting and color to the overall background.
The birds come in last. Place them around the scene to add movement and scale. A bird flying near a hot air balloon reinforces just how high up everything is. Blend them with soft masks and adjustment layers so they feel like they belong in the same sky.

Pulling the Whole Scene Together
The final stage is all about cohesion. Go back through your adjustment layers and check that the kittens, balloon, birds, and background all feel like they share the same light source and color temperature.
Use soft brushes on masks to soften any harsh edges. Add subtle shadows under the balloon basket. A few well-placed brushstrokes with low-opacity dark paint can ground the subjects and make the whole fantasy scene feel surprisingly real.
This kind of project teaches you a lot about how light and color work together. Once you understand how Gradient Maps, Curves, and Color Balance interact, you can apply that knowledge to any composite project you tackle next.