Creating a fantasy creature from scratch sounds intimidating. But with the right photo manipulation techniques, you can combine everyday stock images into something truly wild and imaginative.
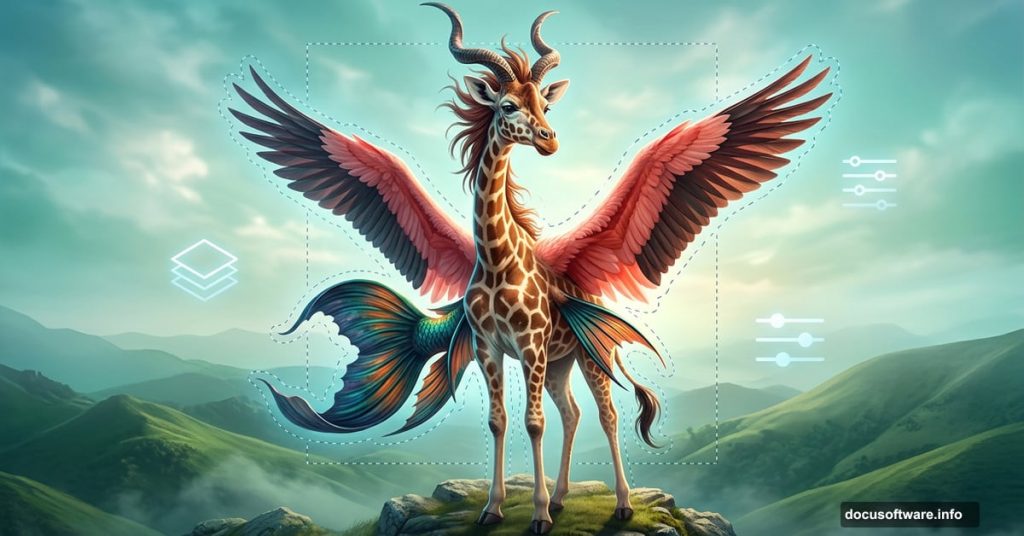
This guide walks you through building a surreal giraffe-fish hybrid creature from the ground up. You’ll layer sky and hill backgrounds, graft fish fins and flamingo wings onto a giraffe body, add a hairy head with dramatic horns, and finish with adjustment layers that pull the whole scene together. Let’s get into it.
What You Need Before Starting
Grab these stock images before opening Photoshop. You’ll need a sky photo, a hill landscape, a giraffe, fish fins, a flamingo, a bird wing, horns, leaves, and grass blades. Having everything ready saves you from hunting mid-project.
Also, set up your canvas first. Create a new document at 1400×1333 px and fill it with white. That clean base gives you a neutral starting point before colors come in.
Build the Background Sky
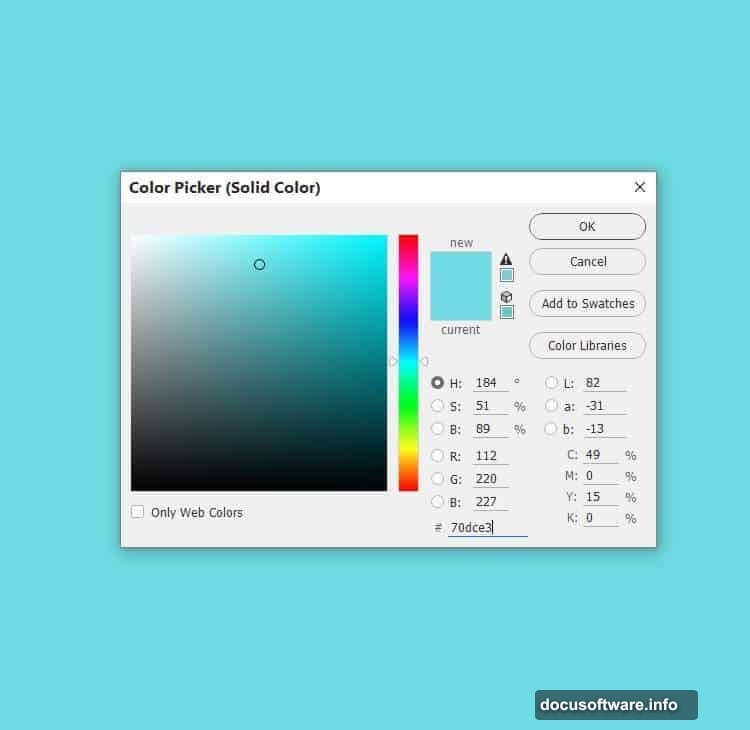
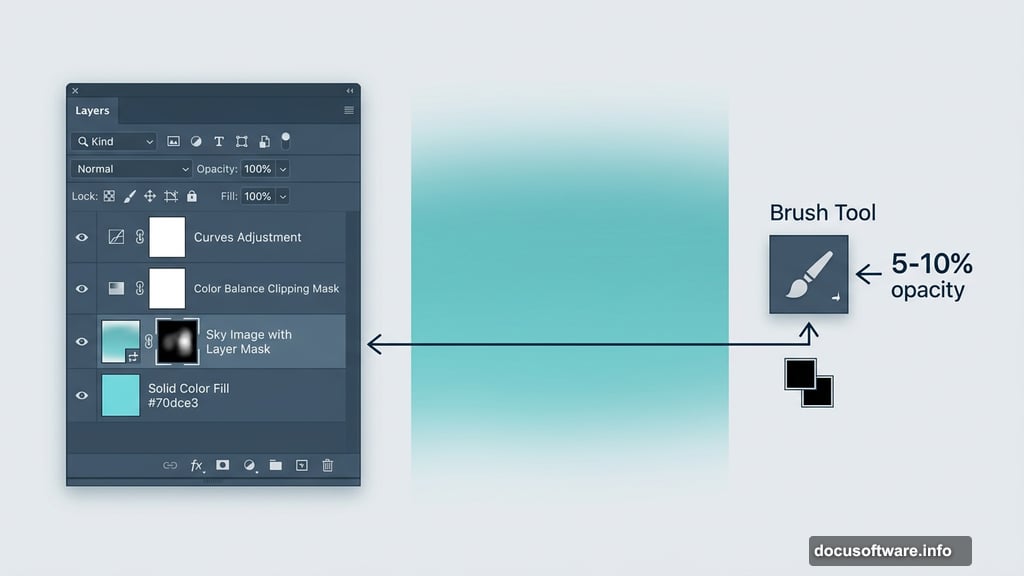
Go to Layer > New Fill Layer > Solid Color and choose the hex color #70dce3. This soft teal sets the mood for your fantasy scene right away.
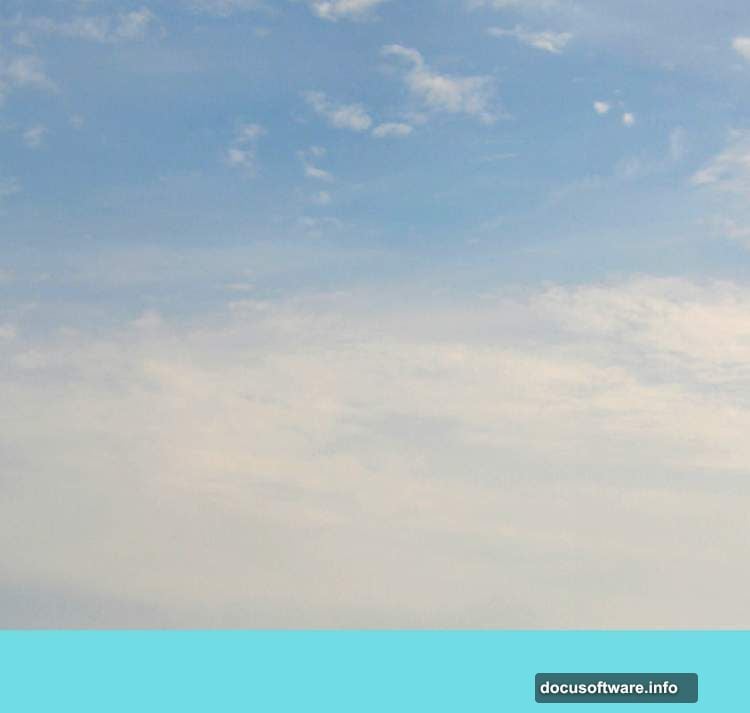
Next, open your sky image and use the Rectangular Marquee Tool (M) to select just the sky portion. Drag it onto the canvas with the Move Tool (V), then add a layer mask by clicking the second icon at the bottom of the Layers panel.
Now grab the Brush Tool (B) and pick a soft round brush in black. Drop the opacity down to about 5-10%. Paint gently along the top and bottom edges of the sky layer. This fades the harsh edges so the sky blends naturally into your background color.
Color Balance and Lighting Adjustments
Go to Layer > New Adjustment Layer > Color Balance and set it as a Clipping Mask. Tweak the Midtones, Shadows, and Highlights settings to shift the sky’s color temperature toward your creative vision.
Then add a Curves adjustment layer, also set as a Clipping Mask, and pull the curve upward slightly to brighten the sky. On that layer’s mask, use a soft black brush at 10-15% opacity to hold back the brightness on areas that are already well-lit. This keeps highlights from blowing out.
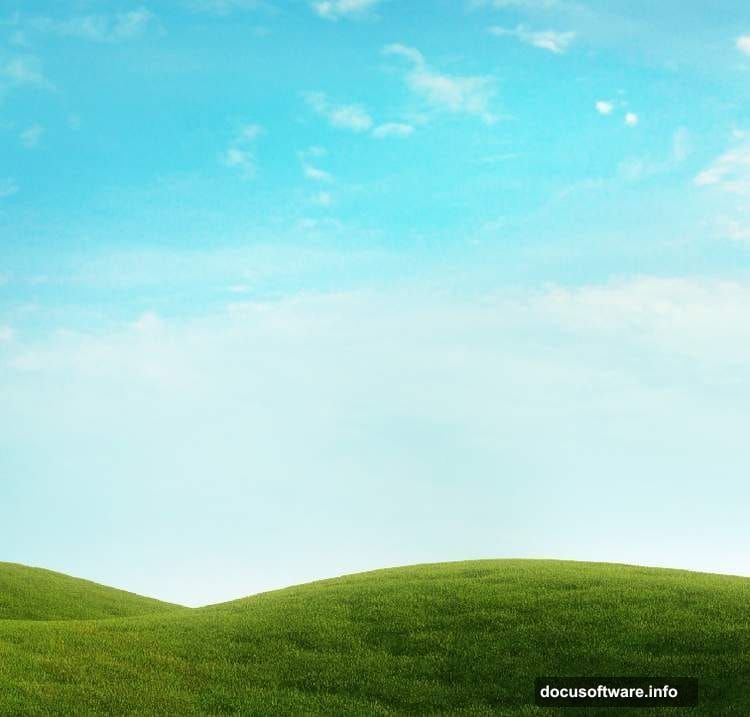
Placing the Hill Layers
Open your hill image and isolate the hill using the Magic Wand Tool (W). Drag the selection onto your working canvas and position it along the bottom. Convert this layer to a Smart Object.
Go to Filter > Blur > Gaussian Blur and set the radius to 4 px. This slight blur pushes the hill into the background, creating a sense of depth.
Now pull a second copy of the hill from the original image and place it in the foreground. Convert this one to a Smart Object too. Apply another 4 px Gaussian Blur, but this time paint on the filter mask with a soft black brush to protect the midground area. The blur stays visible on the far background and front edges, which mimics natural depth of field beautifully.
Grouping the Hill Layers
Select both hill layers and press Ctrl+G to group them together. Set the group’s blend mode to Normal at 100%.
Inside this group, add a Hue/Saturation adjustment layer. Shift the Hue value to -5. This subtle tweak warms or cools the hills slightly, helping them feel part of the same unified environment rather than two separate stock photos pasted together.
Adding the Giraffe Body
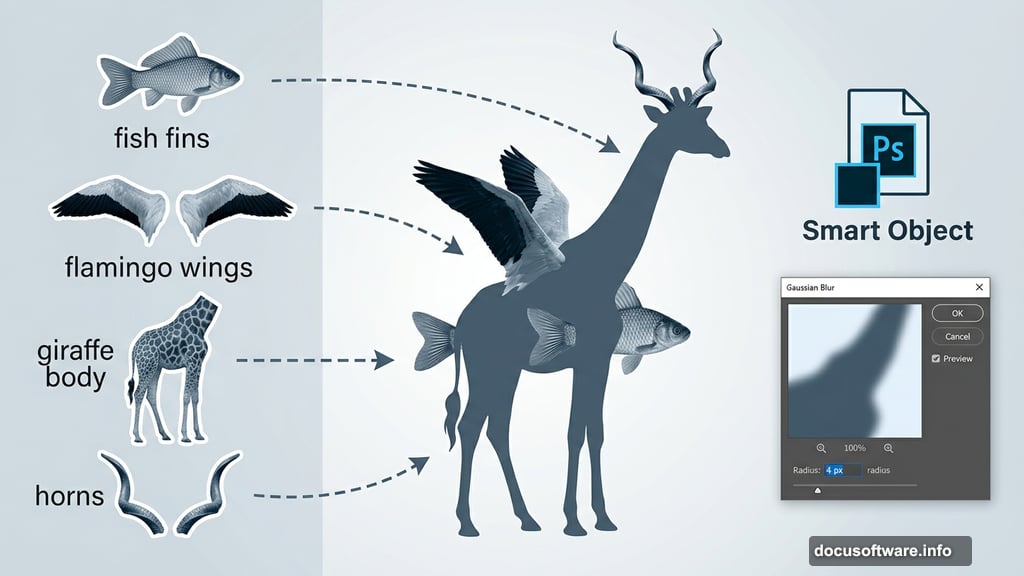
This is where the fun really starts. Open your giraffe image and carefully cut out the body. The Pen Tool gives the cleanest edge here, especially around the neck and legs. Bring it onto your canvas and position it centrally in the scene.
From here, you’ll replace the giraffe’s natural legs with fish fins and flamingo legs. Cut the fins from your fish image and blend them in where the giraffe’s legs were, paying close attention to scale and perspective. The goal isn’t perfection. It’s believable strangeness.
Grafting Fish Fins and Flamingo Features
Bird wings and fish anatomy replace the creature’s natural features one piece at a time. Bring in your flamingo reference and extract the legs. Scale them to match the giraffe’s body proportions and use layer masks to blend connection points smoothly.
For the fish fins, look for fins that have a dramatic shape. Dorsal fins work especially well on the back and sides of the creature. Use the Warp Tool under Edit > Transform > Warp to curve them naturally against the body’s contours.
Creating the Hairy Head and Horns
The head transformation happens in a few stages. Start by painting textured hair strands directly onto the giraffe’s head using custom brush sets. Short, directional strokes in varying opacities build up realistic fur texture without looking flat.
Import your horns image and cut them out carefully. Place them on the head, then use Color Balance and Hue/Saturation adjustments clipped to the horns layer to match the overall color palette of your creature. A slight shadow underneath the horns where they meet the head sells the illusion of depth.
Adding Leaves and Grass for Environment Detail
Scatter your leaf and grass images around the base of the composition. These details anchor the creature to the ground and make the scene feel inhabited rather than staged.
Use Free Transform to rotate and scale individual leaves at different angles. Layer them in front of and behind the creature’s legs to create natural overlap. Grass blades in the foreground with a slight blur reinforce the depth you already established with the hill layers.
Final Adjustment Layers
Pull the whole scene together with a few global adjustment layers at the top of your layer stack. A Color Lookup layer can introduce cinematic toning across everything at once. Follow that with a final Curves layer to add contrast and deepen shadows.
Also try a selective Color adjustment layer targeting greens and blues separately. Pushing the greens slightly warmer and the blues slightly cooler creates a richer, more painterly atmosphere that ties your stock images into one cohesive scene.
This kind of fantasy photo manipulation is genuinely one of Photoshop’s most satisfying creative exercises. You’re not just editing photos. You’re inventing something that never existed. Every small blending decision and color tweak adds up to a creature that feels alive, strange, and completely your own. Once you nail the core techniques here, you can apply the same workflow to any creature concept you dream up next.