
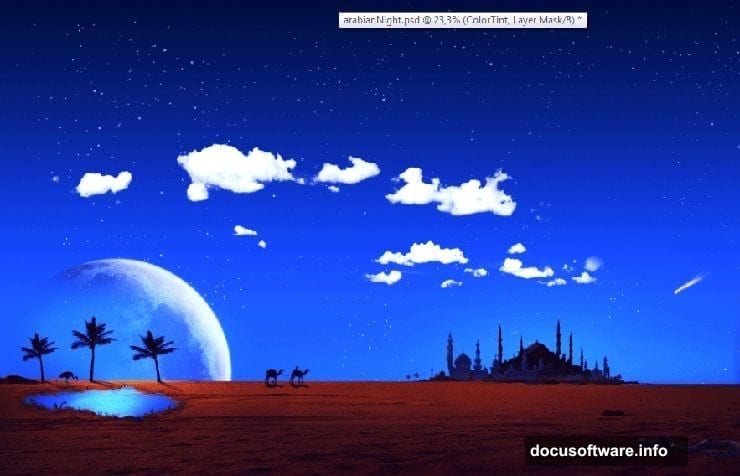
Desert landscapes have a certain magic to them. Endless sand, dramatic skies, and that mysterious quality that makes you feel like you’ve stepped into an ancient story. This tutorial walks you through building exactly that kind of scene from scratch in Photoshop.
You’ll combine photo elements, brushes, and blending techniques to create a vivid, almost vector-like Arabian night composite. Think glowing moon, drifting stars, silhouetted camels, and a mosque rising out of the dunes. It’s a beautiful project for anyone who wants to push their photo manipulation skills forward.
You’ll need Photoshop CS5 or newer to follow along.
Resources You’ll Need Before Starting
Grab these free assets before you open Photoshop. Having everything ready saves a lot of frustration mid-tutorial.
- Stars Brush from Keren-r
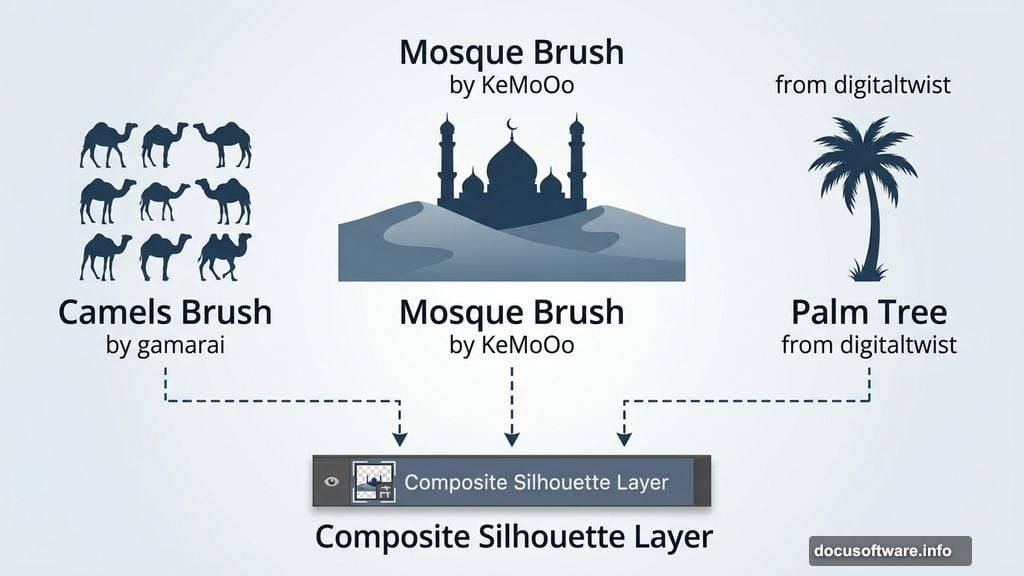
- Mosque Brush from KeMoOo
- Camels Brush from gamarai
- Mosque photo via freeimages.com
- Moon via Wikipedia
- Desert photo via freeimages.com
- Palm Tree from digitaltwist
- Snake from madetobeunique
- Crane from SalsolaStock
Got everything? Good. Let’s build this scene layer by layer.
Building the Night Sky Background
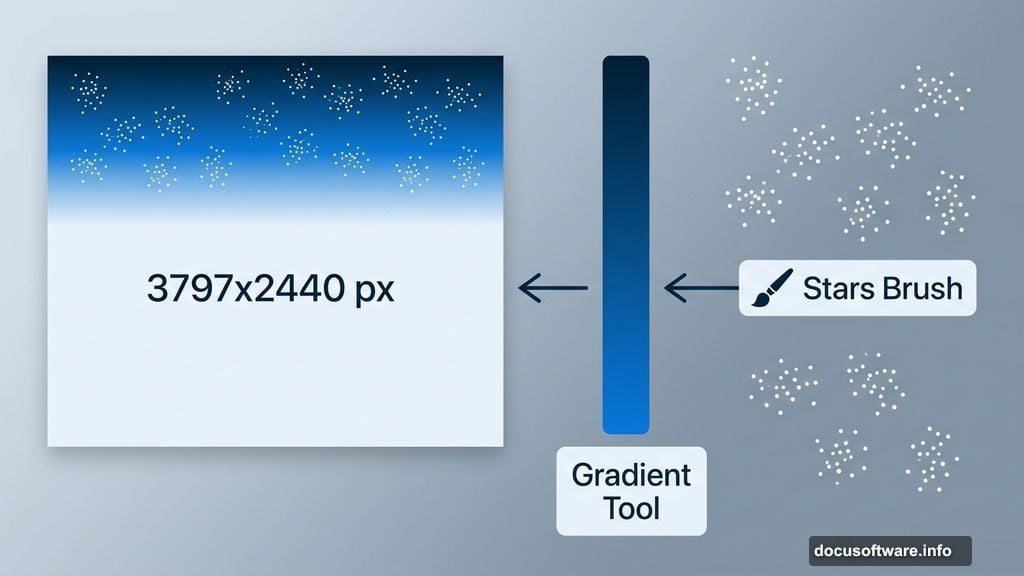
Start by creating a new document at 3797 x 2440 pixels. That’s a large canvas, which gives you plenty of room to work with detail.
Select the Gradient Tool and set your foreground color to #04243f (a deep midnight blue) and your background color to #0e74d6 (a rich, electric blue). Drag a gradient from top to bottom across the canvas. This becomes your night sky foundation. The darker tone at the top sells the depth of a real night sky, while the brighter blue near the horizon creates that natural atmospheric glow.
Next, create a new layer with Ctrl + Shift + N. Set your foreground color to white and pull up the Stars Brush. Scatter stars across the upper portion of the sky. Don’t overthink placement here. Real star fields are chaotic and random, so trust the brush to do the heavy lifting.
Adding a Comet for Drama
Create another new layer above the stars. This step is simpler than it sounds.
Using a white brush, paint two or three short diagonal lines pointing downward. Then, at the leading end of those lines, paint a loose circular shape to suggest the comet’s head. Switch to a white-orange color and add a soft glow around that head. The whole thing takes about two minutes and adds serious atmosphere to the scene.
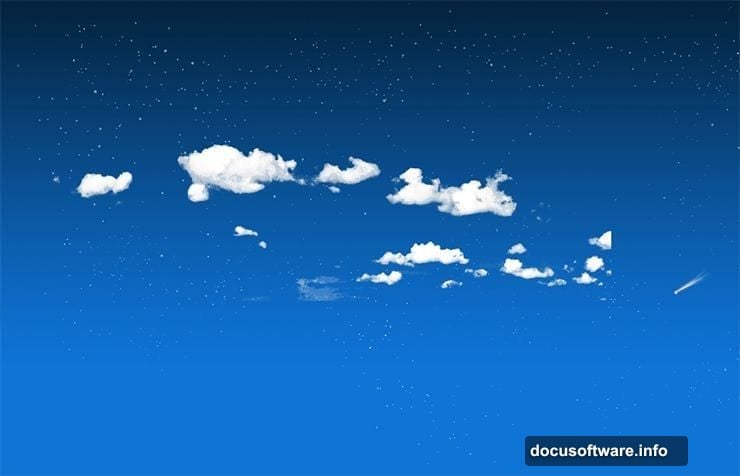
Bringing in the Clouds
Open your clouds image and go to Select > Color Range. Click on a bright area of the clouds to select the white tones. Hit OK, then press Ctrl + C to copy. Close the clouds file and paste (Ctrl + V) back into your main document.
Rename this layer “Clouds” to stay organized. Right-click the layer and choose Convert to Smart Object. This protects your cloud detail when you resize. Press Ctrl + T to enter Free Transform and scale the clouds until they sit naturally across the upper sky.
Finally, set the blending mode to Lighten. This makes the dark areas of the cloud image disappear completely, leaving only the bright cloud shapes sitting against your gradient sky.
Masking the Cloud Edges
Add a Layer Mask to the Clouds layer by going to Layer > Layer Mask > Reveal All. Select a soft black brush and gently paint along the edges of the clouds. The goal is a seamless fade into the sky. Hard edges on clouds always look pasted-in, so take your time here and work at low opacity.
Creating the Horizon Glow
This step is subtle but it makes a big difference later. Create a new layer and set its blending mode to Overlay. Set your foreground color to #e37952, a warm amber-orange. With a large, soft brush, lightly paint along the horizon line.
Lower the layer opacity to somewhere between 40 and 50 percent. Right now it looks like a gentle warm band. Once you add the desert terrain in later steps, this becomes convincing diffuse light from below the horizon. It ties the ground and sky together in a way that feels natural.
At this point, you have the core sky built. Select all your current layers by Shift-clicking each one and group them with Ctrl + G. Label the group “Sky” so your layer panel stays clean as the project grows.
What Comes Next
The sky is your foundation. From here, the tutorial continues by adding the desert terrain, placing the mosque and camels, integrating the moon, and finishing with color grading that pulls the entire composite together.
Each of those steps builds on the blending techniques you’ve practiced in these early stages. The Color Range selection method works beautifully for cutting out the mosque and other elements. The Overlay blending mode becomes useful again when you want to add warm light washing across the sand dunes.
The most important thing to carry forward is the layer organization habit. Arabian night composites involve a lot of elements. Good naming and grouping from the start means you can make adjustments late in the process without losing your mind searching through a cluttered Layers panel.
Keep your brushwork light and your edges soft. That’s what separates a composite that looks believable from one that looks assembled.