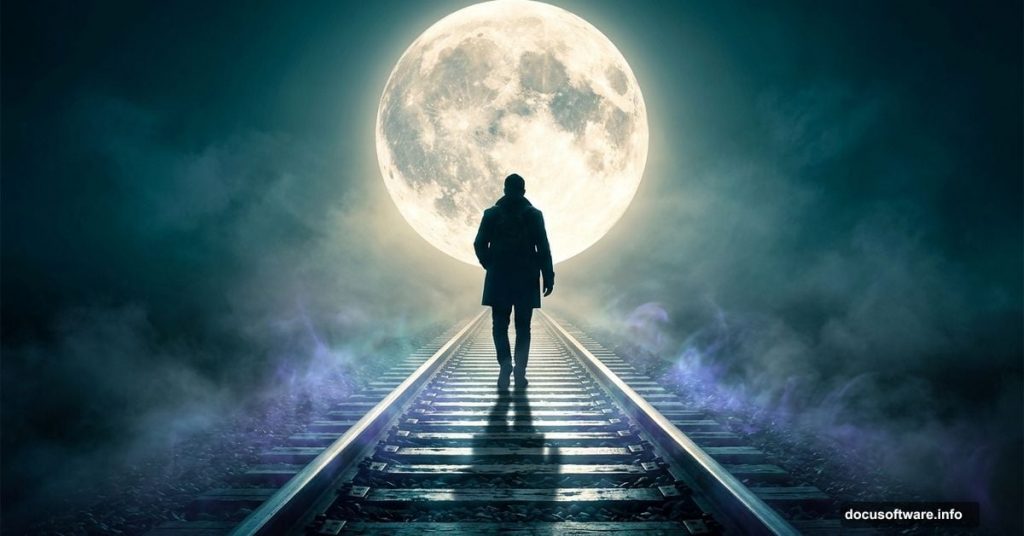
There’s something magical about a lone figure walking a misty railway track under a glowing moon. That haunting, dreamlike mood is exactly what this Photoshop tutorial helps you create.
By the end, you’ll know how to swap skies seamlessly, build atmospheric lighting from scratch, and give your whole image that eerie, surreal color grade that makes moonlight scenes so captivating. A PSD file comes included, so you can peek under the hood anytime.
Let’s walk through every step together.
What You Need Before Starting
First, grab your stock resources. You’ll need a model photo from Dazzle-stock, a railway image from Sed-rah-stock, two sky photos from Frostbo, and a moon from Yumi1805.
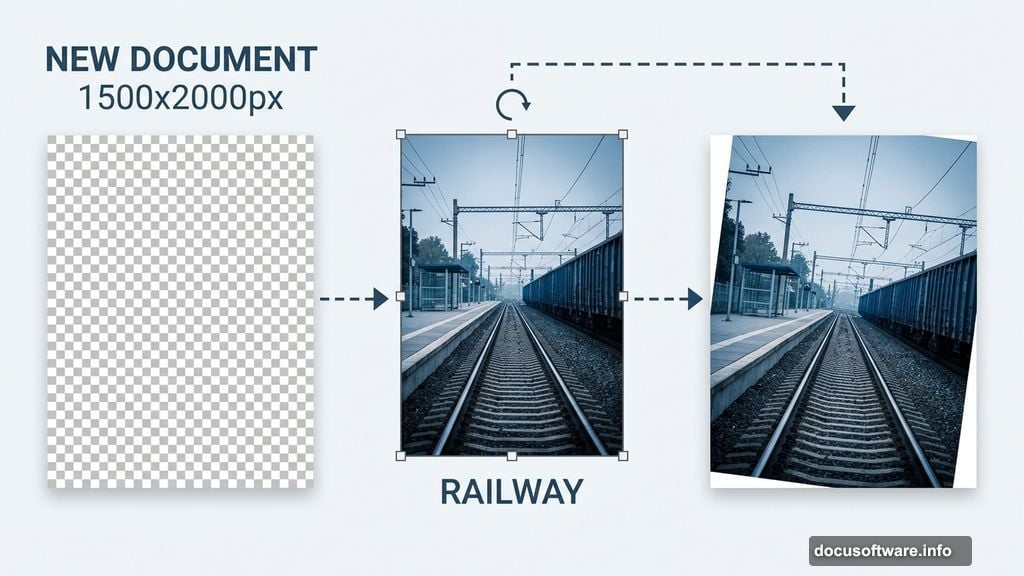
Got everything? Good. Open Photoshop and create a new document. Set your canvas to 1500px wide by 2000px tall with a transparent background. This portrait orientation gives the image that dramatic poster feel.
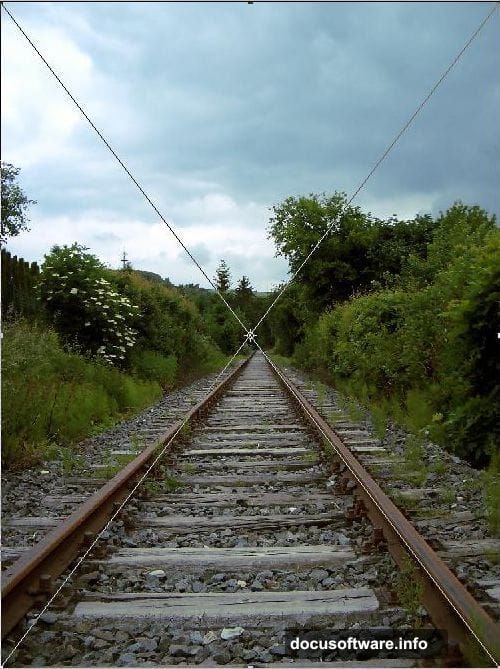
Placing and Fixing the Railway Shot
Go to File > Place and drop in your railway stock image. Once it’s on the canvas, head to Edit > Free Transform and select Rotate.
Give the image a slight clockwise rotation. This corrects the railway perspective and adds a subtle dynamic angle. Then switch to Scale and stretch it to fill the canvas completely. Rename this layer “Railway” so your panel stays organized.
Masking the Sky with Channels
Here’s where things get interesting. Replacing a sky manually would take forever. But Photoshop’s Channels panel makes it surprisingly fast.

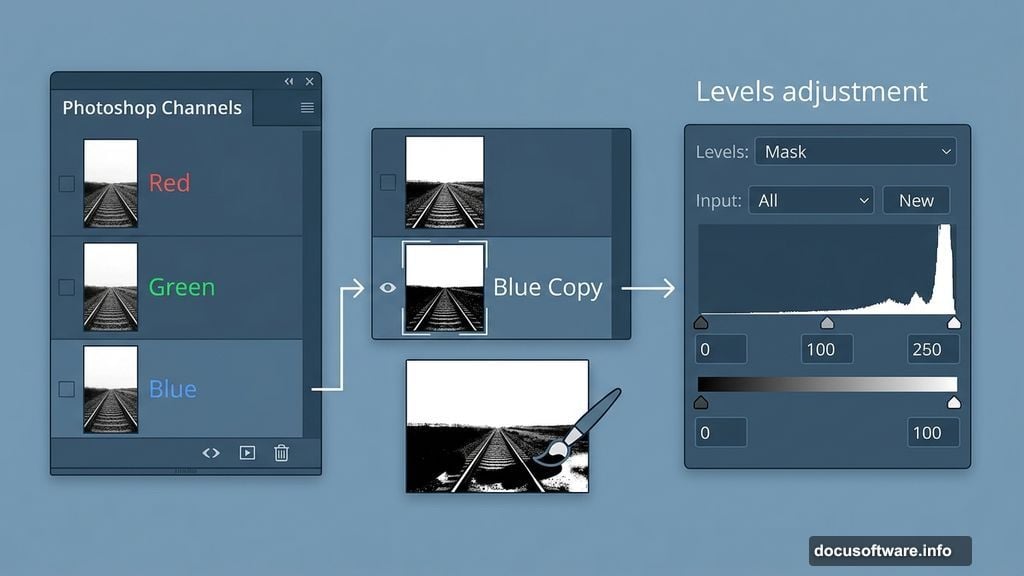
Open the Channels panel by going to Window > Channels. Look at the Red, Green, and Blue channels one by one. You want the one with the strongest contrast between sky and ground. In most railway photos, the Blue channel wins.
Click the Blue channel. Your image turns black and white. That’s completely normal, so don’t panic.
Building Your Selection
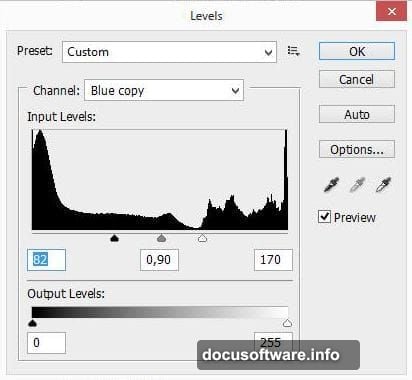
Right-click the Blue channel and choose Duplicate Channel. Deselect the original Blue channel and click your new Blue Copy instead.
Now run a Levels adjustment on this copy. Go to Image > Adjustments > Levels and push the contrast hard. Your goal is to make the sky as bright white as possible while darkening the ground below. The exact settings depend on your photo, but aim for a stark separation.
Next, grab a brush set to 100% opacity and paint pure black over any ground areas that still show as white. You’re essentially telling Photoshop exactly what you want selected.
Once your sky area is clean white and everything else is black, hold Ctrl and click the Blue Copy channel thumbnail. Photoshop loads the white areas as an active selection.
Removing the Old Sky
Now go to Select > Inverse to flip the selection. Instead of selecting the sky, you’re now selecting everything below it.
Delete the Blue Copy channel and jump back to the Layers panel. Your image returns to full color and your lower section stays selected. Click the Layer Mask button and watch the sky disappear cleanly.
That channel technique is honestly one of the most useful skills in all of Photoshop. Once you learn it, you’ll use it constantly.

Adding Your New Sky
Place both sky stock images from Frostbo onto separate layers above the Railway layer. Position and scale them to fill the empty sky area naturally.
Blend the two sky layers together using a soft Layer Mask. Paint with a black brush at low opacity along the seam to merge them smoothly. Take your time here. A rough sky edge breaks the whole illusion.
Placing the Moon
Add the moon image from Yumi1805 and set its blending mode to Screen. This makes the black background vanish and leaves only the bright moon hanging in your sky.
Scale it to whatever size feels right for your composition. A larger moon adds drama. Position it slightly off-center for a more natural look.
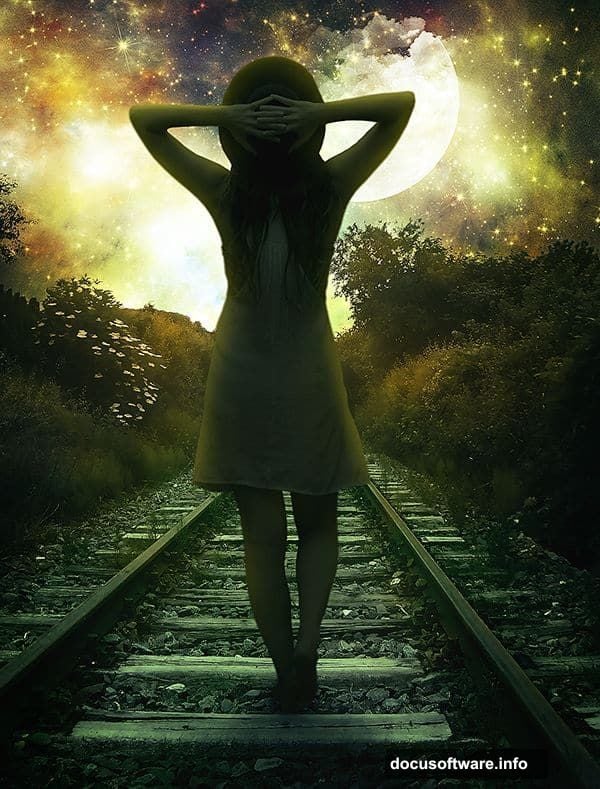
Adding the Girl to the Scene
Place your model image from Dazzle-stock and mask her out from her background using the same channel technique you learned earlier. Once isolated, position her on the railway tracks.
Scale her carefully. She should look like a small figure in a big, open landscape. That size contrast is what creates the emotional weight of the whole piece.
Add a subtle shadow beneath her feet to ground her in the scene. Without it, she’ll float unnaturally above the tracks.
Color Grading for That Moonlight Mood
This step transforms a decent composite into something genuinely beautiful. Create a new Hue/Saturation adjustment layer at the top of your layer stack.
Shift the overall tone toward cool blues and desaturated greens. Moonlight drains warm colors from a scene. Anything too orange or yellow will break the illusion immediately.
Then add a Color Balance adjustment layer. Push the shadows toward blue and cyan. Pull the highlights slightly toward yellow to simulate reflected moonlight catching the rails and the girl’s silhouette.
Final Light and Atmosphere
Create a new layer set to Soft Light blending mode. Use a large, soft brush loaded with a pale blue-white color to paint a gentle glow around the moon. Keep the opacity low, maybe 20 to 30 percent, and build it up gradually.
Add a second Soft Light layer and paint warm amber tones along the horizon. Even a tiny hint of warmth in the far distance adds incredible depth and makes the cool foreground pop even harder.
Finally, add a slight vignette by creating a Curves adjustment layer and darkening the edges. This pulls the eye straight toward your figure on the tracks.
Bringing It All Together
Step back and look at your image as a whole. Check that the girl’s lighting matches the moon’s direction. Make sure the sky feels continuous and the horizon blends cleanly.
Small tweaks at this stage make an enormous difference. Nudge the moon placement. Darken the railway edges. Add a touch more blue to the shadows.
This is honestly one of the most satisfying types of Photoshop work you can do. The channel masking technique alone will save you hours on future projects, and the color grading approach here works on almost any dark, atmospheric scene you want to create.
Save your PSD with all layers intact. You’ll want to come back and experiment with different color grades and moon positions once you see how much the mood can shift with small adjustments.