Ever looked at a moody city skyline photo and wondered how photographers get that perfect blend of light, atmosphere, and drama? Chances are, Photoshop did most of the heavy lifting. In this tutorial, we’re building a stunning urban rooftop scene completely from scratch, using photo manipulation techniques that look complex but are totally manageable once you break them down.
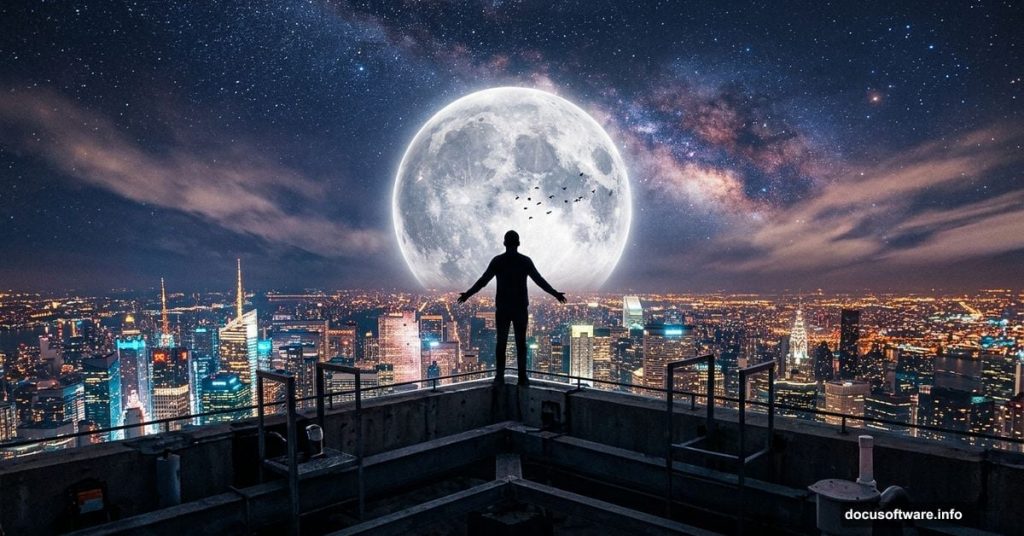
We’re talking glowing city lights, a solitary figure silhouetted against the night sky, a rising moon, drifting birds, and a Milky Way backdrop. By the end, you’ll have a cinematic composite that looks like it took a professional photographer years to capture.
Let’s get into it.
What You Need Before Starting
Grab these resources before you open Photoshop. The tutorial uses the following stock images: a city skyline photo, a city glow texture, a male figure, a moon image, circle overlays, a Milky Way shot, cloud textures, a stars image, and birds in flight.
Having everything downloaded and organized in a folder saves a lot of back-and-forth later. Trust me on this one.
Setting Up Your Canvas
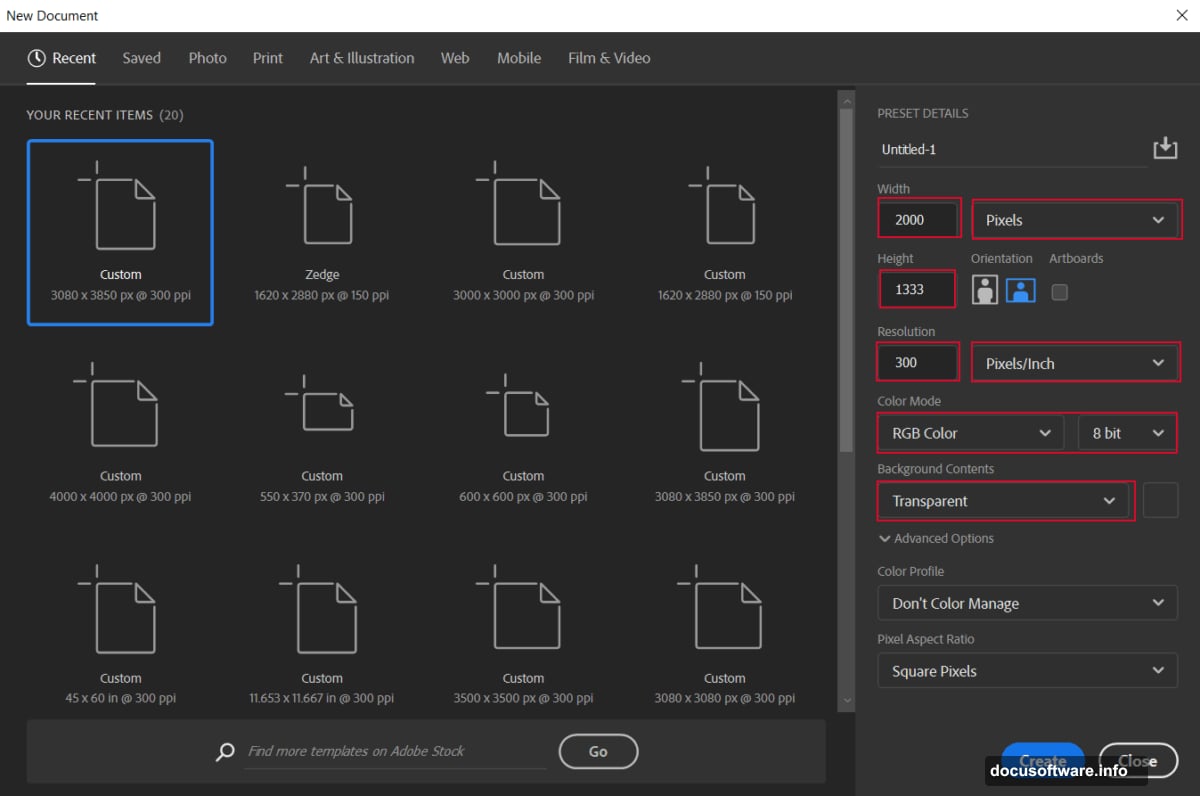
First things first. Head to File > New and build your workspace with these exact settings:
- Preset: Custom
- Width: 2000px
- Height: 1333px
- Resolution: 300px
- Color Mode: RGB Color 8-bit
- Background Contents: Transparent
The transparent background gives you maximum flexibility as you build up layers. Plus, working at 300 resolution means your final image stays sharp even if you want to print it.
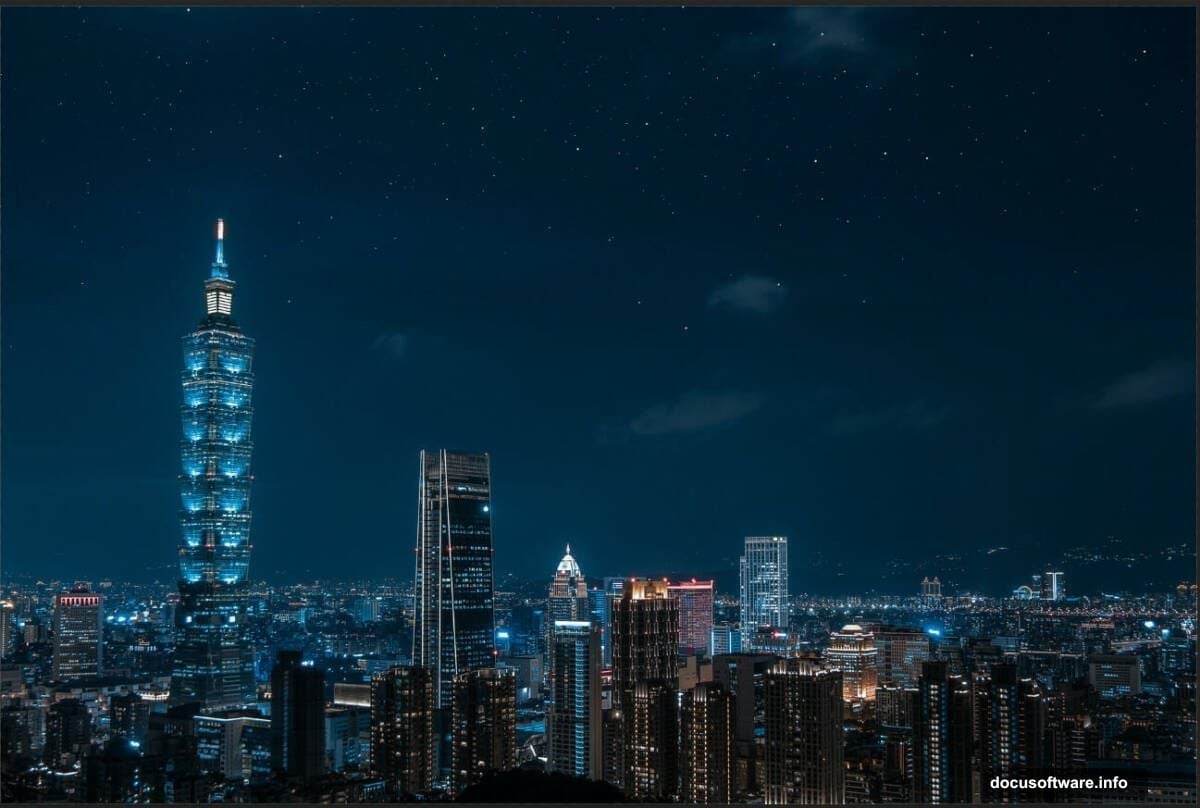
Placing and Adjusting the City
Go to File > Place and bring in your city image. Use the Transform tool (Ctrl/Cmd + T) to position it on the canvas. Hold Alt + Shift to resize proportionally. If you’re using Photoshop CC, just hold Alt and all sides resize together automatically.
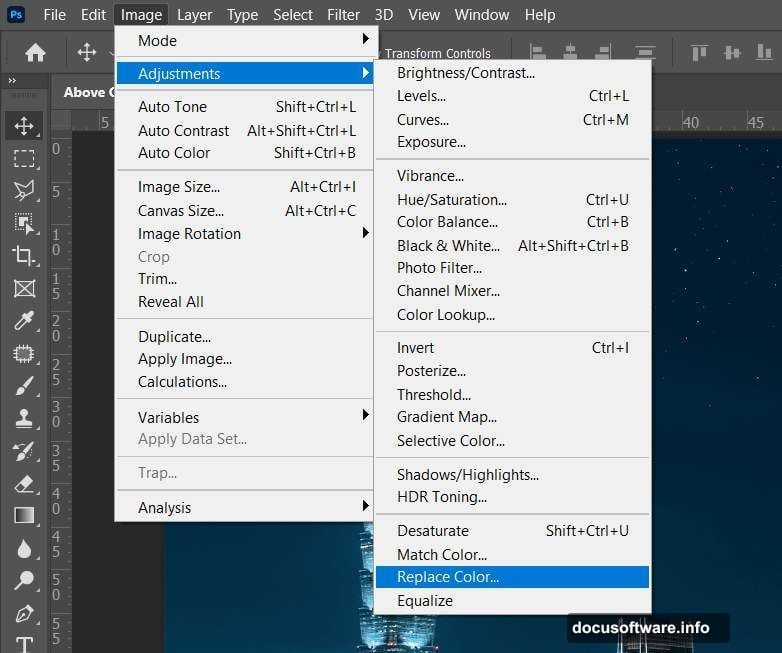
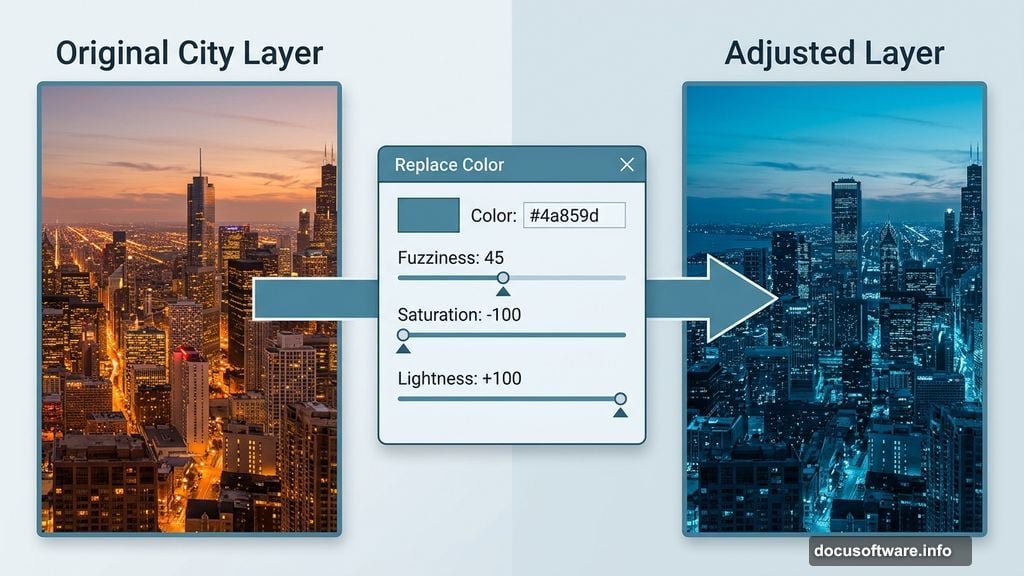
Now here’s where the magic starts. Duplicate your city layer with Ctrl/Cmd + J, then head to Image > Adjustments > Replace Color. You’re going to shift the color palette to create that cool nocturnal atmosphere.
Use these settings:
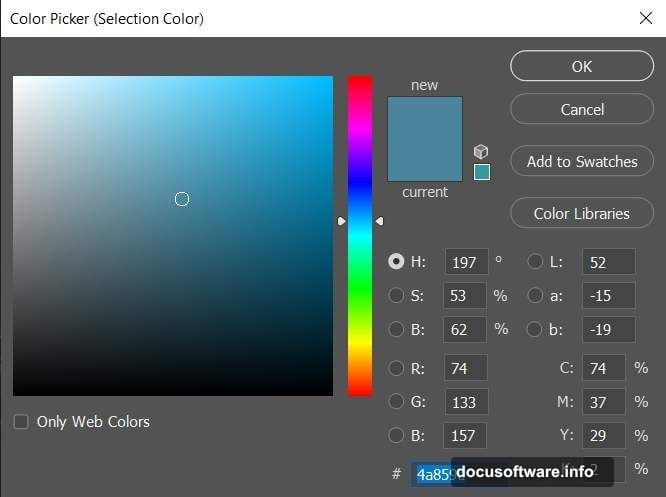
- Color: Blue (#4a859d)
- Check: Localized Color Clusters
- Fuzziness: 45
- Saturation: -100
- Lightness: +100
This strips out the warmth from the city photo and pushes it toward a cooler, more dramatic tone. It’s a subtle but important shift that makes everything else layer on top more convincingly.
Sculpting Light With Curves Adjustment Layers
This is where a lot of beginners get nervous, but Curves adjustments are genuinely your best friend for photo manipulation. You’ll add three separate Curves layers here, and each one does a specific job.
Add your first Curves Adjustment Layer to set the overall tone of the scene. Think of this as the foundation exposure.
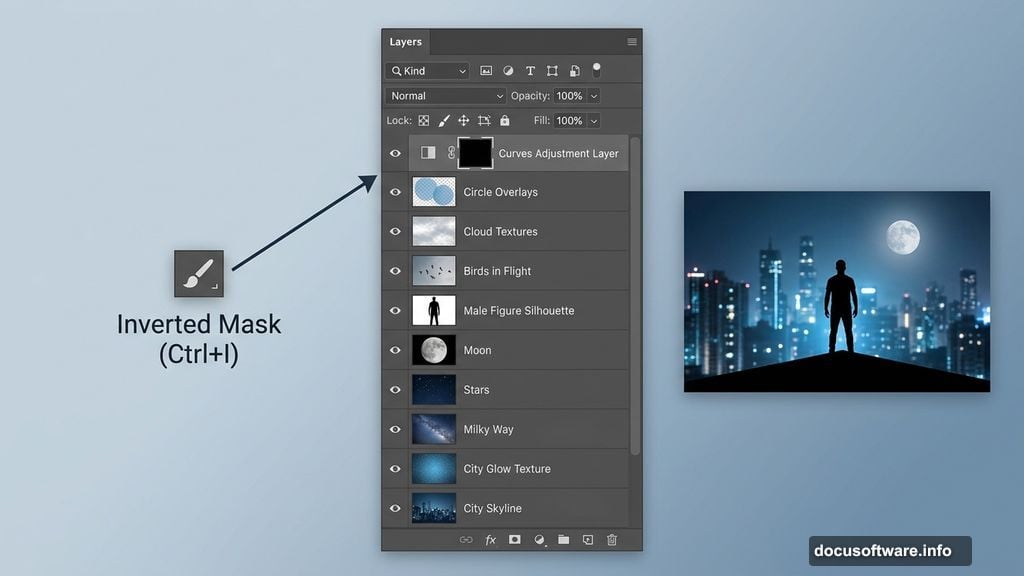
For the second Curves layer, press Ctrl/Cmd + I immediately after adding it. This inverts the mask to black, which hides the adjustment completely. Then grab your Brush Tool (B), set it to a Soft Round brush with white as your foreground color, and paint directly onto the highlights in the city image. You’re essentially revealing brighter light only where you paint it. This technique gives you precise control over where the glow hits.
Add a third Curves layer to fine-tune contrast and depth across the whole composition.
Adding the City Glow Effect
Go to File > Place and bring in your Glow City texture. Position it over the city using the Transform tool the same way you did before.
Once it’s in place, add a Layer Mask to this glow layer. Switch to your Soft Round brush with black as the foreground color, and paint over the sky and cloud areas to remove the glow from those zones. You want the glow sitting right on the city buildings, not bleeding into the sky.
Now change the blend mode for this layer to Color Dodge. This is the setting that makes city lights look genuinely luminous rather than just bright. Color Dodge interacts with the layers below in a way that mimics how real light bleeds and glows against dark backgrounds.
Use Ctrl/Cmd + J to duplicate this glow layer twice. So you end up with three glow layers total. Stack them up and watch the city come alive with light.
Cutting Out the Man With the Pen Tool
Go to File > Open and bring in your man image. Now comes the most skill-intensive part of the whole process: making a clean selection using the Pen Tool (P).
The Pen Tool intimidates a lot of people at first. But here’s the simple version. Click to place anchor points around the edges of the figure. For straight edges, just click once per corner. For curved edges, click and drag to bend the path segment. Keep working around the figure until your path connects back to the starting anchor point.
When your selection path is complete, right-click and choose Make Selection. Photoshop converts your path into a selection. Then add a Layer Mask to cut the background away cleanly.
The Pen Tool gives you a much cleaner edge than the Quick Selection or Magic Wand tools. It takes a bit longer, but the result looks professional rather than rough and jagged.
Blending the Figure Into the Scene
With the man now on his own masked layer, use Adjustment Layers to blend him into the city atmosphere. This is where your earlier Curves work pays dividends.
The key is matching the color temperature and lighting direction of your figure to the city below. Add a Curves Adjustment Layer clipped directly to the man layer (hold Alt and click between the two layers to clip it). Adjust the RGB channels to push his tones toward the cool blue palette you established with the city.
Use the same inverted mask brush technique from earlier to paint in targeted highlights and shadows. If the city light is coming from below, the man’s lower body should catch more light than his upper body.
Placing the Moon, Stars, and Sky Elements
Now you build the sky layer by layer. Bring in your moon image first, positioning it where it creates the strongest visual balance with the figure and city below. A moon sitting slightly off-center in the upper third of the frame usually reads best.
Next, add your Milky Way image. Set the blend mode to Screen, which drops out all the dark areas and leaves only the luminous star field visible. Stars and clouds layer on top the same way. Screen mode is your go-to for anything that needs to look like it’s emitting light.
The birds come in last for the sky elements. Position them between the figure and the moon to create a sense of depth and movement. Even a small flock of birds adds incredible life to what would otherwise be a static scene.
Finishing Everything With Camera Raw Filter
Here’s the step that pulls the whole composition together. Go to Filter > Camera Raw Filter. This opens the same powerful controls you’d use to edit a RAW photo, but applied to your entire composite.
Make adjustments in this order for best results. First, dial in your overall exposure. Pull highlights down slightly to keep the sky from blowing out. Lift shadows just a touch so the city details don’t disappear into pure black. Then bump up the clarity slider to add mid-tone contrast, which makes buildings and textures feel more tactile and real.
Move to the HSL panel and push the blues and teals toward the cooler end of the spectrum. This unifies all your individual layers under a consistent color grading that sells the composite as a single coherent image.
Finally, add a slight vignette. Keep it subtle. You want the edges to draw the eye toward the center without looking like an Instagram filter. About 20-30% strength is usually enough.
Why This Technique Works
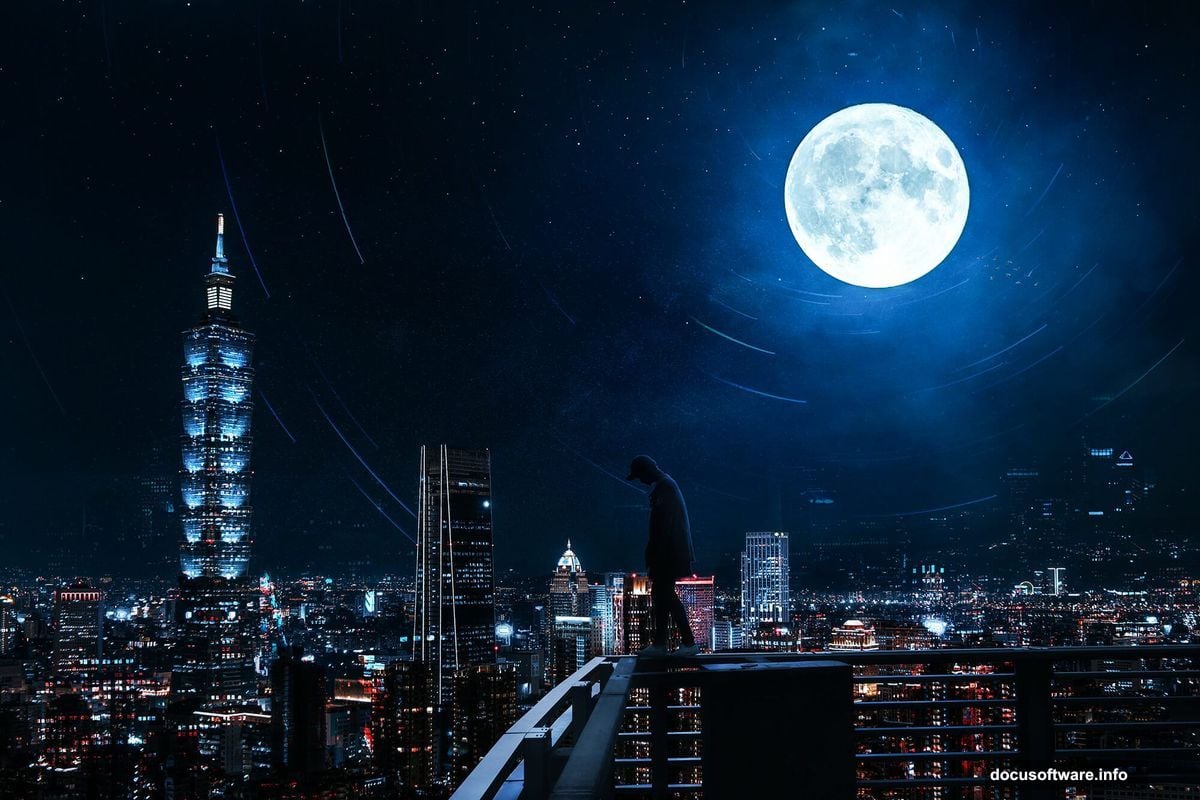
The reason this kind of composite looks believable comes down to one thing: consistent light logic. Every element you placed follows the same light source. The city glow pushes upward. The moon casts cool light from above. The man stands between both. When light behaves consistently across every layer, your brain accepts the scene as real even though nothing about it is.
The Camera Raw Filter at the end acts like color grading in film. It’s the final coat of paint that makes all your individual decisions look like they belong to the same world.
Photo compositing in Photoshop rewards patience. Each adjustment layer you add builds on the last. If you find a step that isn’t working, the beauty of this non-destructive workflow is that you can go back and tweak any layer without starting over. Keep experimenting with the Curves values and blend modes. The more you play with Color Dodge and Screen blend modes in particular, the faster you’ll develop an instinct for how light behaves in digital composites.