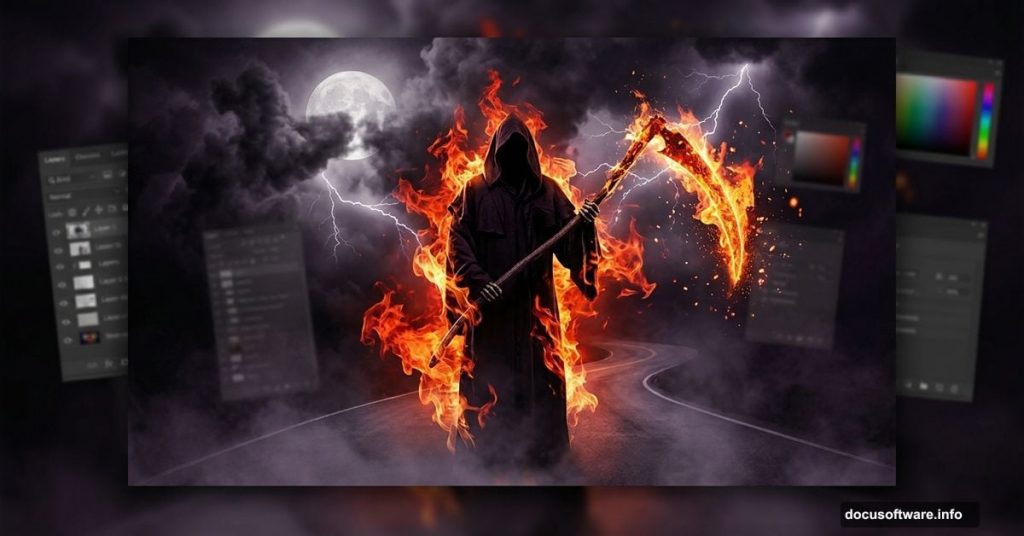
Fire, death, and dramatic skies. Sounds intense, right? That’s exactly the vibe we’re going for in this Photoshop photo manipulation tutorial.
By the end, you’ll have a haunting grim reaper scene built from scratch using multiple stock images. And the best part? Blending modes do most of the heavy lifting. So even if you’re fairly new to Photoshop, you can pull this off.
What You Need Before Starting
You’ll need Photoshop CS4 or newer for this project. Here’s a quick rundown of the stock images and brushes you’ll be collecting:
- Road image (monika-es-stock)
- Death figure (mjranum-stock)
- Two fire images (tortured-raven-stack and smile-umbrella)
- Texture (freeimages.com)
- Fire effects and glitter (Tamilia, acheronnights)
- Lightning brushes (elestrial and frostbo)
- Smoke brush (falln-stock)
- Moon brush (Ischarm)
- Birds and fire brush (redheadstock)
- Cross, house, dead tree, two skeleton images, and optical flare assets
That’s a big resource list. But gathering everything upfront saves a ton of back-and-forth later. Plus, each element plays a specific role in the final scene.

Step 1: Lay Down the Road Background
Open the road file first. Press Ctrl + A to select everything, then Ctrl + C to copy it. Paste it into your working document with Ctrl + V.
Now use Free Transform (Ctrl + T) to position and scale the road so it fills the scene naturally. Think of this as your stage. Everything else builds on top of it.
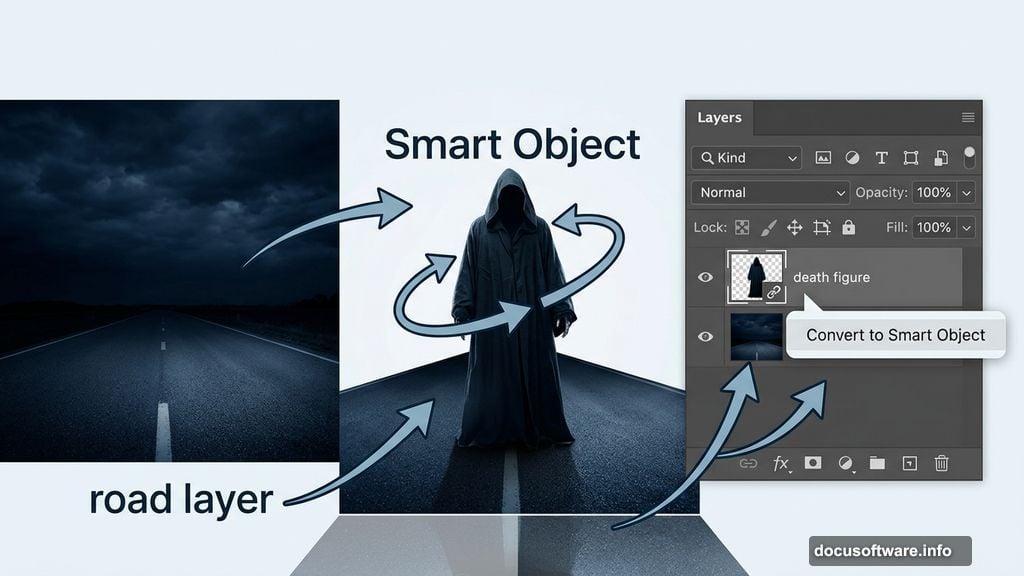
Building the Scene with Smart Objects
![Photoshop Grim Reaper manipulation showing death figure placed over dark road with blending modes applied]

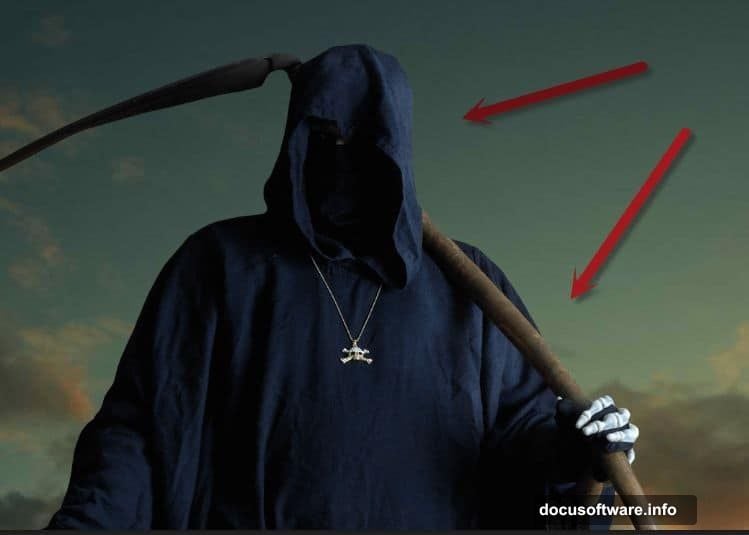
Step 2: Bring In the Death Figure
Open your death figure file. Use either the Quick Selection Tool or the Pen Tool to select the figure cleanly. Press Ctrl + J to move it to its own layer.
Select all, copy, and paste it into your main document. Here’s an important step: right-click the layer and choose “Convert to Smart Object.” This protects your image quality through multiple resizes. So you can scale up, scale down, and adjust freely without any pixel degradation.
Use Free Transform to position the death figure in the scene.
Step 3: Add Dramatic Lighting with Blending Modes
Create a new layer with Ctrl + N. Hold Alt and click between the new layer and the death figure layer below it. This clips the new layer, meaning anything you paint only shows through the death figure’s pixels.
Change the blending mode to Overlay. Then grab a soft white brush and paint light coming from the right side of the scene. Overlay mode blends the white paint beautifully without looking harsh or painted-on. That’s the real power of blending modes. They create realistic lighting effects fast, with zero complicated selection work.
Step 4: Clean Up the Face
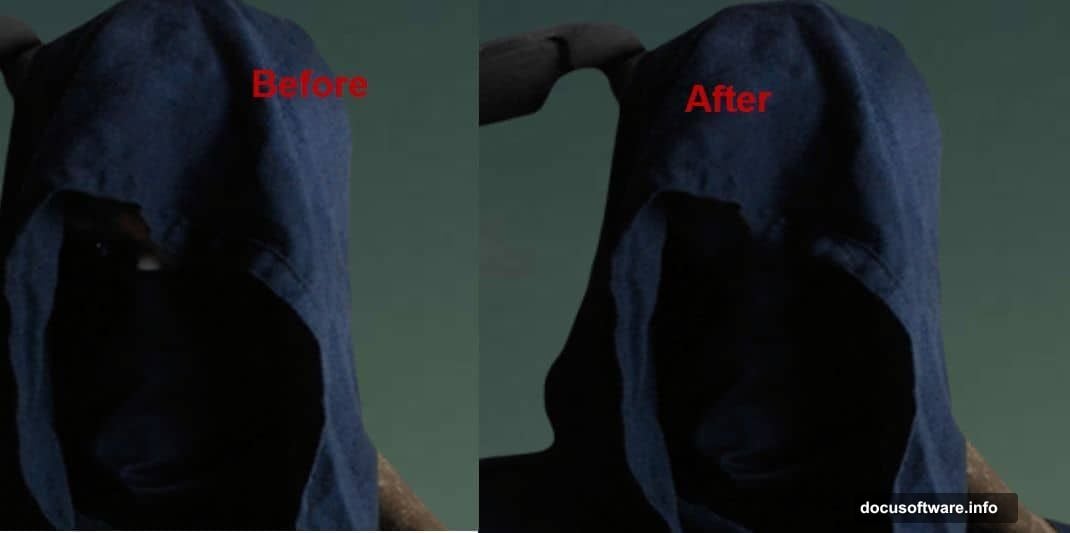
Create another new layer. Switch to the Clone Tool and carefully clone away any white pixels remaining on the death figure’s face. Small touch, big payoff. The figure looks far more integrated into the scene after this cleanup pass.
Step 5: Drop In the Texture
Open your texture file, copy it, and paste it into the scene. Convert it to a smart object, then use Free Transform to position it over the scene.
Step 6: Mask the Texture Precisely
Go to Layer > Layer Mask > Reveal All to add a layer mask to the texture layer. Press D to reset your colors so black is your foreground. Click on the layer mask thumbnail, then press Ctrl + Backspace to fill it with black. This hides the entire texture instantly.
Now switch to a soft white brush at 100% opacity. Paint over the scythe’s wooden handle to reveal the texture only where it belongs. Layer masks feel tricky at first, but this method gives you total control. Paint white to reveal, paint black to hide. That simple rule covers most masking situations.
Why Blending Modes Matter So Much Here
The whole manipulation leans heavily on blending modes, and for good reason. Overlay, Screen, and Multiply modes let you combine fire, smoke, and light elements without tedious manual selection.
For instance, fire images on Screen mode automatically drop out dark backgrounds. So you get glowing flames without cutting anything out manually. That’s a workflow shortcut worth memorizing for any fire or light effect you build in the future.

The tutorial continues through additional steps covering fire placement, lightning brushes, smoke, the moon, birds, and final color grading. Each layer adds another dimension to the scene, building intensity gradually until the full fiery grim reaper composition comes together.
A Few Tips to Make Yours Stand Out
Work non-destructively as much as possible. Smart objects and adjustment layers mean you can revisit any decision later. Fire and smoke especially benefit from experimentation. So try different opacities and blending modes before committing.
Also, pay attention to your light source consistency. The light effect added in Step 3 comes from the right. Keep that logic across every element you add. Fire glows from its own position, shadows fall the right direction, and the whole scene feels believable rather than patchy.
This kind of manipulation is genuinely fun to build. Each stock image you drop in transforms completely once you start blending and masking. By the time you finish, you probably won’t recognize the original road photo at all.