Fantasy photo manipulation is one of the most rewarding things you can do in Photoshop. You start with a blank canvas and end up with something that looks like it belongs in a fantasy film poster.
This tutorial walks you through exactly how to create a surreal Great Enchantress scene, complete with atmospheric lighting, realistic shadows, and a moody color tone. By the end, you’ll have picked up techniques that carry over into all kinds of matte painting and photo manipulation work.
Ready? Let’s build something magical.
What the Final Scene Actually Looks Like
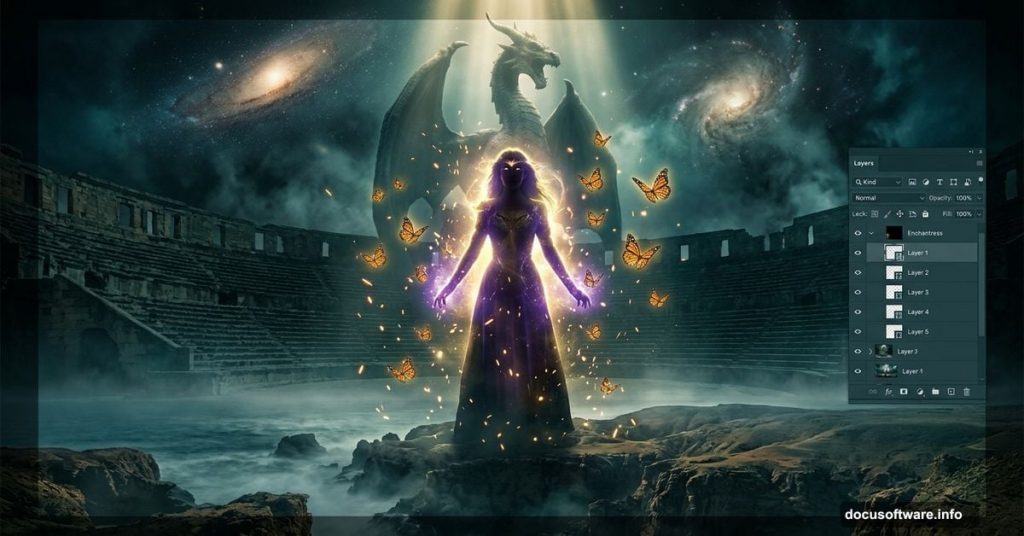
The finished piece features a sweeping amphitheater-style landscape filled with depth and mystery. On top of that foundation, you’ll layer mystical elements, a central model character, animals, and atmospheric effects.
Think dark skies, dramatic lighting, and a bleak color tone that makes everything feel ancient and powerful. The whole composition comes together in stages, so nothing feels rushed or crammed in.
What You Need Before Starting
You don’t need the latest version of Photoshop. Any version works fine here.
For stock resources, gather these before you begin:
- Galaxy textures
- Ocean waves
- Canyon landscape
- Dragon tower statue
- Monarch butterfly clipart
- Two model images
- Dark angel asset
- Smoke brushes
- Planet and mandala graphics
- Sparks overlay
Plus, the author recommends one more thing: inspiration and a good mood. Honestly, that’s solid advice for any creative project.
Setting Up Your Canvas
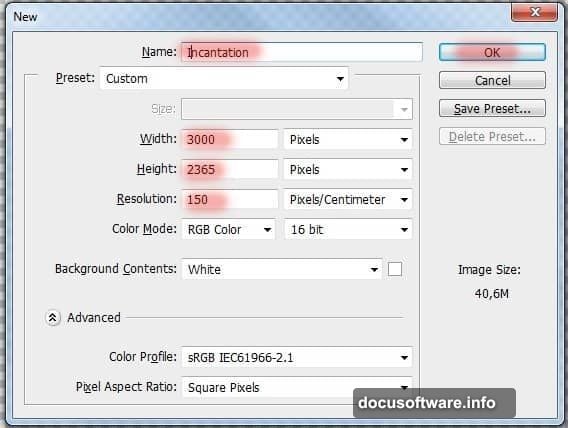
Start by opening Photoshop and creating a new document. Go to File > New or press Ctrl+N.
Set the dimensions to 3000 pixels wide by 2365 pixels high. Name it something fitting. The original tutorial uses “Incantation,” which sets the right creative tone from the start.
Building the Amphitheater Landscape
This is where the magic starts. The goal is a landscape that feels like a natural amphitheater, giving the scene depth and a sense of scale.
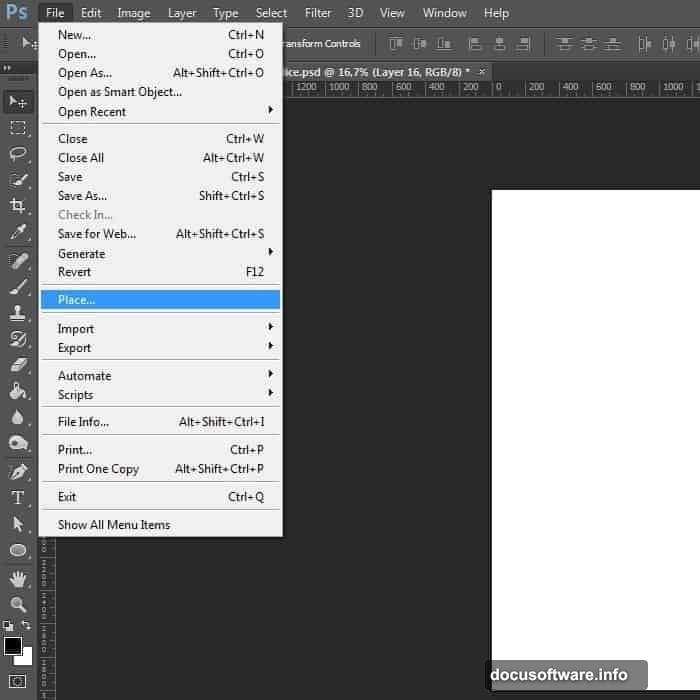
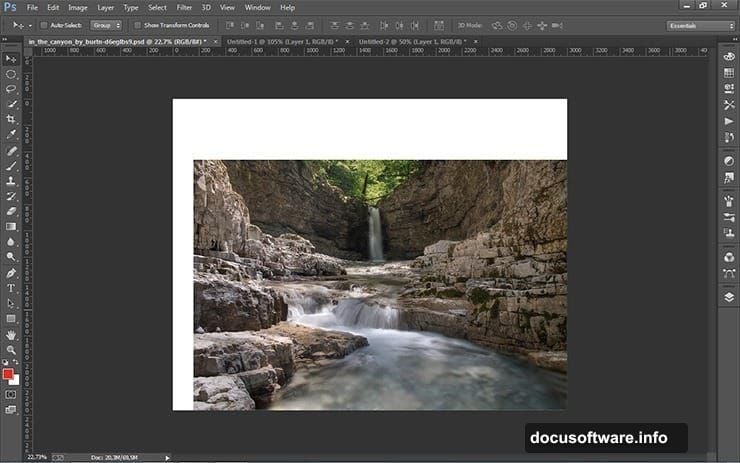
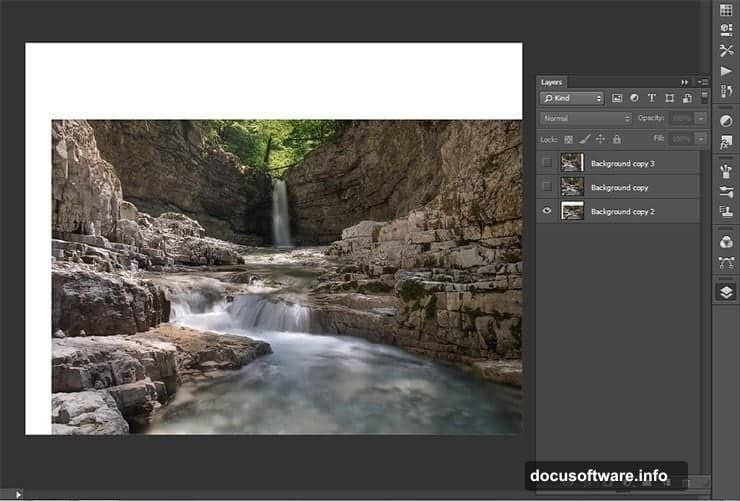
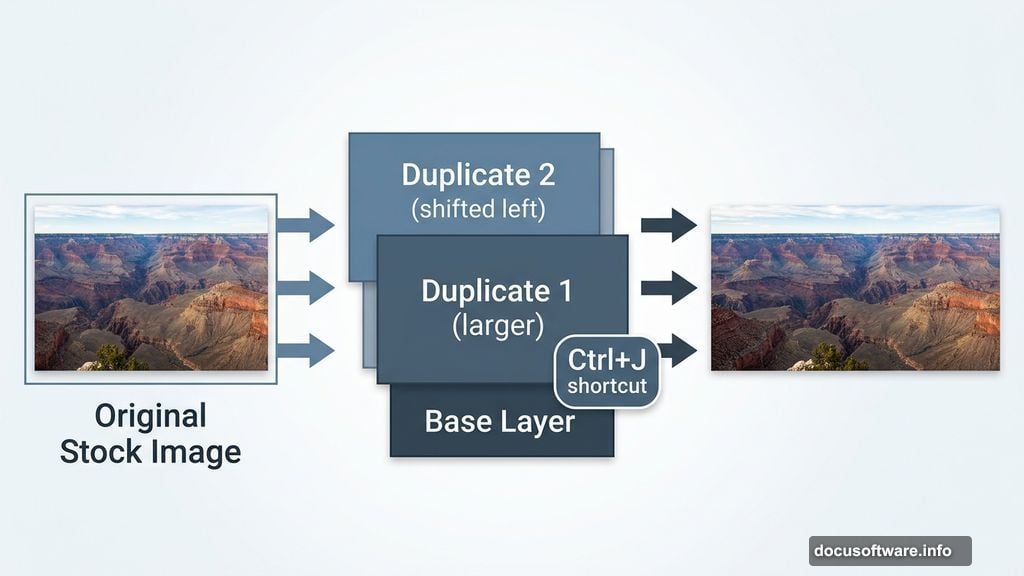
Go to File > Place and bring in your canyon landscape image. Place it in the lower right corner without resizing it yet. Then duplicate the layer twice using Ctrl+J.
Now here’s the clever part. Select the first duplicate and use Ctrl+T to transform it slightly larger than the working document. Do the same with the second duplicate, then shift it to the left.
Why bother with three versions instead of just stretching one? Stretching a single landscape image across the full canvas tends to look flat and unrealistic. Using duplicates with slight size variations gives the scene natural depth and makes the environment feel genuinely vast.
Adding Layer Masks for Seamless Blending
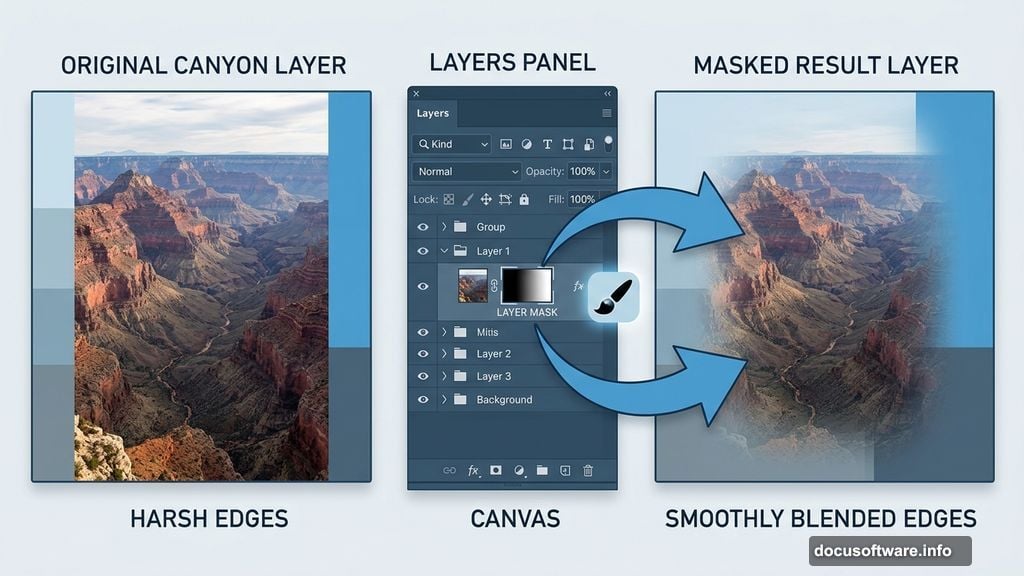
Once your landscape layers are in place, add a layer mask to the first background copy by clicking the layer mask icon in the Layers panel.
Layer masks are your best friend in photo manipulation. They let you hide parts of a layer without permanently deleting anything. So if you blend too aggressively, you can always paint the area back in.
Use a soft black brush on the mask to blend the edges between your landscape layers. Work slowly here. The more time you spend on seamless blending, the more believable the final scene feels.
Bringing in Mystical Elements
With the landscape solid, start layering in the fantasy elements. The dragon tower statue drops in as a focal point that anchors the supernatural theme.
Place the statue, resize it to fit the composition, and add a mask to blend its base into the ground. Then bring in the galaxy textures and ocean wave elements to build out the sky and atmosphere.
The key with each element is matching the light direction. Pick one light source early, stick with it, and shade every new element consistently. This is what separates convincing manipulations from ones that feel disjointed.
Working the Model Into the Scene
Adding the model takes careful masking work. Use the Pen Tool or Select and Mask feature to isolate her cleanly from the original background.
Once placed, resize her to fit the scene proportionally. She should feel like she belongs in the environment, not pasted on top of it. Use the dark angel asset to add drama around her figure.
Shadows are critical at this stage. Create a new layer set to Multiply blending mode and paint soft shadows beneath her feet and around her figure. Match the shadow direction to your established light source.
Building Atmospheric Depth
This is where the scene goes from interesting to genuinely immersive.
Bring in the smoke brushes and paint wisps of fog around the lower portions of the scene. Keep the opacity low, around 20-40%, and build it up gradually with multiple strokes. Sudden dense fog looks fake. Gradual layering looks real.
Add the monarch butterfly clipart in clusters around the model. Scale them to different sizes to suggest distance and movement. The mandala and sparks overlays layer in last, giving the whole piece that final burst of mystical energy.
Shadows, Lighting, and Atmospheric Corrections
Now comes the polish that makes everything cohere.
Create adjustment layers for color grading. The original piece uses a bleak, desaturated tone with cooler blues and muted greens. A Color Balance adjustment layer and a Hue/Saturation layer work well together here.
Add a subtle Curves adjustment to deepen the shadows across the whole composition. Pull the darks down slightly and lift the midtones just a touch. This creates that cinematic contrast that makes fantasy scenes pop.
Finally, use the planet graphic as an element in the sky. Place it behind the galaxy texture and reduce its opacity so it reads as atmospheric rather than literally present.
The Trick Most Beginners Miss
Experienced photo manipulation artists always check the overall composition at a small zoom level. Zoom out to 25% or even smaller and look at the whole piece as a thumbnail.
At that scale, you can spot problems with tonal balance and composition that you can’t see when zoomed in close. If one area looks too bright or one element feels disconnected, you catch it here before spending hours on detail work.
Also, flip the canvas horizontally every so often. Go to Image > Image Rotation > Flip Canvas Horizontal. Your brain adapts to seeing a composition in one direction. Flipping it temporarily reveals awkward imbalances and proportion issues.
Finishing With the Bleak Color Tone Effect
The final color tone is what gives the piece its identity. This isn’t just a cool effect, it’s the emotional signature of the artwork.
Create a Gradient Map adjustment layer using deep purple-to-black tones set to Soft Light blending mode at around 30% opacity. This ties the whole color palette together and adds a slightly otherworldly cast to everything.
Then add a Photo Filter adjustment layer. Cool tones, like a cooling filter at 15-20%, push the image toward that cold, ancient atmosphere. Reduce it if it feels too heavy.
The scene is done when every element feels like it was always there.
Photo manipulation at this scale looks intimidating until you break it into stages. Landscape first, environment elements second, character third, atmosphere and color last. Follow that order and the process stays manageable even when you’re juggling thirty-plus layers.
The satisfaction when it all comes together, when the enchantress actually looks like she belongs in that amphitheater, makes every careful masking session worth it.