Creating a hauntingly beautiful winter princess scene sounds like a big project. But with the right photos, a few smart blending tricks, and some patience, you can pull it off even if you’re not a seasoned digital artist.
This tutorial walks you through every step. You’ll blend two background images, extract a subject, build atmospheric lighting, and add snow and smoke effects that sell the whole wintery mood. Let’s get into it.
Your Starting Resources
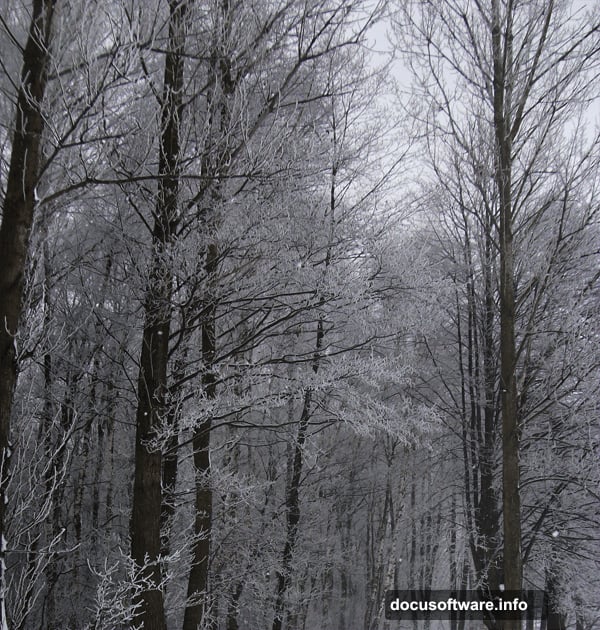
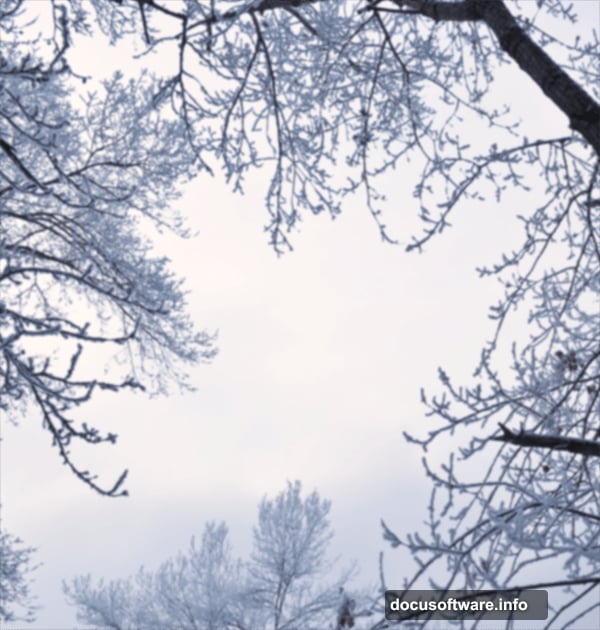
Before you open Photoshop, gather everything you need. This project uses six resource files: a Lady photo, two background images (Background 1 and Background 2), a Smoke brush, and a Snow stock image. Having everything ready before you start saves a lot of frustration later.
Also, make sure your Brushes panel is loaded and your Layers panel is visible. You’ll be juggling several layers throughout this process, so staying organized from the start really pays off.
Build the Icy Background First
Open Background 1 and crop it down to just the section you want. Then duplicate that layer and set the duplicate to Multiply blend mode at 80% opacity. This deepens the shadows and adds immediate atmosphere.
Next, open Background 2 and drag it above your existing layers. You’ll want to erase or mask out the tree section on this image. Use a Layer Mask rather than the Eraser Tool directly. Masking is non-destructive, meaning you can always go back and adjust without losing original pixels. Set this layer to Soft Light at 50% opacity.
You’ll probably notice a stray tree edge poking out near the top. Clean that up with your Layer Mask and a soft black brush. Now your two backgrounds should feel like they belong in the same frozen world.
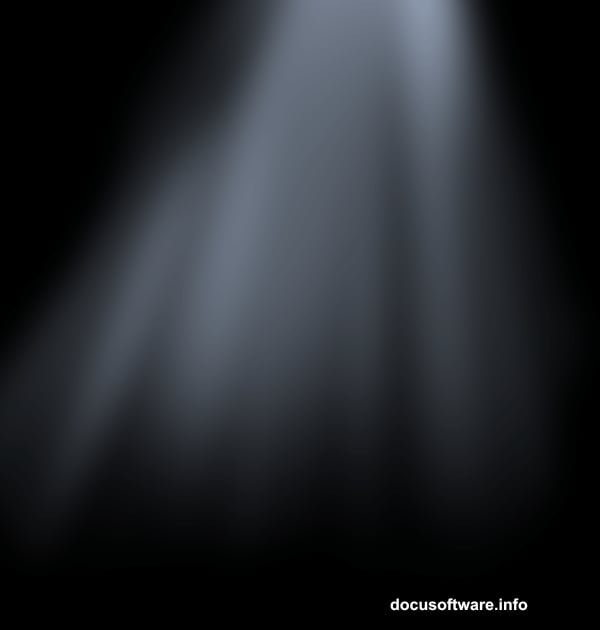
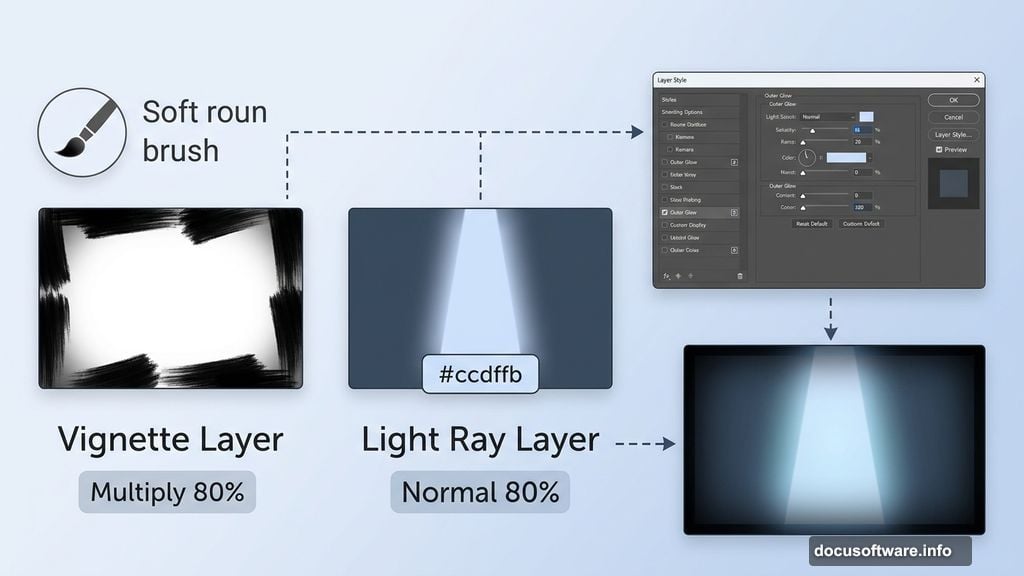
Add Depth With a Vignette and Light Rays
Create a new empty layer. Grab a large, soft round brush set to low opacity, pick black, and paint a vignette around the edges of the frame. Apply a Gaussian Blur if the edges feel too harsh. Set this layer to Multiply with both Opacity and Fill at 80%. It frames your scene nicely and draws the eye inward.
Now for the light rays. Create another new layer and paint a soft beam of light using either a custom light beams brush or a large soft brush. Use the color #ccdffb for a cool, icy blue-white tone. Leave this layer on Normal blend mode at 80% opacity.
Here’s a fun trick that really elevates the effect. Double-click the layer to open Layer Style, then check Outer Glow. Replace the default yellow glow color with #ccdffb. This gives your light beam that soft, ethereal quality that makes winter fantasy art feel so magical.
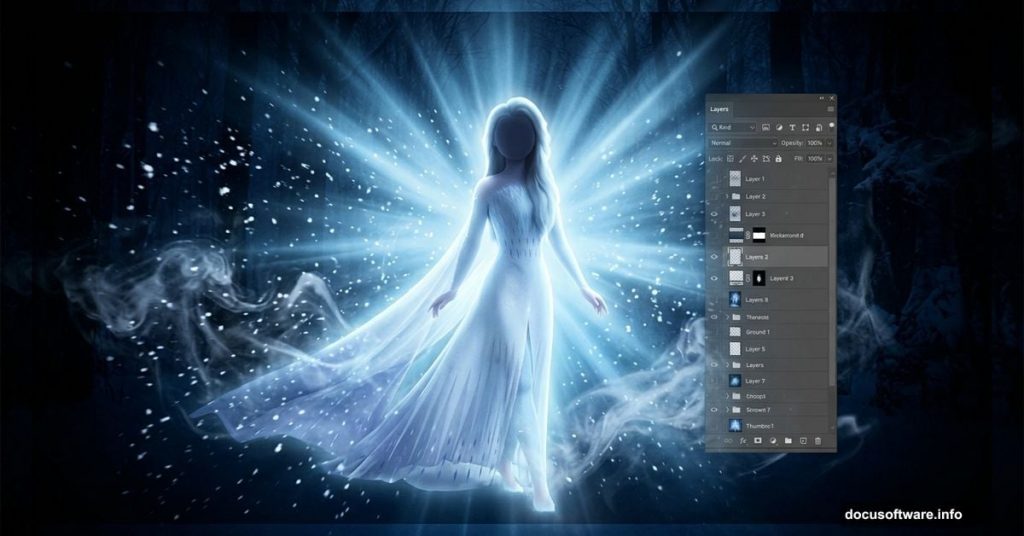
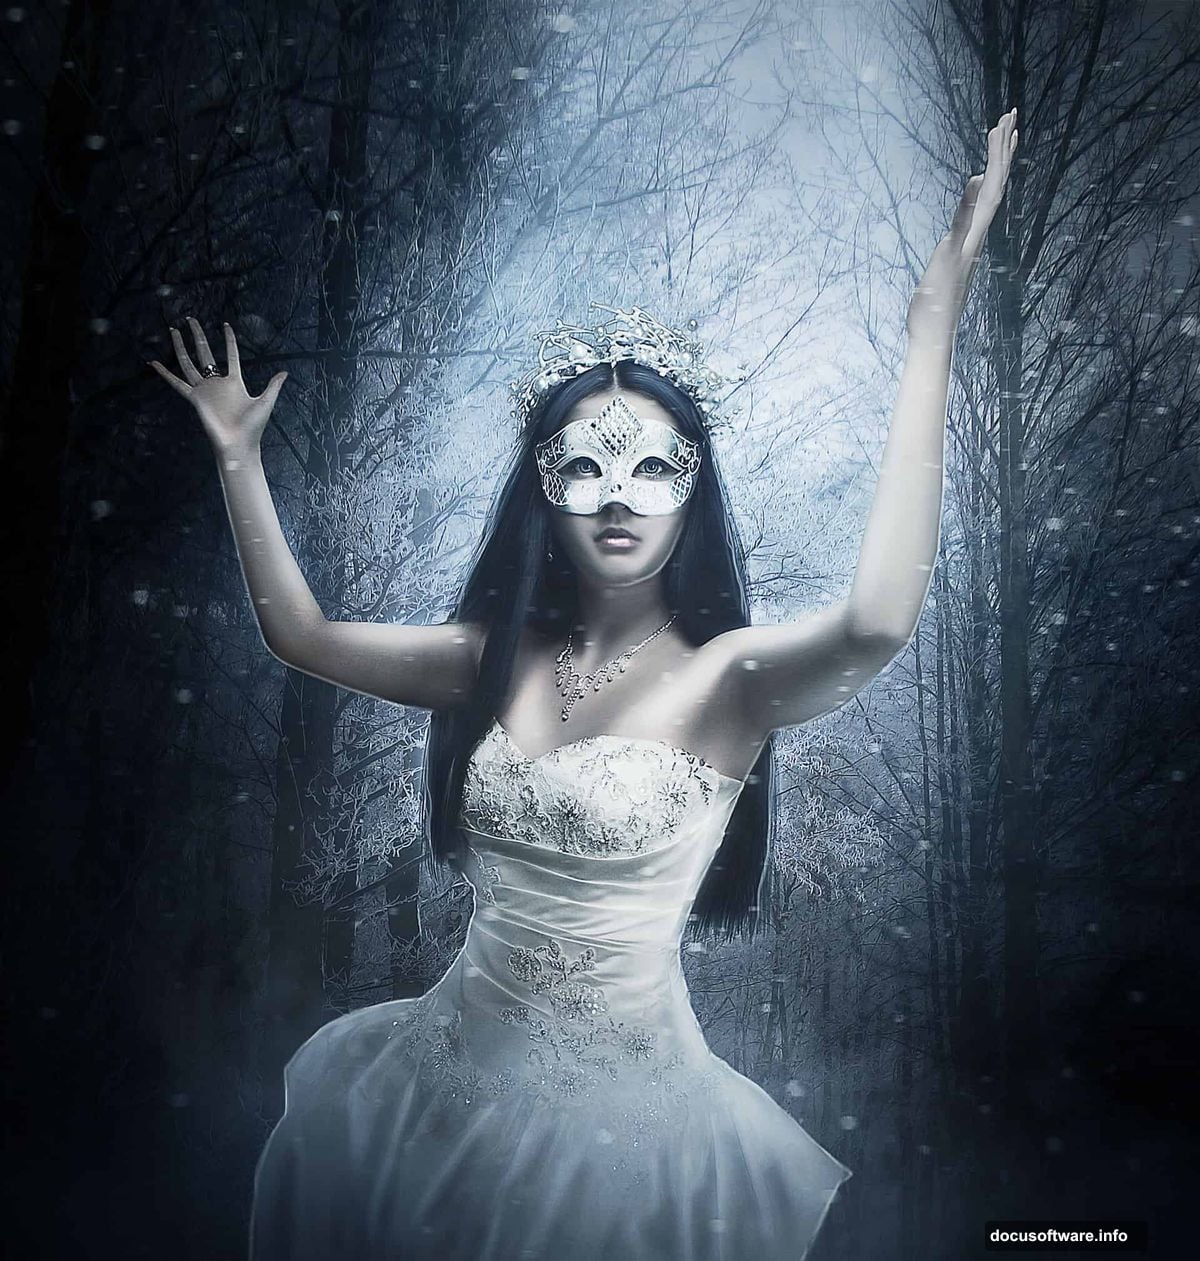
Extract and Place Your Subject
Now bring in your Lady photo and extract her from the background. Position her above all your current layers roughly in the center-lower area of the frame.
If you want to go the extra mile, use the Smudge Tool to smooth her skin slightly before placing her. A subtle Liquify adjustment on her face can also help her expression feel more dreamlike and painterly. These are optional steps, but they really do make a difference in the final result.
Add a Hue/Saturation adjustment layer clipped only to the Lady layer. Drop the Saturation to -60. This pulls the warm tones out of her photo and helps her match the cold, desaturated mood of the background.
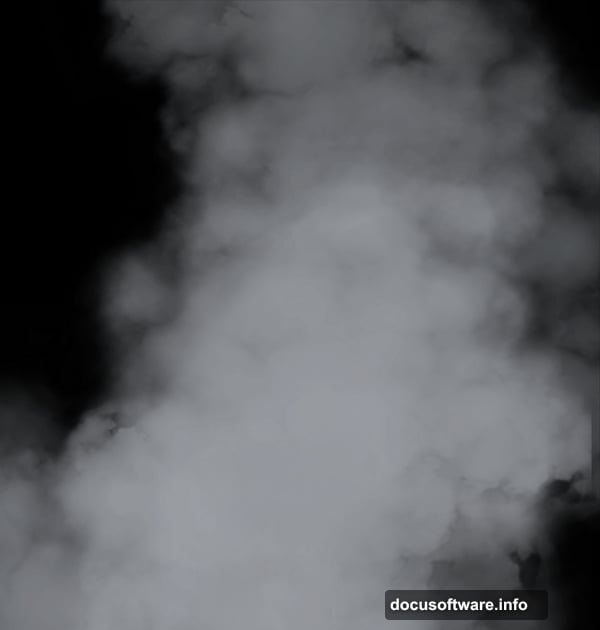
Wrap Her in Smoke and Atmospheric Light
Create a new layer below the Lady layer. Load your Smoke brush and paint wisps of smoke around her using color #999da3. Set this layer to Linear Dodge with Opacity and Fill both at 50%. The smoke softens the line between your subject and background beautifully.
Then create another new layer clipped to the Lady layer, placed above the Hue/Saturation adjustment. Select a soft brush at low opacity and flow, then pick #cad7e7. Paint gentle highlights along the edges of her figure. This rim lighting effect makes her look like she’s lit by the cold ambient glow of the scene rather than an artificial studio light.
Paint Extra Hair Volume

Create a new layer at the very top of your stack. Using a fine brush that matches her hair color, paint additional strands to give her hair more volume and movement. This step is what separates a good composite from a truly polished one.
Take your time here. Work in thin strokes, vary your pressure slightly, and follow the natural direction of her existing hair. A few well-placed wisps catching the light can look absolutely stunning.
Add Snow and Final Polish
Bring in your Snow stock image and place it above everything. Experiment with Screen or Lighten blend modes to make the white snowflakes visible while hiding the dark background of the stock photo. Adjust opacity until the snow feels natural, not overwhelming.
At this point, step back and look at your whole composition. Does the color temperature feel consistent? Do the edges of your extracted subject blend smoothly into the background? A final Color Balance or Curves adjustment layer over everything can unify all the elements and push that cold blue tone even further.
Small tweaks at this stage make a surprisingly big impact. Tighten up any rough mask edges, balance out any areas that feel too bright or too dark, and make sure your light ray still draws attention to your princess rather than competing with her.
The finished result should feel like a single, cohesive frozen world rather than a collection of layered photos. And honestly, when you get there, it’s incredibly satisfying.