Creating dark, atmospheric photo manipulations is one of the most rewarding things you can do in Photoshop. This “Born of the Dragon” tutorial by Monika Nowakowska walks you through building a moody, symbol-rich gothic composite from scratch. Think fire, night scenes, a mysterious figure, and a living tattoo effect that ties everything together.
The best part? You don’t need to be an expert. This tutorial covers core Photoshop skills that will improve every project you tackle going forward.
What You’ll Build
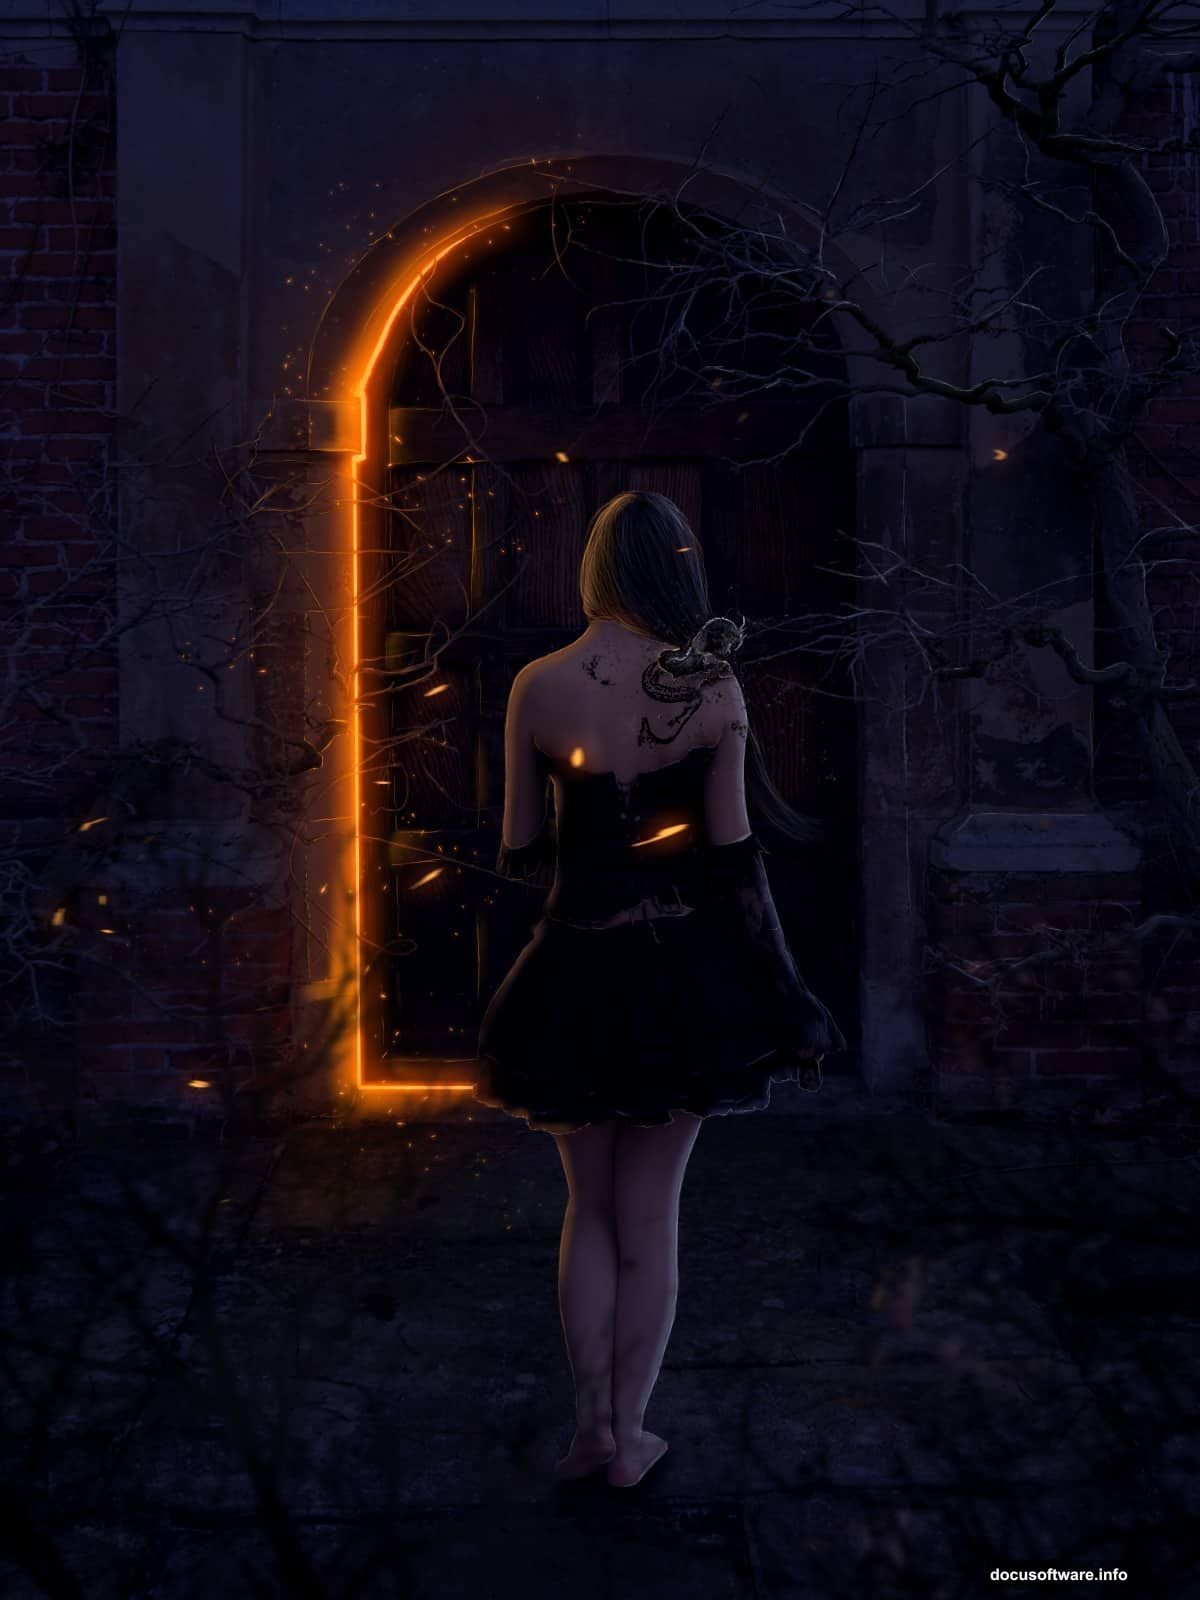
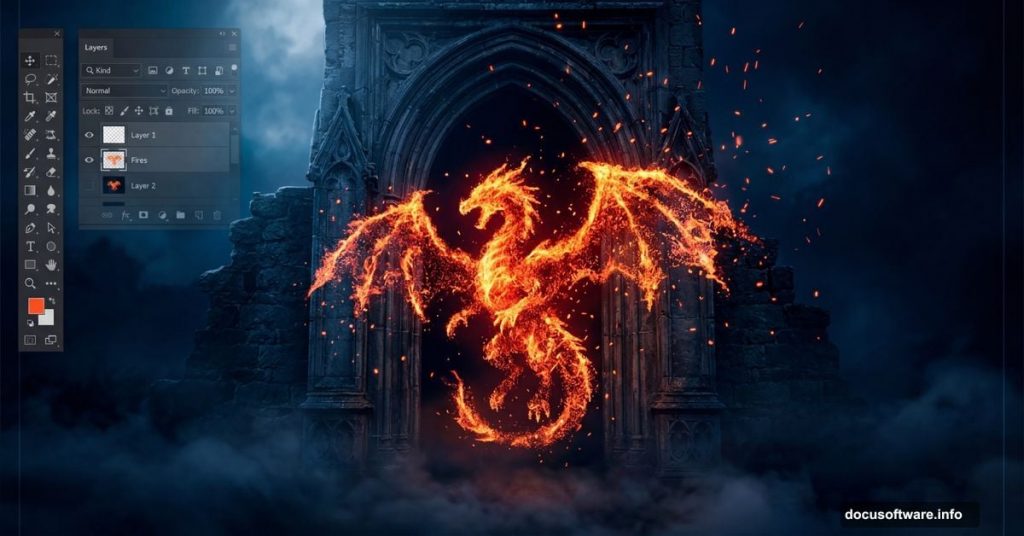
The final image is a symbolic gothic composite packed with meaning. Fire, darkness, and a dragon all represent transformation. You’ll work with particles, fire effects, dramatic lighting, and even a living tattoo technique.
To follow along, you’ll need Photoshop CS5 or newer. The tutorial also uses several free stock resources, including dragon pack images from Lill-stock, a creepy door photo, a model stock called “Wicked 16” from Noree-stock, hanging branches, and debris brushes.
Setting Up Your Document
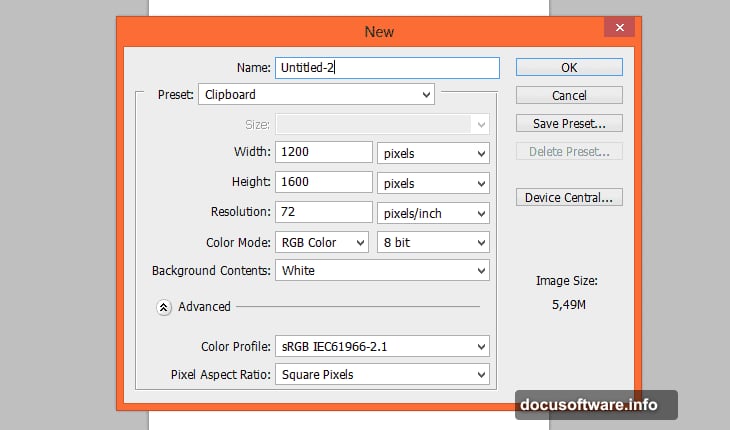
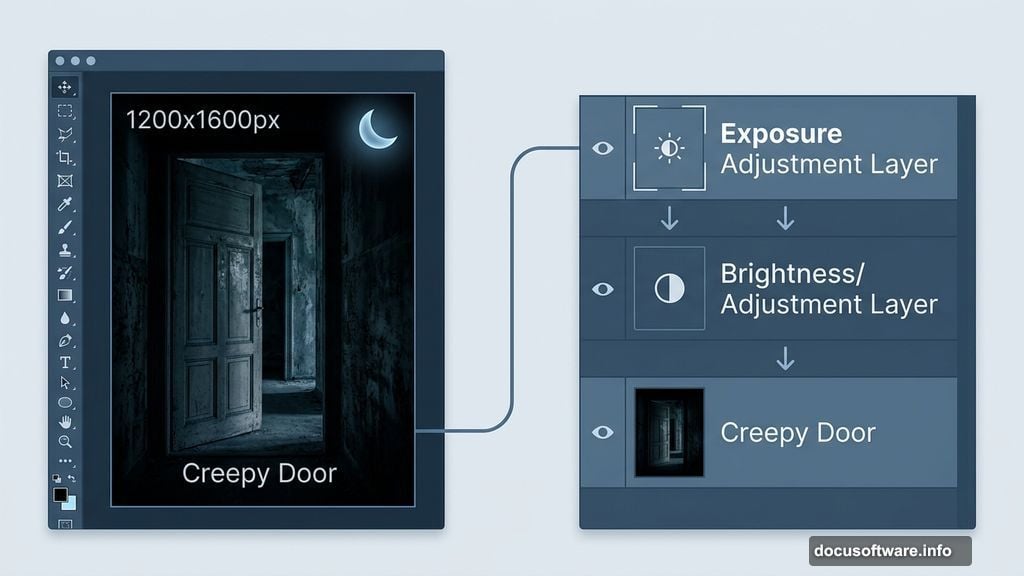
Start fresh. Go to File > New (or press Ctrl + N) and create a new document at 1200 x 1600 pixels. This vertical canvas gives you plenty of room to build the scene with depth.
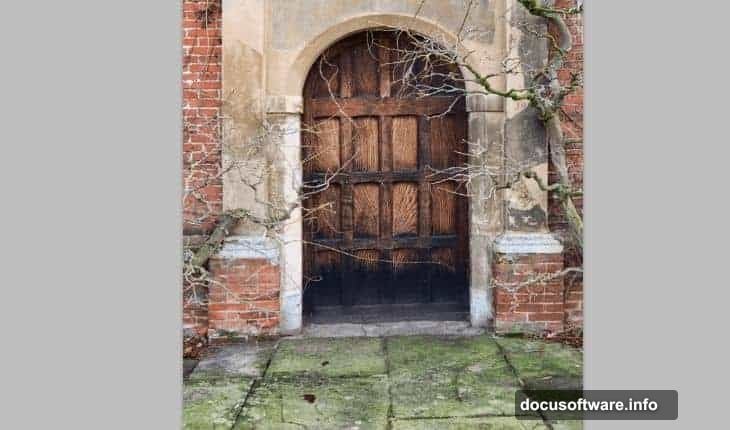
Next, drag and place the “Creepy Door” stock image onto your canvas. Transform it to fit the composition as your background base. This door becomes the anchor for everything else.
Building the Night Scene with Adjustment Layers
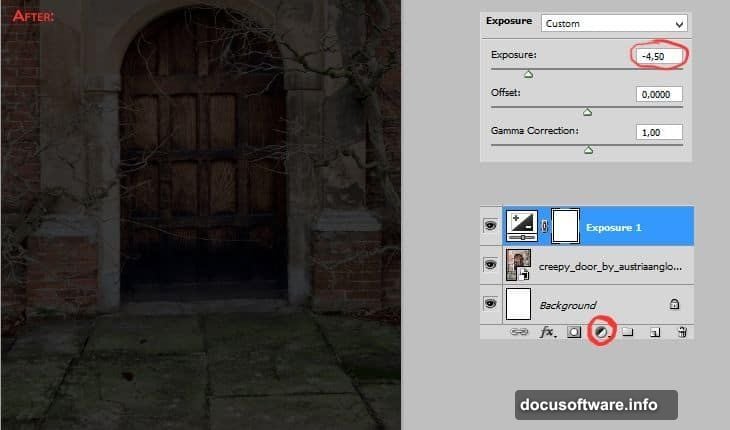
Here’s where the mood really kicks in. Add an Exposure adjustment layer through Layer > New Adjustment Layer > Exposure. This darkens the scene and pulls you toward that nighttime atmosphere.
But darkened images can look flat. So follow up with a Brightness/Contrast adjustment layer to punch up the depth and make colors feel more alive. These two adjustment layers work together to sell the “night” feeling without losing detail.
Placing and Lighting Your Model
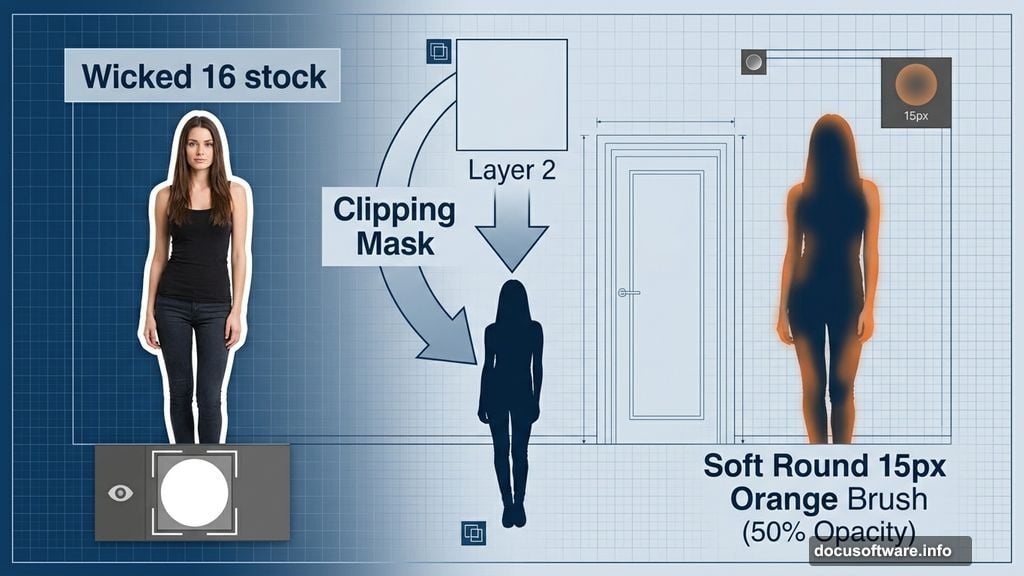
Drag the “Wicked 16” model stock onto your canvas. Pay attention to scale and perspective here. She should never appear taller than the door, and her position needs to sit lower than the door’s top edge to keep the perspective believable.
Add a layer mask to remove the model’s background cleanly. Then create a new layer (Shift + Ctrl + N) and right-click it to choose “Create Clipping Mask.” This clips your painting to the model layer so your brushwork only affects her.
Painting Realistic Light and Shadow
Pick a soft, 15px orange brush and set opacity to 50%. Gently paint light onto the clipping layer, treating the door as your light source from the left side of the image.
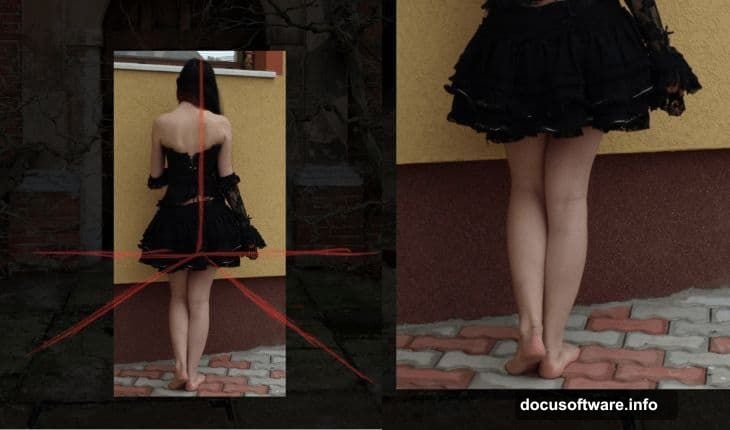
Here’s a clever tip from Monika: if you’re working with a full-body model, keep the legs slightly darker. Our eyes naturally gravitate toward lighter areas of an image. Darkening the legs draws attention upward toward the face and torso, creating a more compelling focal point.
After the warm light layer, add another new clipping layer. Set its blending mode to Screen. This technique builds up glowing light effects without completely washing out the underlying detail.
Working with Clipping Masks and Blending Modes
Clipping masks are your best friend in complex composites. They use the transparency of the layer below as a boundary, so your adjustments and paint strokes stay perfectly contained to specific elements.
The Screen blending mode makes dark pixels invisible and bright pixels glow. Combined with soft brush strokes, it creates that otherworldly luminescence that makes gothic composites feel genuinely magical rather than just dark and muddy.
Tips for Better Photo Manipulations
A few principles from this tutorial apply to every composite you’ll ever make. Consistent lighting direction is everything. Pick one light source and stick to it across every element you add to the scene.
Also, think symbolically when you choose your visual elements. Fire, dragons, and darkness aren’t just cool aesthetics here. They all connect to a theme of transformation. Strong composites tell a story through their imagery, not just their technical execution.
Finally, work non-destructively. Use adjustment layers instead of direct edits. Use clipping masks instead of erasing. This keeps every decision reversible as you refine the work.
The “Born of the Dragon” composite is a genuinely satisfying project because every technique you learn feeds directly into the next one. Master the lighting approach here and you’ll use it in every dark scene you ever build. Get comfortable with clipping masks and adjustment layers, and your Photoshop workflow will feel noticeably more fluid and confident from this point forward.