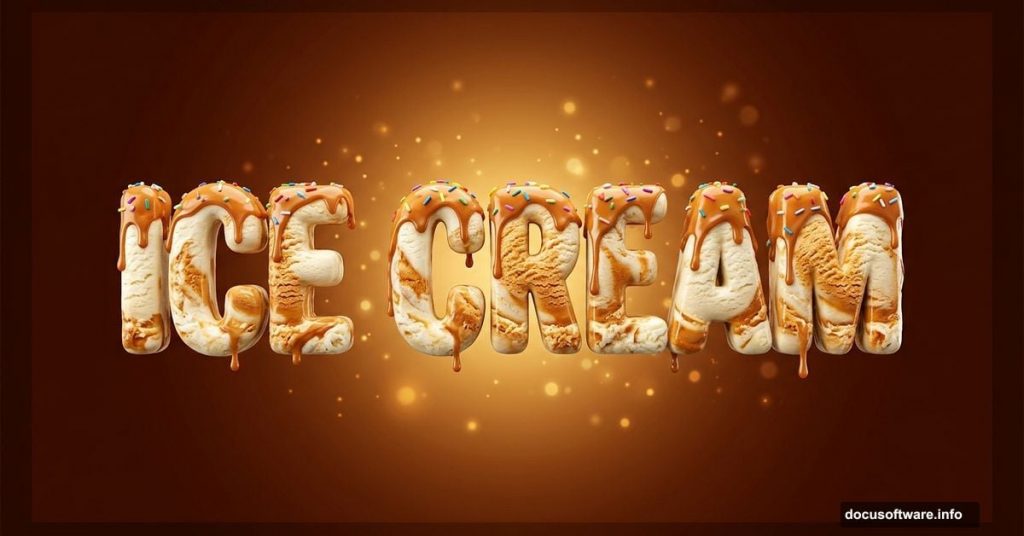
Ever wanted to make typography that looks genuinely edible? This Photoshop tutorial walks you through creating a mouth-watering ice cream text effect using layer styles, brushes, and stock photos. The result is rich, warm, and yummy enough to make people do a double-take.
You’ll need Photoshop CS5 or newer to follow along. Before you start, grab these three free resources: the VAL font, a Bokeh stock image from koko-stock, and a food texture from CGtextures.
Let’s build this from scratch.

Setting Up the Warm Background
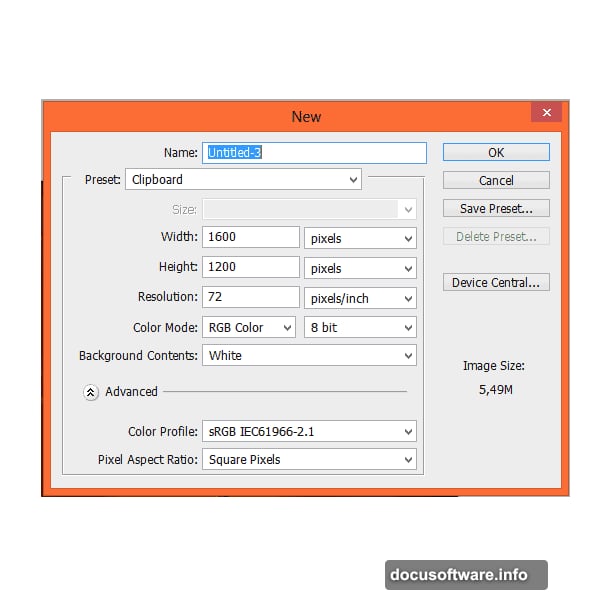
First, create a new file. Go to File > New (or press Ctrl + N) and set your canvas to 1600×1200 pixels.
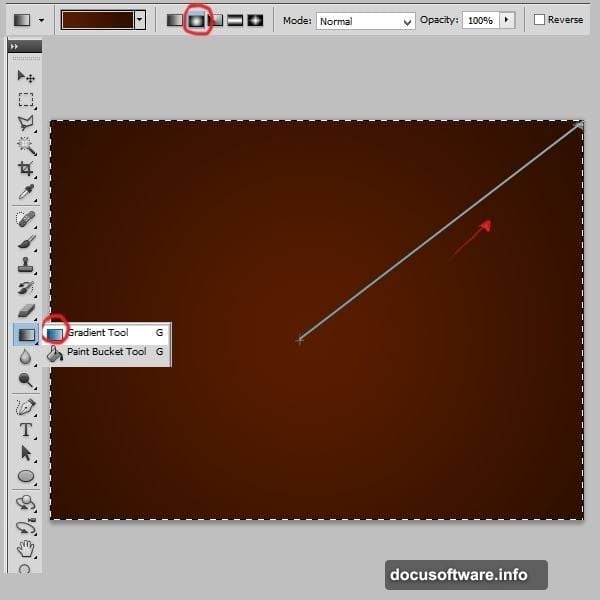
Select your Background layer. Then grab the Gradient tool by pressing G. Set it to Radial gradient and choose two deep, chocolatey colors: #591d00 and #2d0e00. Apply it from the top of the canvas down. You’ll get a rich, dark background that instantly sets a warm, dessert-like mood.
Next, add a new layer with Shift + Ctrl + N. Pick the Brush tool and set your color to #fea800, a warm amber orange. Choose a Soft Round brush and crank the size up to 1242 pixels. Paint a single dot right in the center of the canvas. Then change that layer’s blending mode to Screen and drop the opacity to 20%. This creates a subtle warm glow in the middle without overpowering the background.
Adding Bokeh and Atmosphere
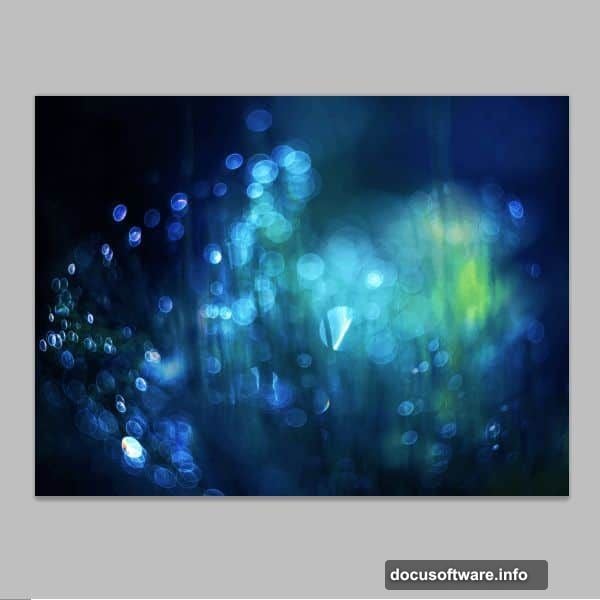
Place your Bokeh stock image into the composition. Alt-click the layer mask to enter it, then apply a black-and-white radial gradient. This fades the bokeh so it blends naturally from the center outward rather than sitting flat on top.
Change the bokeh layer’s blending mode to Linear Dodge (Add). This makes the light circles pop and adds a dreamy, festive sparkle to the background.
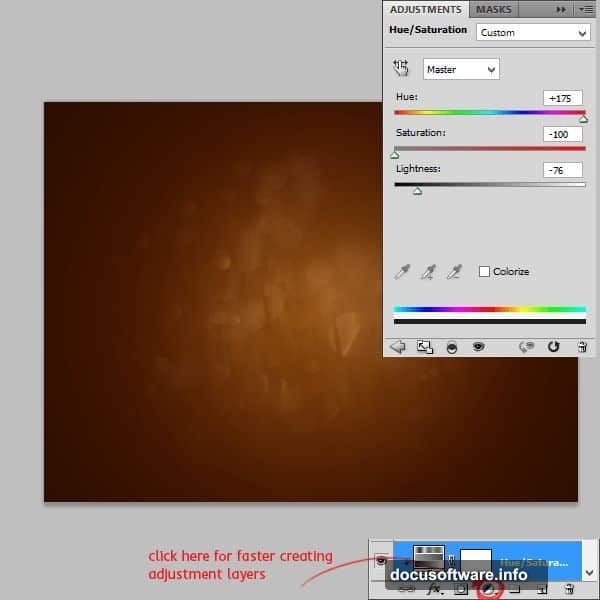
Now add a Hue/Saturation adjustment layer. Go to Layer > New Adjustment Layer > Hue/Saturation. Set Hue to +175, Saturation to -100, and Lightness to -76. Right-click the adjustment layer and choose “Create Clipping Mask” so it only affects the bokeh layer below it, not everything else in the composition.
Building That Creamy Glow
Add one more new layer. Set your color to #612200 and pick a linear gradient set to color-to-transparent. Apply it with a short stroke right at the center of the canvas. Change this layer’s blending mode to Soft Light and set opacity to 45%. This adds depth and warmth to the center glow, making the whole background feel like it’s lit from within.
Crafting the Ice Cream Text
Grab the Type tool and select the VAL font. Set your font size to 250 pt and your text color to #5b1e00, that same deep chocolate brown. Type out your word or phrase in the center of the canvas.
Now the fun part: layer styles. Right-click your text layer and choose Blending Options. Apply these settings:
Inner Shadow: Blend Mode set to Multiply, color #000000, opacity 75%
Inner Glow: Blend Mode set to Screen, color #612200, opacity just 5%
Bevel and Emboss: Style set to Inner Bevel, Technique set to Smooth, Size 6px, Soften 0px. Set Highlight Mode to Screen with color #fb9838 at 75% opacity. Set Shadow Mode to Multiply with color #2b0c03 at 75% opacity. Add a contour value of 50%.
These combined styles give the letters that rounded, glossy, scooped-ice-cream look. The bevel catches light beautifully, and the inner shadow adds just enough depth to make the text look three-dimensional.
The Bitten Edge Trick
Here’s a detail that makes this effect feel truly special. Add a layer mask to your text layer by clicking the mask icon at the bottom of the Layers panel. Layer masks work on text layers too, which surprises a lot of people.
Switch to a Hard Round brush, set the size to 24 pixels, and paint with black in a few spots along the edges of your letters. This erases small irregular chunks, making the text look like someone already took a bite out of it. It’s a small detail that adds enormous personality and sells the ice cream illusion completely.
From here, you can continue adding ice cream texture photos, drips, and finishing details to complete the full effect.
The whole technique comes down to smart use of layer styles and subtle blending modes working together. Once you understand how bevel settings catch light and how Screen mode handles glow, you can apply the same logic to all kinds of food-inspired text effects. Chocolate, caramel, candy coating, you name it.
Typography doesn’t have to be flat and static. With the right Photoshop setup, it can look like something you’d actually want to eat.