Creating a sci-fi portrait in Adobe Photoshop might sound intimidating, but it’s really just a series of small, manageable steps. You’ll combine photos of a model, street scenes, and light elements to build something that looks genuinely cinematic. Plus, you don’t need to be a Photoshop expert to follow along.
Here’s exactly how to pull it off.
What You’ll Need Before Starting
Gather your resources first. You’ll need a model photo, a street background image, and several light elements. You’ll also want two sci-fi background images to layer into the final composition.
Having everything ready saves a lot of time mid-project. Nothing breaks creative flow faster than hunting for files while your layers are half-finished.
Setting Up Your Canvas and Model Layer
Start by creating a new document at 1800×2000 pixels and filling it with white. Open your model image and drag it onto the canvas using the Move Tool (V).
Next, convert the model layer to a Smart Object. This protects your original image while letting you apply filters non-destructively. Think of it as a safety net you’ll thank yourself for later.
Refining the Model With Liquify
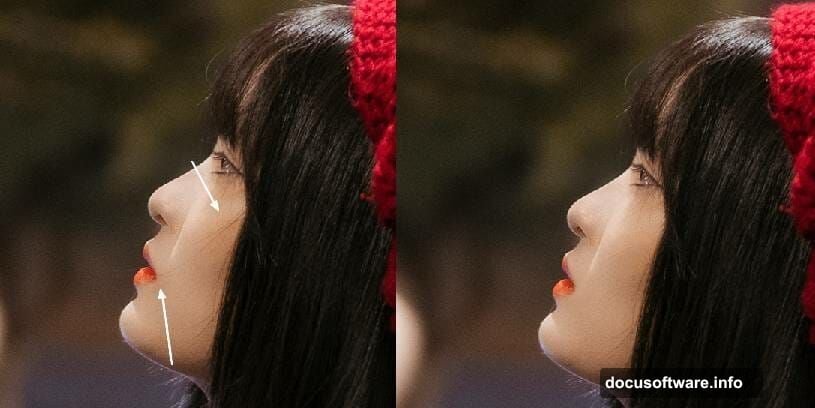
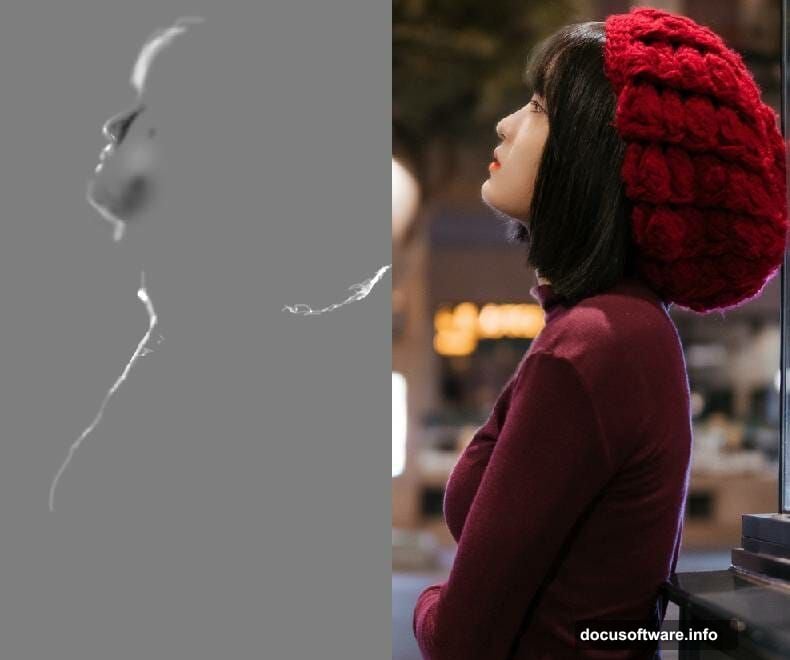
Go to Filter > Liquify and select the Forward Warp Tool (W). Use it to make a subtle adjustment to the top of the nose bridge. Just a small nudge downward makes the portrait feel more polished.
Liquify is powerful, but subtlety wins here. Small, careful adjustments look natural. Big ones look edited.
Cloning Away Distractions
Create a new layer above the model and set it as a Clipping Mask. Switch to the Clone Tool (S) and clean up any stray hairs on the model’s cheek and around the edges of her lips.
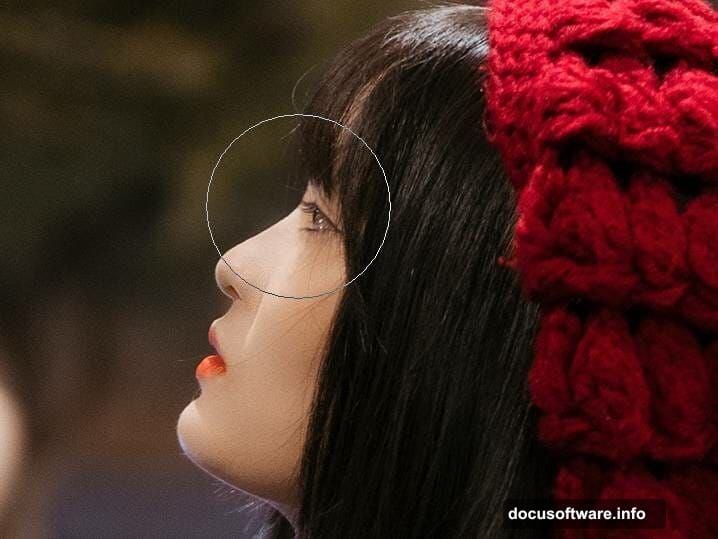
This step is easy to rush, but it’s worth taking your time. Clean edges make every later effect look sharper and more intentional.
Dodging and Burning for Depth
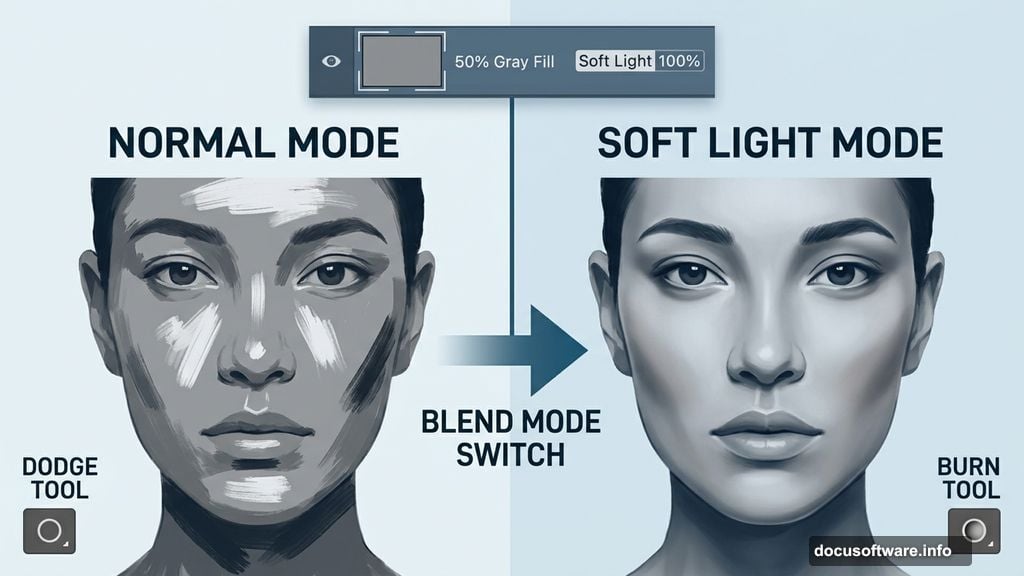
Add another new layer and change its blend mode to Soft Light at 100% opacity. Fill it with 50% gray using Edit > Fill.
Now activate the Dodge and Burn Tool (O). Set it to Midtones Range with an Exposure of about 20-25%. Use it to refine the light and shadow across the model’s face and body contour. To check your progress, toggle the layer between Normal and Soft Light modes. Normal mode shows exactly what you’re painting. Soft Light shows the actual effect.
Changing the Lip Color
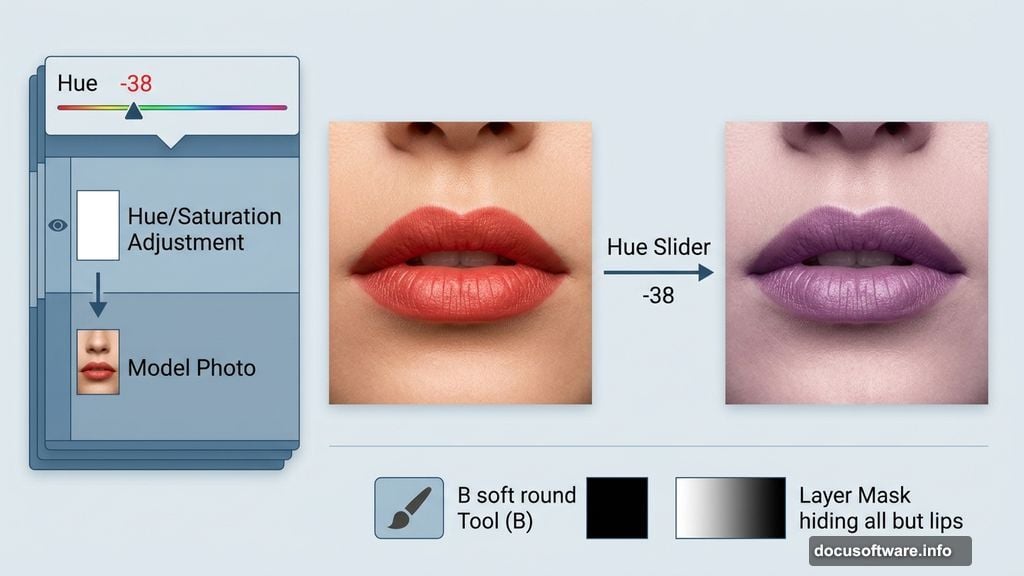
Go to Layer > New Adjustment Layer > Hue/Saturation and set it as a Clipping Mask. Drag the Hue slider for the Reds to -38. This shifts the lip color toward a cooler, more otherworldly tone.
Then select the Brush Tool (B) with a soft round brush and black color. Paint over the layer mask to hide the hue change everywhere except the lips. Take your time around the edges for a clean result.
Adding a Color Balance Adjustment
Create a Color Balance adjustment layer above the others. Adjust the Midtones and Highlights settings to push the model’s tones toward a cooler, more cinematic palette. This ties the model’s coloring into the sci-fi world you’re building around her.
Bringing in the Street Background
Open your street image and drag it onto the canvas. Convert it to a Smart Object, then go to Filter > Gaussian Blur and set the radius to 35 pixels. This blur creates depth, pushing the street visually behind the model.
The blurred background is a classic trick for making subjects pop. It mimics the shallow depth of field you’d see from a real camera lens.
Masking the Street Layer
Click the mask icon at the bottom of the Layers panel to add a layer mask. Use both soft and hard black brushes to reveal the model and her reflection through the glass elements in the scene.
Switch between brush hardness depending on what you’re masking. Soft brushes handle gradual transitions well. Hard brushes give you clean edges where the model meets the background.
Color Grading the Street Scene
Add a Color Balance adjustment layer and set it as a Clipping Mask to the street layer. Adjust the colors to complement your overall sci-fi tone. You want the street to feel like it belongs in the same world as your model, not like a separate photo pasted underneath.
This is where the composition starts feeling cohesive. A consistent color grade is the difference between a photo collage and a convincing scene.
Keep Building From Here
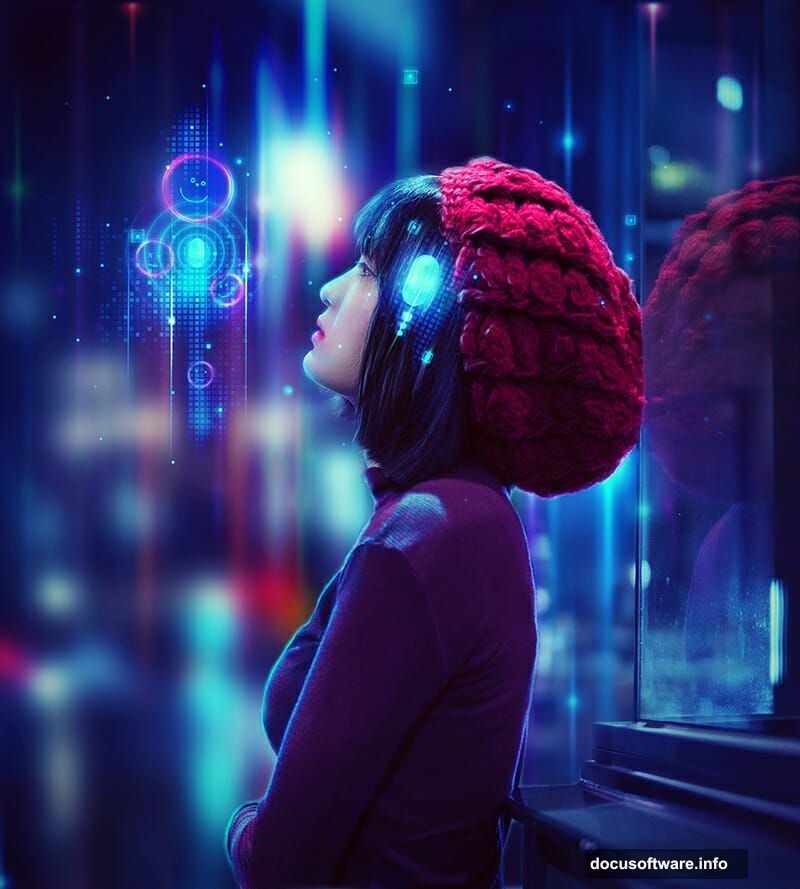
These first steps lay the foundation for the full effect. From here, you’ll add sci-fi background elements, paint in light reflections, and push the retouching further with additional adjustment layers.
The key thing to remember is that each step is reversible. Smart Objects, layer masks, and adjustment layers all give you room to experiment without fear. So if something doesn’t look right, you can always go back and tweak it without starting over.
Sci-fi portraits like this one reward patience. Each small refinement adds up, and by the time you’re done, you’ll have something that looks like it took a professional studio to produce.