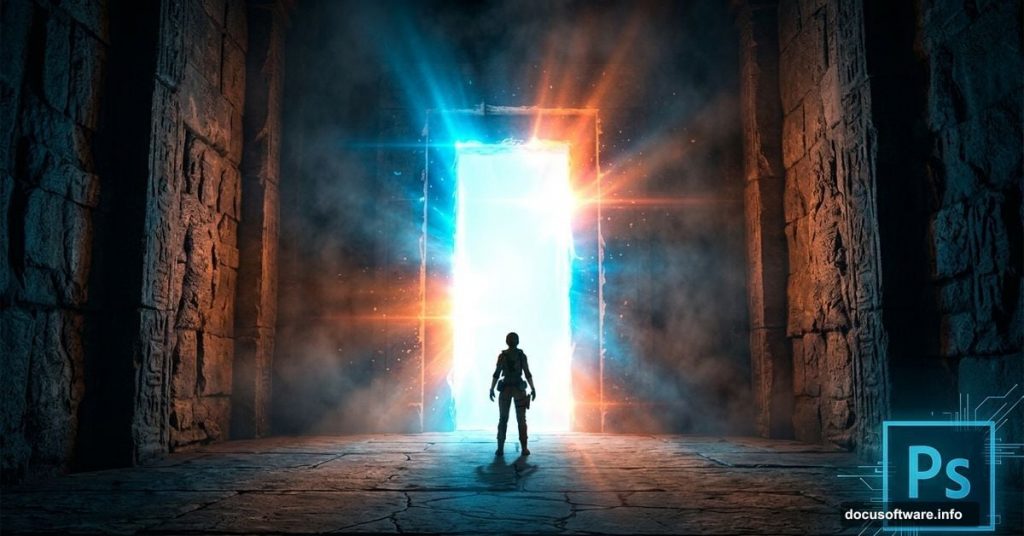
Creating dramatic sci-fi environments in Photoshop is one of those skills that looks incredibly complex but breaks down into manageable steps once you understand the process. This tutorial walks you through building a mysterious chamber complete with glowing light flares, a striking entrance, and a model placed inside the scene with realistic shadows and lighting.
By the end, you’ll have a polished photo manipulation that looks like it belongs in a science fiction film. Plus, you’ll pick up techniques that carry over to almost any composite work you do in the future.
What You’ll Build
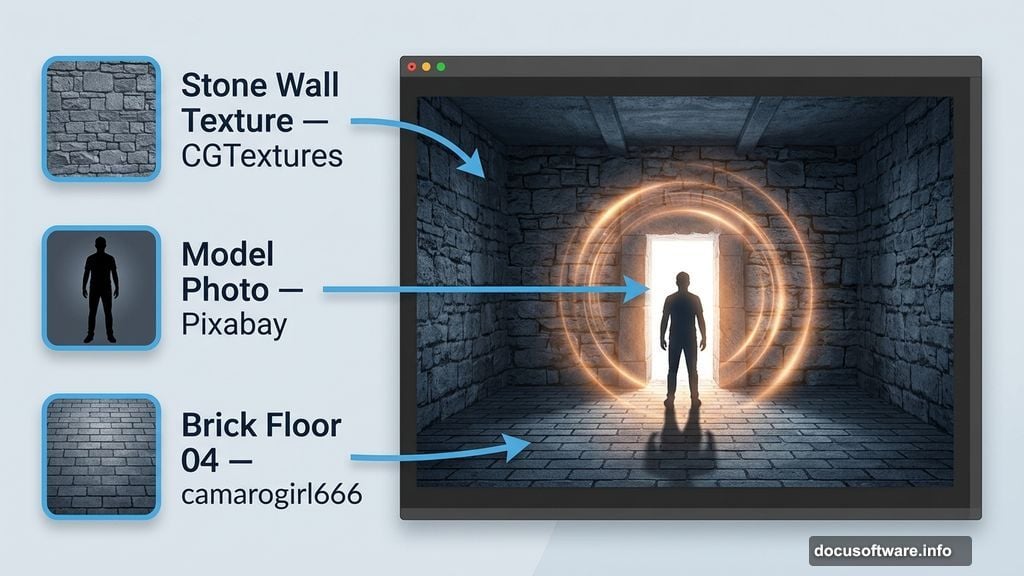
The final scene features a stone chamber with four walls built from scratch using simple color fills and the Pen tool. A model stands in front of a glowing entrance, surrounded by atmospheric light flares. Textures from free resources give the walls depth and realism.
The key techniques you’ll practice include masking, brush work, filter effects, color adjustments, and texture blending. You don’t need to be an advanced user to follow along. Adobe Photoshop CS3 or higher works perfectly for this project.

Grab your coffee. This one’s worth settling in for.
Resources You’ll Need Before Starting
Before opening Photoshop, download these free assets:
- A stone wall texture from CGTextures (now Textures.com)
- A model photo from Pixabay
- Brick Floor 04 by camarogirl666
- Passage in Duinos Castle I by brunilde stock
Having everything ready before you start saves a lot of back-and-forth later.
Step 1: Set Up Your Document and Base Color
Open Photoshop and create a new document using Ctrl+N. Set the dimensions to match the proportions shown in the tutorial reference screenshot.
Next, create your first new layer with Shift+Ctrl+N. Name this layer “solid color.” With that layer active, press Shift+F5 to open the Fill dialog. Choose a light brown color using the hex code #6a5c45. This warm tone becomes your base, setting the atmospheric mood for the entire scene.
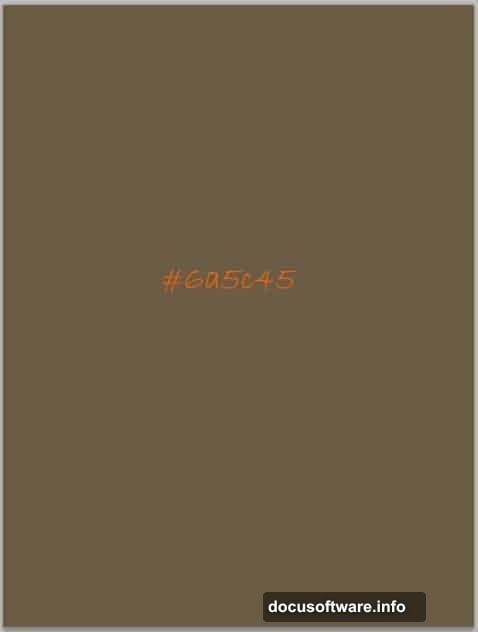
Think of this as painting the ambient light of an ancient, dimly lit room. Every layer you add above it will interact with this underlying warmth.
Step 2: Build the Right Wall with the Pen Tool
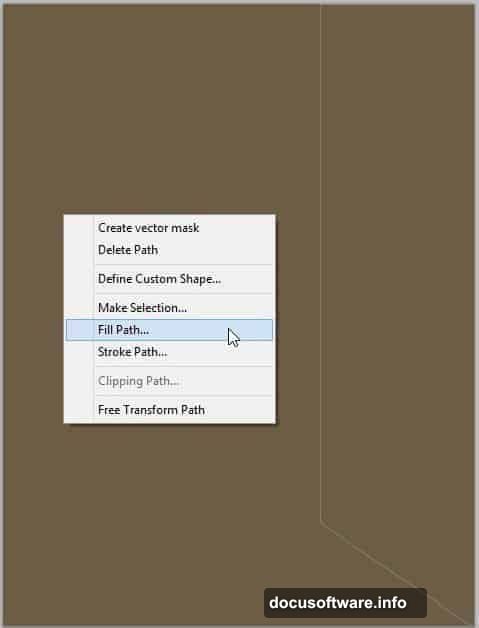
Create another new layer above your solid color layer. Grab the Pen tool by pressing P.
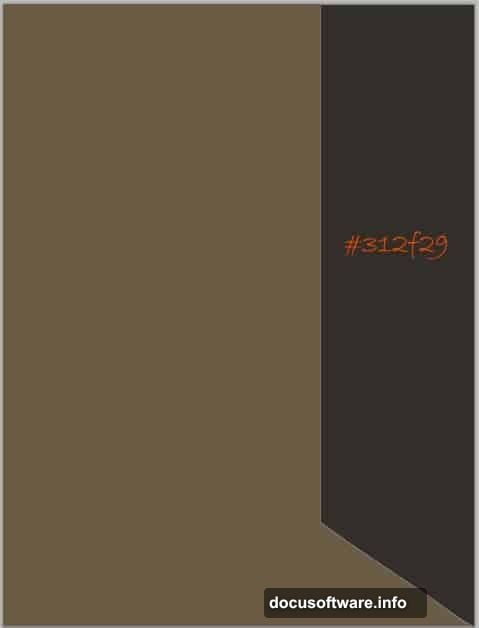
Draw a rectangular path representing the right wall of your chamber. The shape should feel like a wall panel viewed in slight perspective. Once your path is closed, right-click on the canvas to bring up the path options menu. Choose Fill Path and use the dark color #312f29. Then delete the path to keep your layers clean.
Name this layer “right.” That dark, cool tone contrasts nicely against the warm base, already suggesting depth in the scene.
Step 3: Build the Remaining Chamber Walls
Repeat the same process on three more new layers. Each layer gets a color-filled square path representing a different wall surface.
Name them “left,” “middle foreground,” and “left foreground.” Together, these four color blocks form the basic skeleton of your chamber. At this stage the scene looks abstract, almost like a geometric painting. That’s completely normal.
The magic happens when textures, lighting, and adjustments get layered on top. But getting the structure right first means everything else sits correctly in space.
Masking, Textures, and Bringing the Scene to Life
Once your four wall layers are in place, the real fun begins. Texture images get placed on top of each wall layer and clipped using clipping masks. This keeps textures contained within each wall shape without messy edges.
Apply textures using blending modes like Overlay or Multiply to let the underlying color show through. Soft light works beautifully for stone surfaces. Vary the opacity to control how strongly each texture reads.
For the floor, the Brick Floor 04 image adds gritty realism. Transform it using Ctrl+T and apply perspective distortion to make it recede convincingly into the scene.
Placing the Model and Creating Shadows
Cut out your model carefully using the Quick Selection tool or Pen tool, depending on edge complexity. Place her in front of the entrance area so she interacts with the light source.
Shadows are where many beginners get stuck. The simplest approach is creating a new layer beneath the model, then painting manually with a soft black brush at low opacity. Build the shadow gradually with multiple light strokes rather than one heavy pass. Keep the shadow direction consistent with where your main light source sits.
One helpful trick from the community: duplicate the model layer, desaturate it completely, then distort it flat using Transform. Set that layer to Overlay or Multiply at reduced opacity. Adjust until the shadow looks anchored and natural.
Light Flares and Color Grading
The sci-fi atmosphere really clicks into place once you add light flares and color adjustments. Use Brightness/Contrast adjustment layers to push highlights near the entrance. Add a warm Color Balance or Photo Filter adjustment layer to unify the whole scene under consistent ambient light.
For flares, lens flare effects work through the Filter menu under Render. Create them on a separate layer filled with black, then set that layer to Screen mode. The black disappears and only the flare light shows. This gives you full control to move and scale the flare without destructively affecting other layers.
Color grading ties everything together. A subtle Curves adjustment pulling the shadows slightly warm and lifting the highlights toward cool blue creates that distinctive sci-fi look. Small tweaks make a huge difference at this stage.
Building this scene from four colored rectangles into a full atmospheric photo manipulation shows how powerful layering and blending can be. Each technique here, from pen tool paths to shadow painting to blending mode tricks, applies directly to future composites you attempt.
Start with the structure. Build your layers carefully. Then trust the textures and light to do the heavy lifting.