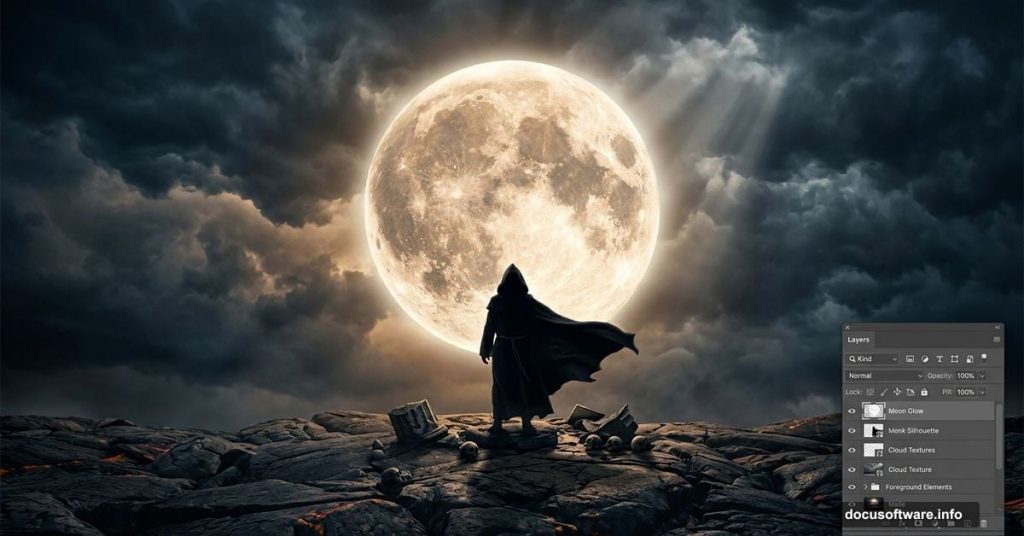
So you want to create something that looks genuinely cinematic and dramatic in Photoshop. A cloaked monk standing on a stormy, stony landscape with moody lighting and a glowing moon sounds complex. But this step-by-step tutorial breaks the whole process down into manageable chunks anyone can follow.
You’ll need Photoshop CS5 or newer to get started. Plus, grab these free stock resources before you begin: a moon photo from rgbstock.com, battlefield sky from missstark, solidified lava texture from castock, skull images from elevit stock, a robed monk figure from peace of art, and debris brush sets from both peace of art and dacmaniac.
Setting Up Your Canvas
First things first. Open Photoshop and create a new file at 1828 x 1332 pixels. Go to File > New (or press Ctrl+N) to get started.
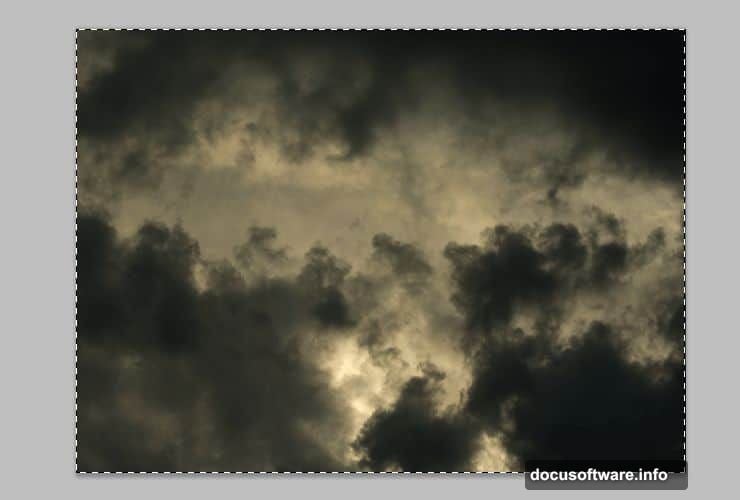
Now place your sky stock photo onto the canvas. Simply drag it from your folder and drop it directly into Photoshop. This forms the foundation of your whole composition, so position it carefully.
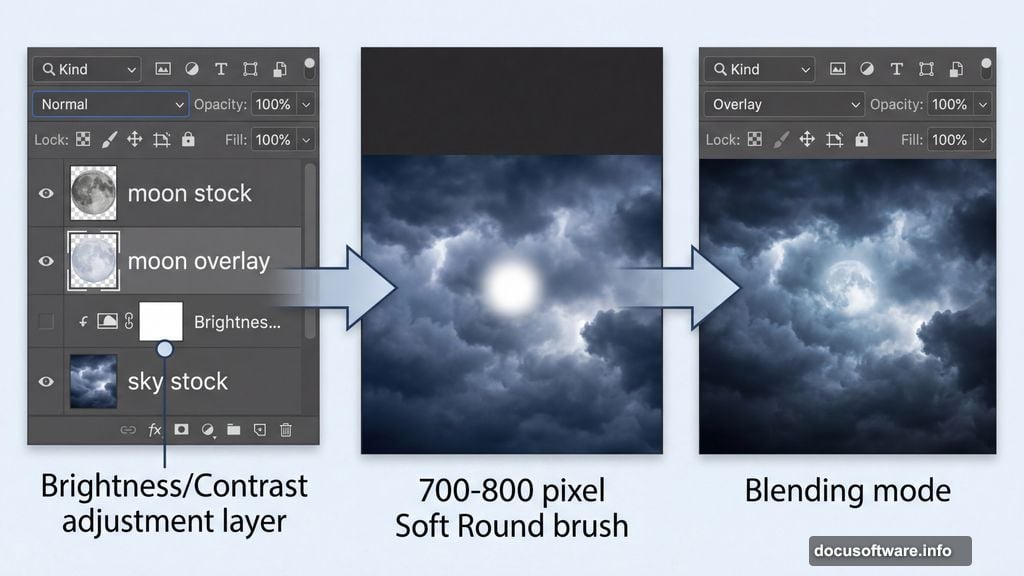
Next, add a Brightness/Contrast adjustment layer. Go to Layer > New Adjustment Layer > Brightness/Contrast from the top menu. This lets you start shaping the mood right away without permanently altering your original sky image.
Creating the Glow Behind the Moon
Here’s where things get interesting. Add a brand new blank layer by pressing the New Layer shortcut or going to Layer > New > Layer. Name it “moon overlay” so you can find it easily later.
Select your Brush tool and choose a Soft Round brush set to around 700-800 pixels. Pick white as your foreground color, then paint a single soft dot exactly where you plan to place the moon stock. Think of it as painting a glow before the actual moon arrives.
Change that layer’s blending mode to Overlay. This brightens the sky beneath your painted dot without altering the natural shape of the clouds. It’s a simple trick that makes your moon feel truly embedded in the scene rather than pasted on top.
Placing and Blending the Moon
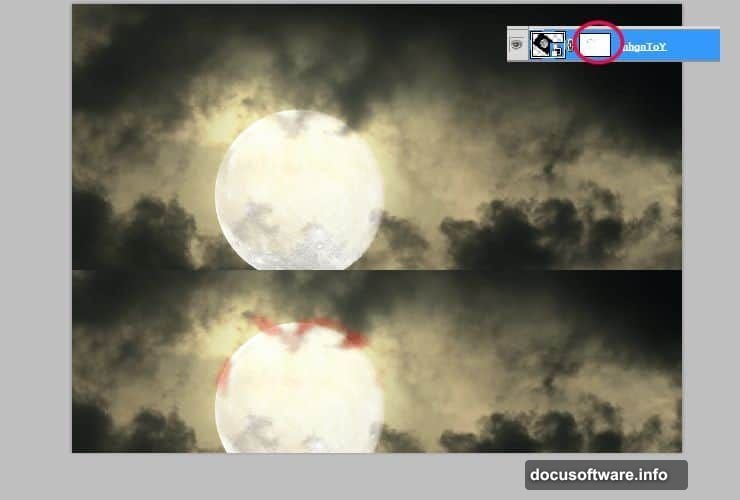
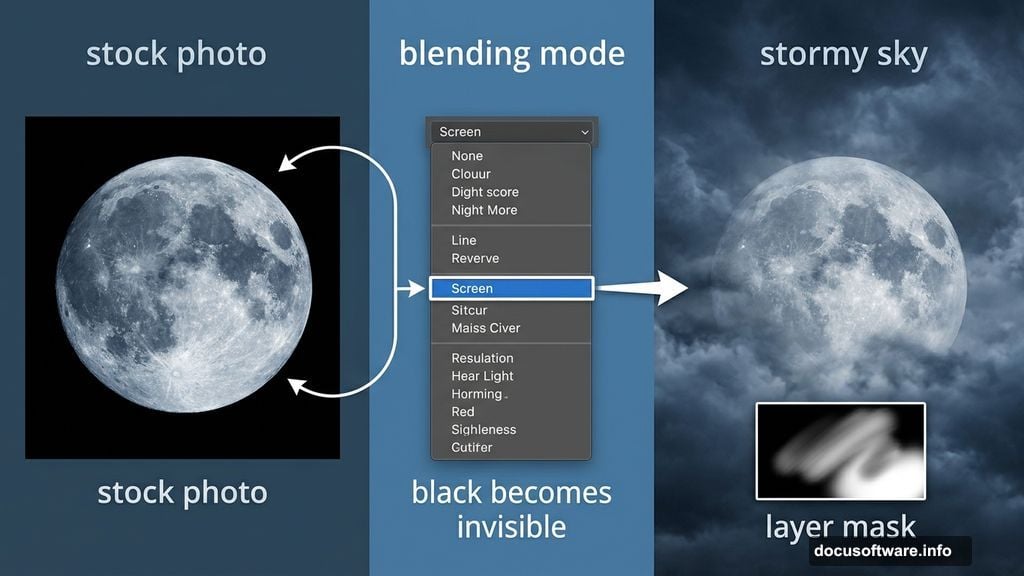
Place your moon stock image onto the canvas. Then change its blending mode to Screen. In Screen mode, all the black areas of the stock photo become completely invisible. Only the lighter parts of the moon show through, which creates a natural, seamless blend with the sky behind it.
If the moon overlaps some clouds awkwardly, add a layer mask by clicking the mask icon next to the layer thumbnail. Then use a small, soft round brush to gently erase the parts of the moon that should sit behind the clouds. This adds real depth and makes the scene feel three-dimensional.
Fine-Tuning Moon Color and Brightness
Now add a Brightness/Contrast adjustment layer clipped directly to the moon. Go to Layer > New Adjustment Layer > Brightness/Contrast, then press Alt+Ctrl+G to make it a clipping mask. Clipping it means the adjustment only affects the moon layer beneath it, not everything else.
Do the same thing with a Hue/Saturation adjustment layer. Go to Layer > New Adjustment Layer > Hue/Saturation, then clip it to the moon using the same Alt+Ctrl+G shortcut. This gives you precise control over the moon’s color tone. Shifting it slightly cooler or warmer can dramatically change the emotional feel of the whole piece.
Duplicating the Moon Overlay
Go back to that “moon overlay” layer you created earlier. Duplicate it by dragging it onto the New Layer icon, or go to Layer > Duplicate Layer from the top menu. Drag this duplicate above all other layers in your stack.
Then drop its opacity down to around 60%. This softened second overlay adds a subtle extra luminosity around the moon without overwhelming the scene. Together with the first overlay, it creates a convincing atmospheric halo that feels like actual moonlight bleeding through clouds.
Building the Ground and Adding Skull Details

With the sky established, bring in your lava stone texture to build the ground plane. Place it on a new layer and position it in the lower portion of the composition. Adjust its perspective so it recedes naturally into the background.
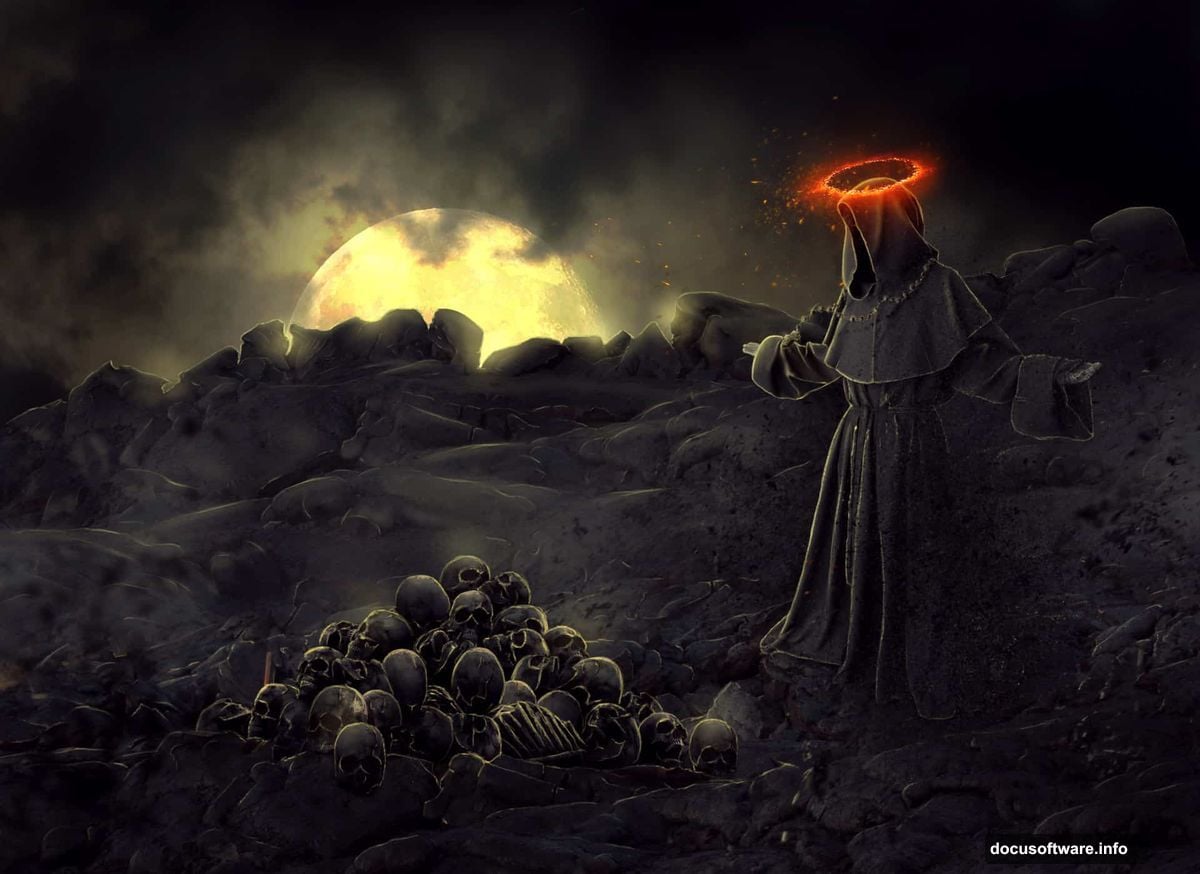
Then bring in the skull stock images to add dark, narrative details to the ground surface. Use adjustment layers clipped to each element to match their brightness and color temperature to your sky. Consistency here is what separates a polished composite from a rushed one.
Placing the Monk Figure
Place your robed monk stock image roughly in the center of the composition. This character anchors everything and gives the viewer’s eye a clear focal point. Scale and position him so he feels grounded on the stone surface rather than floating.
Clip a Brightness/Contrast and a Hue/Saturation adjustment layer to the monk figure, just like you did with the moon. Pull his highlights and shadows to match the directional light coming from your moon. The goal is for the light to feel like it’s hitting him from the same source as everything else in the scene.
Adding Depth With Color Grading
Now step back and look at the whole composition. At this stage, color grading brings all your elements into one cohesive world.
Add a global Hue/Saturation adjustment layer at the top of your layer stack. Reduce the overall saturation slightly to push the image toward a desaturated, bleak look. Then add a Color Balance or Gradient Map layer to introduce a subtle cool blue tone in the shadows and a warm amber in the highlights. This split toning technique is common in dark fantasy composites and instantly elevates the mood.
Drawing the Rosary and Cross
This is one of the most satisfying parts of the tutorial. You’ll draw simple items by hand directly in Photoshop rather than sourcing stock.
Create a new layer for the rosary. Use a small, hard round brush to paint a series of small oval beads along a curved path. Then paint a thin line connecting them. For the cross, use a rectangular selection filled with a dark gray, then duplicate and rotate it 90 degrees to form the crossbar. Add a subtle layer style with a soft inner shadow and bevel to give it dimension.
These hand-drawn elements add a personal touch that stock photos simply can’t replicate.
Controlling Particles With Debris Brushes
Load the debris brush sets from both peace of art and dacmaniac. Create a new layer above most of your elements. Set your brush color to a pale gray or off-white, and begin adding scattered particle debris across the scene. Vary your brush size and opacity with each stroke to create natural, organic-looking particle movement.
Think of the particles as dust or ash being carried by wind. Cluster them more densely near the ground and let them thin out toward the sky. Adding a slight Gaussian blur to this layer makes particles in the foreground feel closer while those in the background stay soft. The result is real depth and atmosphere.
Final Adjustments and Sharpening
Add a Curves adjustment layer at the very top of your stack. Pull the shadows down slightly and lift the highlights just a touch to increase contrast across the full image. Then add a Photo Filter adjustment layer set to a deep blue or cyan tone at around 15-20% density to unify the cool palette.
Finally, flatten a test copy of your image and run a gentle Unsharp Mask under Filter > Sharpen > Unsharp Mask. Use a low amount like 30-40% with a radius of 1 pixel. This adds just enough crispness to make the final piece feel sharp and professionally finished.
Creating a dark monk photo manipulation like this teaches you far more than just Photoshop techniques. It trains your eye to see how light, color, and composition work together to tell a story. Every layer decision you make contributes to the emotional impact of the final image.
Once you’re comfortable with this workflow, try pushing the concept further. Experiment with different weather effects, swap the landscape, or add fog using a soft white brush at low opacity. The more you play, the faster your skills develop.