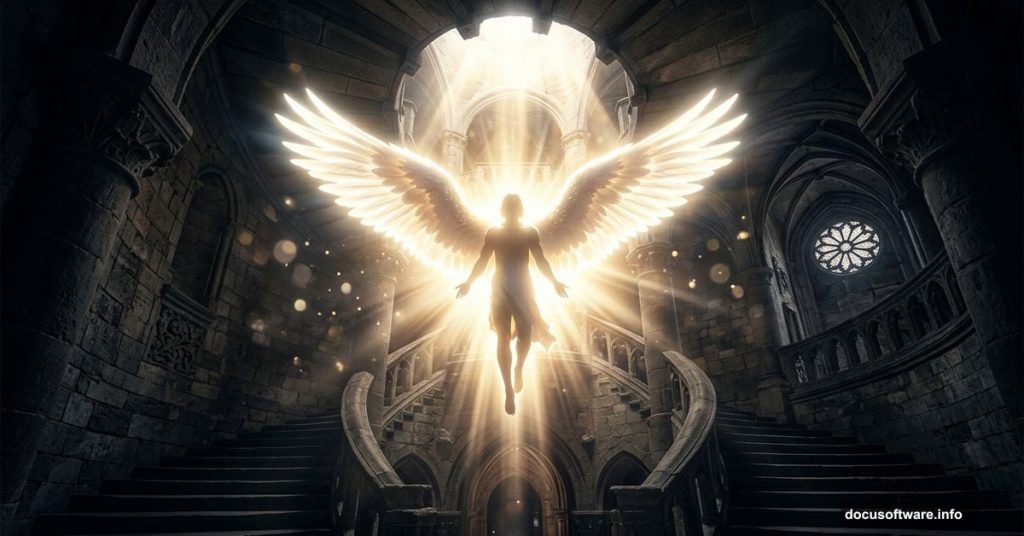
Photo manipulation is one of the most rewarding things you can do in Photoshop. You start with a handful of separate images and end up with something that feels completely real. This tutorial walks you through creating a breathtaking scene of an angel ascending from inside a castle, complete with heavenly light, ambient glow, and a dreamy soft-focus finish.
Even if you’re fairly new to Photoshop, this project is very approachable. The steps are logical, and each one builds naturally on the last. So grab your assets and let’s get started.
What You’ll Need Before You Start
First, download all the resources listed below. Having everything ready before you open Photoshop saves a lot of back-and-forth later.
- Nightstock 701 by Nightstock
- Nightstock 262-float by Wolfcatstock
- HQ Angel Wings Render by ~Requiem-K
- 394 Look Up by Wolfcatstock
- Winter Snowflake Brushes PS7 by KeepWaiting
Also, make sure you’re running a version of Photoshop that supports the Transform and Curves tools. Photoshop CS6 and newer all work perfectly for this project.
Setting Up Your Canvas
Start fresh with a new document. Go to File > New and enter these exact settings:
- Preset: Custom
- Width: 2480 pixels
- Height: 3508 pixels
- Resolution: 300 pixels per inch
- Color Mode: RGB Color
- Background Contents: Transparent
These dimensions give you a print-ready, high-resolution canvas. That 300 PPI resolution matters if you ever want to print the final piece. Plus, working large gives you more flexibility when scaling and repositioning elements later.
Building the Castle Stairway
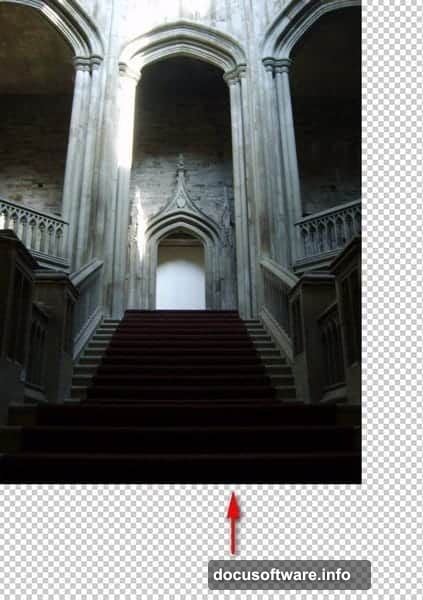
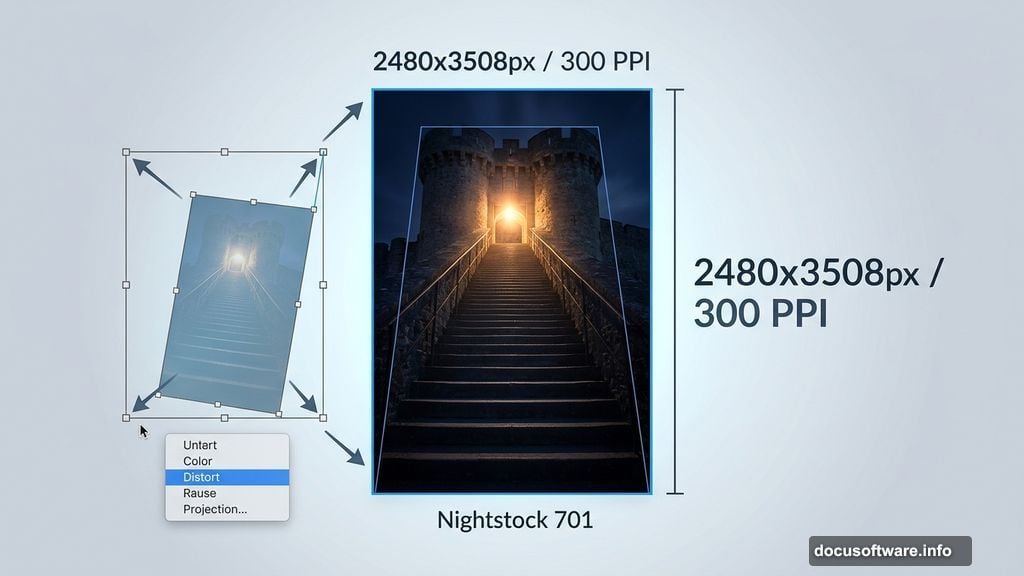
Now comes the fun part. Open Nightstock 701 and press V to activate the Move Tool. Drag the image directly onto your canvas and position it so the stairway fills the lower portion of the frame. You want the architectural detail centered and prominent.
Next, press Ctrl/Cmd + T to bring up the Transform tool. You’ll see small squares appear around the edges of the image. Drag those handles to resize the photo until it fills the canvas properly. Don’t worry about perfection yet. You’ll refine the angle in the next step.
Adjusting the Perspective with Distort
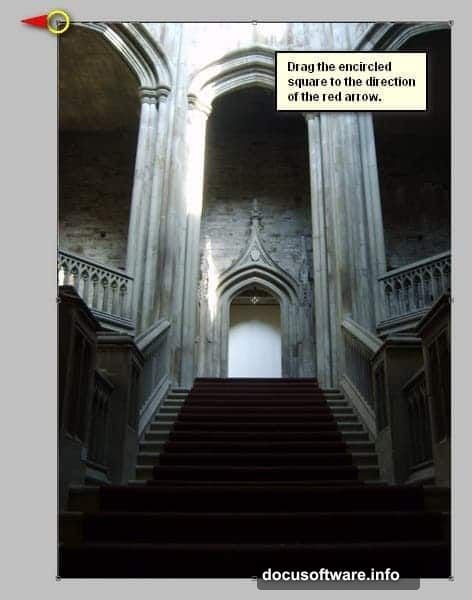
Once your image is roughly the right size, press Ctrl/Cmd + T again to re-enter Transform mode. This time, right-click directly on the canvas. A small contextual menu appears. Click Distort.
The Distort option lets you drag individual corner points independently. This is different from a standard resize, which keeps everything proportional. Use this to tilt and angle the stairway image so it feels like you’re looking up from below, toward a light source above. That dramatic upward perspective sets the entire mood of the composition.
Correcting the Lighting with Curves
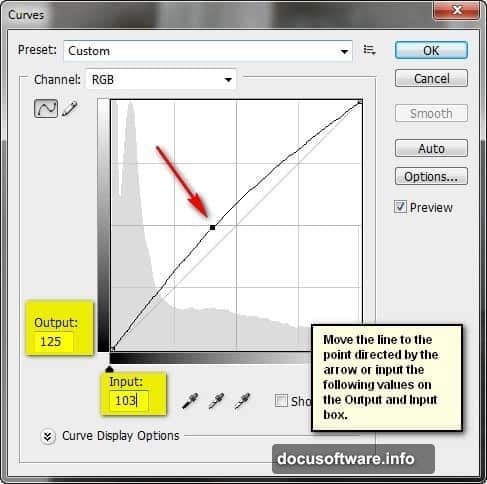
The stock photo probably looks a bit flat right now. That’s where the Curves adjustment tool comes in. Select your stairway layer and press Ctrl/Cmd + M to open Curves.
You’re working in the RGB channel here. Drag the curve line to these values:
- Output: 125
- Input: 103
This subtle adjustment brightens the midtones without blowing out the highlights. The result is a warmer, slightly lifted exposure that makes the stone walls feel lit from above. Think of it as the first hint of that heavenly light you’ll build out later in the tutorial.
Keeping Things Organized
Before moving on, take a moment to group your layers. Select everything you’ve created so far and press Ctrl/Cmd + G to bundle them into a group. Then double-click on the group name in the Layers panel and rename it Background.
This sounds like a small thing. But trust me, by the time you’re blending wings, figures, and light effects together, a well-organized Layers panel saves enormous amounts of frustration. Good habits early make complex projects manageable.
What Comes Next
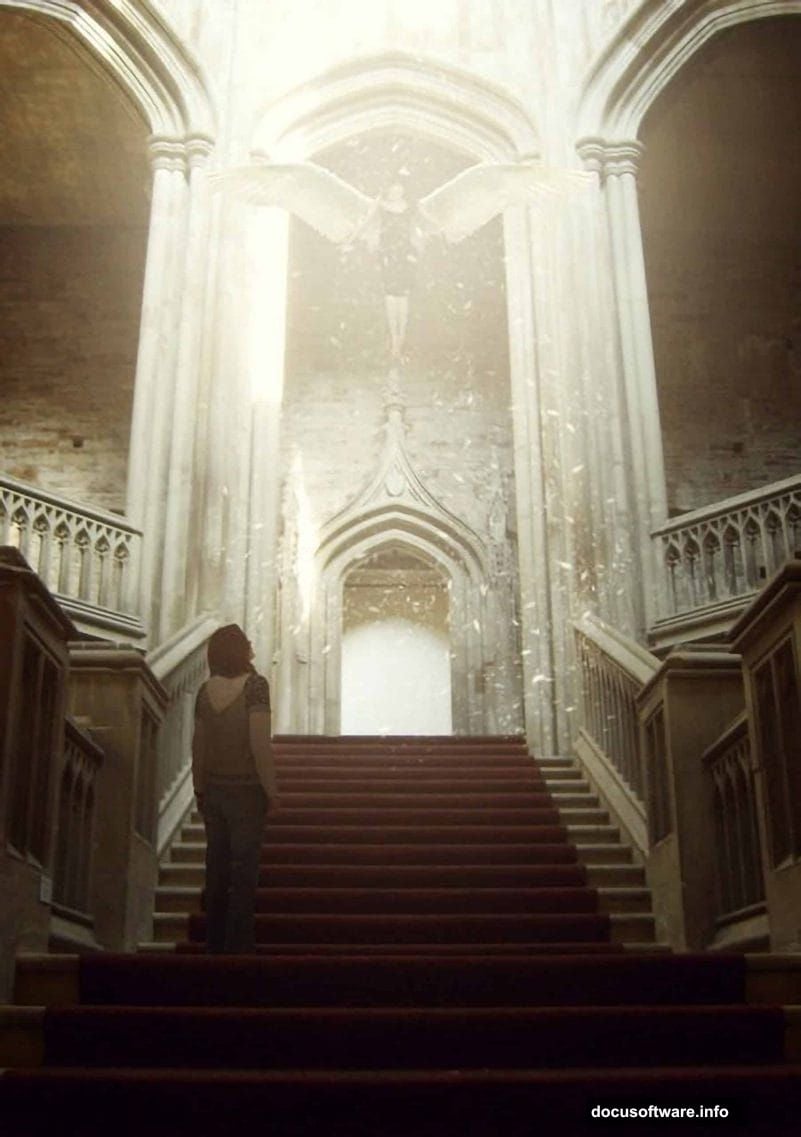
You’ve now laid the foundation of the entire composition. The castle stairway is in place, the perspective feels right, and the lighting has been nudged toward something ethereal. From here, the tutorial continues with adding the floating figure, attaching the angel wings, building out the heavenly light rays, and finishing with a soft-focus photo effect that ties every element together.
Each of those steps follows the same approach: import an asset, position it, transform it to fit, and adjust its lighting to match the scene. Once you understand that rhythm, the whole process starts to feel intuitive.
The final result is genuinely striking. Several people who completed this tutorial mentioned they were surprised by how professional it looked, even on their first attempt. One commenter had only been using Photoshop CS6 for a week and pulled it off successfully. So if you’re still building your skills, don’t let the scope of the project intimidate you.
Take it one step at a time, group your layers as you go, and enjoy the process. Creating something this atmospheric from scratch is exactly why Photoshop photo manipulation is so satisfying.