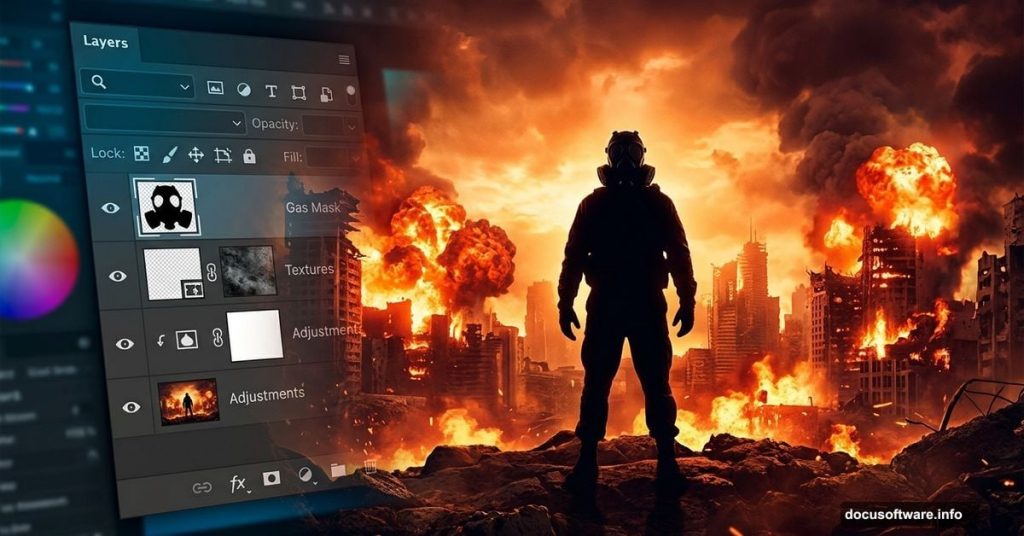
Ever looked at those dramatic post-apocalyptic movie posters and wondered how they pull off that intense, fiery atmosphere? The good news is you can create something just as striking right in Photoshop. This photo manipulation tutorial by Andrea García walks you through building a full city war scene, complete with flames, a gas mask model, and a moody warm color grade.
You’ll composite several stock photos together, blend fire and explosions realistically, and finish with a cinematic color effect that ties everything together. Let’s dig in.
What You Need Before Starting
First, gather your stock resources. This scene uses quite a few separate images, so having them organized before you begin saves a lot of headache later.
Here’s your resource list:
- Wall texture (Faestock)
- Model photo (mjranum-stock)
- City background (joanielynn)
- Gas mask (Valentinakallias)
- Bullets (August-girl)
- Radioactive sign (Fantasystock)
- Sign stick (Wolfc-stock)
- Sky photo (Somadjinn)
- Crack brushes (Funerals0ng)
- Fire image (Creativenature-stock)
- Second fire image (Noobist)
- Explosion (Joeycool10)
- Sign fire (Meihua-stock)
- Wall texture (Falln-stock)
- Radioactive symbol (Johanvts)
Once everything is downloaded and sorted, open Photoshop and create a new canvas. Set the width to 1200px and the height to 1700px. That tall portrait format gives plenty of room for the vertical city composition.
Building the Base Layer
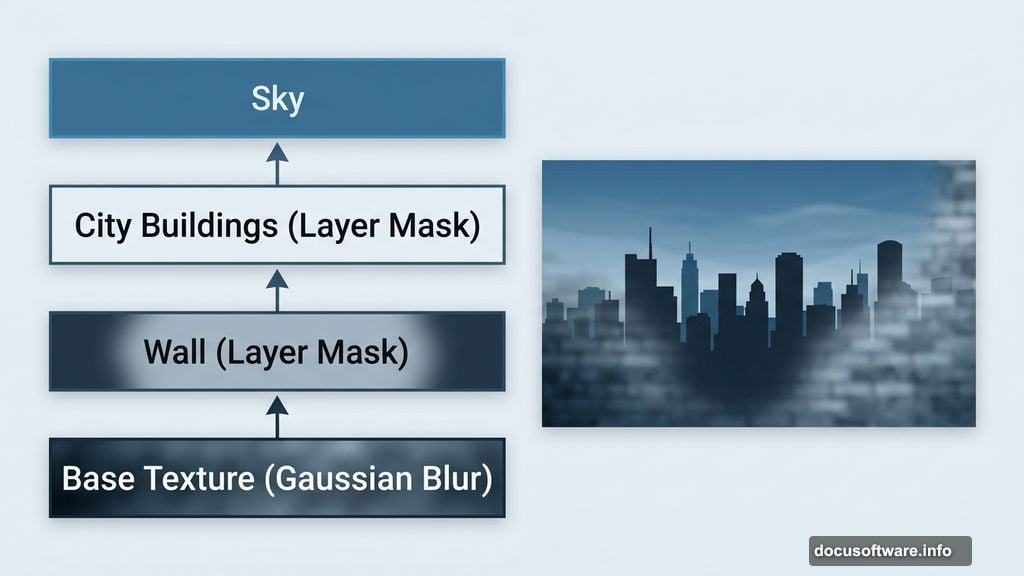
Every good photo manipulation starts with a solid foundation. This scene uses a texture image as the base, sitting at the very bottom of your layer stack.
Place your base texture onto the canvas. Then go to Filter, choose Blur, and select Gaussian Blur. Apply a moderate blur to soften it. You want this layer to read as a background atmosphere rather than a sharp texture competing with your foreground elements.
Think of this base as the “mood floor” of your scene. It sets a subtle tonal foundation without demanding attention.
Adding the Wall and City
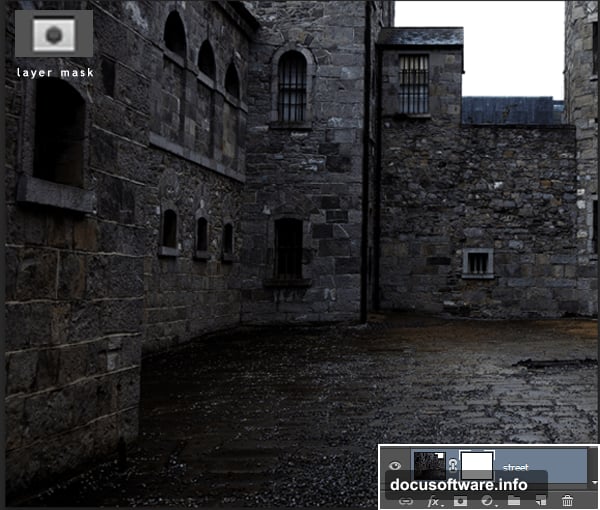
Now the compositing begins. Place the street wall image onto the canvas and add a layer mask. You can find the layer mask button at the bottom of the Layers panel, it looks like a small rectangle with a circle inside.
Select a soft round black brush and paint over the layer mask to hide the parts you don’t need. Focus on cleaning up the edges of the wall. It doesn’t need to be pixel-perfect at this stage. You’re just roughing in the placement.
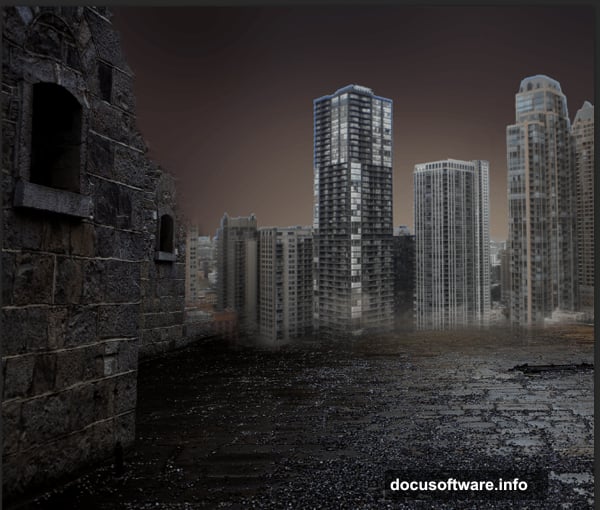
Next, open your city image and position it above the wall layer. Create another layer mask and hide everything except the buildings. The Lasso Tool works great here for making a rough selection first, then you can refine the edges with the black brush to blend things smoothly.
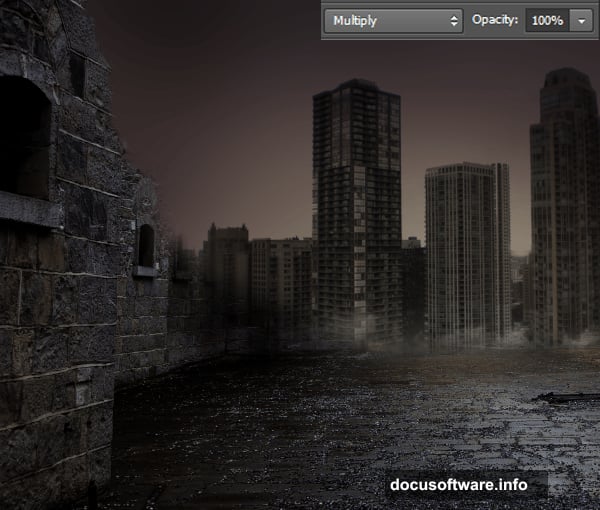
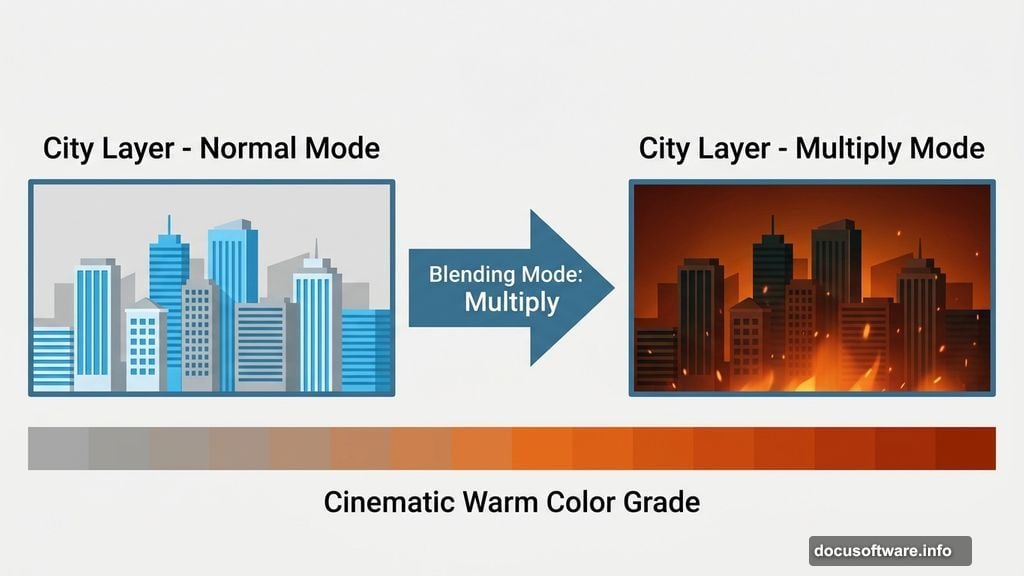
Once the buildings look right, change that city layer’s blending mode from Normal to Multiply. This blends the layer into the scene and darkens it naturally, making it feel grounded rather than pasted on top.
Setting the Sky
Place your sky image above the city layers. Change its blending mode to Soft Light. This lets the sky influence the overall color and brightness of the scene without completely overpowering the buildings beneath it.
Soft Light is one of the most useful blending modes for photo manipulation. It adds atmosphere and light while keeping the layers below partially visible.
Adding Depth With Shadow Painting
Here’s a step that separates flat composites from convincing ones. Create a new layer with Ctrl+Shift+N and set it to Soft Light mode.
Grab a soft round black brush and paint along the upper edges of the buildings and sky area. You’re essentially hand-painting a darkening gradient to push the top of the scene into shadow. This creates depth and makes the fire lighting you’ll add next feel more dramatic by contrast.
If you have a drawing tablet, set your brush opacity to pen pressure for more natural control. Without a tablet, around 40% opacity with multiple passes works just as well.
Bringing in the Fire and Flames
This is where the scene really comes alive. Place your first fire image onto the canvas and set the blending mode to Soft Light. Drop the opacity to 60% and the fill to 50%.
At this stage, the fire layer isn’t meant to look like literal flames. Instead, it’s creating the warm orange glow and lighting that fire would cast across a city. So go ahead and apply a Gaussian Blur at about 50px radius. That soft glow effect is exactly what you want here.
For the actual visible flames, add your second fire image on a new layer. Attach a layer mask and carefully paint away the hard edges so the fire blends naturally into the scene. Crisp edges on fire always look fake, so take your time with this step.