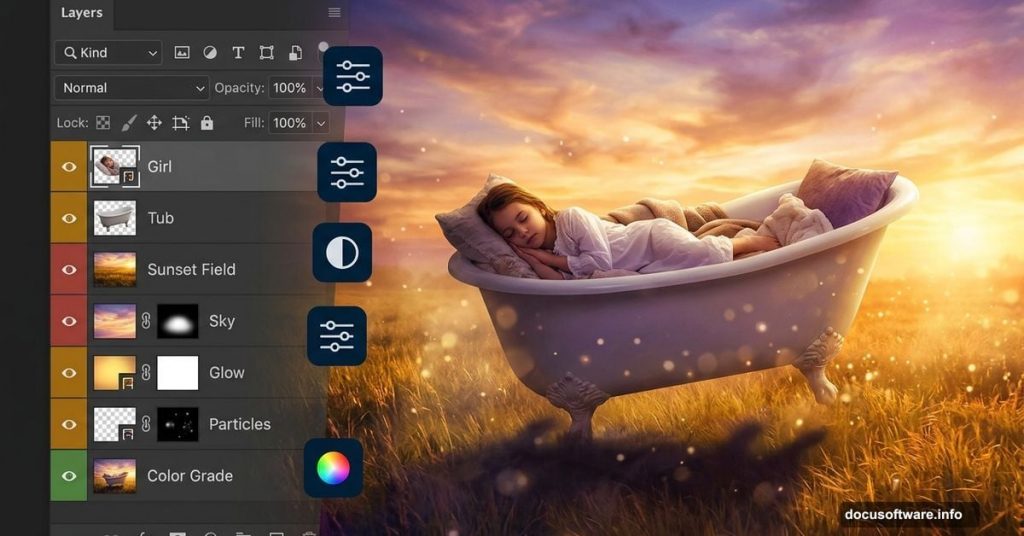
Photo manipulation is one of the most exciting things you can do in Photoshop. You start with a handful of separate images and end up with something that looks like it came straight out of a fairy tale.
This tutorial walks you through creating a surreal, dreamlike scene — a girl sleeping peacefully in a bathtub, set against a sweeping open field at sunset. It sounds ambitious, but the steps are totally manageable, even if you’re still getting comfortable with Photoshop.
Here’s what you’ll learn along the way, and why each skill matters.
Stock Photo Selection and Canvas Setup
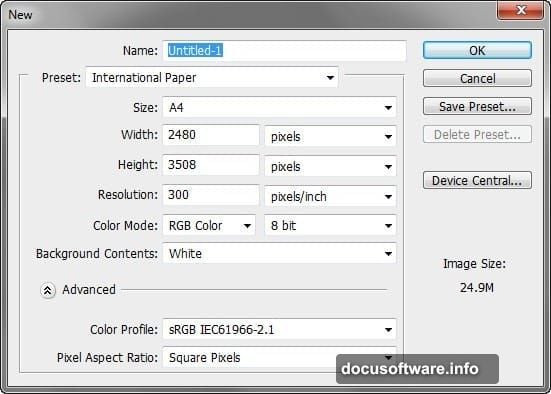
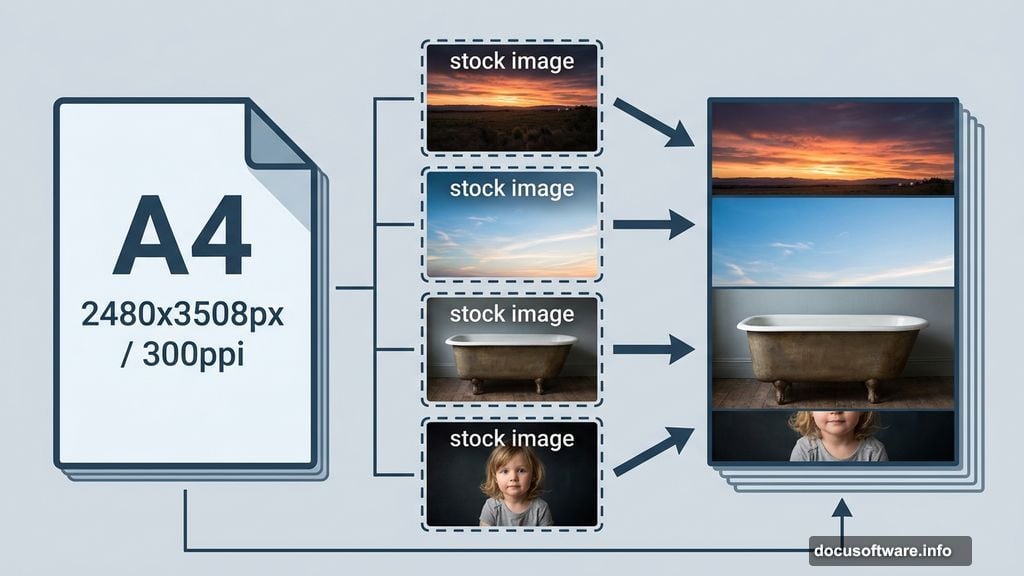
Before any manipulation magic happens, you need the right foundation. This project starts by creating a new document with very specific settings — A4 size at 2480 x 3508 pixels and 300 pixels per inch resolution.
Why does resolution matter? Because 300 ppi gives you a print-quality result. So if you ever want to display this piece physically, it’ll look sharp and clean rather than pixelated.
For stock images, this tutorial uses four resources: a landscape photo, a sky image, an antique bathtub shot, and a photo of a child. One note worth knowing — night-fate-stock has officially closed, so alternative links are provided for those particular images.
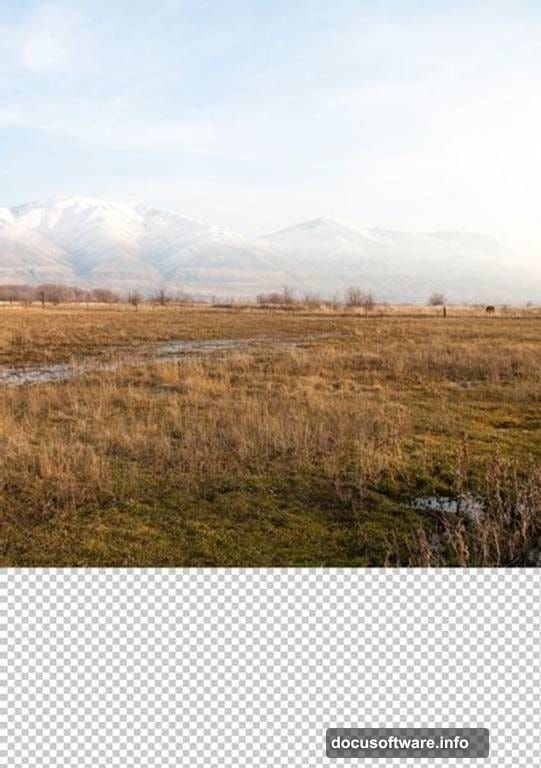
Building the Background with the Move Tool
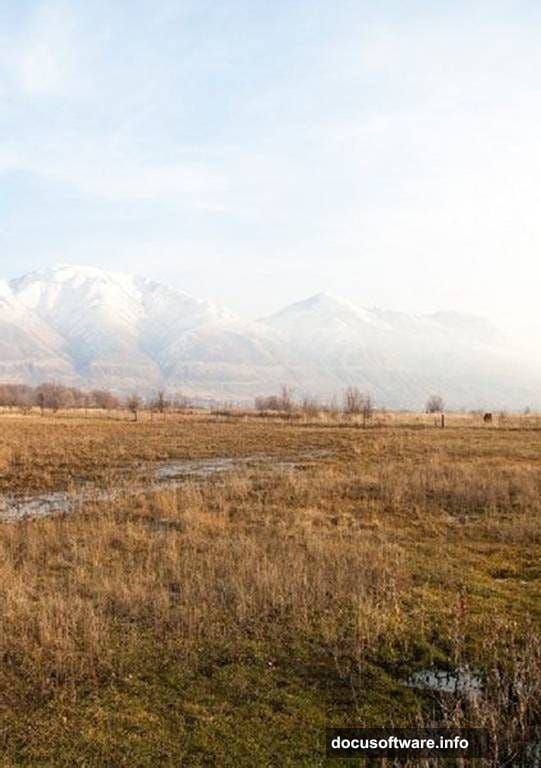
First up is the ground layer. You open the landscape stock photo and drag it onto your canvas using the Move tool, which you activate simply by pressing V on your keyboard.
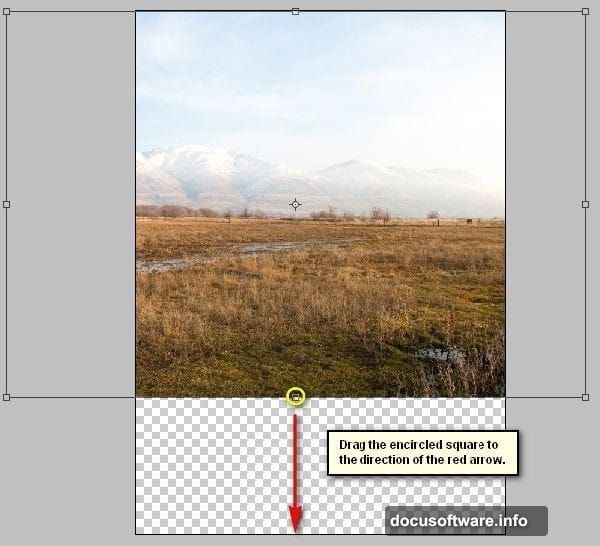
Then comes resizing. Pressing Ctrl or Cmd + T activates the Transform tool, which lets you scale the image to fit the canvas properly. This is one of those foundational Photoshop skills you’ll use constantly.
But here’s an interesting wrinkle — the landscape in the source photo comes out slightly distorted. So instead of just scaling, you also need to rotate it. Right-clicking while the Transform tool is active brings up a contextual menu where Rotate is one of the options. That small fix makes a big difference in how natural the final scene looks.
Light, Shadow, and the Brush Tool
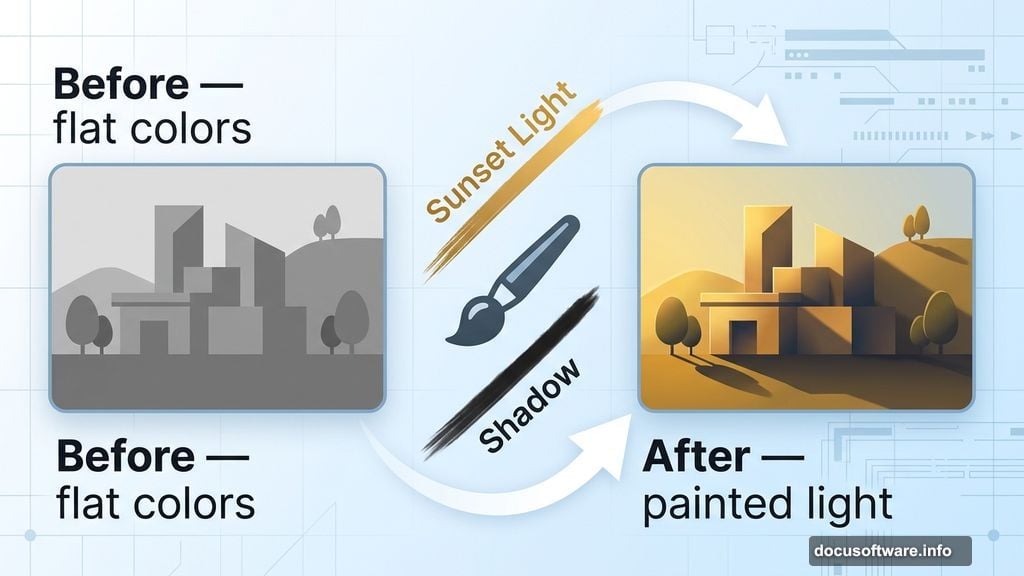
One of the most valuable skills this tutorial teaches is using the Brush tool to paint realistic light and shadows manually. This is what separates a convincing photo composite from one that looks obviously pieced together.
Natural light has direction. At sunset, shadows fall long and soft in one direction, and warm golden tones hit surfaces from a specific angle. Learning to replicate that by hand gives you serious creative control over any future project.
Plus, painting shadows yourself means you’re not dependent on the original lighting conditions in your stock photos. You can blend images shot under completely different light and still make them feel like they belong together.
Making Colors Pop with Vivid Adjustments
Raw stock photos often look flat when you combine them. Colors don’t match, contrast levels differ, and the overall scene feels disconnected.
This tutorial covers color vibrancy techniques that help unify the whole composition. The goal is making every element — the field, the sky, the bathtub, the child — feel like they exist in the same warm, golden-hour world.
These color techniques apply far beyond this single project. Once you understand how to push and match colors across layers, you can create any mood you want in your composites.
Perspective and Viewer Placement
Here’s something clever this tutorial focuses on — creating the impression that the viewer is standing slightly above and looking down at a lower object.
That perspective shift is subtle, but it completely changes how the scene feels. It makes the tub feel nestled into the landscape rather than just sitting on top of it. And it gives the composition a voyeuristic, intimate quality that fits the dreamy theme perfectly.
Achieving this involves careful positioning and scaling of elements relative to each other. It’s the kind of detail that most beginners overlook, but it’s exactly what makes experienced Photoshop artists’ work feel so polished.
Dreamy Blur and Sharpening Effects
The finishing touches involve a combination of blur and sharpening. That might sound contradictory, but it’s a classic technique for creating a dreamy, soft-focus look.
Selectively blurring the background pushes it further away visually. Then sharpening the main subject — the girl in the tub — pulls her forward and keeps focus where it belongs. The result feels like a photograph taken with a wide-aperture lens, where the background melts softly out of focus.
Together, these tools create that magical, storybook quality that makes photo manipulations like this one so captivating to look at.
What makes this particular Photoshop tutorial stand out is how many genuinely useful skills it packs into one project. You’re not just learning to cut out a subject or change a background. You’re learning to think about light, perspective, color harmony, and visual storytelling all at once.
If you work through this step by step, you’ll come away with both a beautiful finished piece and a toolkit of techniques you can apply to your own creative ideas. That combination of practical skill-building and creative payoff is what makes photo manipulation projects like this one so worth the effort.