Photo manipulation is one of the most satisfying things you can do in Photoshop. You start with a handful of separate photos, and by the end, you’ve created something that feels completely real and emotionally powerful.
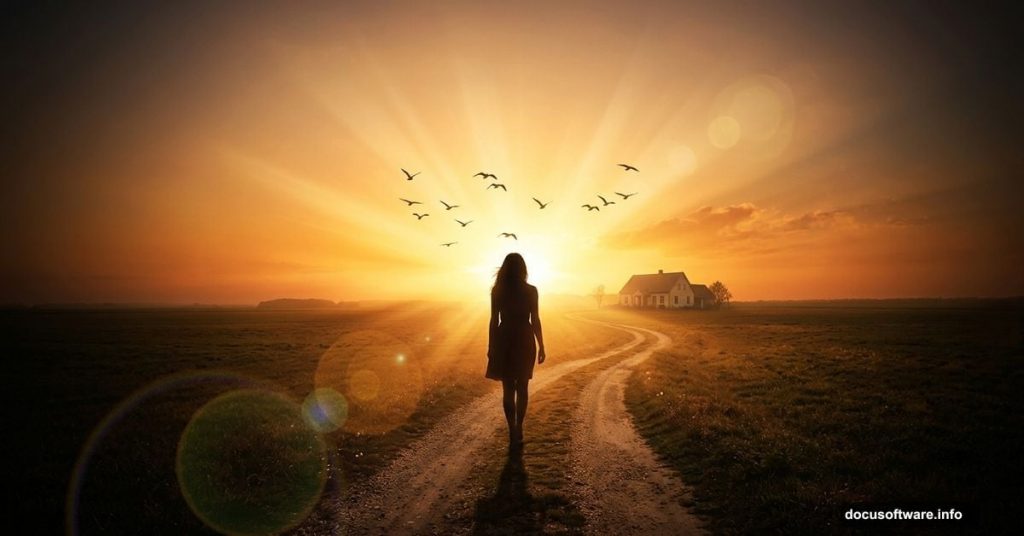
This tutorial walks you through building a beautiful sunrise scene featuring a girl coming home. Think golden light, open fields, a distant house, and that perfect quiet mood you get just after dawn. You’ll combine multiple stock images, add adjustment layers, paint light effects, and finish with birds in the sky.
Ready to build something beautiful? Let’s get into it.
Setting Up Your Photoshop Document
Start fresh with a new document. Set it to 2500×1600 pixels and fill the background with white.
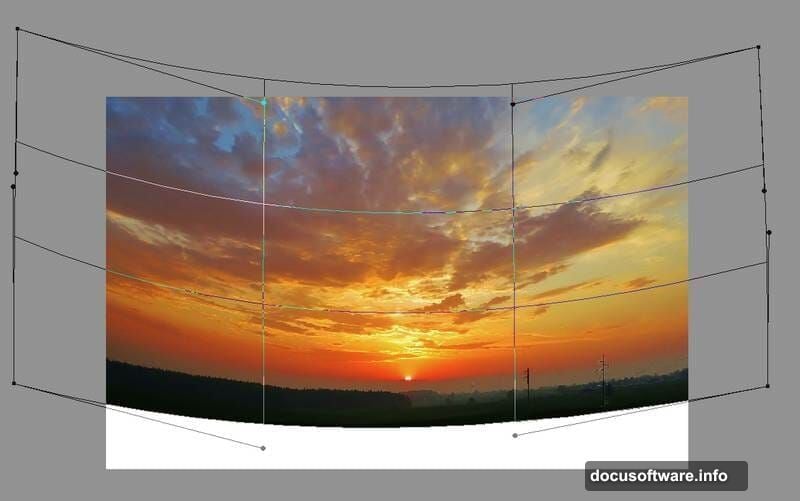
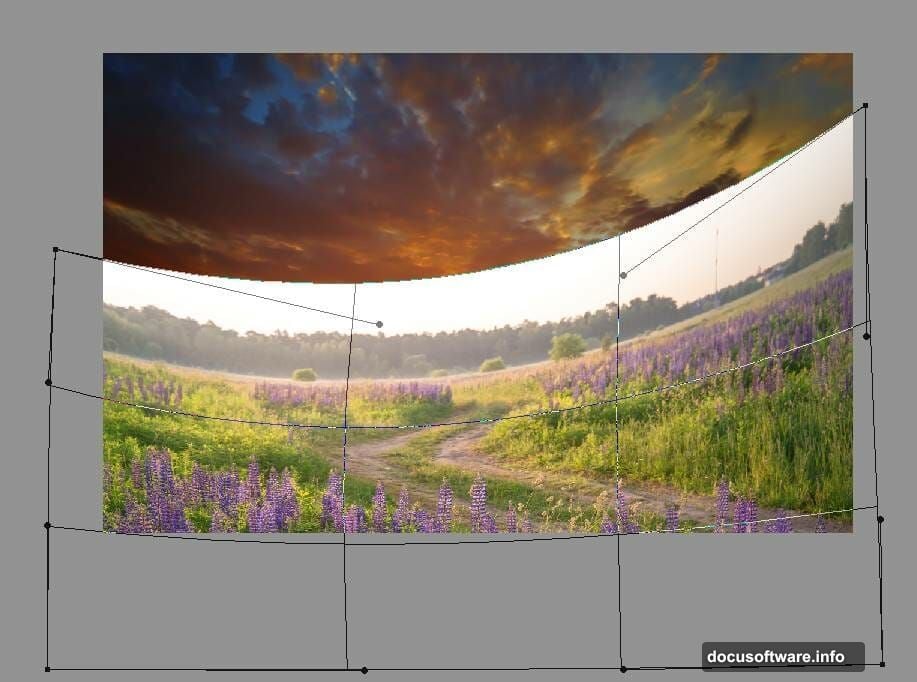
Next, open your sky image and drag it onto the canvas using the Move Tool (V). Before you do anything else, convert that layer to a Smart Object. This protects your original image and gives you more flexibility later.
Now use the Free Transform Tool (Ctrl+T) and switch to Warp mode. Warp mode lets you push and pull the image like taffy. Bend the sky shape until it feels natural and dramatic, with the horizon sitting exactly where you want it.
Adding Gaussian Blur to Soften the Sky
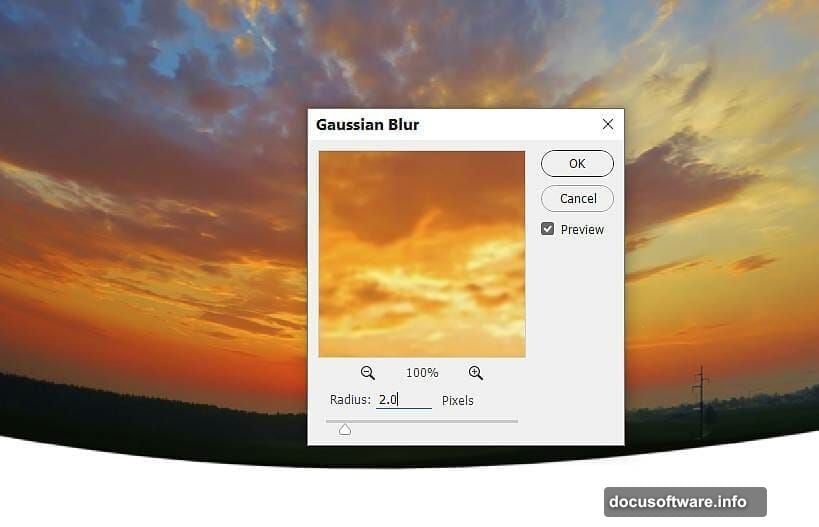
Once your sky is positioned, head to Filter > Blur > Gaussian Blur. Set the radius to 2 pixels.
This subtle blur does something important. It softens the sky just enough to look like a real photograph shot with a wide aperture lens. Sharp skies often look artificial in composite work, so this small step adds a lot of believability to your scene.
Curves Adjustment Layers for Sky Depth
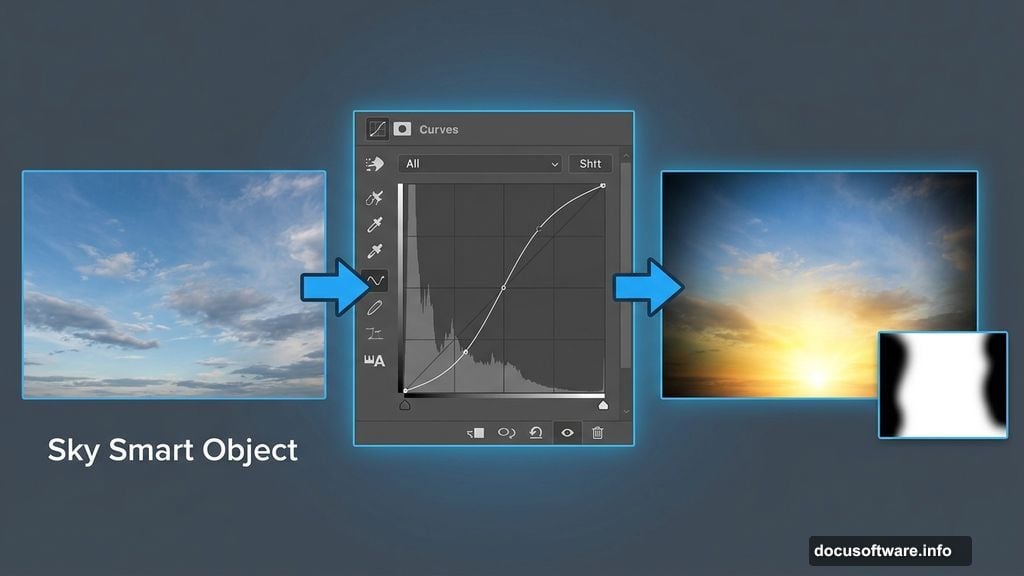
Now for the lighting magic. Go to Layer > New Adjustment Layer > Curves and set it as a Clipping Mask so it only affects the sky layer below it.
Pull the curve downward to darken the sky overall. Then grab your Brush Tool (B), select a soft round brush, and paint with black on the layer mask. Erase the darkening effect from the bottom middle of the sky. This creates the glow effect of a sunrise sitting low on the horizon.
Add a second Curves adjustment layer to darken both sides of the sky even more. Again, use a soft black brush on the mask to protect the areas you don’t want affected. The result is a vignette effect that draws the eye toward the glowing center of the image.
Bringing in the Field with Smart Object Warping
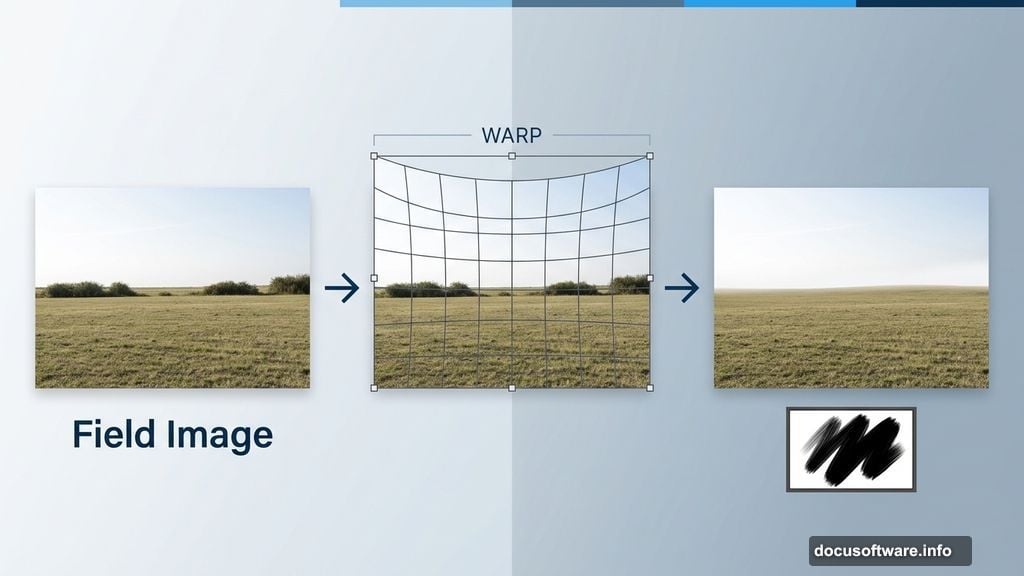
Open your field image and place it onto the lower portion of your canvas. Convert it to a Smart Object, then use Ctrl+T in Warp mode to bend the upper edge of the field. This helps it blend naturally with the sky at the horizon line.
Click the mask icon at the bottom of the Layers panel to add a layer mask to the field. Then use a medium-hard black brush to erase the sky portion and any bushes from the original field photo. You want just the clean, open field remaining.
Sharpening the Field While Protecting the Foreground
Here’s a step that beginners often skip. The background of stock field photos frequently looks blurrier than the foreground, which feels wrong. So go to Filter > Sharpen > Unsharp Mask to bring some crispness back into the midground and background of your field.
But don’t apply sharpening everywhere. On the filter mask, use a soft black brush to paint over the foreground and midground areas. Protecting those closer elements prevents the whole image from looking over-sharpened and artificial.
Darkening the Field with More Curves Layers
Add a Curves adjustment layer above the field layer and set it as a Clipping Mask. Bring the curve down to darken the field overall. This helps match the moody, pre-dawn quality of your sky.
Then add another Curves layer to darken the left side of the field specifically. Paint on the mask to preserve the natural lightness everywhere else. Building up darkness gradually through multiple adjustment layers gives you much smoother, more realistic results than making one big adjustment.
What Comes Next in This Tutorial
These first eight steps establish the foundation of your composite. You’ve built the sky, positioned the field, and started shaping the light and mood of the scene.
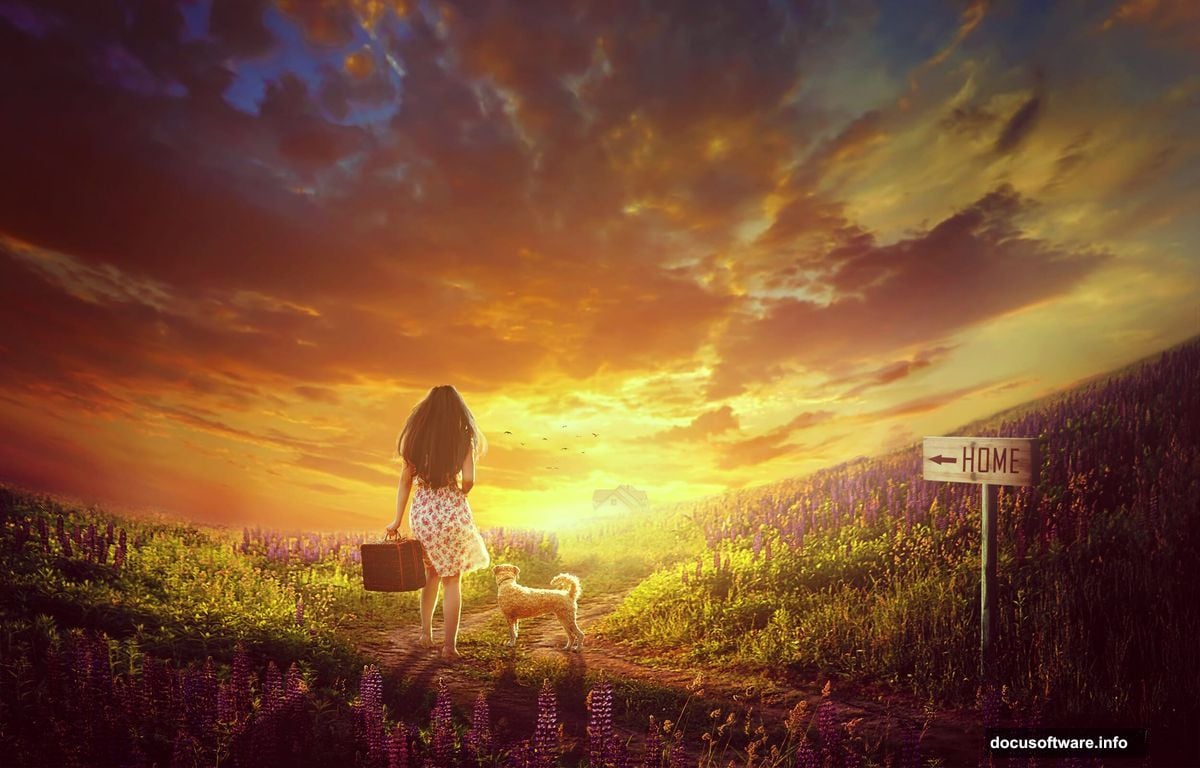
The tutorial continues across multiple pages, walking you through adding the sign, house, model, and dog to the scene. After placing those elements, you’ll paint in the warm sunrise light, refine the model’s hair, and add finishing details. Birds complete the final image, giving it that feeling of early morning life just beginning to stir.
The most satisfying thing about this kind of photo manipulation is how each step builds on the last. By the time you add those birds and step back to look at the whole image, you’ll have created something that feels genuinely emotional, like a still from a film you’d want to watch.
Take it one step at a time. Each layer you add brings the scene closer to life.