Space has always captured the human imagination. And with Photoshop, you can bring that cosmic wonder to life in a stunning photo manipulation scene.
This tutorial walks you through creating a dramatic Galaxy Apocalypse composition. You’ll combine Earth, planets, stars, a galaxy, and a mysterious hole into one jaw-dropping cosmic scene. Plus, you’ll finish it off with adjustment layers and a Camera Raw filter to tie everything together beautifully.
Ready to build something that looks like the universe is tearing itself apart? Let’s get into it.
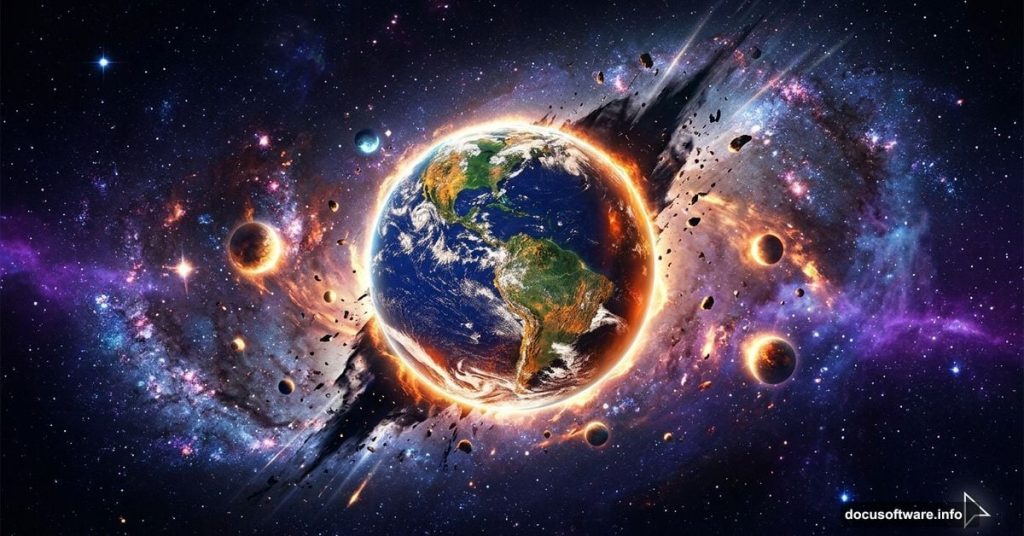
![A dramatic Photoshop galaxy apocalypse composition featuring Earth, planets, stars, and cosmic elements blended together with adjustment layers]
Setting Up Your Canvas First
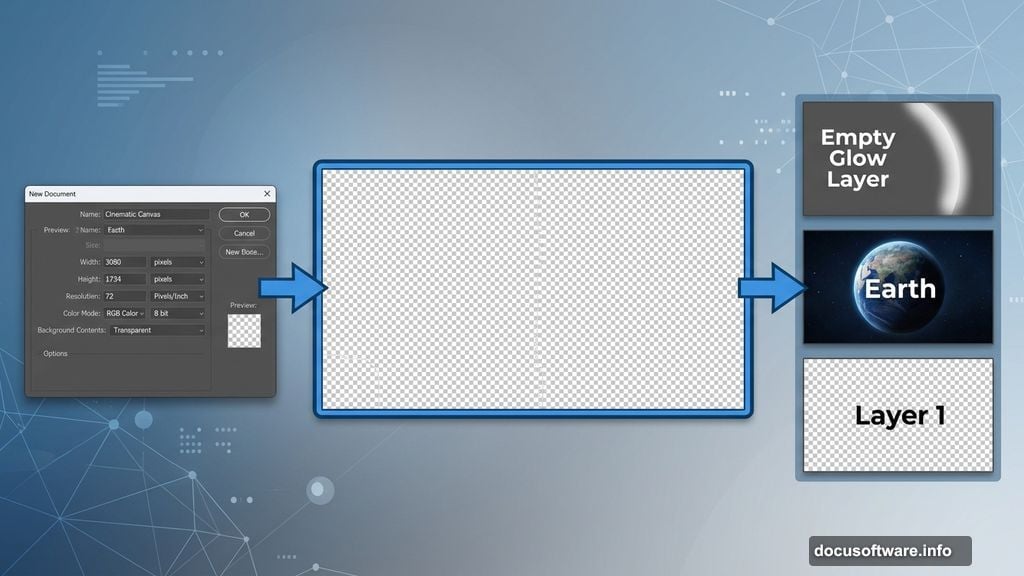
Every great composition starts with a solid foundation. So open Photoshop and head to File > New.
Enter these settings in the dialog box:
- Preset: Custom
- Width: 3080px
- Height: 1734px
- Resolution: 72 PPI
- Color Mode: RGB Color, 8-bit
- Background Contents: Transparent
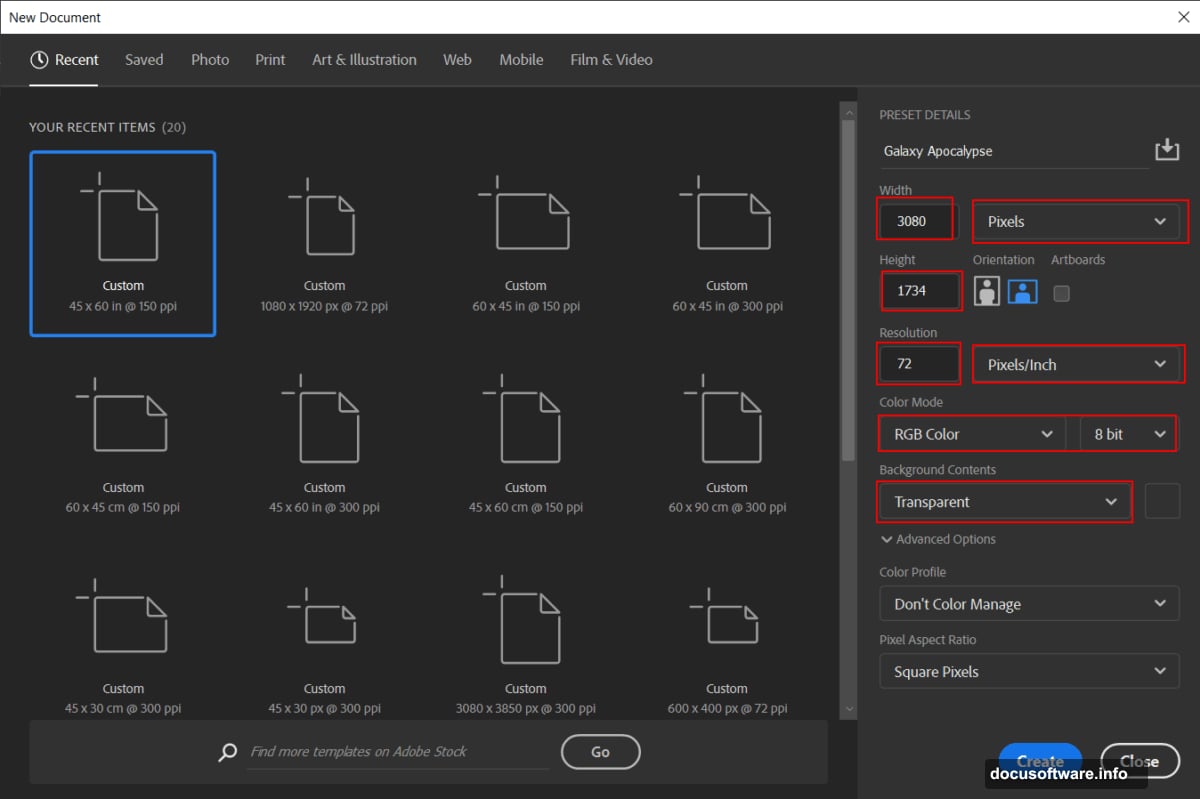
This gives you a wide cinematic canvas at a comfortable screen resolution. The transparent background is important here. It keeps your options open as you stack elements later.
Placing and Transforming the Earth
Now it’s time to bring in your first big asset. Go to File > Place and select your Earth photo.
Once it lands on the canvas, use the Transform tool to resize and position it. Press Ctrl/Cmd + T to activate the transform handles. Then hold Alt + Shift and drag a corner to scale the Earth while keeping its proportions locked. If you’re using Photoshop CC, just hold Alt and it scales all sides together.
Position the Earth wherever feels natural in your composition. Think about where you want the viewer’s eye to travel.
Adding Curves Adjustment Layers for Dramatic Lighting
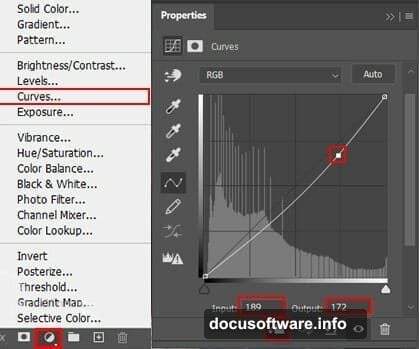
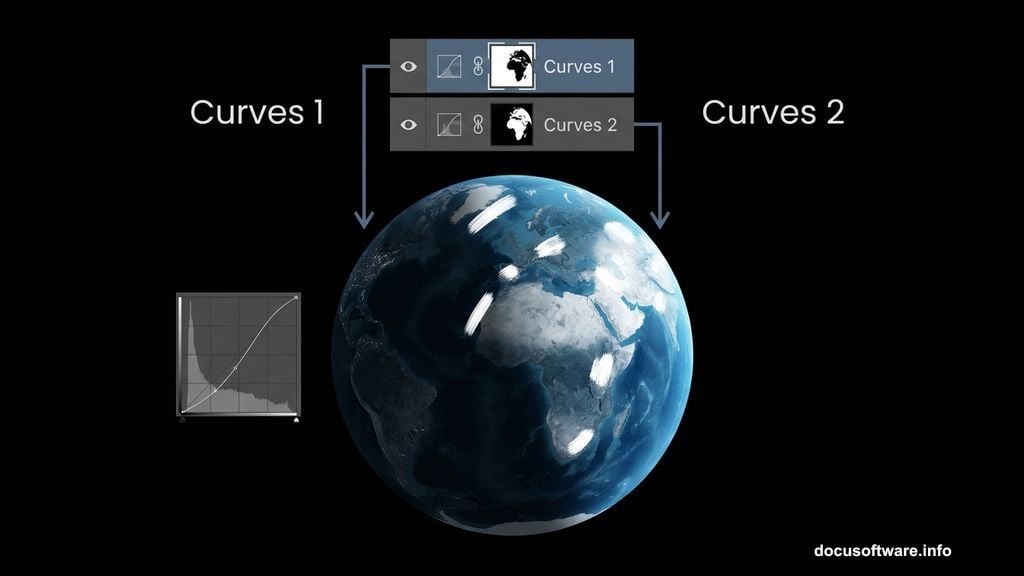
This is where the scene starts to feel alive. Add a Curves adjustment layer directly above the Earth layer.
Use this first Curves layer to darken the overall exposure. Pull the center of the curve slightly downward. This creates the moody, shadowed atmosphere that cosmic scenes need.
Next, add a second Curves adjustment layer. This one works differently. Press Ctrl/Cmd + I immediately after creating it. That inverts the layer mask, hiding the adjustment completely. Now grab your Brush Tool (B), switch to a soft round brush, and set your foreground color to white.
Paint over the areas of the Earth you want to highlight. The white brush reveals the Curves adjustment only where you paint. This gives you precise control over where the light falls on the planet’s surface.
Painting Soft Edge Glow on the Earth
Create a brand new empty layer above everything so far. Select the Brush Tool (B) again with a soft round tip. Keep white as your foreground color.
Gently paint along the edges of the Earth. This adds a subtle atmospheric glow, like sunlight catching the edge of the planet from deep space. Use a low brush opacity, around 20-30%, and build the glow up slowly with several light strokes.
This small detail makes an enormous difference. It separates the planet from the background and adds real depth to the scene.
![Photoshop layers panel showing Earth planet with Curves adjustment layers and soft edge glow painting technique for galaxy scene]
Bringing in the Planet Stock Photo with Color Dodge
Open your planet photo separately using File > Open. With the image open, grab the Rectangular Marquee Tool (M) to select the portion of the planet you want to use.
Here’s a helpful tip with the Marquee Tool. Hold Shift while dragging your selection to constrain it to a square or specific proportions. Just remember to release the mouse button before releasing Shift to keep that shape locked.
Once selected, bring the planet into your main composition. Then change its blend mode to Color Dodge and drop the Opacity to 88%. Color Dodge lightens and intensifies the colors beneath the layer, creating that glowing, surreal quality that makes planets look otherworldly in space scenes.
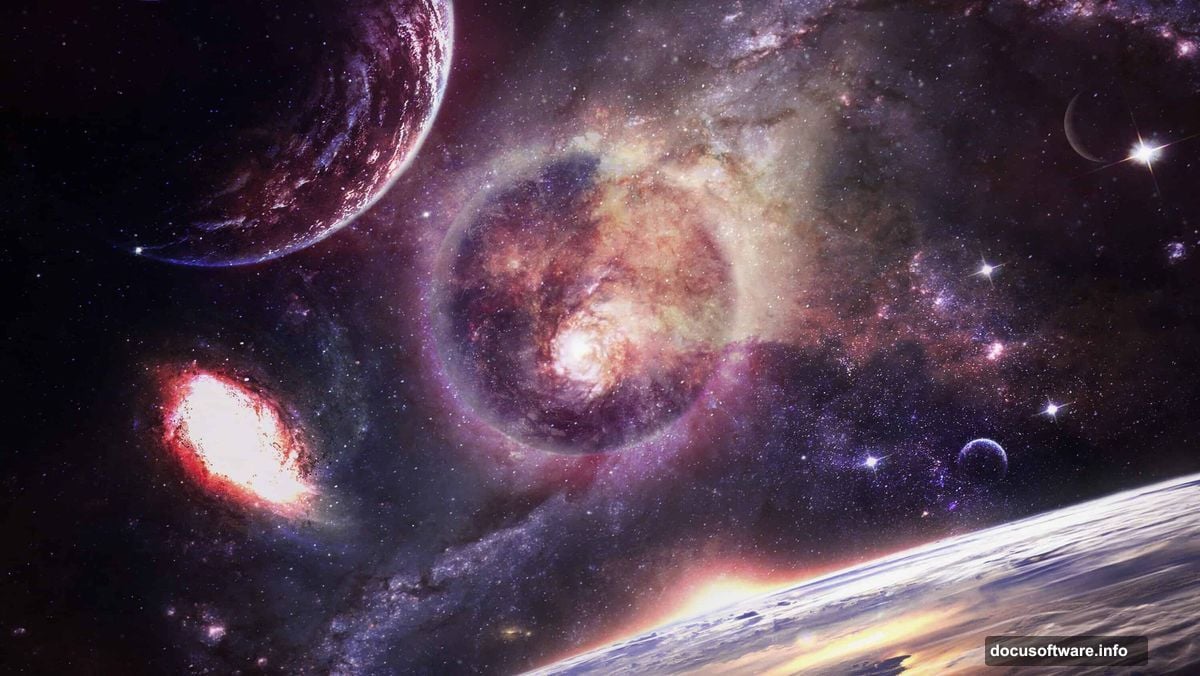
Layering in Stars, Galaxy, and the Cosmic Hole
With your Earth and planets in place, it’s time to build out the full cosmic environment. Place your stars image onto the canvas. Position it as a background element and experiment with opacity to let other layers show through naturally.
Next, bring in your galaxy photo. This is the heart of the composition. The galaxy should feel massive and distant, so try placing it behind the Earth but in front of the stars layer. Blend modes like Screen or Lighten work well for galaxy textures because they drop out the dark areas and let only the luminous colors shine through.
The hole element adds that apocalyptic drama the tutorial title promises. Think of it as a tear or void in the fabric of space. Position it so it feels like it’s consuming or disrupting the scene around it.
Also add your Moon and the two additional planets (Planet 2 and Planet 3) from the resource list. Vary their sizes. Closer objects appear larger, distant objects smaller. This simple trick builds convincing spatial depth without much effort.
Final Polish with Camera Raw Filter
Once all your elements sit in place and your adjustment layers are dialed in, it’s time for the finishing touch. Go to Filter > Camera Raw Filter.
This powerful filter lets you adjust the overall color temperature, contrast, clarity, and vibrance of the entire composition in one place. For a galaxy apocalypse scene, try pushing the blues and teals slightly cooler. Boost contrast to deepen the blacks of space. A touch of added vibrance makes the nebula colors pop.
The Camera Raw Filter essentially works like a final grade pass. It unifies all your separate elements under one consistent color treatment, making the whole scene feel like a single photograph rather than a collection of stock photos pasted together.
The beauty of Photoshop photo manipulation is how these techniques layer on top of each other. Each step builds on the last. By the end, your Earth is glowing, your planets are blazing with Color Dodge light, your galaxy tears across the background, and the Camera Raw filter wraps everything in that cinematic cosmic atmosphere.
Save your work as a PSD to keep all layers editable. Export a flattened JPEG or PNG when you’re happy with the final result. Now share it. Seriously. A composition this dramatic deserves to be seen.