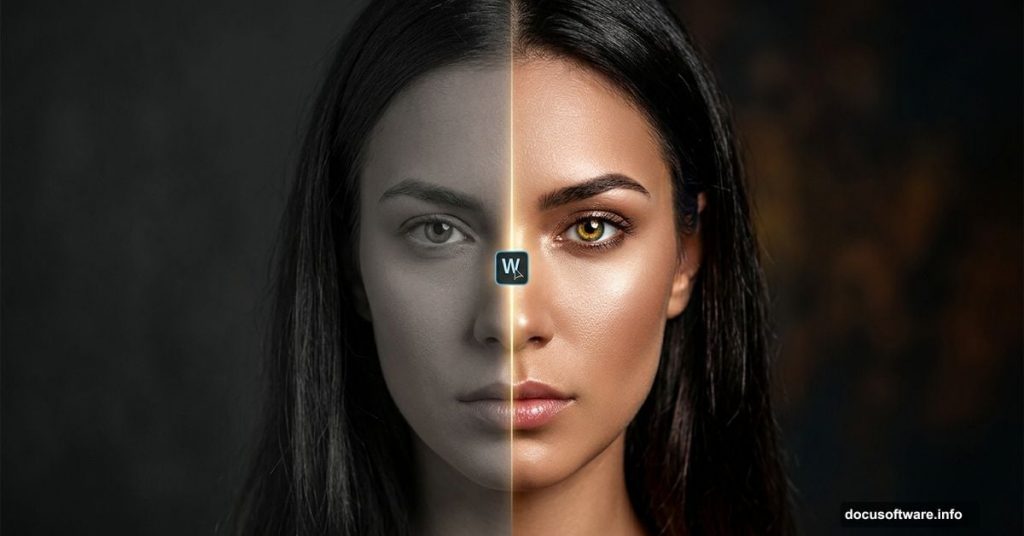
Want to turn a flat, ordinary portrait into something that stops people mid-scroll? You can do it in about 10 minutes. And honestly, once you see the before and after, you’ll wonder why you haven’t been doing this on every portrait you edit.
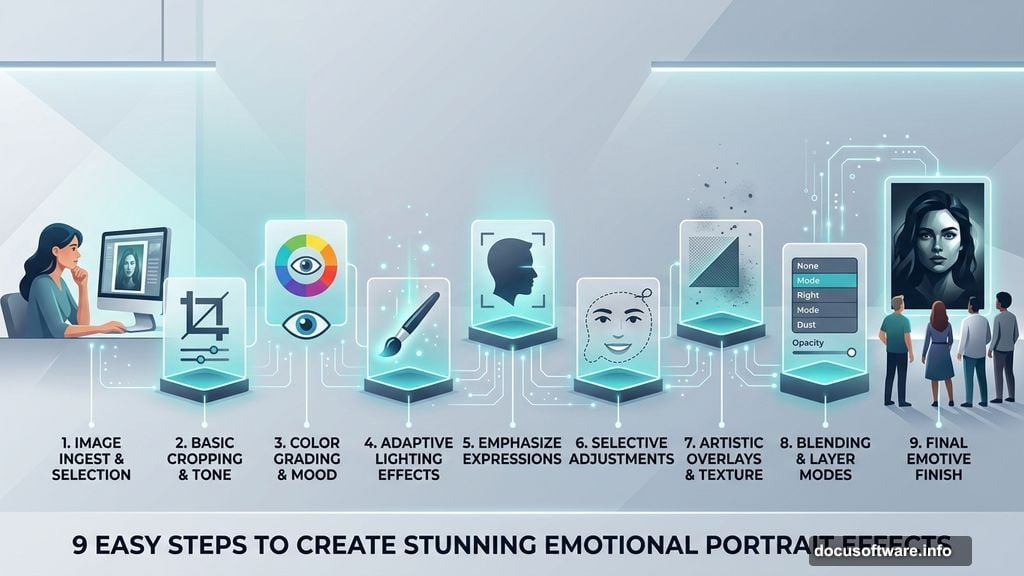
This step-by-step guide walks you through a nine-step Photoshop workflow that adds depth, drama, and real emotional weight to any portrait photo. You’ll need Photoshop CS5 or newer to follow along.
Step 1: Brighten Eyes with a Curves Adjustment Layer
Eyes sell a portrait. So we start there.
First, create a Curves adjustment layer by going to Layer > New Adjustment Layer > Curves. Set its blending mode to Screen. Then press D to reset your colors to black and white defaults.
Next, click the layer mask on your Curves layer. Press Ctrl + Backspace to fill it completely with black. This hides the brightening effect everywhere. Then grab a round, soft white brush and paint directly over the eyes only.
If the eyes look too intense, just lower the layer opacity. In the original tutorial example, dropping it to 55% hit the sweet spot.
Step 2: Add Mood with a Black and White Adjustment Layer
Here’s where the emotional tone really starts to build.
Create a Black and White adjustment layer via Layer > New Adjustment Layer > Black and White. Set the blending mode to Multiply. This darkens the image and adds a moodier, more cinematic quality to the overall look.
Step 3: Balance Shadows and Highlights
Press Ctrl + Shift + Alt + E to stamp all visible layers into a new merged layer. This is your working copy for this step.
Go to Image > Adjustments > Shadows/Highlights. Drag the Highlights slider all the way to the left. Then slowly drag the Shadows slider to the right until the image brightens slightly from where it was. You’re not looking for a dramatic shift here. Just a gentle lift in the midtones and shadows.
Step 4: Use the Dodge Tool for Natural Skin Luminosity
Stamp your visible layers again with Ctrl + Shift + Alt + E to create another fresh merged layer.
Select the Dodge Tool from the toolbar. Keep the default settings: Range set to Midtones and Exposure at 50%. Now paint over these specific areas of the face and neck:
- Eyes and irises especially
- Tip of the nose
- Cheekbones
- Forehead
- Lips
- Tip of the chin
- Neck
This mimics how natural light falls on a face. The result feels polished but not artificial.
Step 5: Sharpen the Image with Unsharp Mask
Stamp your layers one more time. Then go to Filter > Sharpen > Unsharp Mask.
Use a radius of 1-2 pixels and an Amount between 50% and 100%. The goal is a mild, crisp sharpening effect. Too much sharpening makes skin look harsh and plastic, so err on the subtle side. If the effect still feels too heavy, lower the layer opacity slightly to dial it back.
Step 6: Desaturate for a Faded, Cinematic Look
Create a Hue/Saturation adjustment layer via Layer > New Adjustment Layer > Hue/Saturation. Drag the Saturation slider to the left until the image looks fairly desaturated.
This pulls color back without going full black and white. The result is a muted, film-like palette that gives portraits a timeless, editorial quality. Think of it like adding a subtle Instagram filter with way more control.
Steps 7-9: Refine and Polish Your Final Edit
The final three steps are about fine-tuning what you’ve already built. This is where good edits become great ones.
Start by reviewing your layer stack. Check each layer’s opacity. Small adjustments here make a big difference in how balanced the final result looks. If any single effect is competing too loudly with the others, scale it back by 10-15%.
Then zoom in to check the eyes again. The brightened irises should feel luminous but still natural. If they’re glowing too much against the slightly desaturated skin tones you created in Step 6, reduce the Curves layer opacity a little more.
Finally, flatten and evaluate the complete image at 100% zoom. Look at the face as a whole rather than individual edits. You want a portrait that feels emotionally present, slightly cinematic, and immediately striking. If something feels off, trust that instinct and go back to adjust.
Why This Workflow Produces Such Strong Results
Each step builds on the previous one. That’s the real secret here.
You’re not just applying a single filter and calling it done. You’re layering tone control, luminosity adjustments, selective dodging, sharpening, and color grading on top of each other. Together, they create something that feels intentional and atmospheric rather than processed.
The Dodge Tool step in particular tends to surprise people. Painting light onto specific facial features manually sounds tedious. But the difference it makes to the final image is enormous. It’s the step that makes a portrait feel like it was shot with perfect studio lighting even if the original photo was pretty flat.
One note worth mentioning: some steps in this workflow use destructive editing, meaning you’re merging layers and applying adjustments directly. If you want more flexibility to revise later, consider converting merged layers into Smart Objects before applying filters. This keeps your options open without changing the outcome.
Give this a try on your next portrait. Ten minutes is genuinely all it takes to see the difference.